
How To Build A Budget-friendly DIY Garden Plinth With Tile
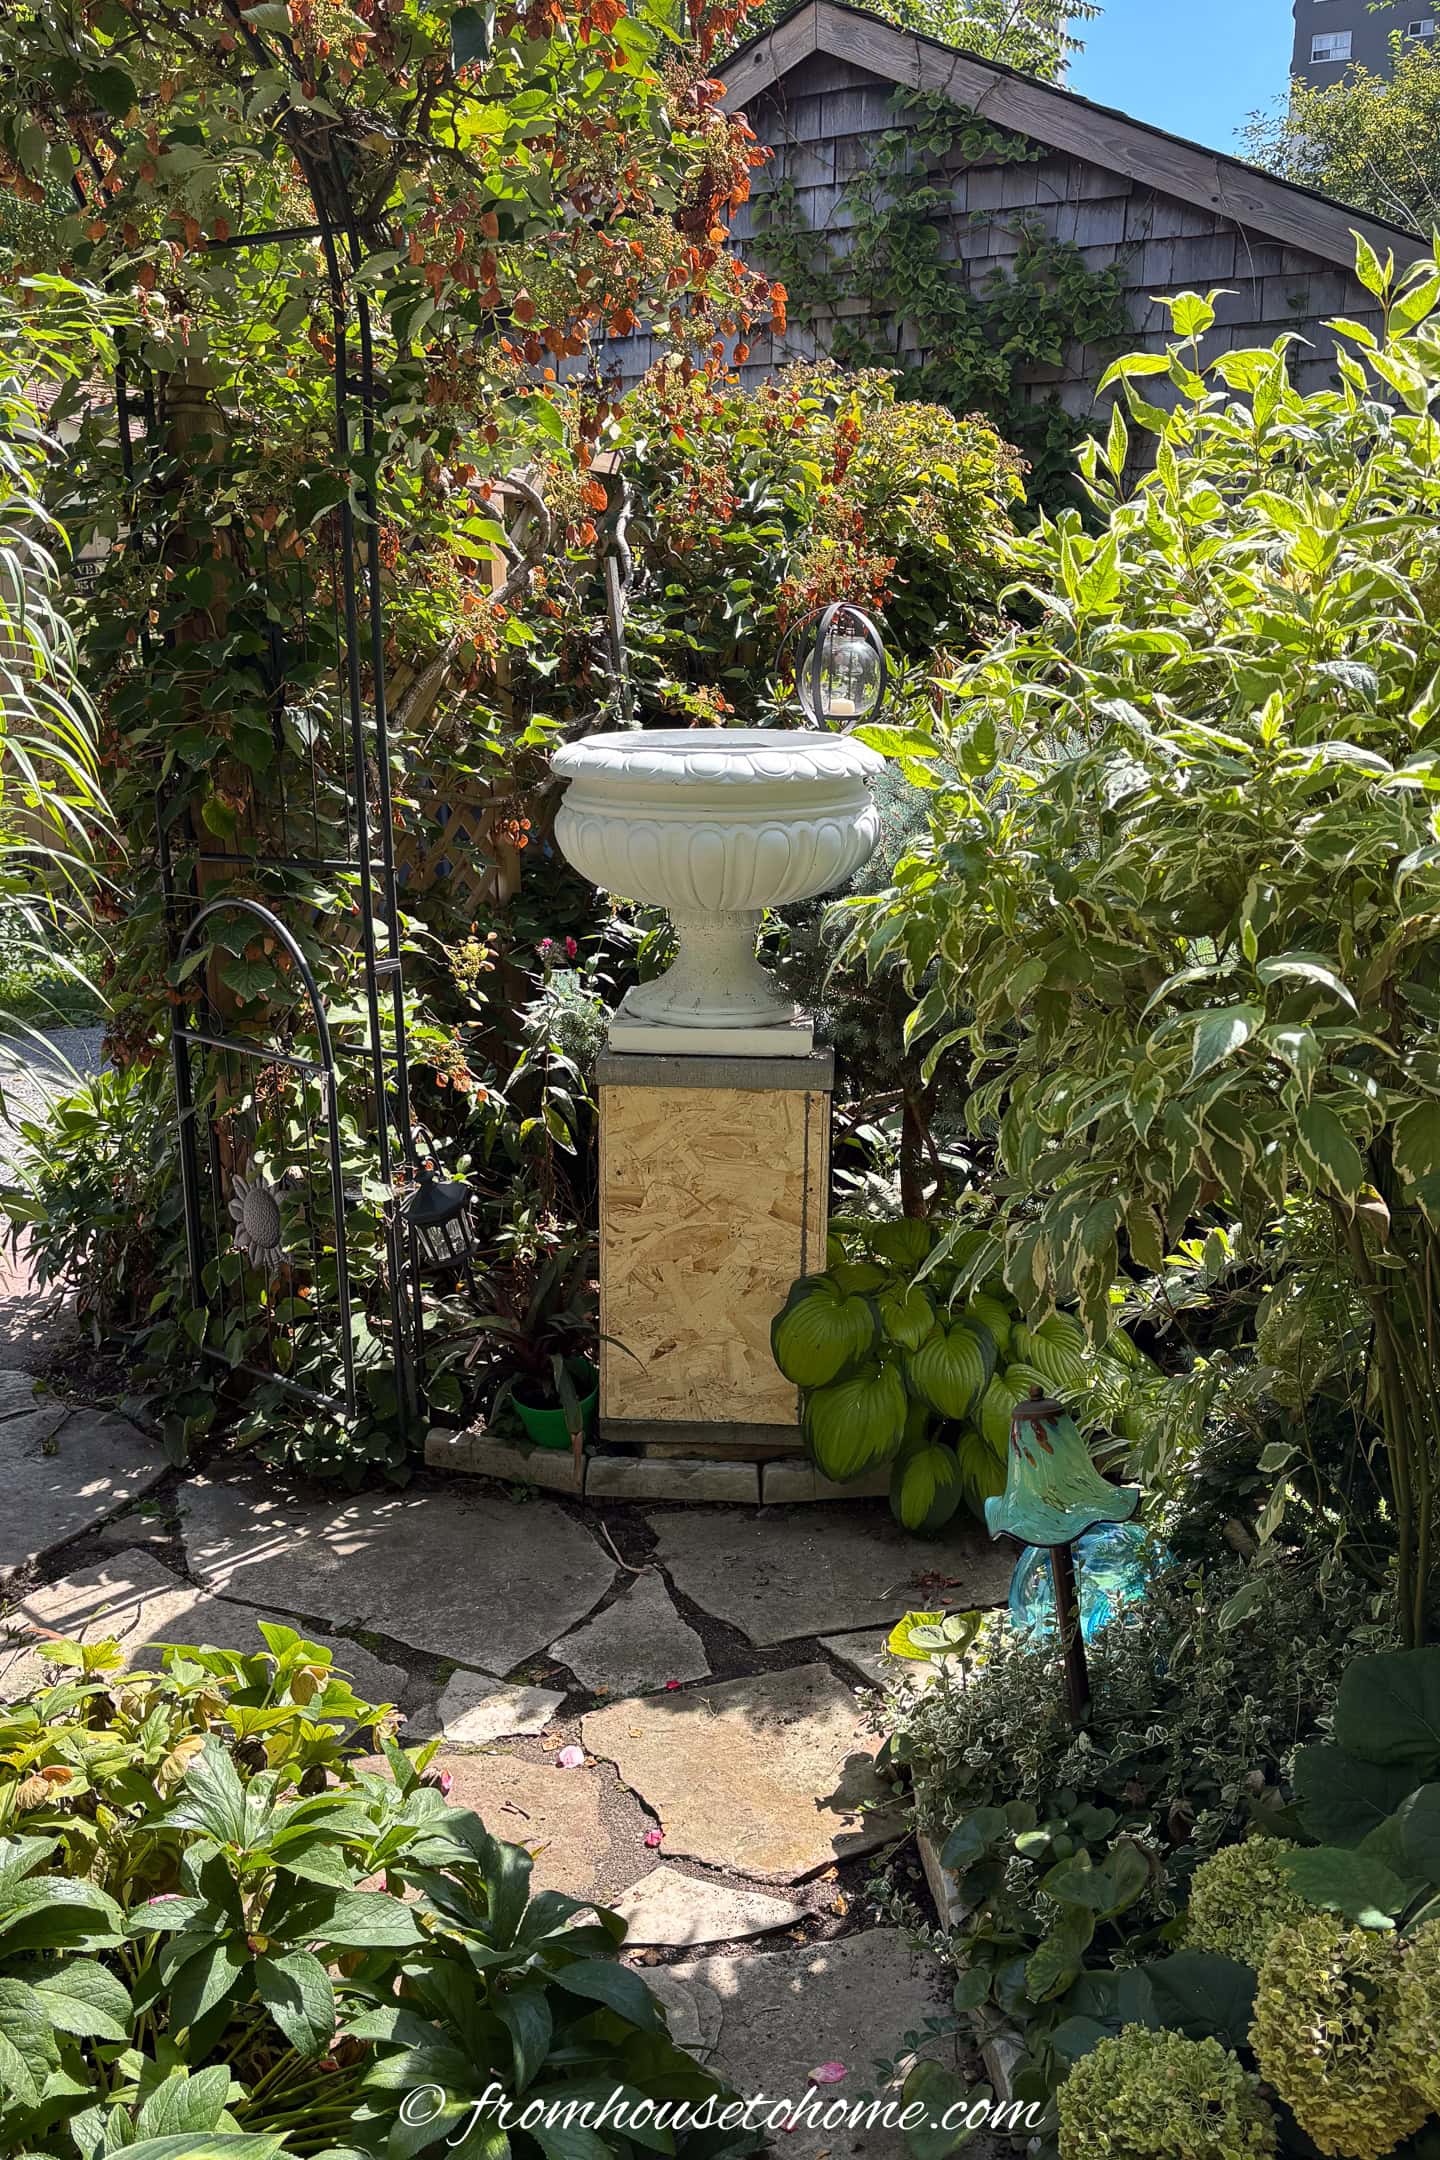
This DIY garden plinth made from wood and tiles is a simple, budget-friendly way to add a charming focal point to your outdoor space. It’s customizable to match your garden’s style and can really elevate the overall look without breaking the bank.

If you’re like me, you love adding those little touches that make your garden feel truly special.
A DIY garden plinth is one of those simple projects that can really elevate your outdoor space.
Whether you want to showcase a favorite plant, a quirky sculpture, or just add some height and interest, building your own garden plinth is a fun and budget-friendly way to do it.
Plus, it’s easy to customize in size, shape, and style to match your garden’s vibe.
Whether you’re a seasoned gardener or just starting out, this project is a great way to add a little extra character and functionality to your outdoor space.
Looking for more DIY garden projects? You'll love Diy Planter Box and DIY Wall Water Fountain.
Supplies
Materials:
- 4 – 16-inch x 24-inch Porcelain Tile
- 1 sheet 1/2″ – 4′ x 8′ Pressure Treated Plywood
- 1 pressure treated 2″ x 4″ x 8′. Or any 2″ thick board that is 8′ long and less than half the width of your tile.
- 50 lb. Gray Rapid Setting Mortar for Large Format Tile
- 1″ deck screws
Tools:
- circular saw
- clamps
- drill
- straight edge ruler
- tape measure
- notched masonry trowel
- carpenter’s level
- rubber mallet
Measure and cut the wood
1 | Plinth design overview
The plinth is made from a plywood box with 2″ x 4″s used to hold the sides together. Large tiles glued to the outside make it look pretty.
The size of the box is determined by the size of the tile.
The height of the box will be the same as the long side of the tile. And the width is a little bigger than the width of the tile.
This is the easiest way to create the plinth since you don’t have to grout the tiles.
Tips for a successful plinth design:
- Double-check your measurements before cutting to avoid mistakes.
- Use a square or a straight edge to ensure your cuts are perfectly straight.
- When joining pieces, pre-drill holes to prevent splitting, especially with hardwood.
- Overlap the tiles slightly more than you think to account for any slight inaccuracies in cutting.
- Sand any rough edges after cutting to give your plinth a clean finish.
- Use a level during assembly to keep everything aligned and even.
2 | Cut the corner supports
Measure the height of the tile.
Then cut 4 pieces of 2″ x 4″ to that height. These will be used to join the corners of your plinth box.
In my case, the length of the pieces is 23 5/8″.
3 | Cut the long sides of the box

Begin by measuring and cutting two pieces of plywood.
First, measure the height of the tile to determine the length of the plywood. In my case, it was 23 5/8 inches.
For the width of the plywood, measure the width of your tile and subtract the thickness of the tile to get the correct measurement for the long sides of the box.
For example, if your tile is 15 7/8″ wide and the thickness is 1/4″, the width would be 15 7/8″ – 1/4″ which in my case is 15 5/8″.
Once you have your measurements, use a straightedge or a ruler to draw clear, straight lines on the plywood.
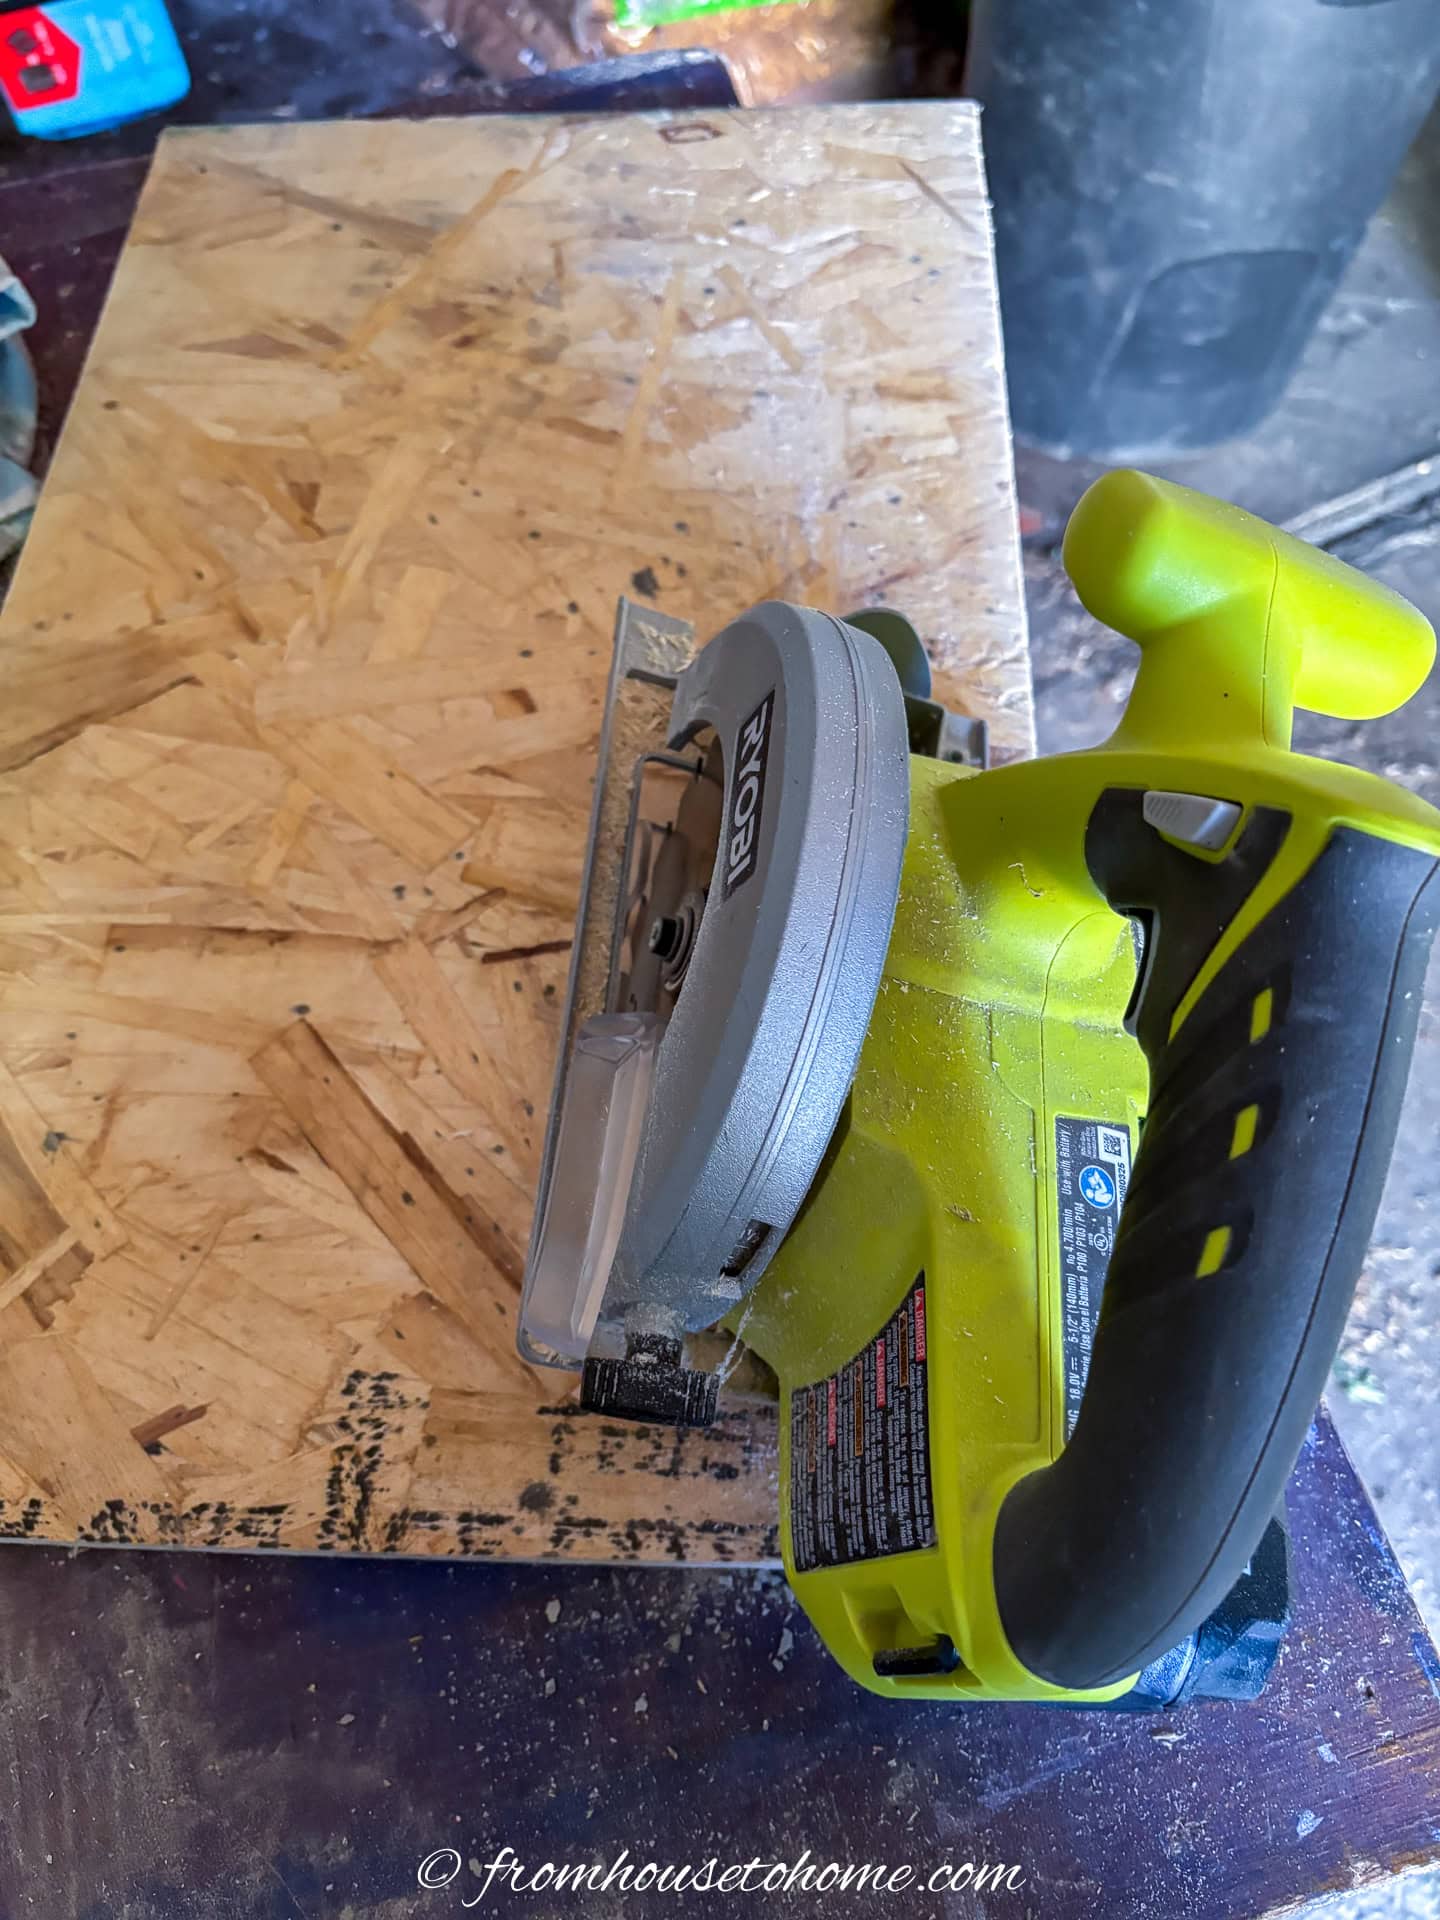
Cut out the plywood using a circular saw.
4 | Cut the short sides of the box
For the short sides of the box, the length is the same as the length of the tile.
For the width, use this formula:
width of the tile – (1 thickness of the tile + 2 thicknesses of the plywood)
In my case, the width of the tile is 15 7/8″, the thickness of the tile is 1/4″ and the thickness of the plywood is 3/8″ thick.
So the width of the plywood is: 15 7/8″ – (1/4″ + 2 x 3/8″) or 15 7/8″ – (2/8″ + 6/8″) = 14 7/8″.
Cut 2 pieces with the circular saw using these measurements.
You now have all the lumber you need to make the box.
Make the box frame
4 | Attach the boards to the plywood

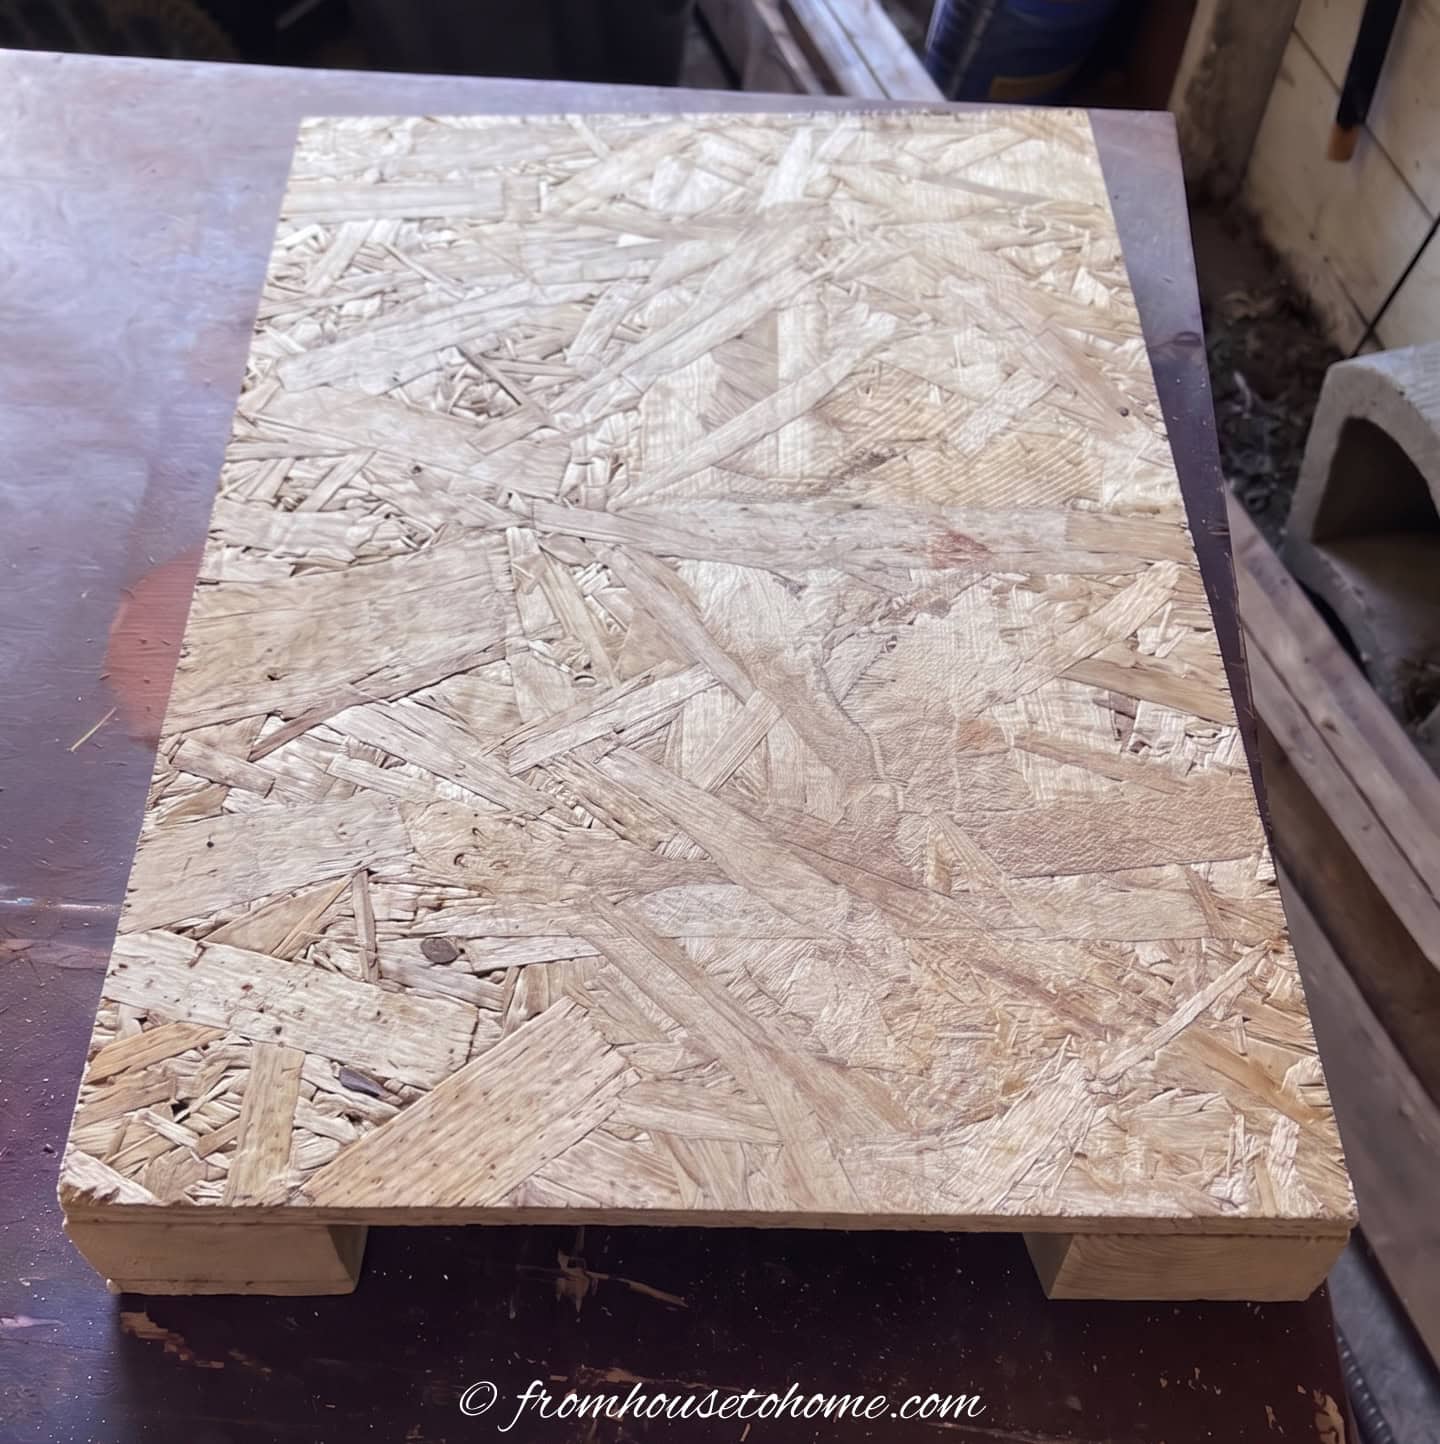
Lay 2 of the 2″ x 4″ boards down parallel to each other.
Cover them with one of the larger pieces of plywood so that the boards line up along the long edges.
Screw the plywood to the 2″ x 4″ at 4-inch intervals using the power drill and 1″ deck screws.
Repeat this process with the other larger piece of plywood.
5 | Attach the sides

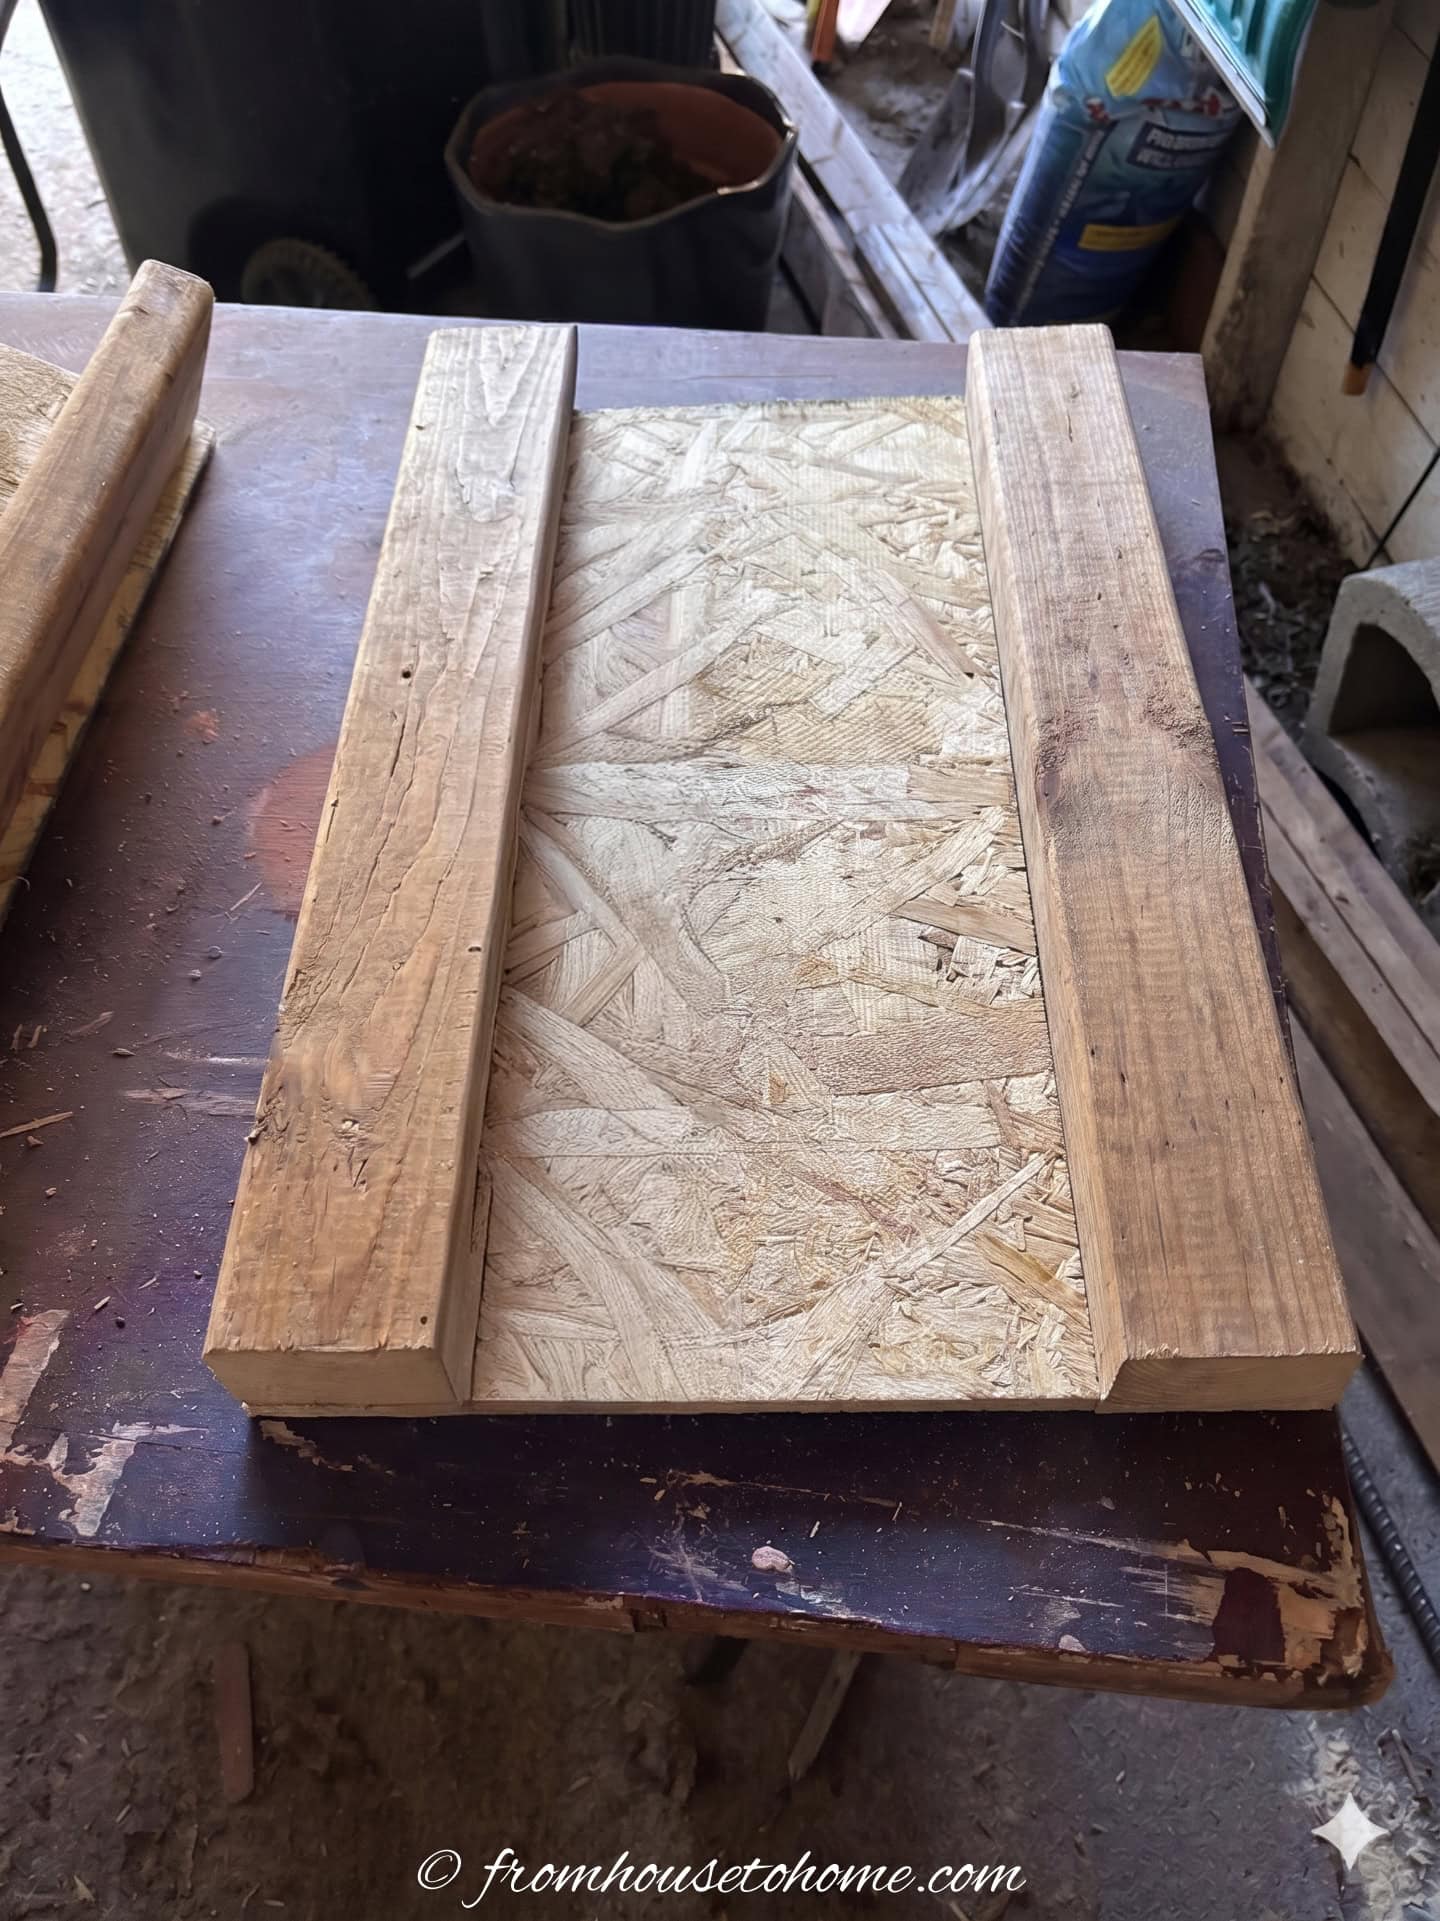
Turn one of the larger plywood pieces over so the 2″ x 4″ boards are on the top.

Line up one of the smaller plywood boards so that it overlaps the edge of the first piece of plywood that is already screwed in place.
Use clamps to hold the smaller piece of plywood to the 2″ x 4″ board.
Then screw it to the 2″ x 4″ along the length at 4″ intervals.
Repeat the same process to attach the second smaller piece of plywood to the other side.
You will now have a U-shaped, 3-sided box.
6 | Add the last side
Fit the 2″ x 4″s of the second larger plywood side between the opening to make the 4th side.
Line up the edges so they are flush.
Hold in place with clamps.
Then screw the sides to the 2″ x 4″s on the last side along the lengths.
You now should have a sturdy 4 sided square box measuring 15 5/8″ x 23 5/8″ if you are using my measurements.

Attach the tile
7 | Make the mortar

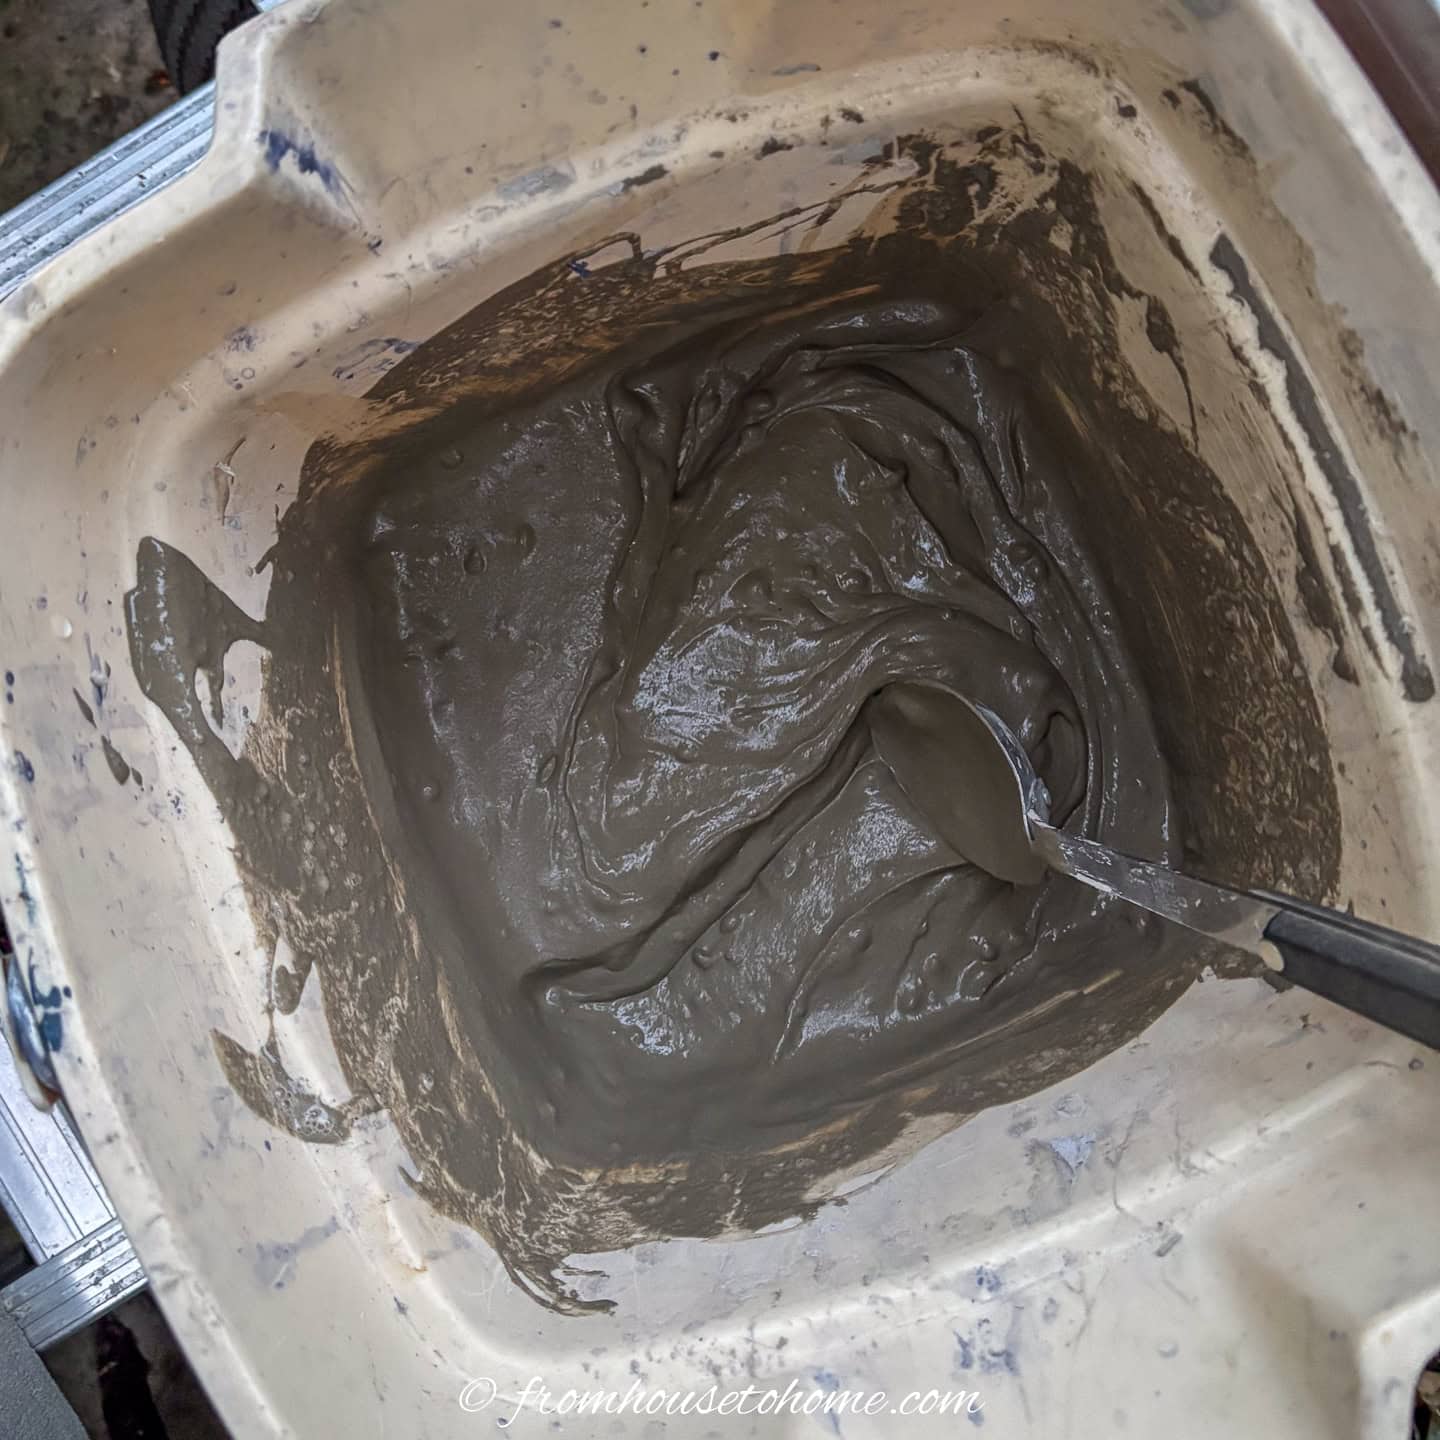
Prepare the mortar by transferring 2 to 3 cups of dry compound to a disposable container.
Add small amounts of water, stirring constantly, until the mortar is the consistency of thick whipped cream.
Keep stirring until the mortar is all wet, smooth and free of clumps.

8 | Glue on the first tile
Now you are ready to start tiling.
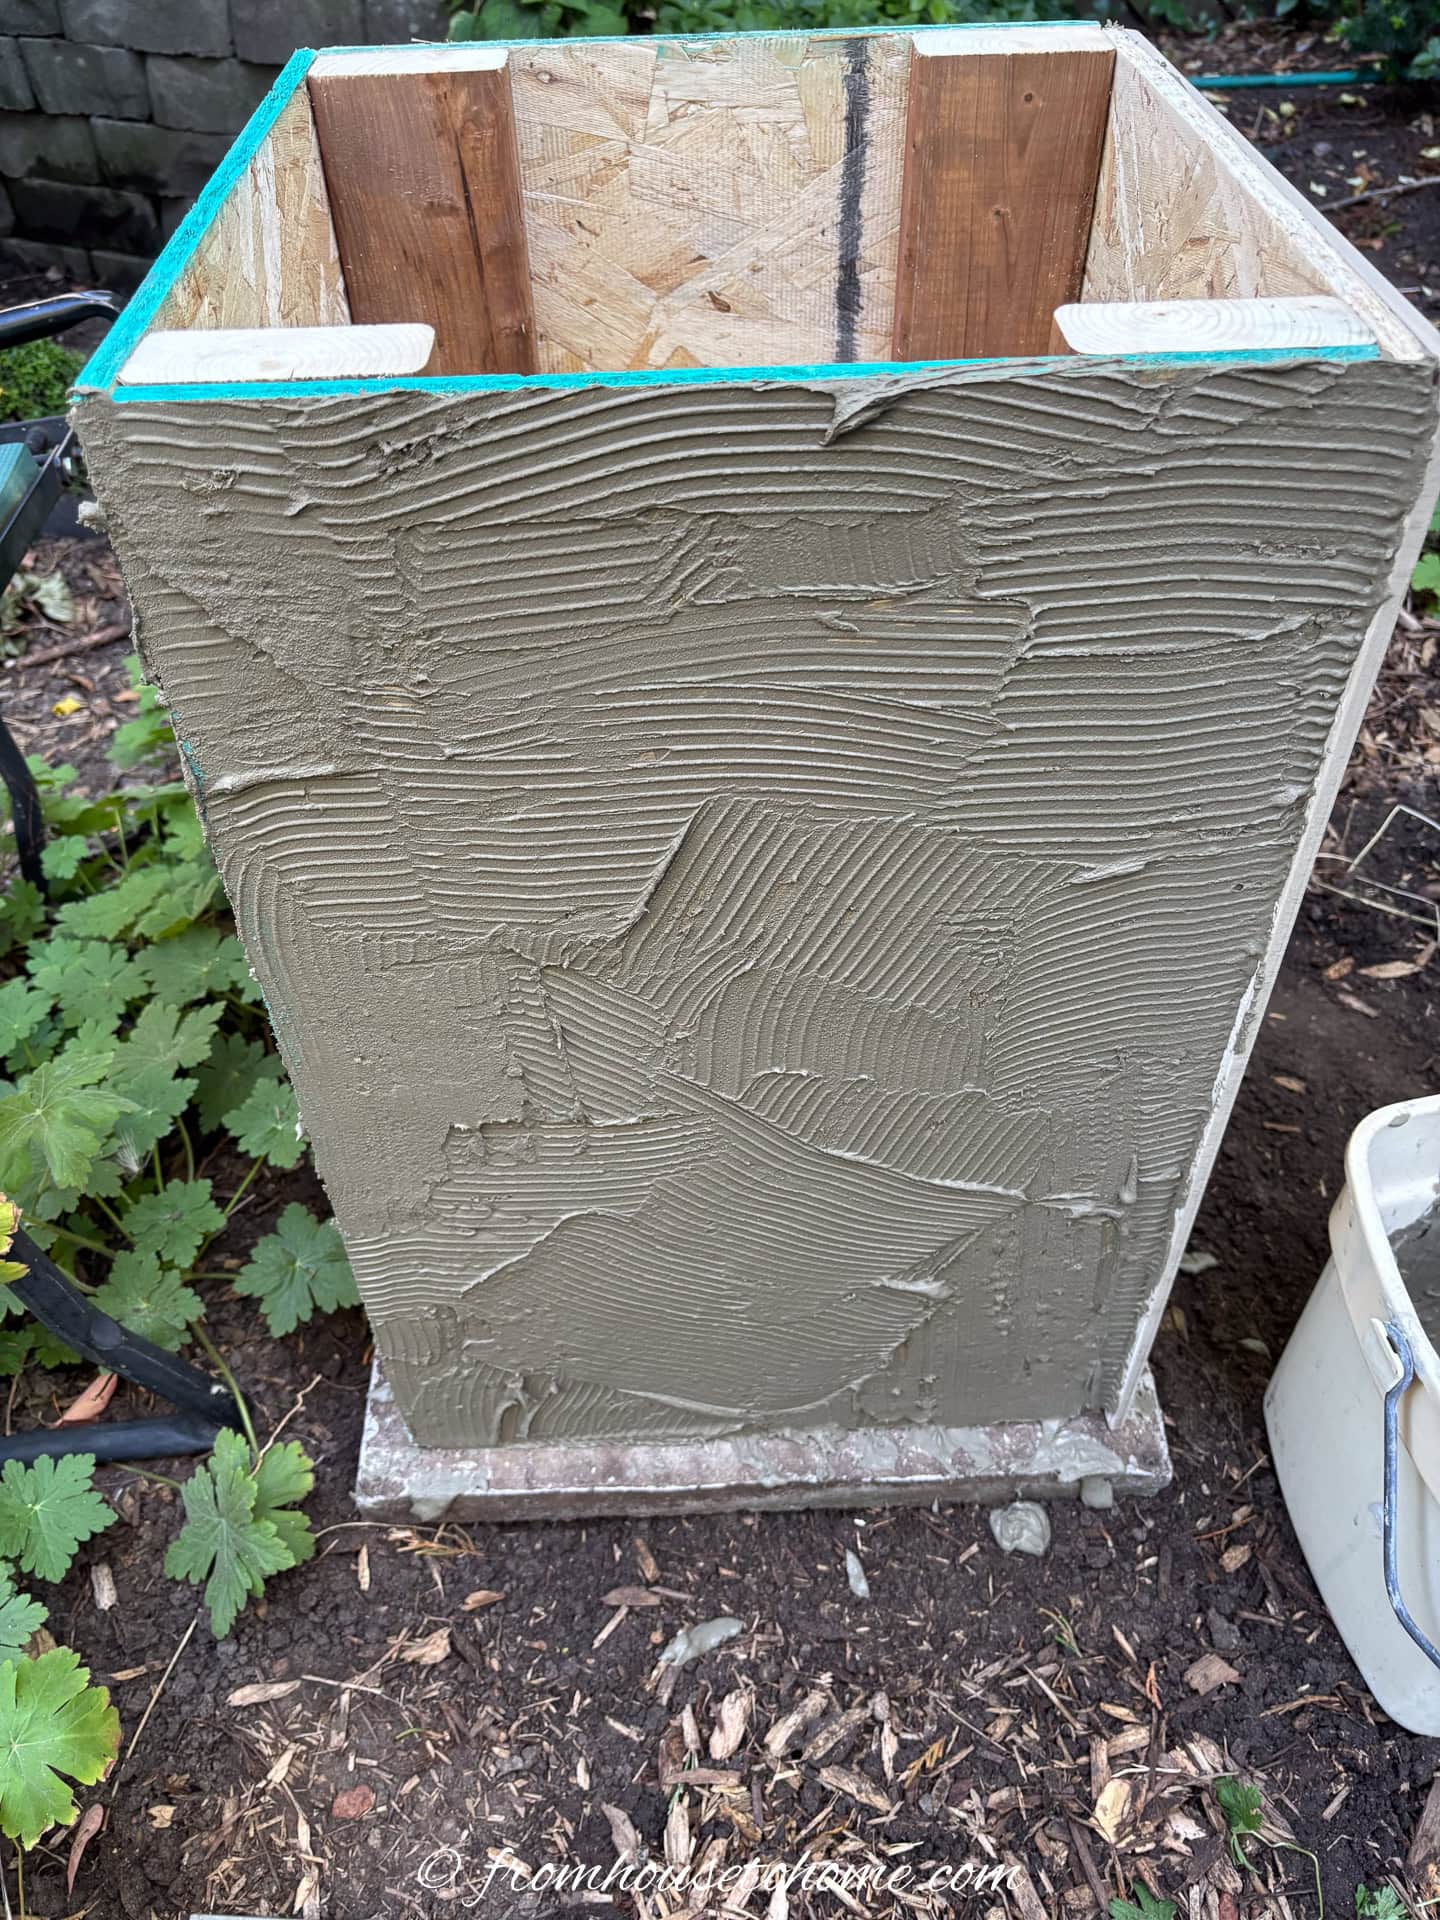
Trowel the mortar evenly over one side of the plywood box.
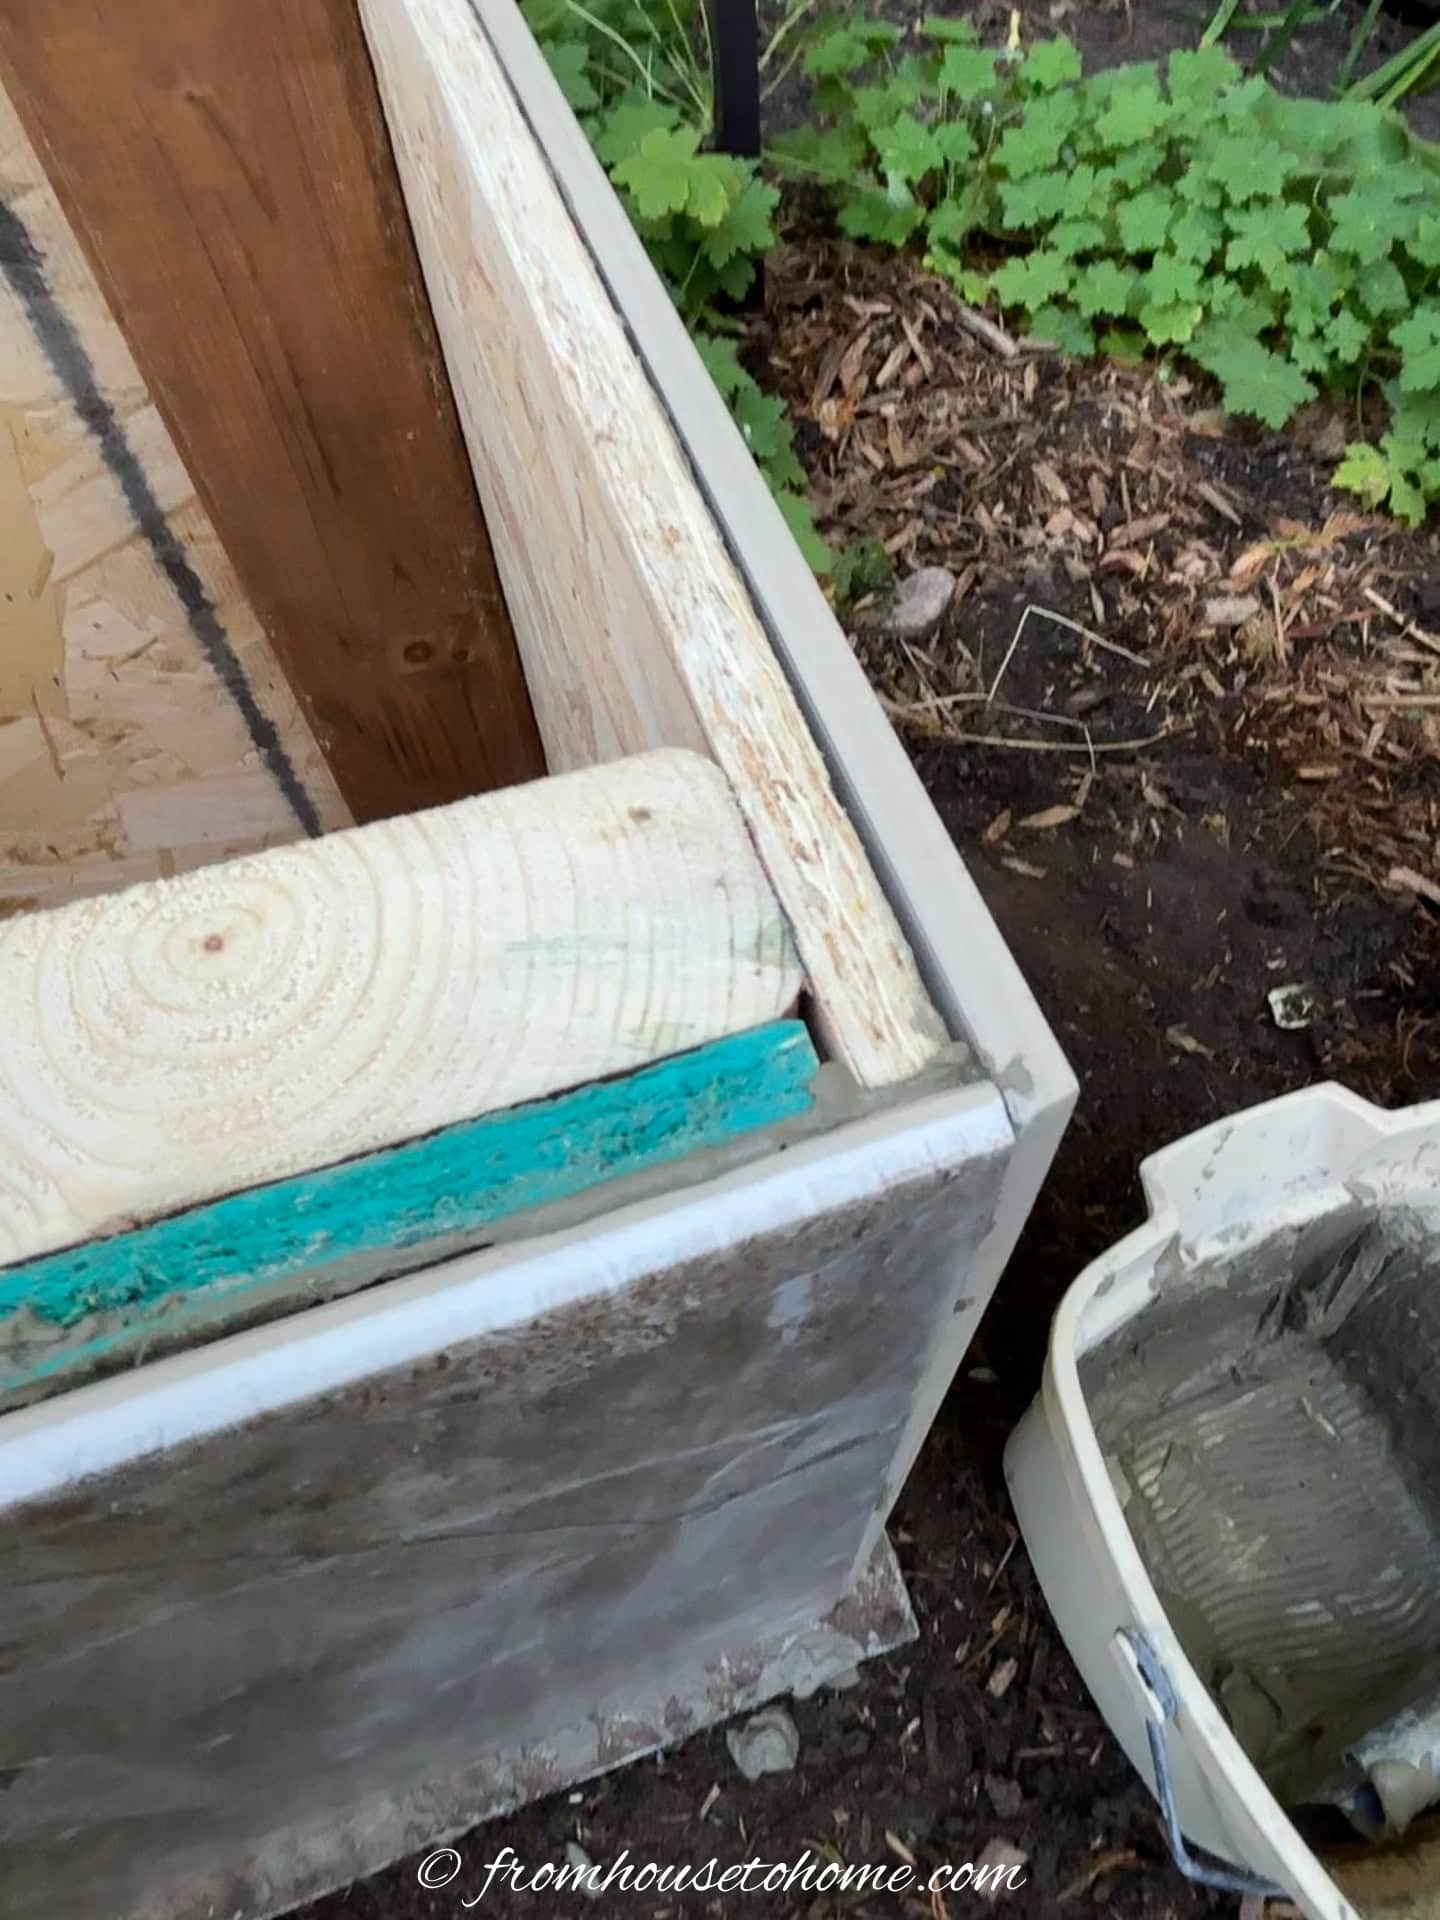
Then carefully lift the first tile into place so that the top is even and one edge of the tile is even with one long edge of the box.
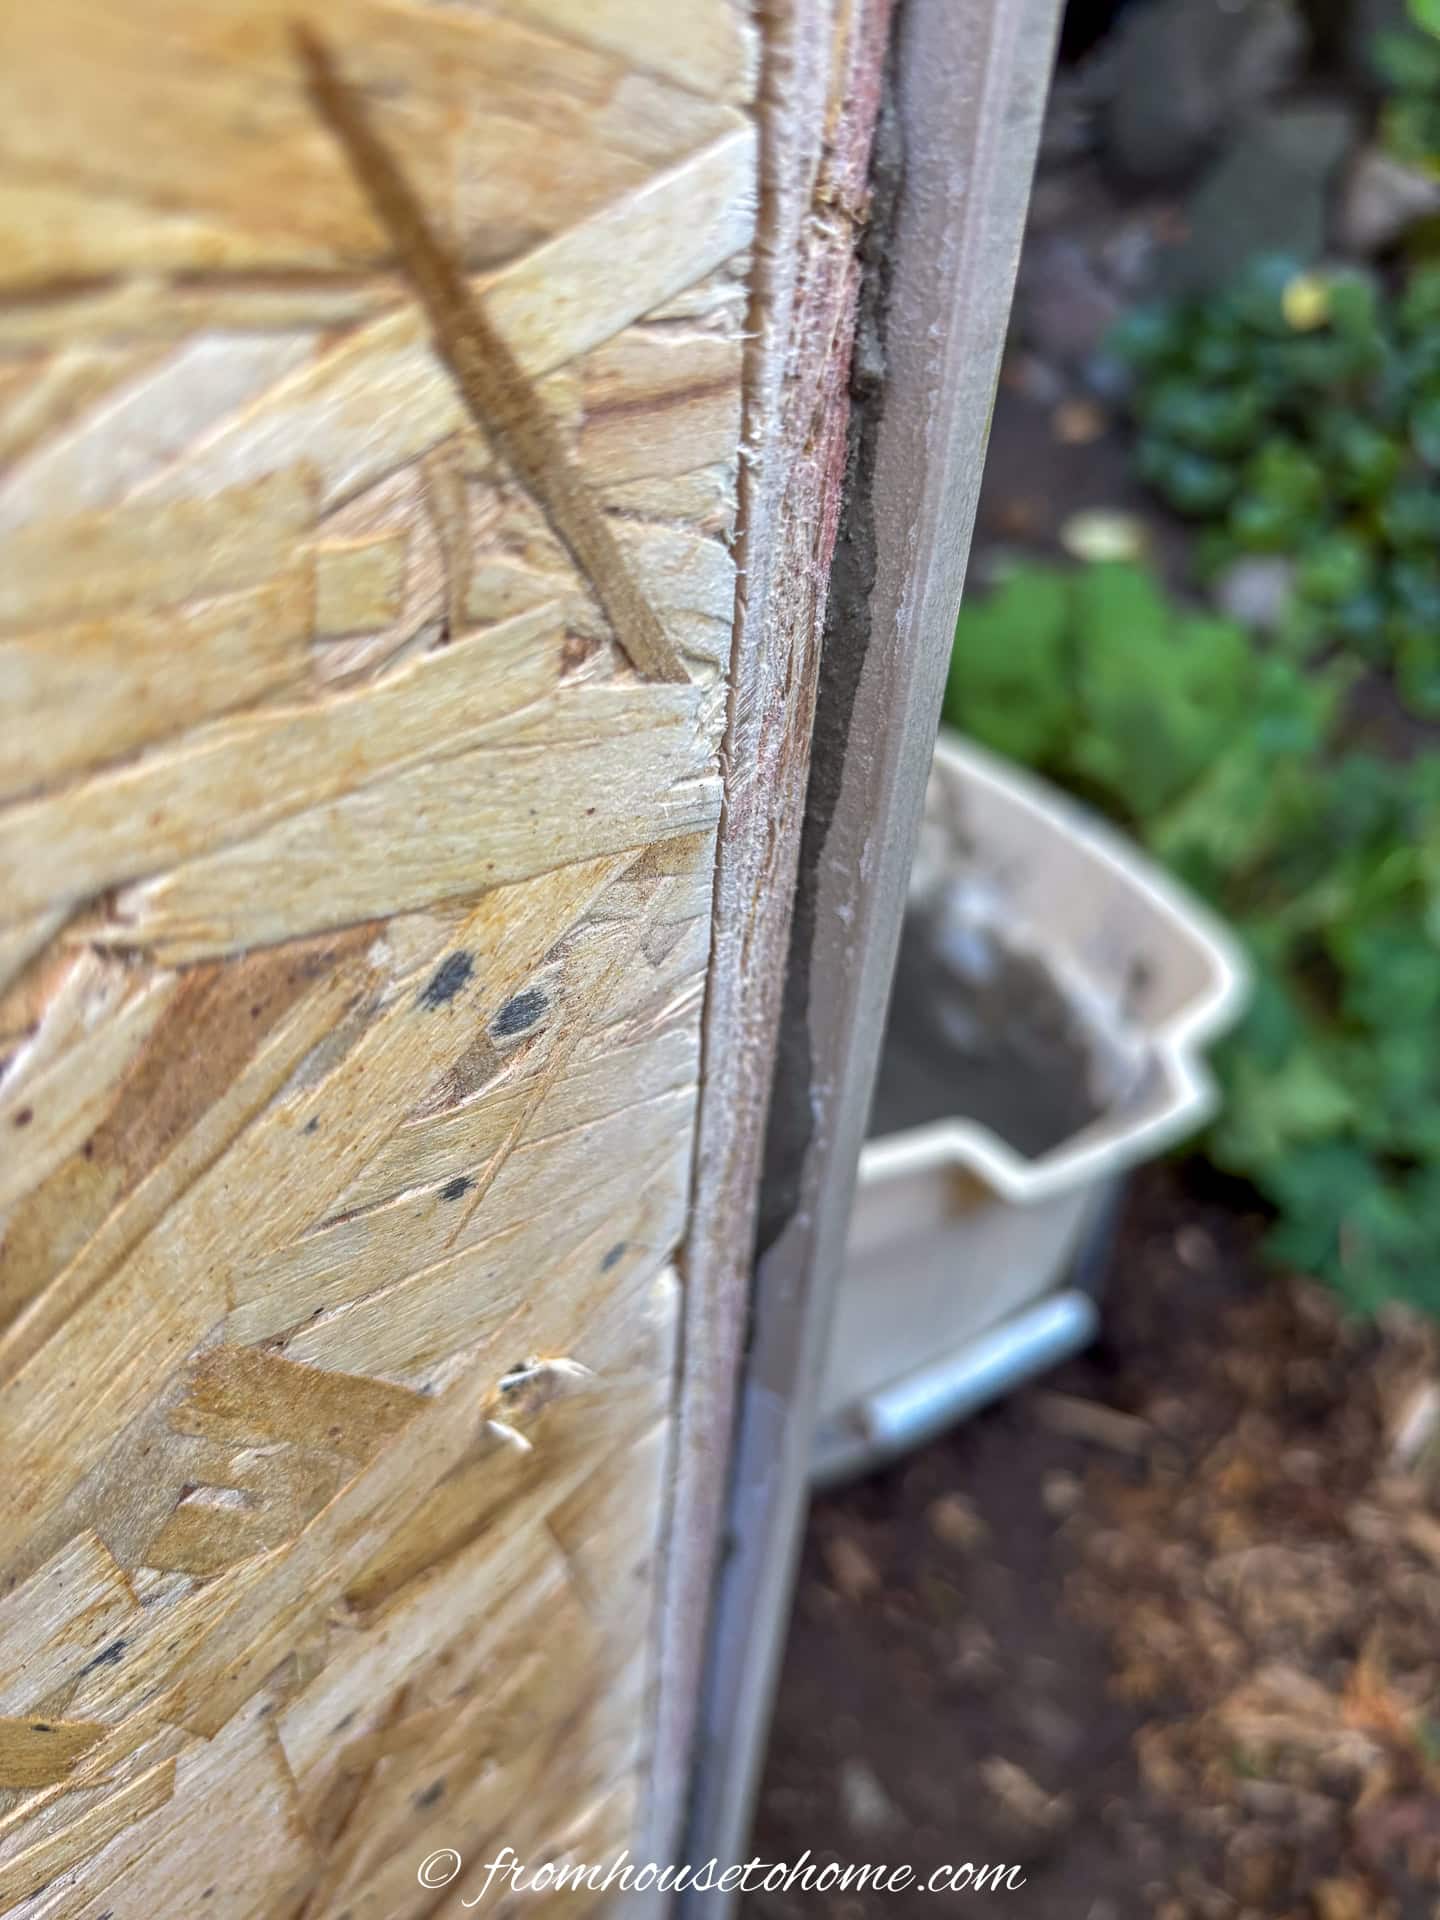
It should extend 1/4″ past the edge of the plywood frame on the other side.
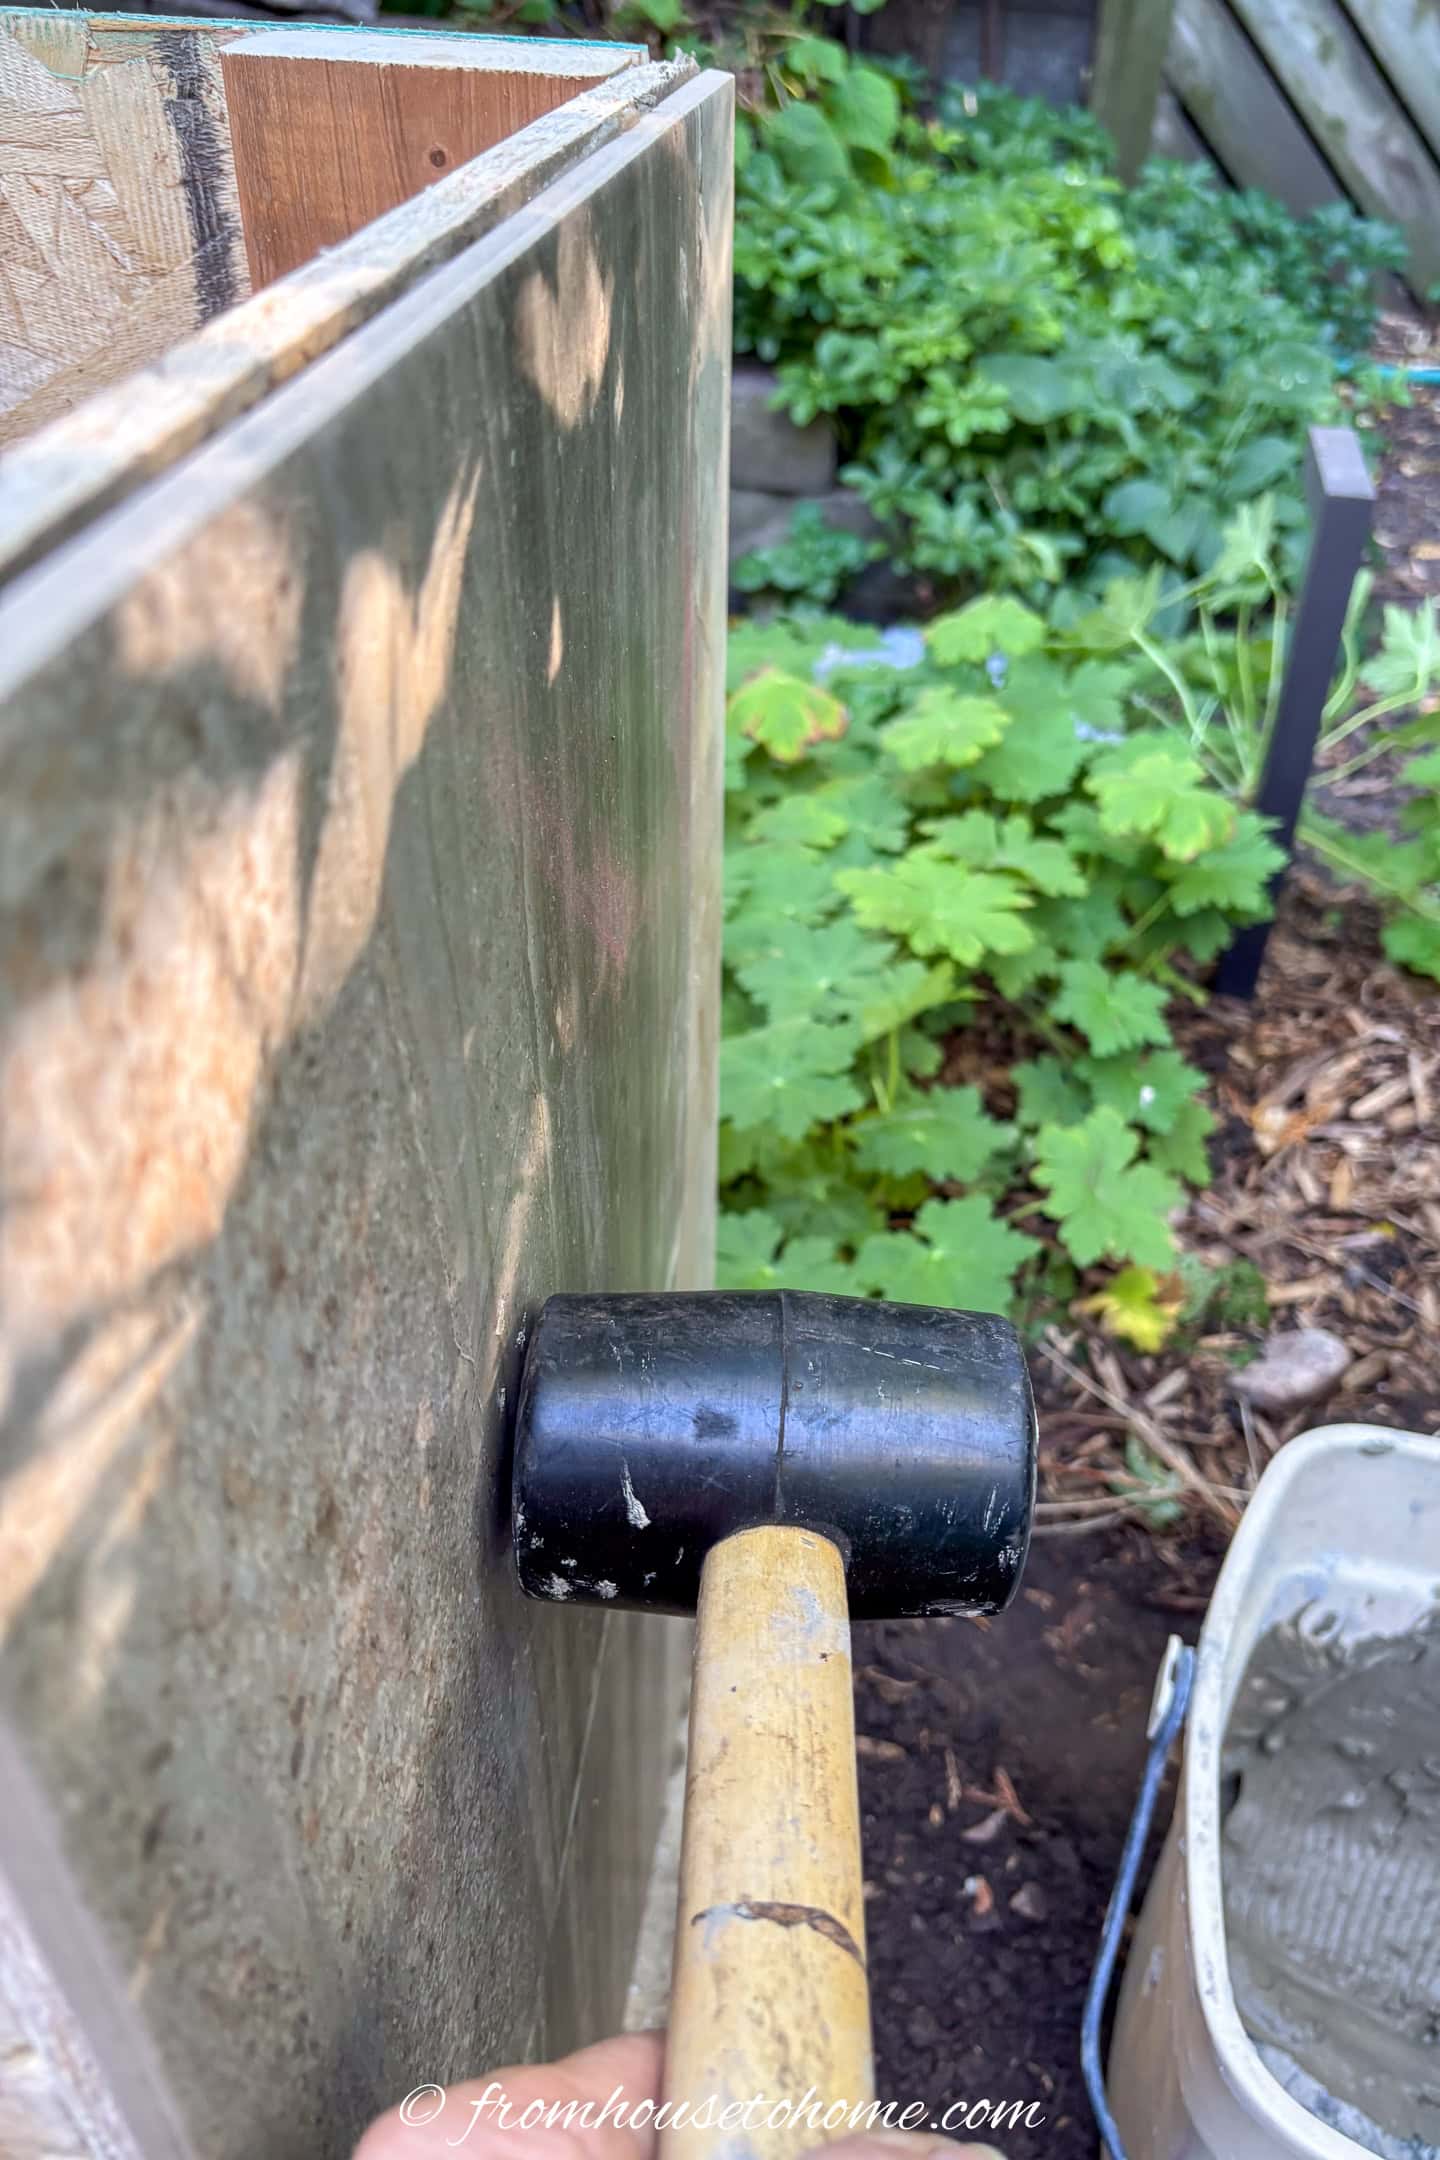
Gently tap the tile all over with the rubber mallet so that it will adhere to the mortar.
If you are new to tiling, read our tiling tips for more details.
9 | Add the other tiles
Apply the second tile to the second side the same way except one long edge fits against and abuts into the protrusion of the first tile.
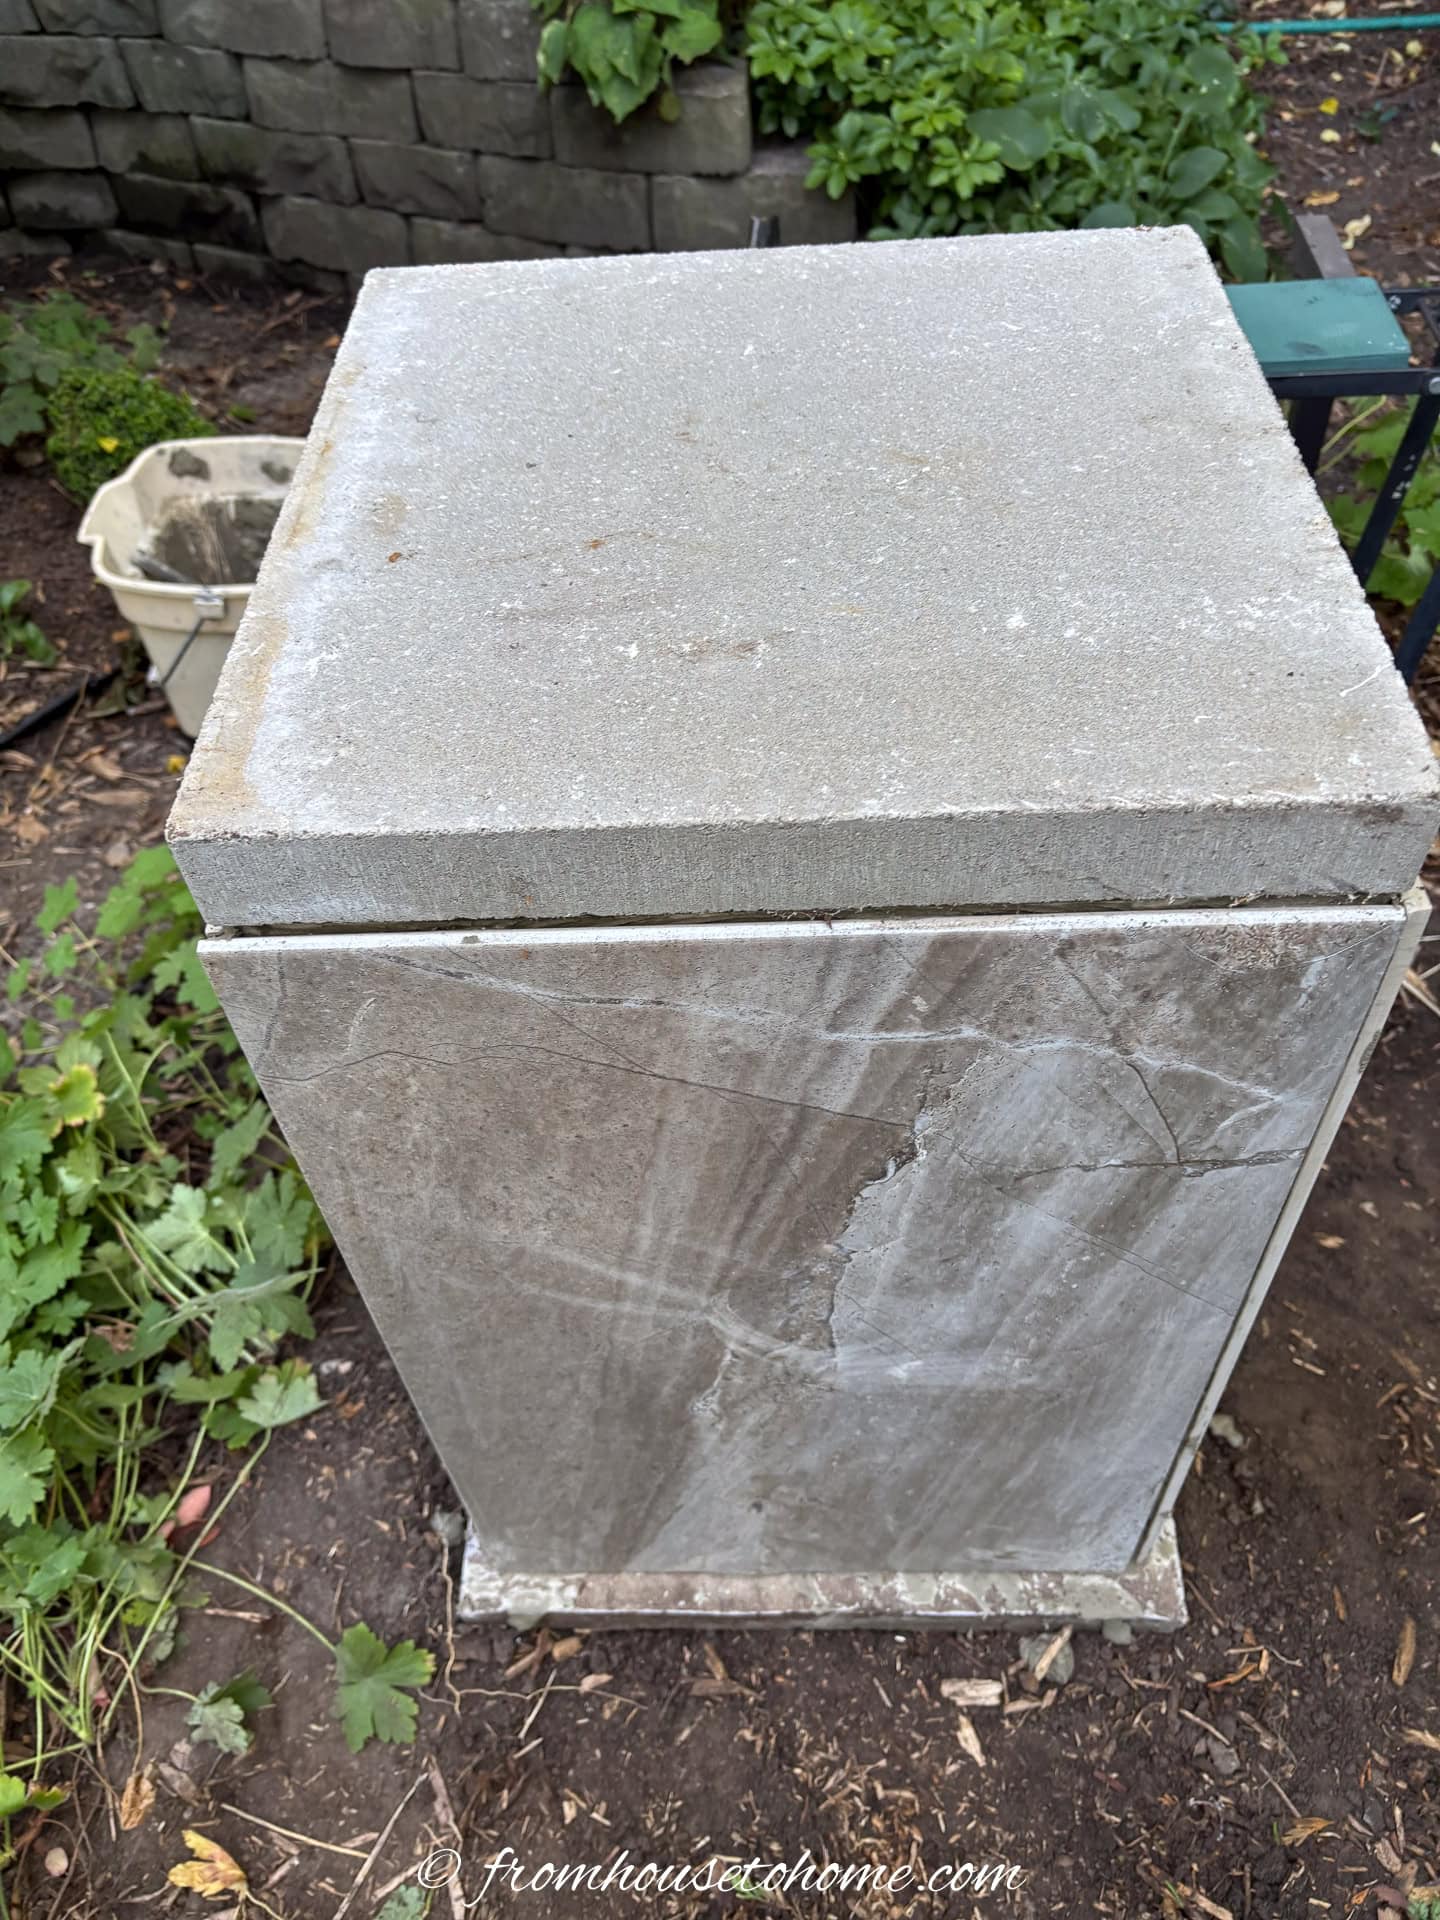
Continue by mortaring sides 3 and 4 successively, and fitting them into the extending lip of the previous side.
Tap, gently, all over each side as you go to make sure the tile adheres to the mortar.
10 | Add the top
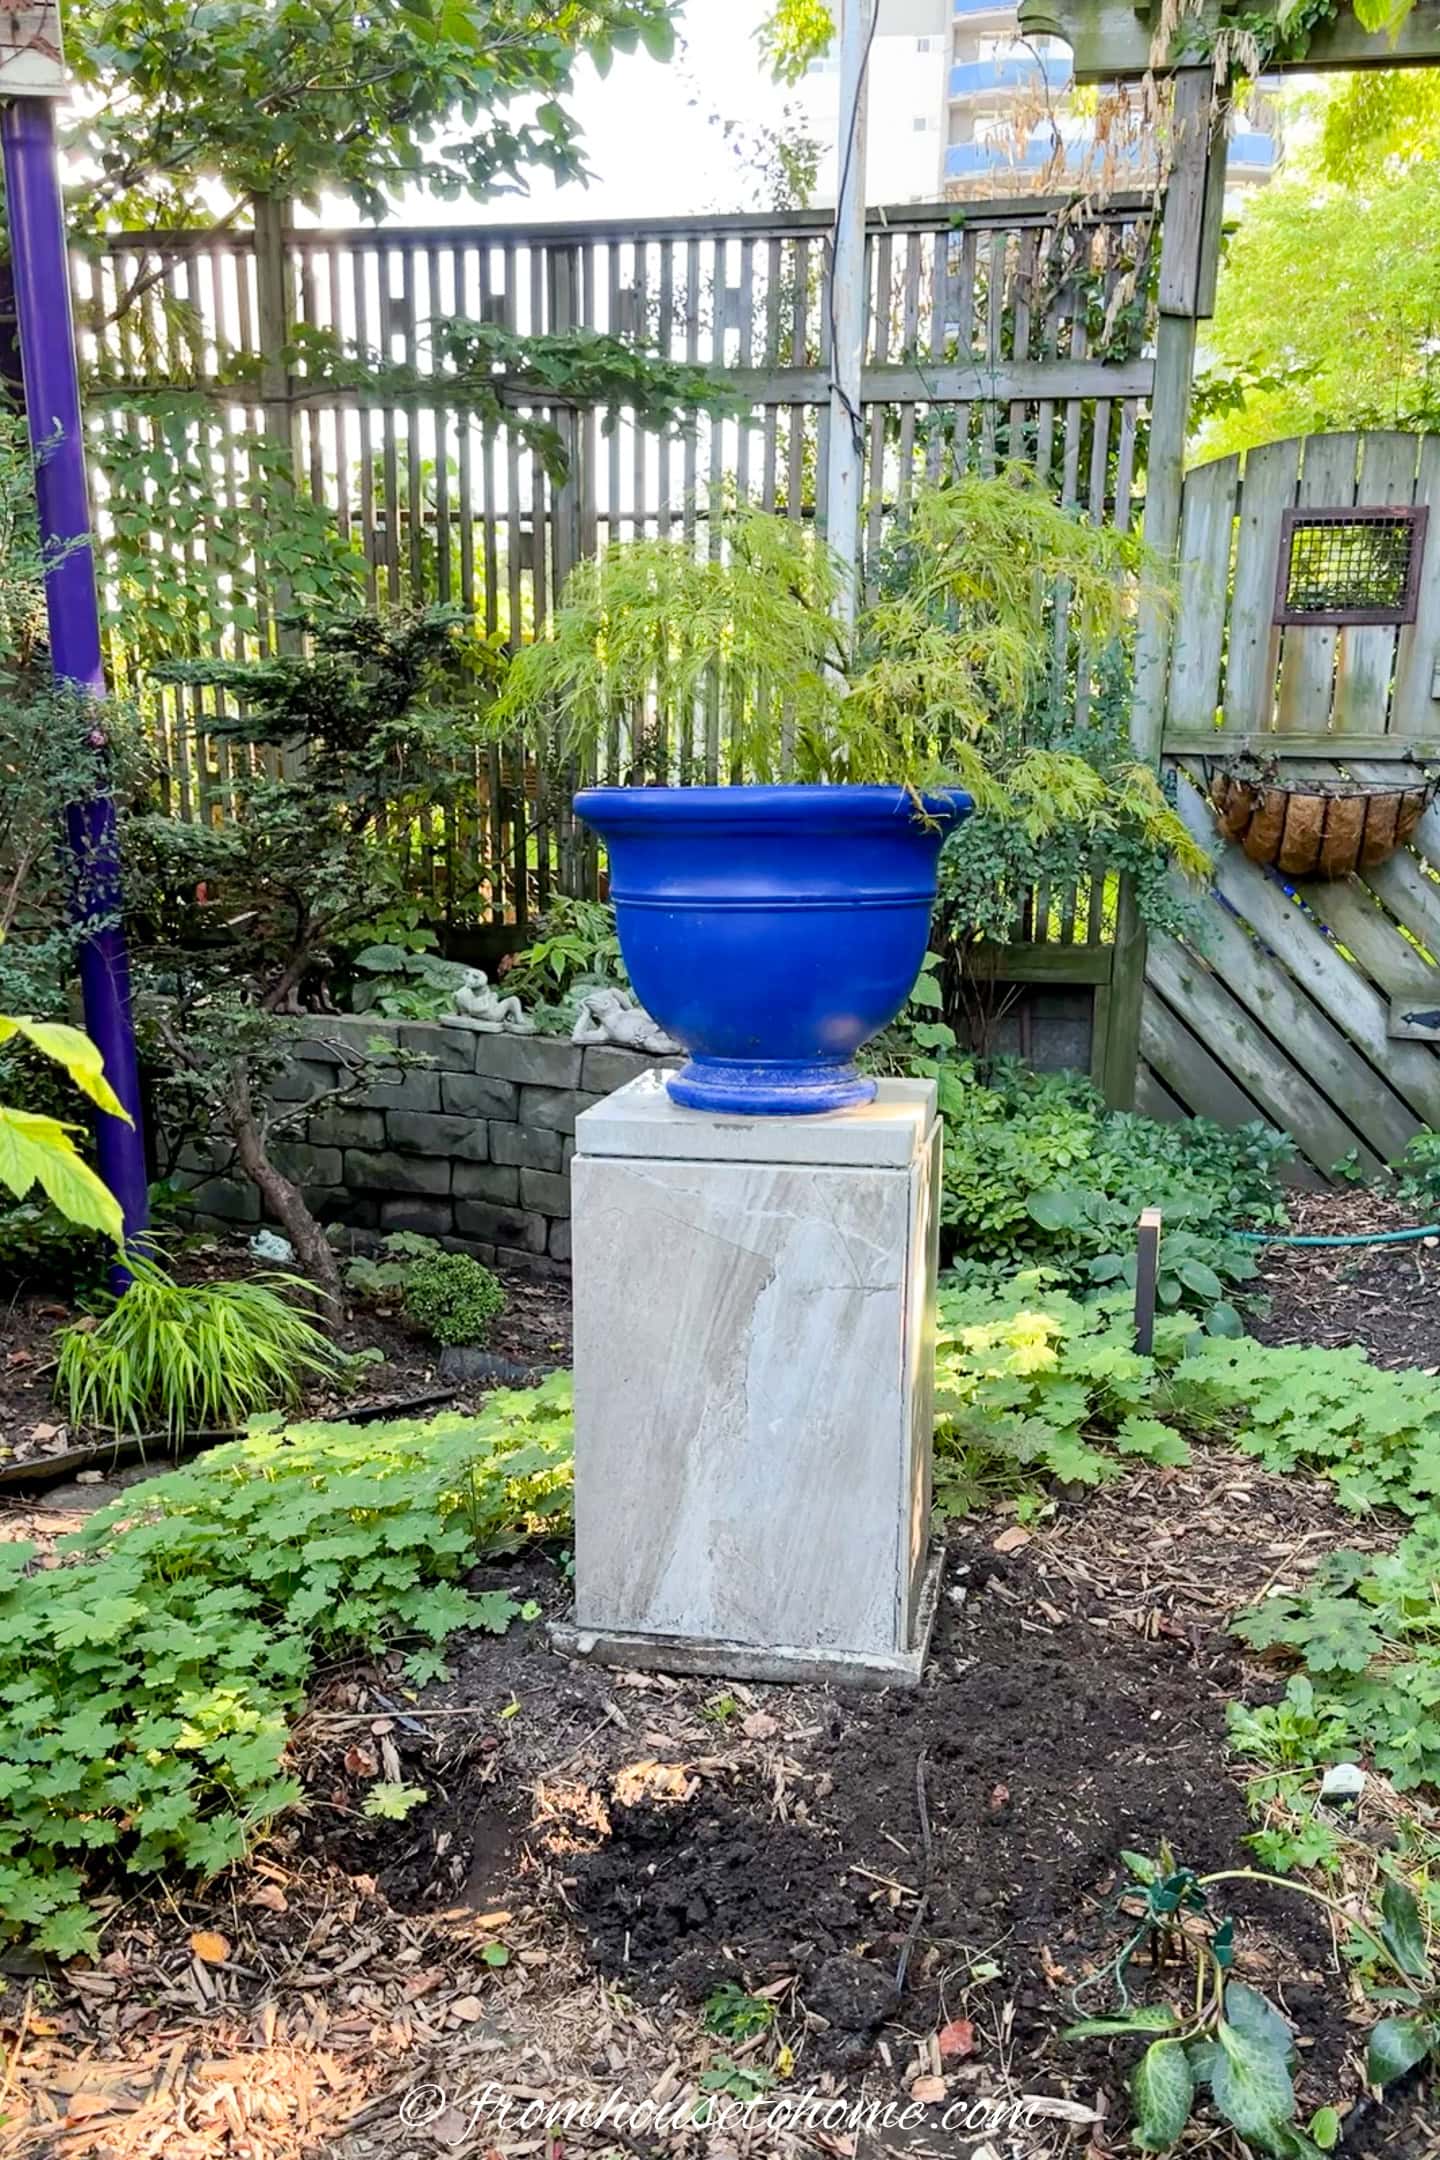
Finish the plinth by placing a 16″ square cement paver on top.
Then add your planter or garden art to the top, and you’re done!
Have comments or questions about our DIY garden plinth? Tell us in the section below.