How To Make A Gold Dot Wall (With A DIY Stencil)
During my recent media room makeover, I wanted to recreate the look of the gold dot wallpaper I saw on the cover of the “House Beautiful” November 2017 issue.

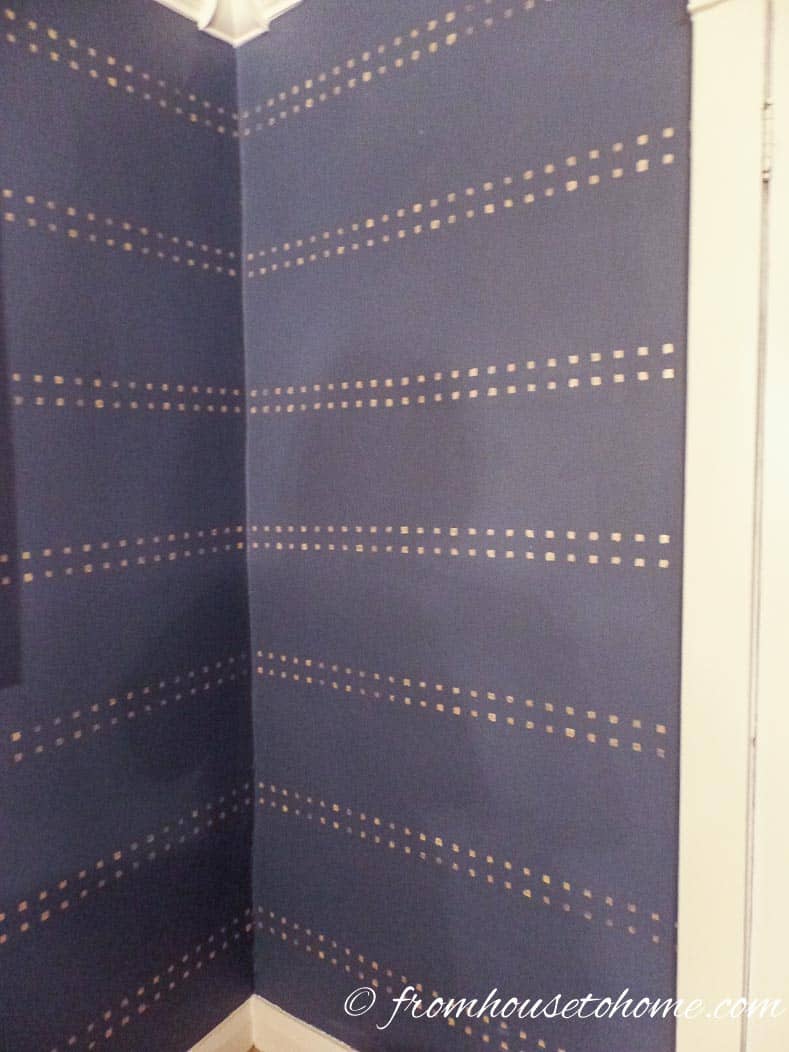
The pattern has double horizontal rows of square dots evenly spaced all around the room.
So I had two dilemmas. The first is how to create the dots so that they are all the same size.
The second was how to make sure they are evenly spaced and straight. The rows would look awful if they weren’t straight!
Dilemma #1 – How To Make The Dots
This post may contain affiliate links. We make a small commission if you buy the products from these links (at no extra cost to you). As an Amazon Associate, I earn from qualifying purchases. But we only recommend products we would use ourselves. For more information, click here to see our disclosures.
Originally I thought I would be able to tape off the individual squares and paint them. But the thought of trying to get them all lined up seemed impossible!
Some people might buy gold adhesive vinyl and cut it to size for the squares, but I gave up putting stickers on the wall when my kids grew up. And you still have the problem of making sure they’re straight.
We finally came up with the idea of creating a stencil that has the rows of dots cut into it. That would make sure they were all the same size and that the dots on the stencil were straight.
Fortunately, this is a really easy pattern to create with a Cricut!
Dilemma #2 – How To Get The Dots Straight
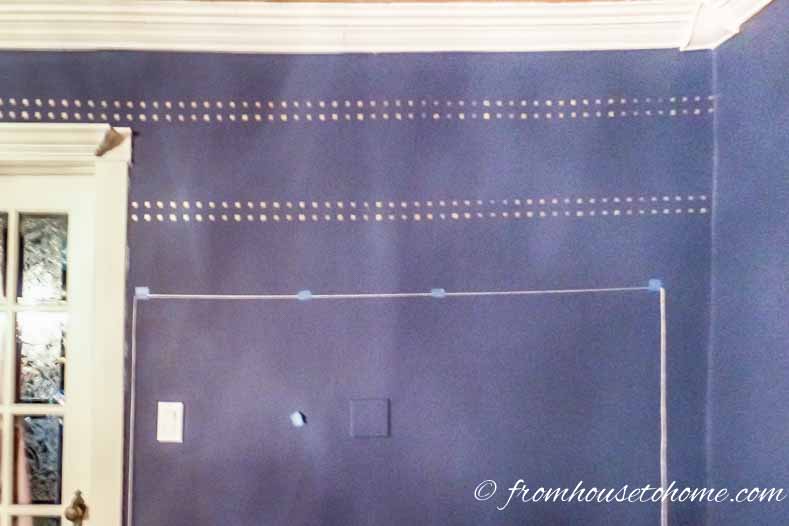
My first idea was to draw a straight line along the first wall using a level. This didn’t work! Since the wall and ceiling are not straight, the line visually looked crooked. Luckily, it was easy to cover this line with some paint.
Then I decided I needed to use the ceiling line as my guide. So I measured 5″ down from the ceiling at each side of one wall and snapped a chalk line. This worked but it required two people, and was messy. The chalk got all over the back of the stencil, the wall, the floor, me.
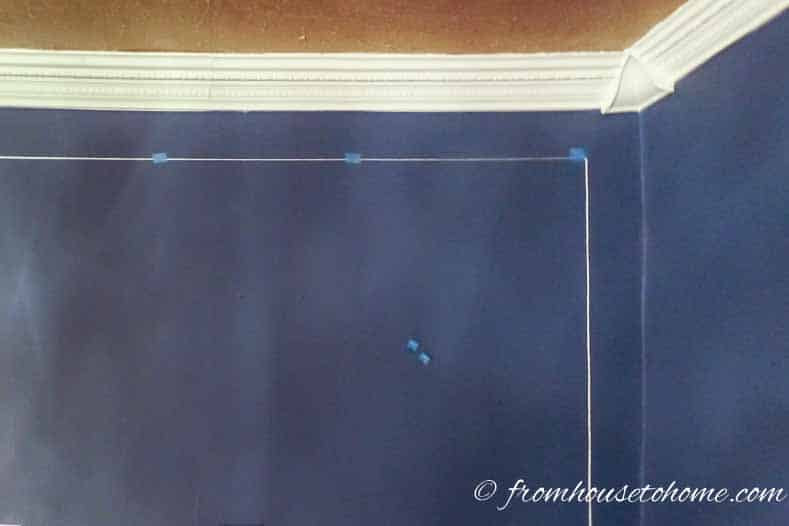
My brother was observing my dilemmas and came up with a cleaner, simpler method that I could do without as assistant. He suggested measuring down 5″ from the ceiling (like I did before) and then taping a string across the wall at that point. Brilliant! Then all I had to do was line up the top of the stencil with the string.
What You Need
Materials
String long enough to reach from wall to wall*
Metaltech gold base paint in a small container
Paper towel
Equipment
How To Make The Gold Dot Stencil
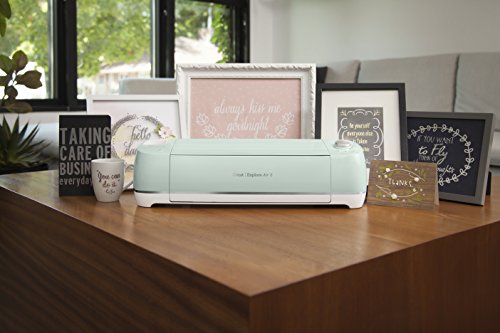
With the Cricut machine*, making custom stencils is really easy. (But of course, you could cut it by hand with an utility knife.)
Open Cricut Design Space* to create the gold dot wall design.
If you want to take the easy way out, you can get my Design Space project below.
To create the design yourself:
1. Create some 1/2″ squares and space them 1″ apart. Using the grids makes it really easy to get the right distances.
2. Then copy the row to create a second one 1″ down.
3. You should be able to fit 3 of these double rows on one sheet of stencil plastic. So just copy both of those rows down to create 2 additional stencil rows.
4. Create a cut line between each group of rows that will separate them into individual stencils.
To cut the stencil:
1. Create a custom material in Design Space for the stencil material with the following settings:
Cut Pressure: 335
Multi-cut: 2X
Blade-type: Fine Point Blade
2. Use the Cricut to cut out the squares.
How To Paint The Gold Dots
I wanted the first row of dots to be 6″ from the ceiling and the rows to be 10″ apart. To be visually accurate, the row of dots closest to the ceiling had to appear straight around the room. So this was the most important line.
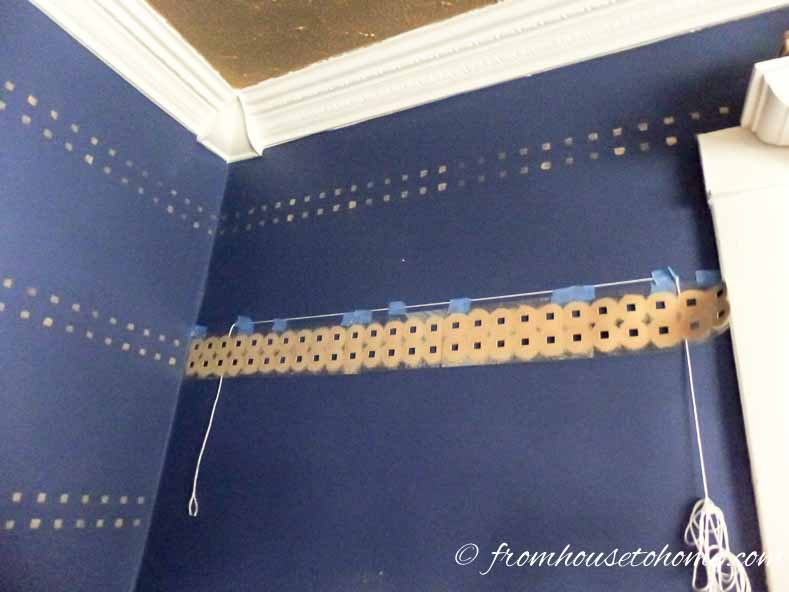
The top of the stencil was 1″ from the top of the pattern, so I measured down 5″ from the ceiling at each end of the wall and used the painter’s tape to mark the spot. Then I taped a string between these two spots, making sure to pull it tight.
I now had straight line from one wall to the next wall 5″ from the ceiling. To insure it did not sag in the middle, I taped this line at 2 foot intervals along the wall.
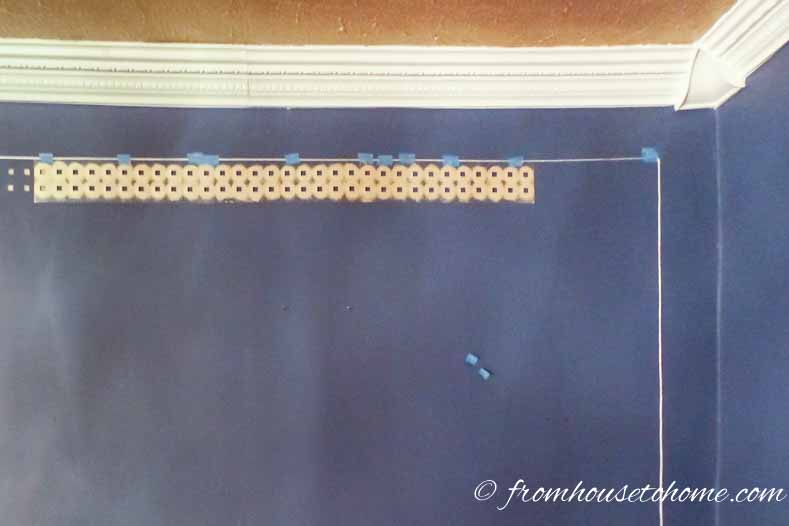
It was then easy to line up the top of the stencils along the string and tape them into place.
Using a dab of gold paint, and a natural bristle round stencil brush, I pounced the dots onto the wall.

Once I had finished stenciling the top row of double dots, I measured for the next row 17″ down from the ceiling. (The pattern of double dots is 2″ wide and the distance between the rows of dots is 10″ plus the original 5″).
Then repeated the same process of taping the string across the wall, placing the stencils and painting the dots as described above.
Each subsequent row was measured in 12″ intervals always measuring from the ceiling, e.g. at 17″, 29″, 41″, 53″, 65″, 77″. I wrote these numbers down on a piece of paper that I kept handy so that I wouldn’t miscalculate as I worked.
Note: Unless your house is very well built (mine is not), the bottom row of dots will not be equidistant from the floor due to variations in the house construction. But with all of the furniture in the room, you don’t really notice that.
When you have finished the first wall, repeat all of the steps on each of the other walls until you are done!
This process is easy and simple but not fast!
It took me about 2 days to finish stenciling all four walls of my small media room.
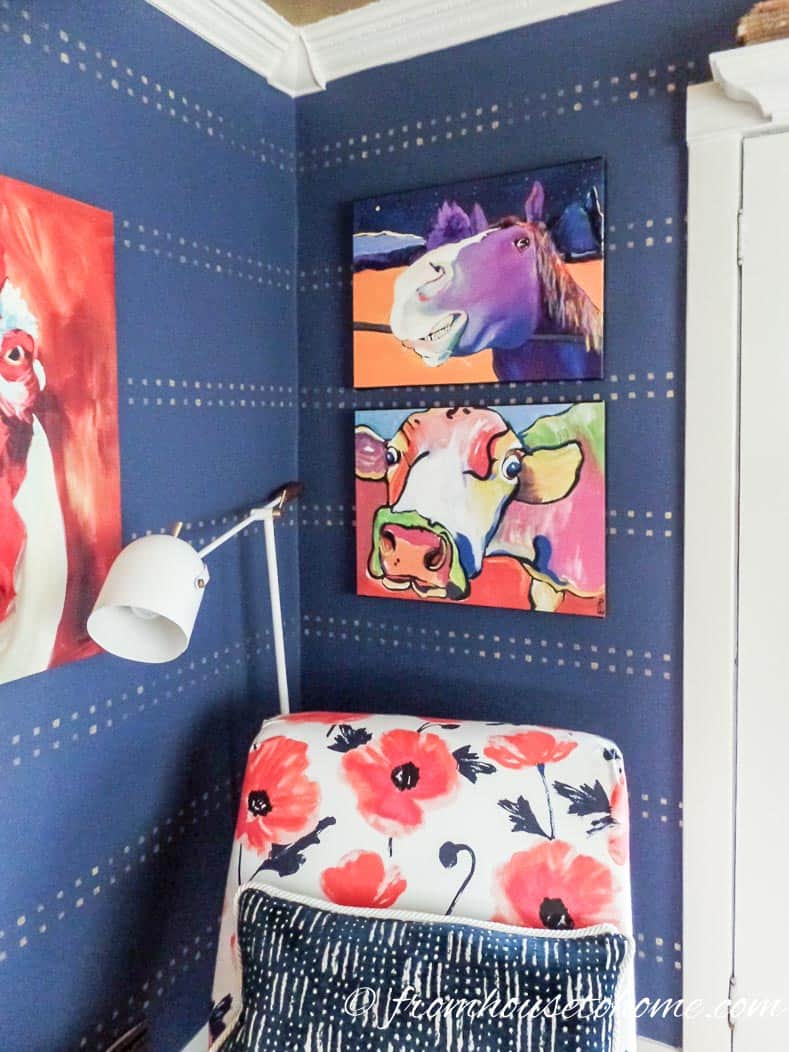
However, in my opinion, it was totally worth the effort and time!
Looking for some other wall decor ideas?
- A DIY zebra stencil is a great way to add some fun to your walls
- Add some beauty to your room with a DIY Chinoiserie scene.
- Or bring the outside in with a DIY painted trellis.
Have comments or questions on how to make a gold dot wall? Tell us in the section below.
This post was originally published on March 27, 2018 but was updated with new content on February 28, 2022.