
How To Paint Your Own DIY Chinoiserie Wall


Instead of paying for expensive wallpaper, learn how to make your own with these easy step-by-step instructions on how to paint DIY Chinoiserie wallpaper.

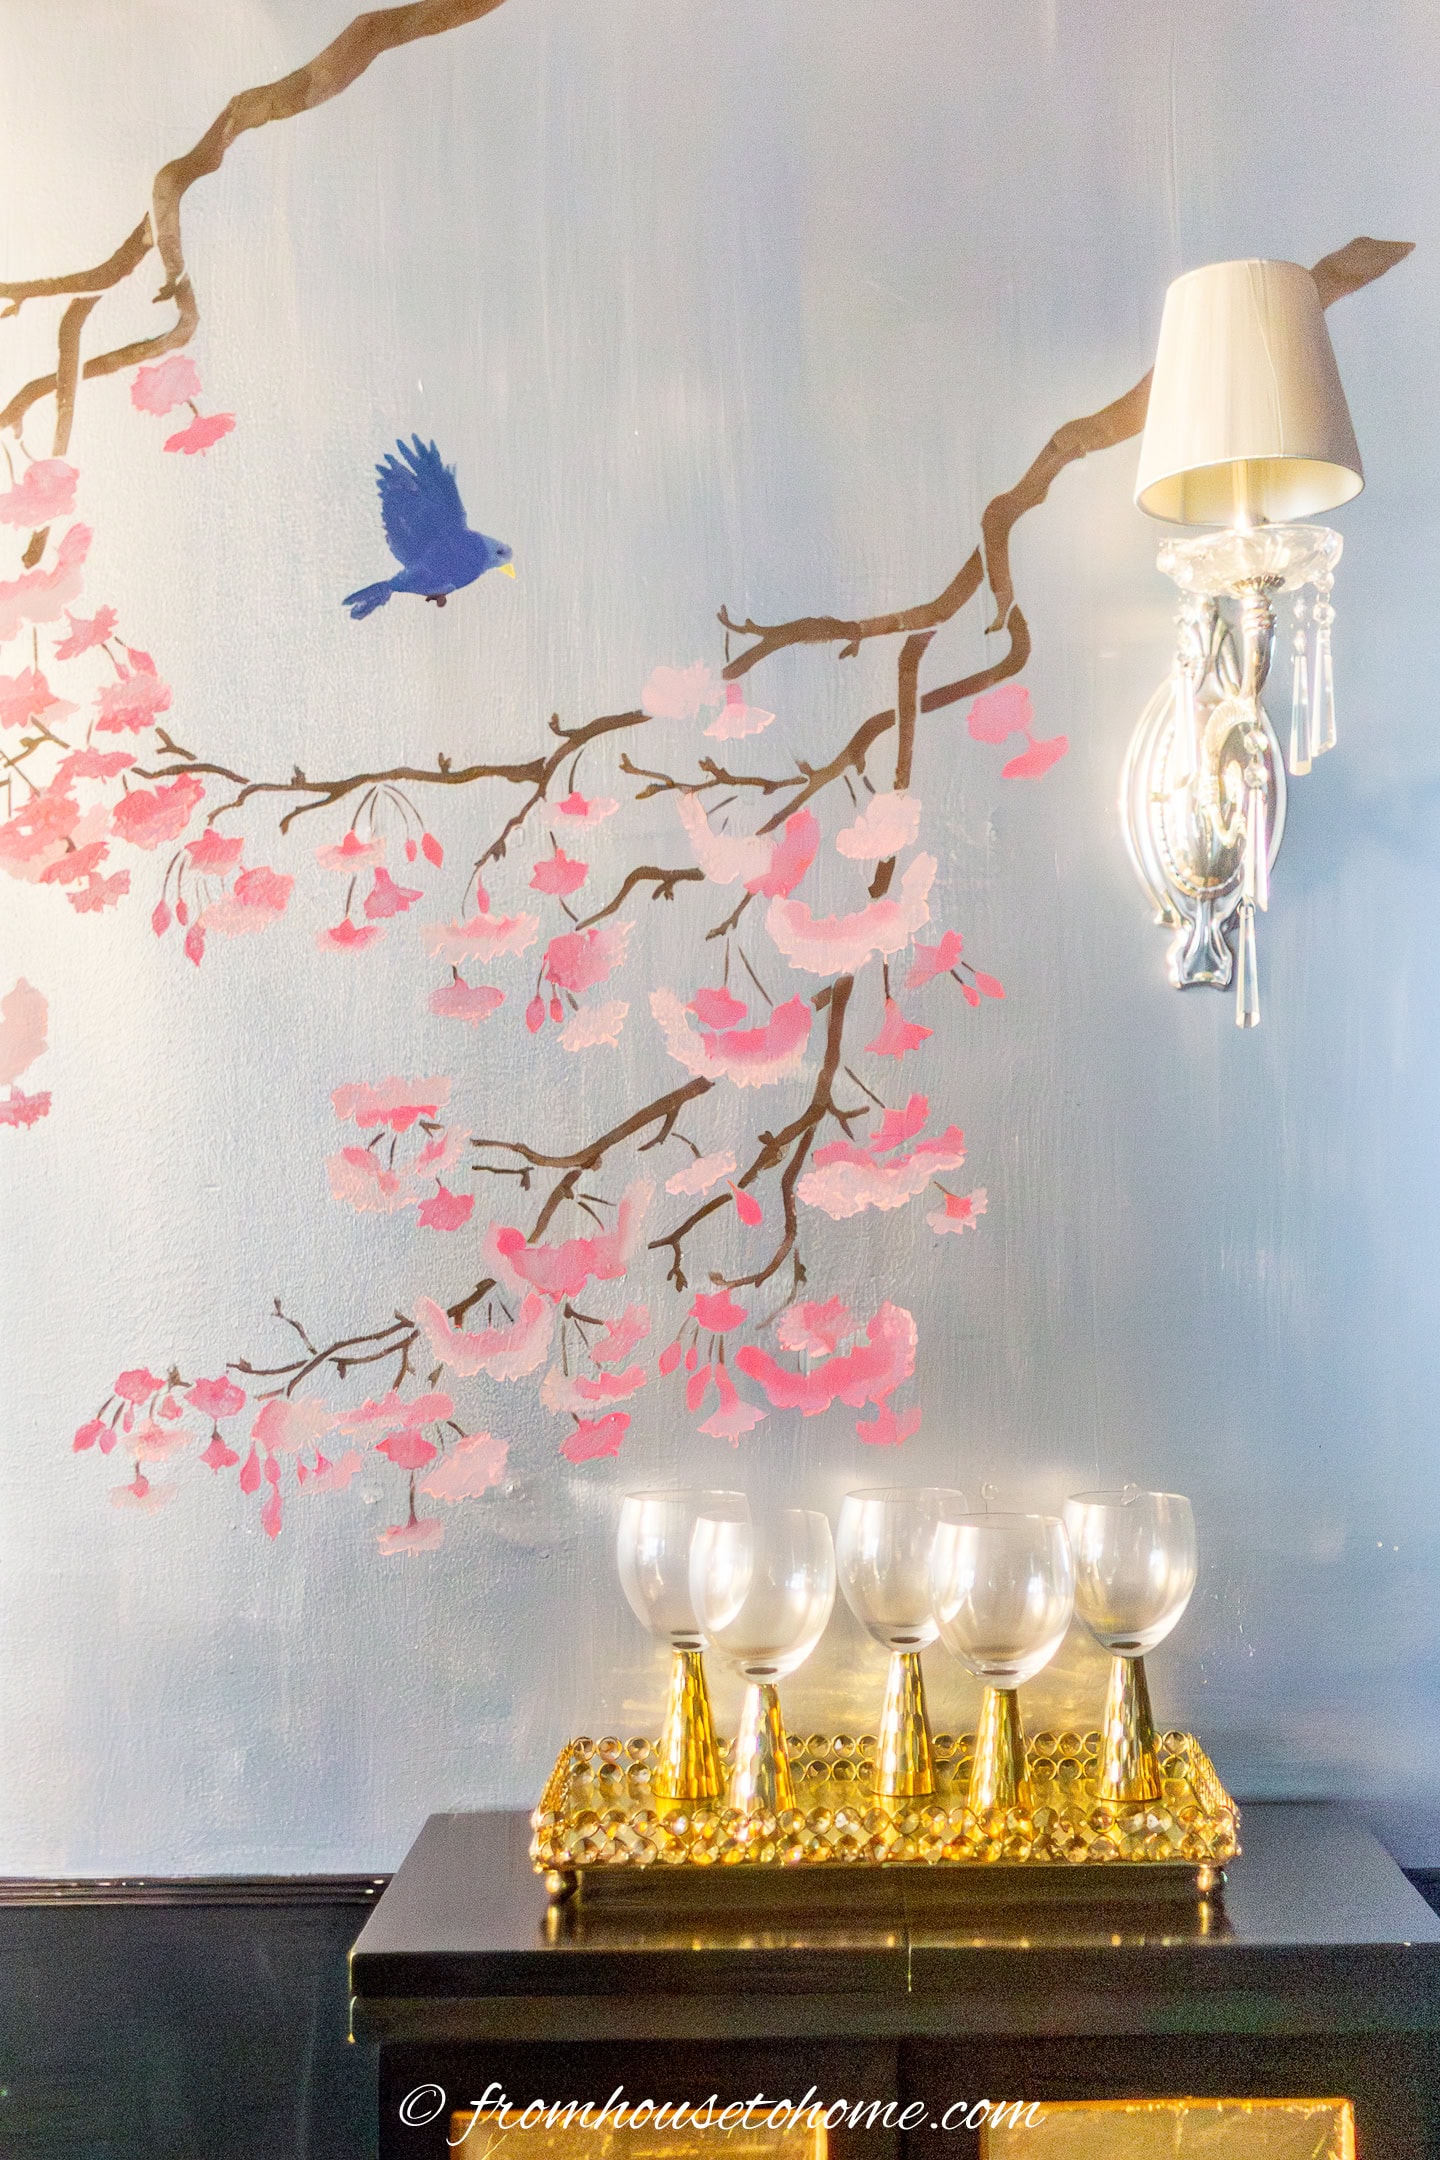
I have always wanted to have a dining room with walls covered in a beautiful nature-inspired Chinoiserie wallpaper with a metallic background (like the one below).

Since I don’t have a dining room in my current house, and I definitely don’t have the budget for real Chinoiserie, I knew I would have to come up with another plan.
So I decided to add my own version to the long hallway that leads to the guest bath and bedroom. The perfect place to add some interest to the wall!
Using paint, a stencil and the following steps, I was able to re-create the look of Chinoiserie wallpaper without the price tag.


Get a FREE Room Makeover Workbook by signing up for our newsletter
You’ll also get access to our members-only resource library with all of our other printables.
We won’t send you spam. Unsubscribe at any time.
What You Need To Paint A Chinoiserie Wall
- TSP* – the best way to clean your wall
- Silver metallic paint*
- Sponge brushes
- Japanese Cherry Tree Stencil – or another tree-based stencil pattern (see below).
- Stencil paint* in the colors that you want to use. I used brown for the branches, two colors of pink for the flowers, and blue for the birds and butterflies
- Stencil brushes* – it’s easiest if you have one brush for each color you plan on using.
- Painter’s tape – I find this delicate surface tape* works best when you are taping over new paint.
Other Stencils You May Like
If the cherry blossom stencil isn’t exactly the design you are looking for, try one of these instead:
- Spring songbirds stencil*
- Japanese Maple Branch Stencil*
- Birds and roses Chinoiserie stencil* – This one is the closest to a traditional Chinoiserie pattern
How to paint DIY Chinoiserie wallpaper
1 | Wash the wall
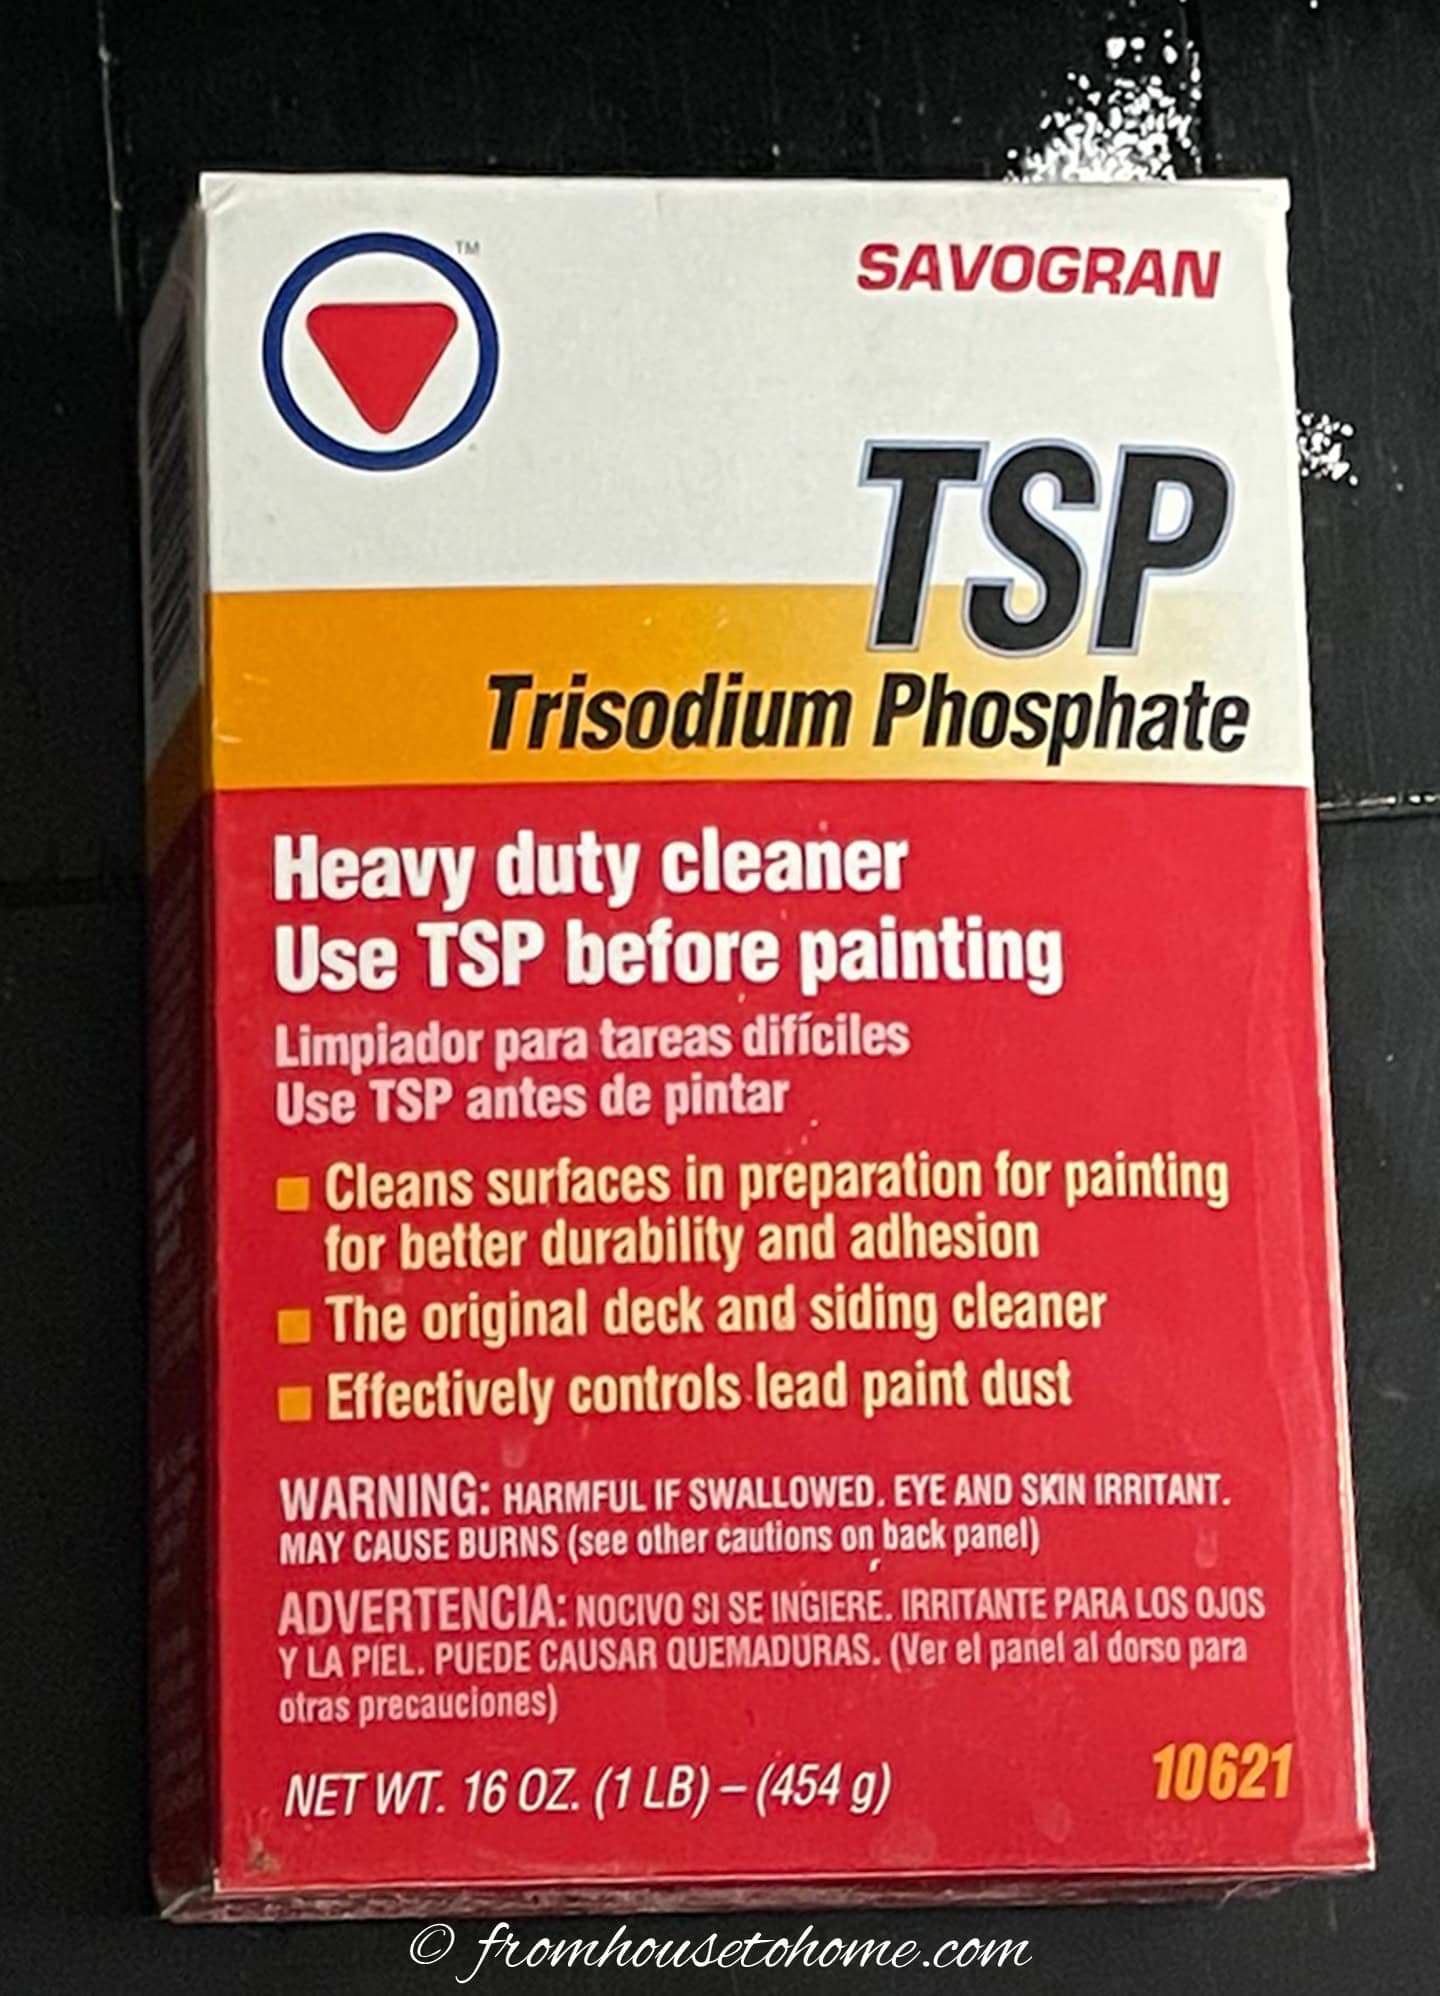
To make sure that your paint sticks, wash, rinse and dry the wall you are going to be painting.
I like to use TSP* to make sure it is really clean. It will remove any grease and grime that may have built up.
2 | Paint the base coat
Paint the silver paint* over the entire wall using a sponge brush.
The sponge brush helps prevent brush marks but don’t be too worried about being perfect.
Differences in the coverage will add to the effect.
Wait until the paint is completely dry (at least 24 hours) before adding the stencil.
Only painting one coat of metallic paint allows some of the original color to show through. Which adds a little more dimension to the wall. If you don’t like your existing wall color, you can either paint over it with another color you do like. Or apply a primer over it before adding the silver.
3 | Decide on the design
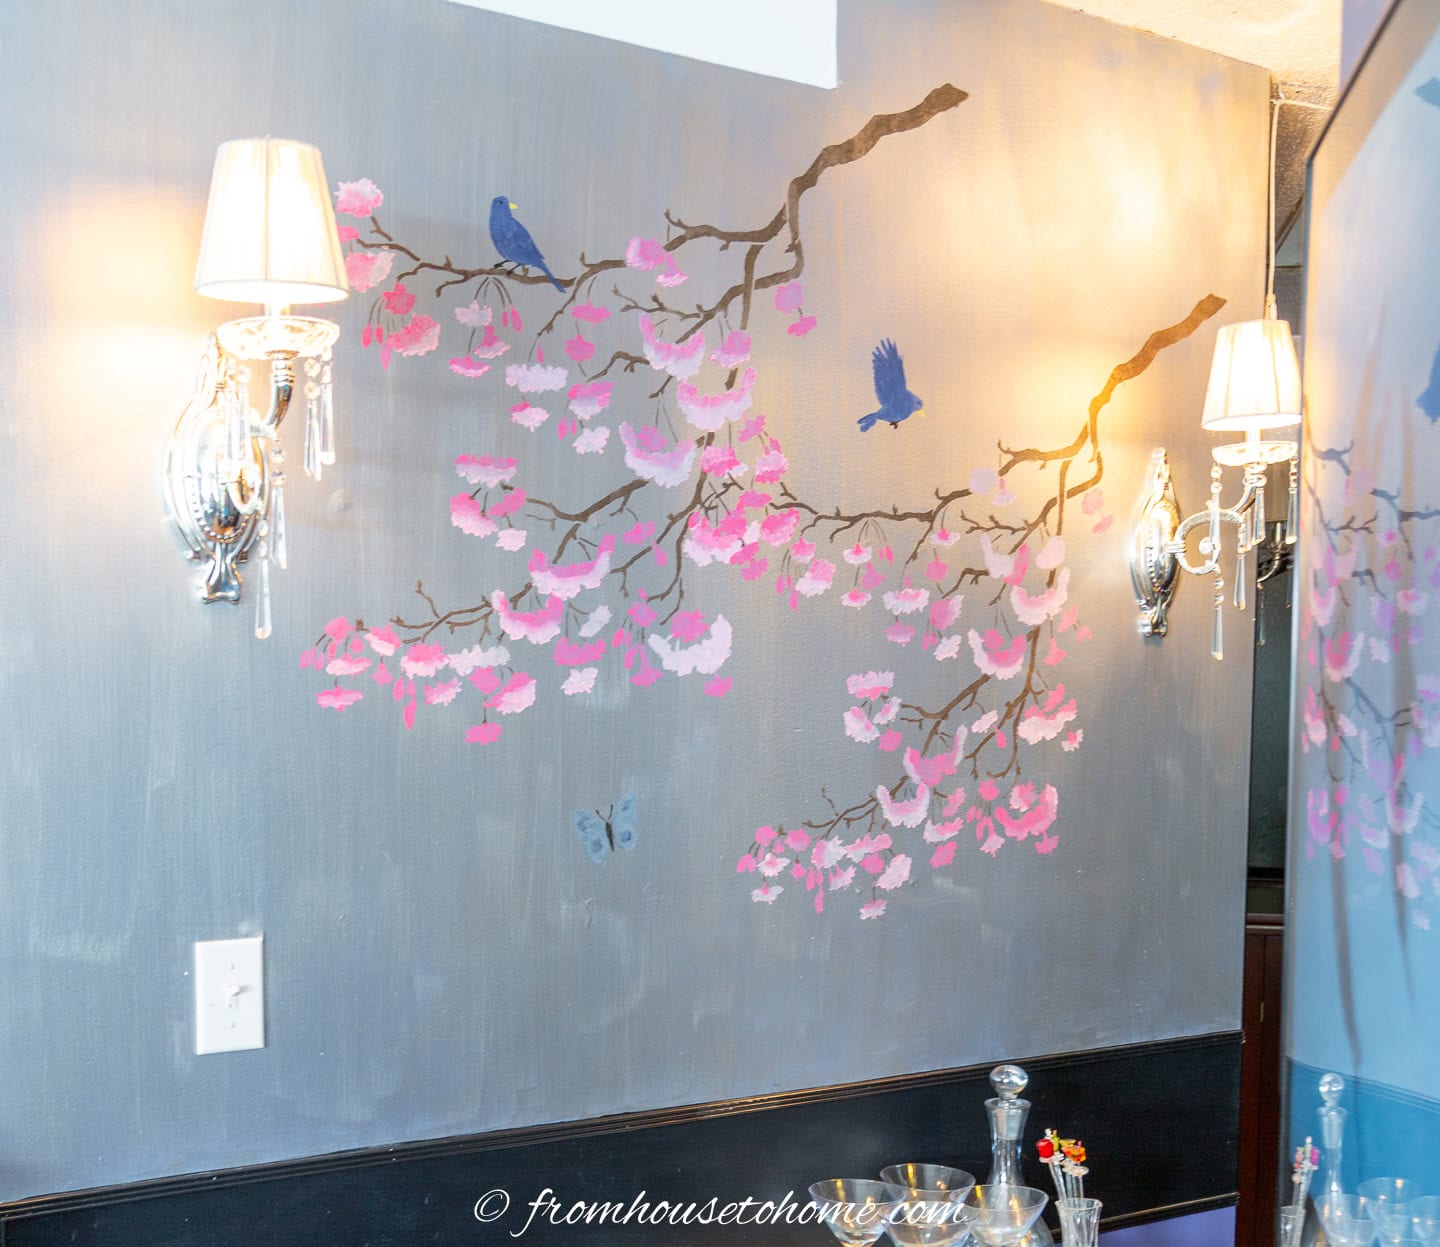
Decide on the pattern that you want to create with the stencil.
In my case, I used the Japanese Cherry branch stencil twice.
One with the end of the branch close to the ceiling, and one slightly lower and to the right (but overlapping).
And I decided to add a couple of birds and a butterfly for some contrasting color.
4 | Hang the stencil
Attach the stencil to the wall in the first location by taping all sides of the stencil to the wall using the painter’s tape*.
Make sure the stencil is pulled straight so it doesn’t sag in the middle. This helps to prevent the paint from running under the plastic.
5 | Paint the branches
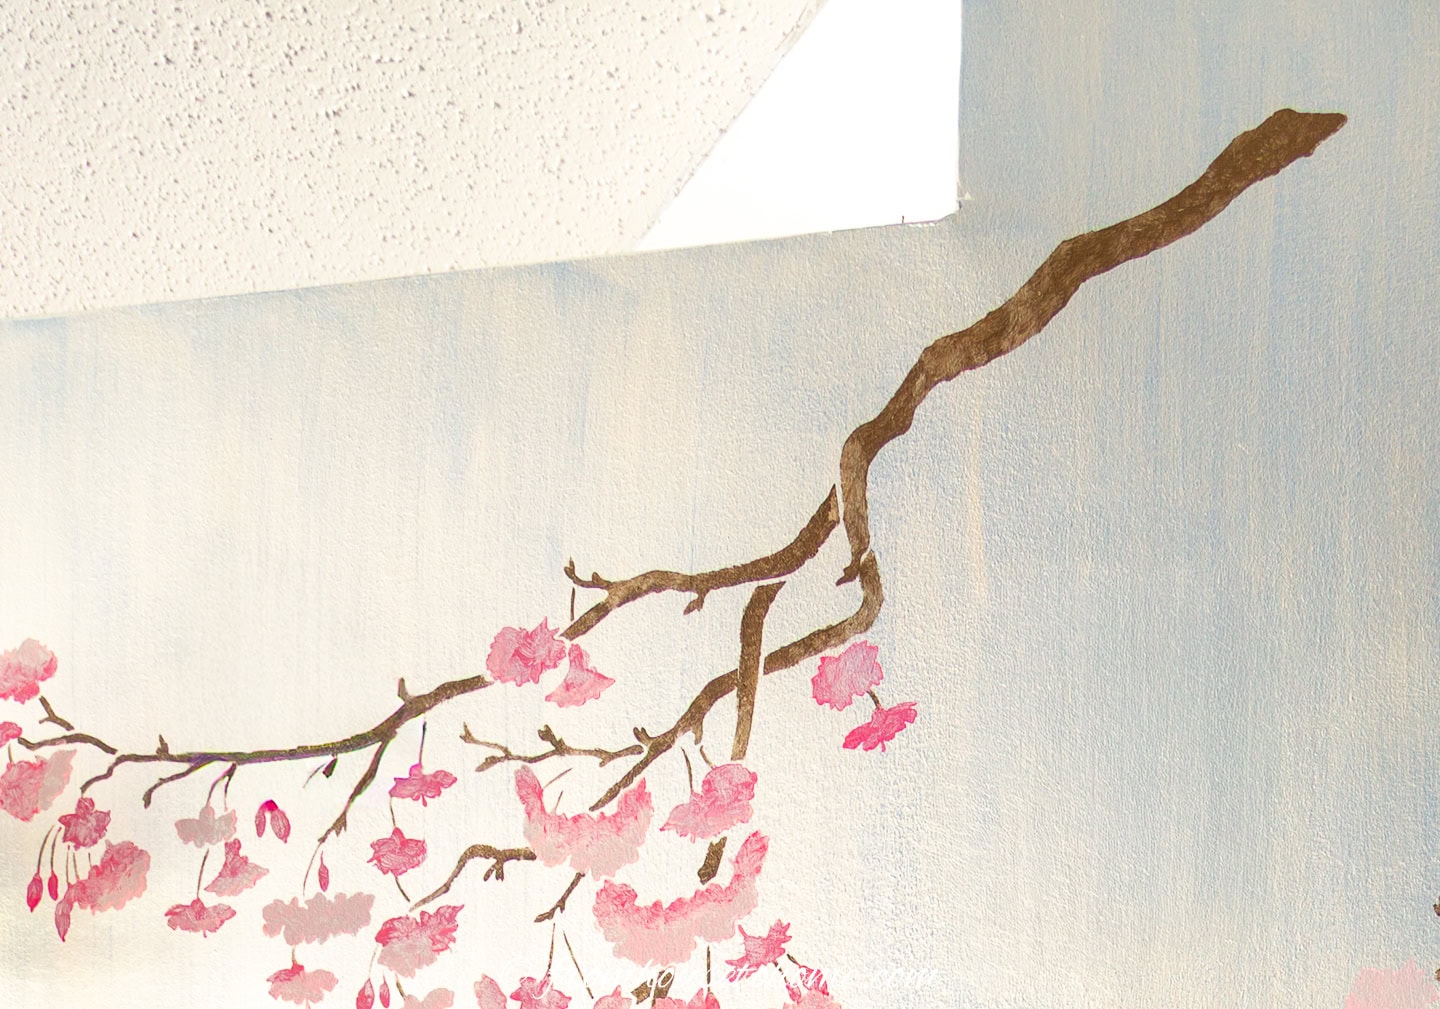
Use a sponge brush to paint the branches in the stencil. Since it is a larger area, the brush will provide good coverage and not take too much time.
Do not put too much paint on the brush to prevent it from bleeding under the stencil.
To make sure you don’t have too much paint, tap the brush on a paper towel before painting the wall. If you see blobs, you need to remove some of the paint from it.
6 | Paint the pink flowers
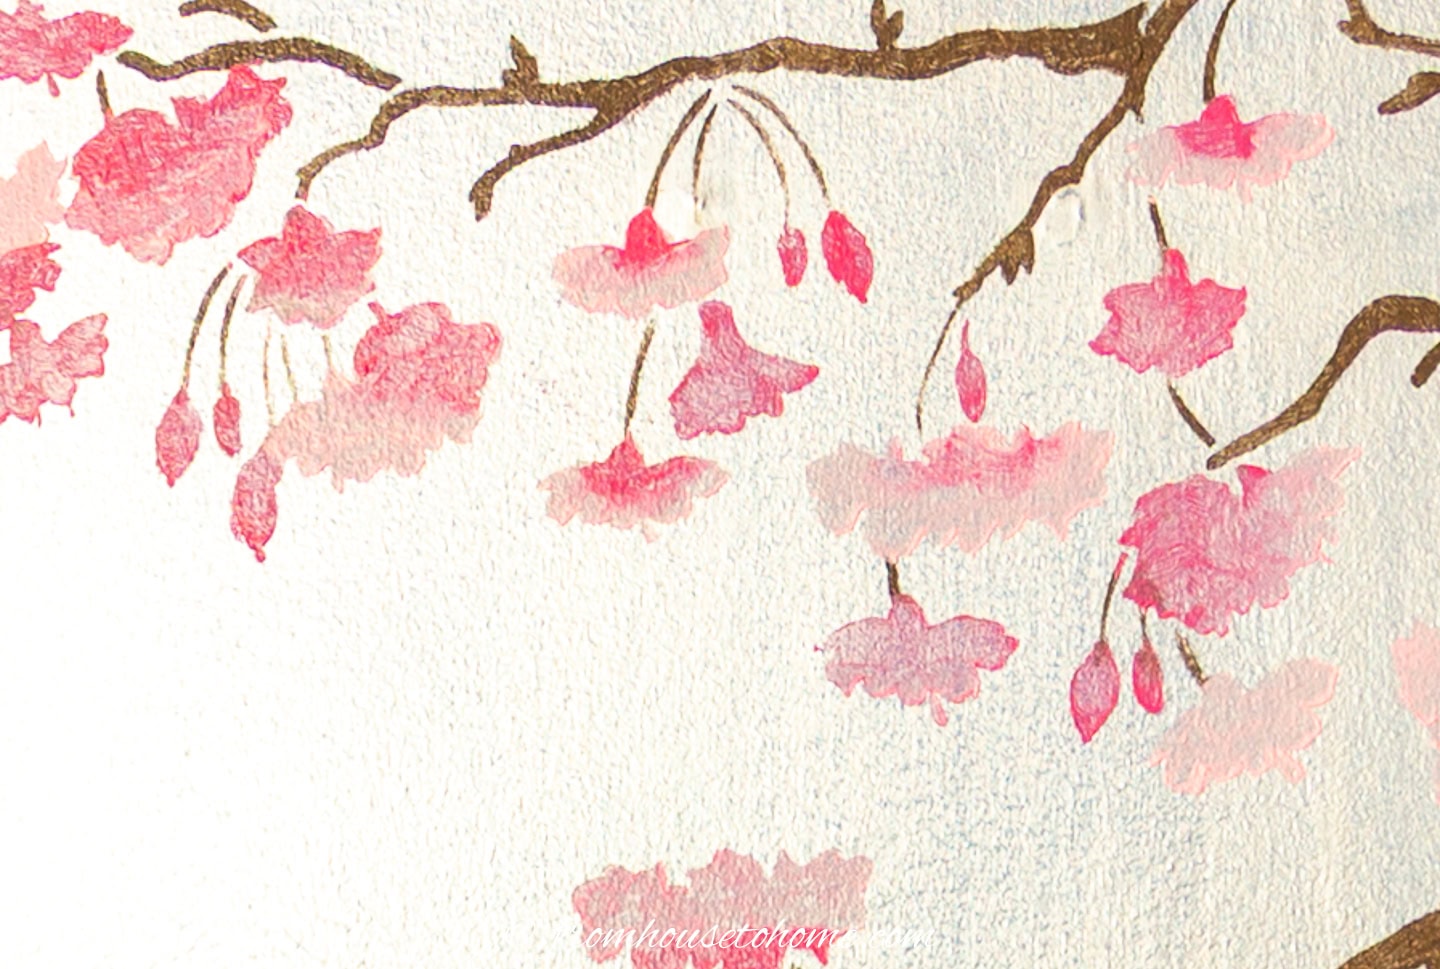
Use a stencil brush* to paint the flowers with the darker pink color. Again, make sure not to use too much paint.
To get the two-tone flower effect, only paint the top half of some flowers.
Paint some of the smaller flowers or buds completely with this darker color.
Leave some of the larger ones empty so that they can be painted with the light pink color.
Don’t worry if the paint is not evenly applied. The variations in the tone add interest and texture to the look.
Use another stencil brush to paint the rest of the flowers with the lighter pink color.
Fill in the rest of the half-painted flowers from the step above, as well as any of the flowers that you have not yet painted with this color.
Let the stencil paint dry.
7 | Repeat
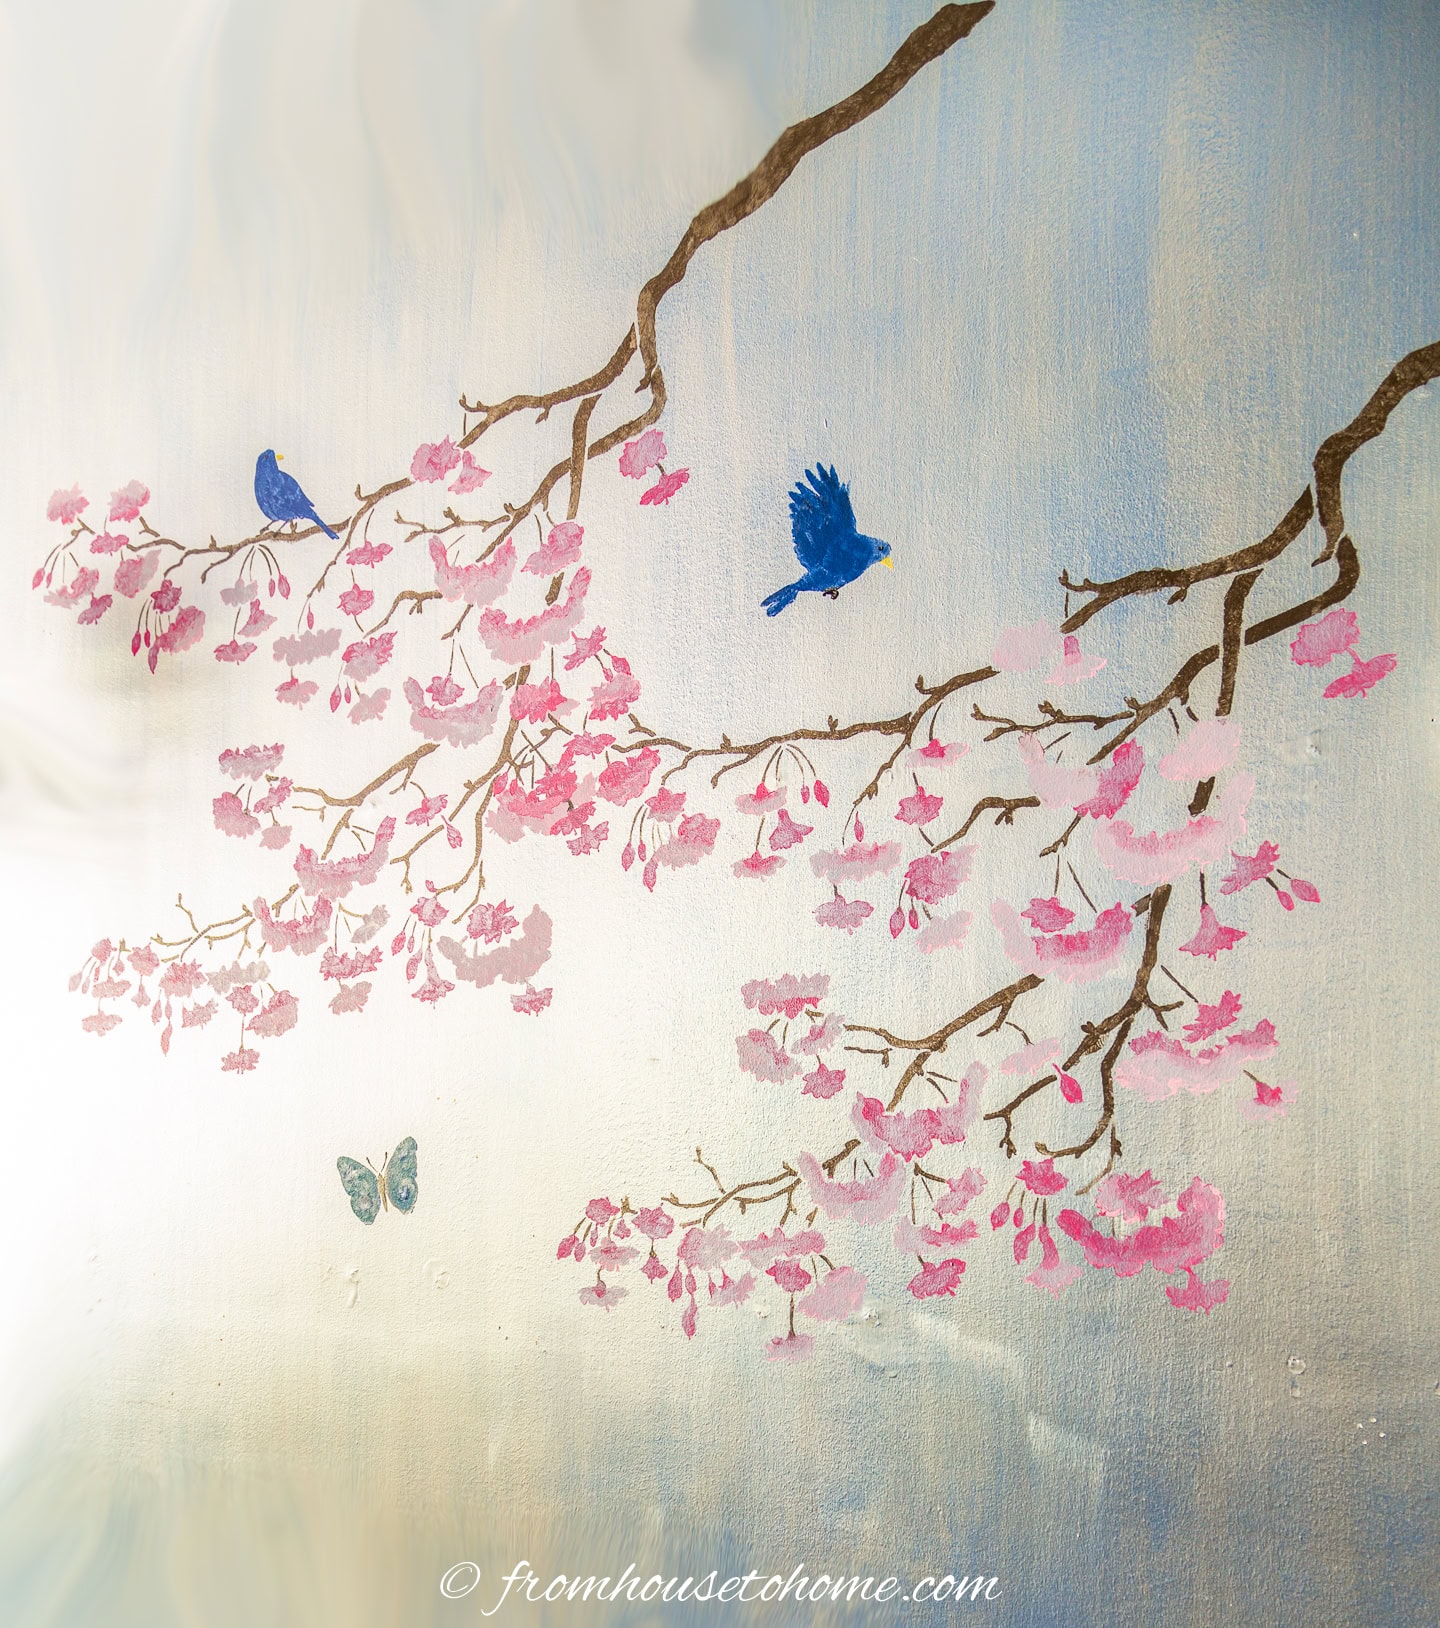
Move the stencil to the next position and repeat the steps from above (steps 4 to 6) as many times as necessary to complete your design.
8 | Add accessory designs
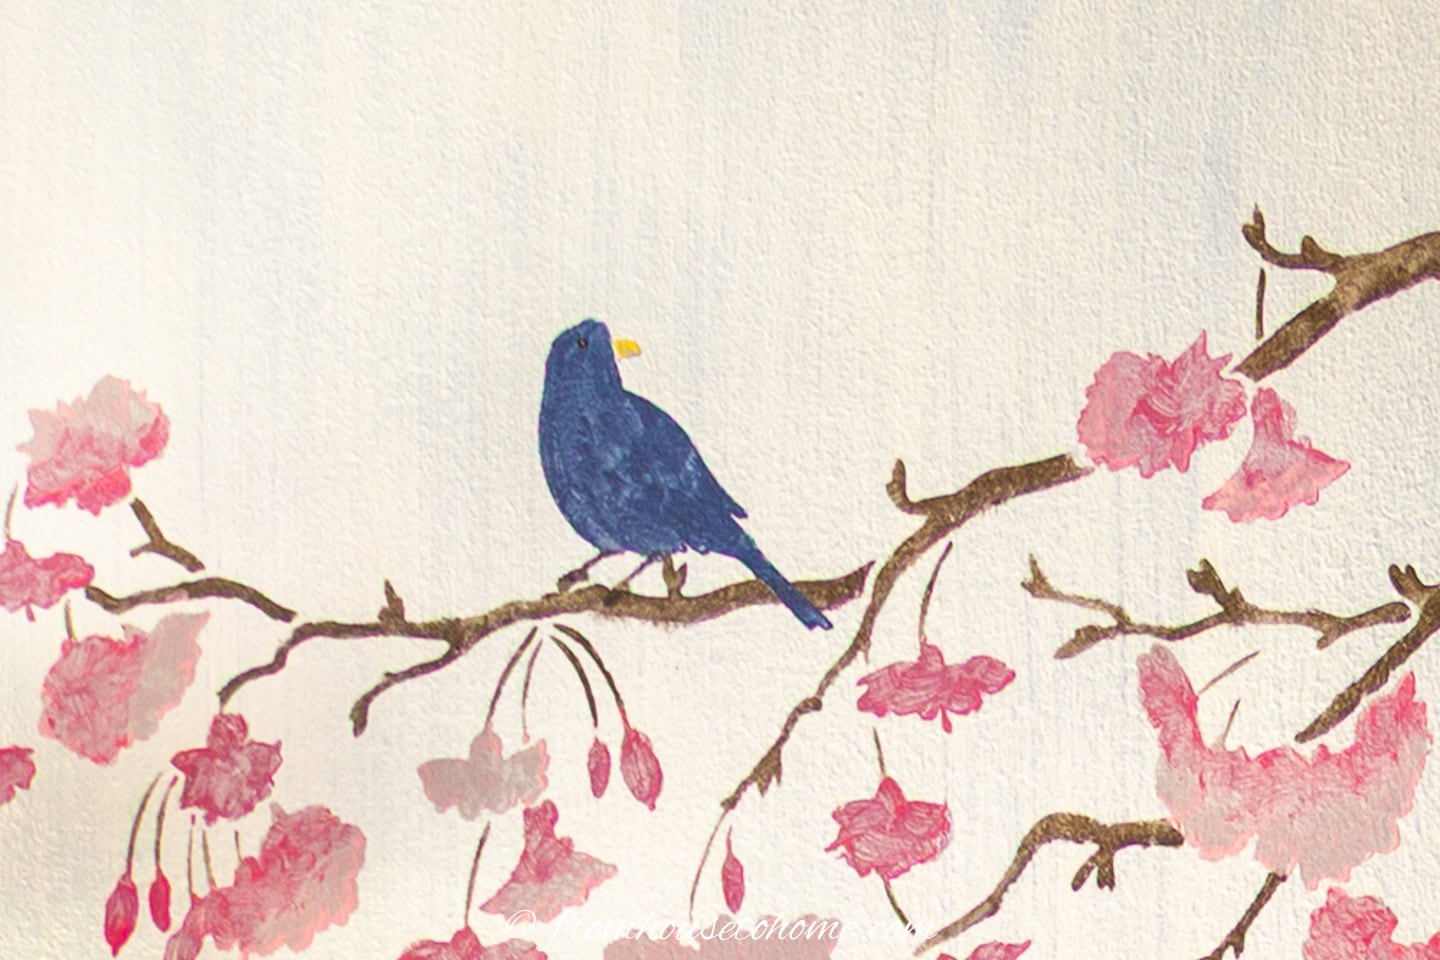
If you are adding birds and/or butterflies, use the same steps to position those stencils and paint with the blue paint (or whatever color you want to use).
The finished DIY Chinoiserie wallpaper
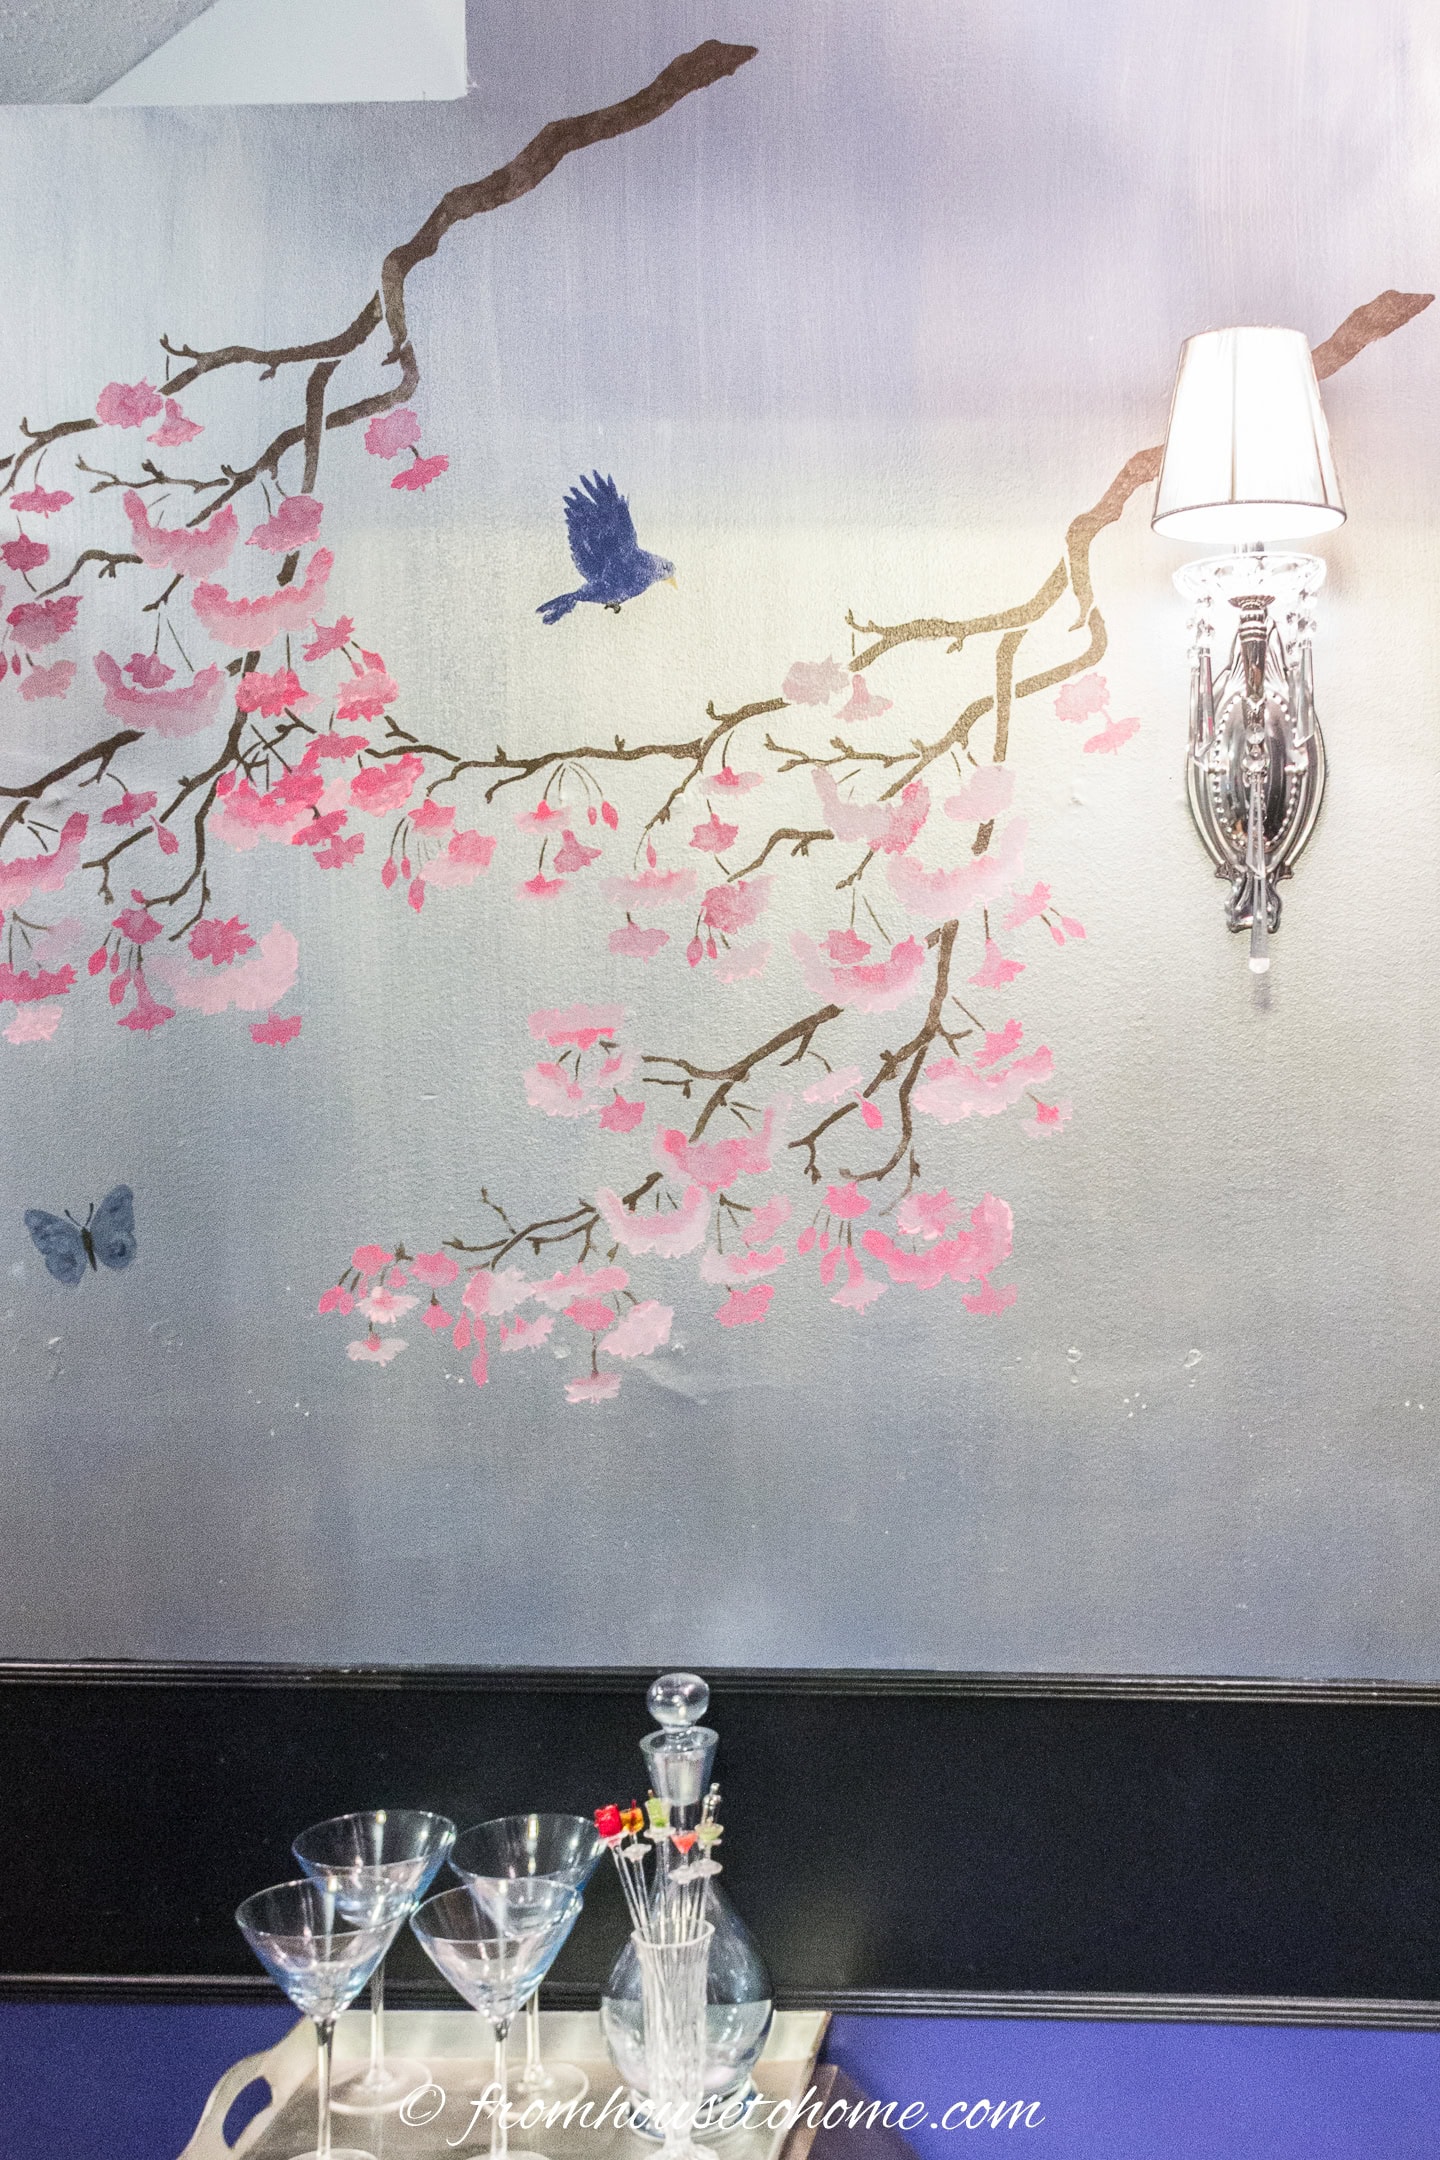
Then enjoy your DIY Chinoiserie wallpaper!
I added a couple of glam wall sconces on either side. And I really love how the light is reflected off the silver paint. The perfect finishing touch!
Have comments or question on how to create DIY Chinoiserie wallpaper on a budget? Tell us in the section below.


This post was originally published on May 5, 2017 but was updated with new content on October 4, 2025.
I did my bathroom chinoiserie freehand by using metallic color shift paints but never though about doing a silver wash coat on my wall! I have redone this mural twice now after watching a few Chinese brush painting tutorials and think now I’ve got it! Thanks for the idea! Best of luck
Hi Robert…your bathroom chinoiserie sounds awesome! You must be a pretty good artist to do it all freehand 🙂
This is fabulous! How innovative and how beautiful. Thank you for the tutorial. I’m moving soon. Hope i have a large wall to stencil.
Thanks, Edith! It’s still my favorite wall in my house 🙂
I am so excited about finding this. One wall in my dining room is mirrored. The opposite wall has a Chinoiserie Mirror hung there.
There is a crystal chandelier over the table that is reflected in the mirrors. The mirrors appear to go on forever. Could I paint the cherry tree limbs, etc. on the mirrored wall using the same paints or do I need to switch to “glass” paints?
Hi Suzanne…that sounds like a beautiful spot to put this stencil! I haven’t tried using stencil paint on glass so I’m not sure how well it would work. I suspect it would not be as durable as glass paint (ie. it might start to come off the mirror when you wash it). To be on the safe side, I would switch over to the glass paint. Good luck with it!
Thank you so very much. You know the time you saved me I’m sure and your kindness is appreciated greatly.
Where do you get the Japanese Cherry Blossom stencil? What kind of paint do you use and where do you get it? I’M SO HAPPY I FOUND YOU ONLINE.
Thank you
Hi Jean…I got the stencil from cuttingedgestencils.com. For the paint, I used Rustoleum Metallic Accents as the silver background and then acrylic stencil paint for the tree limbs and flowers (there’s links to all of these in the “What You Need” section about half way down the page). Good luck with your painting!