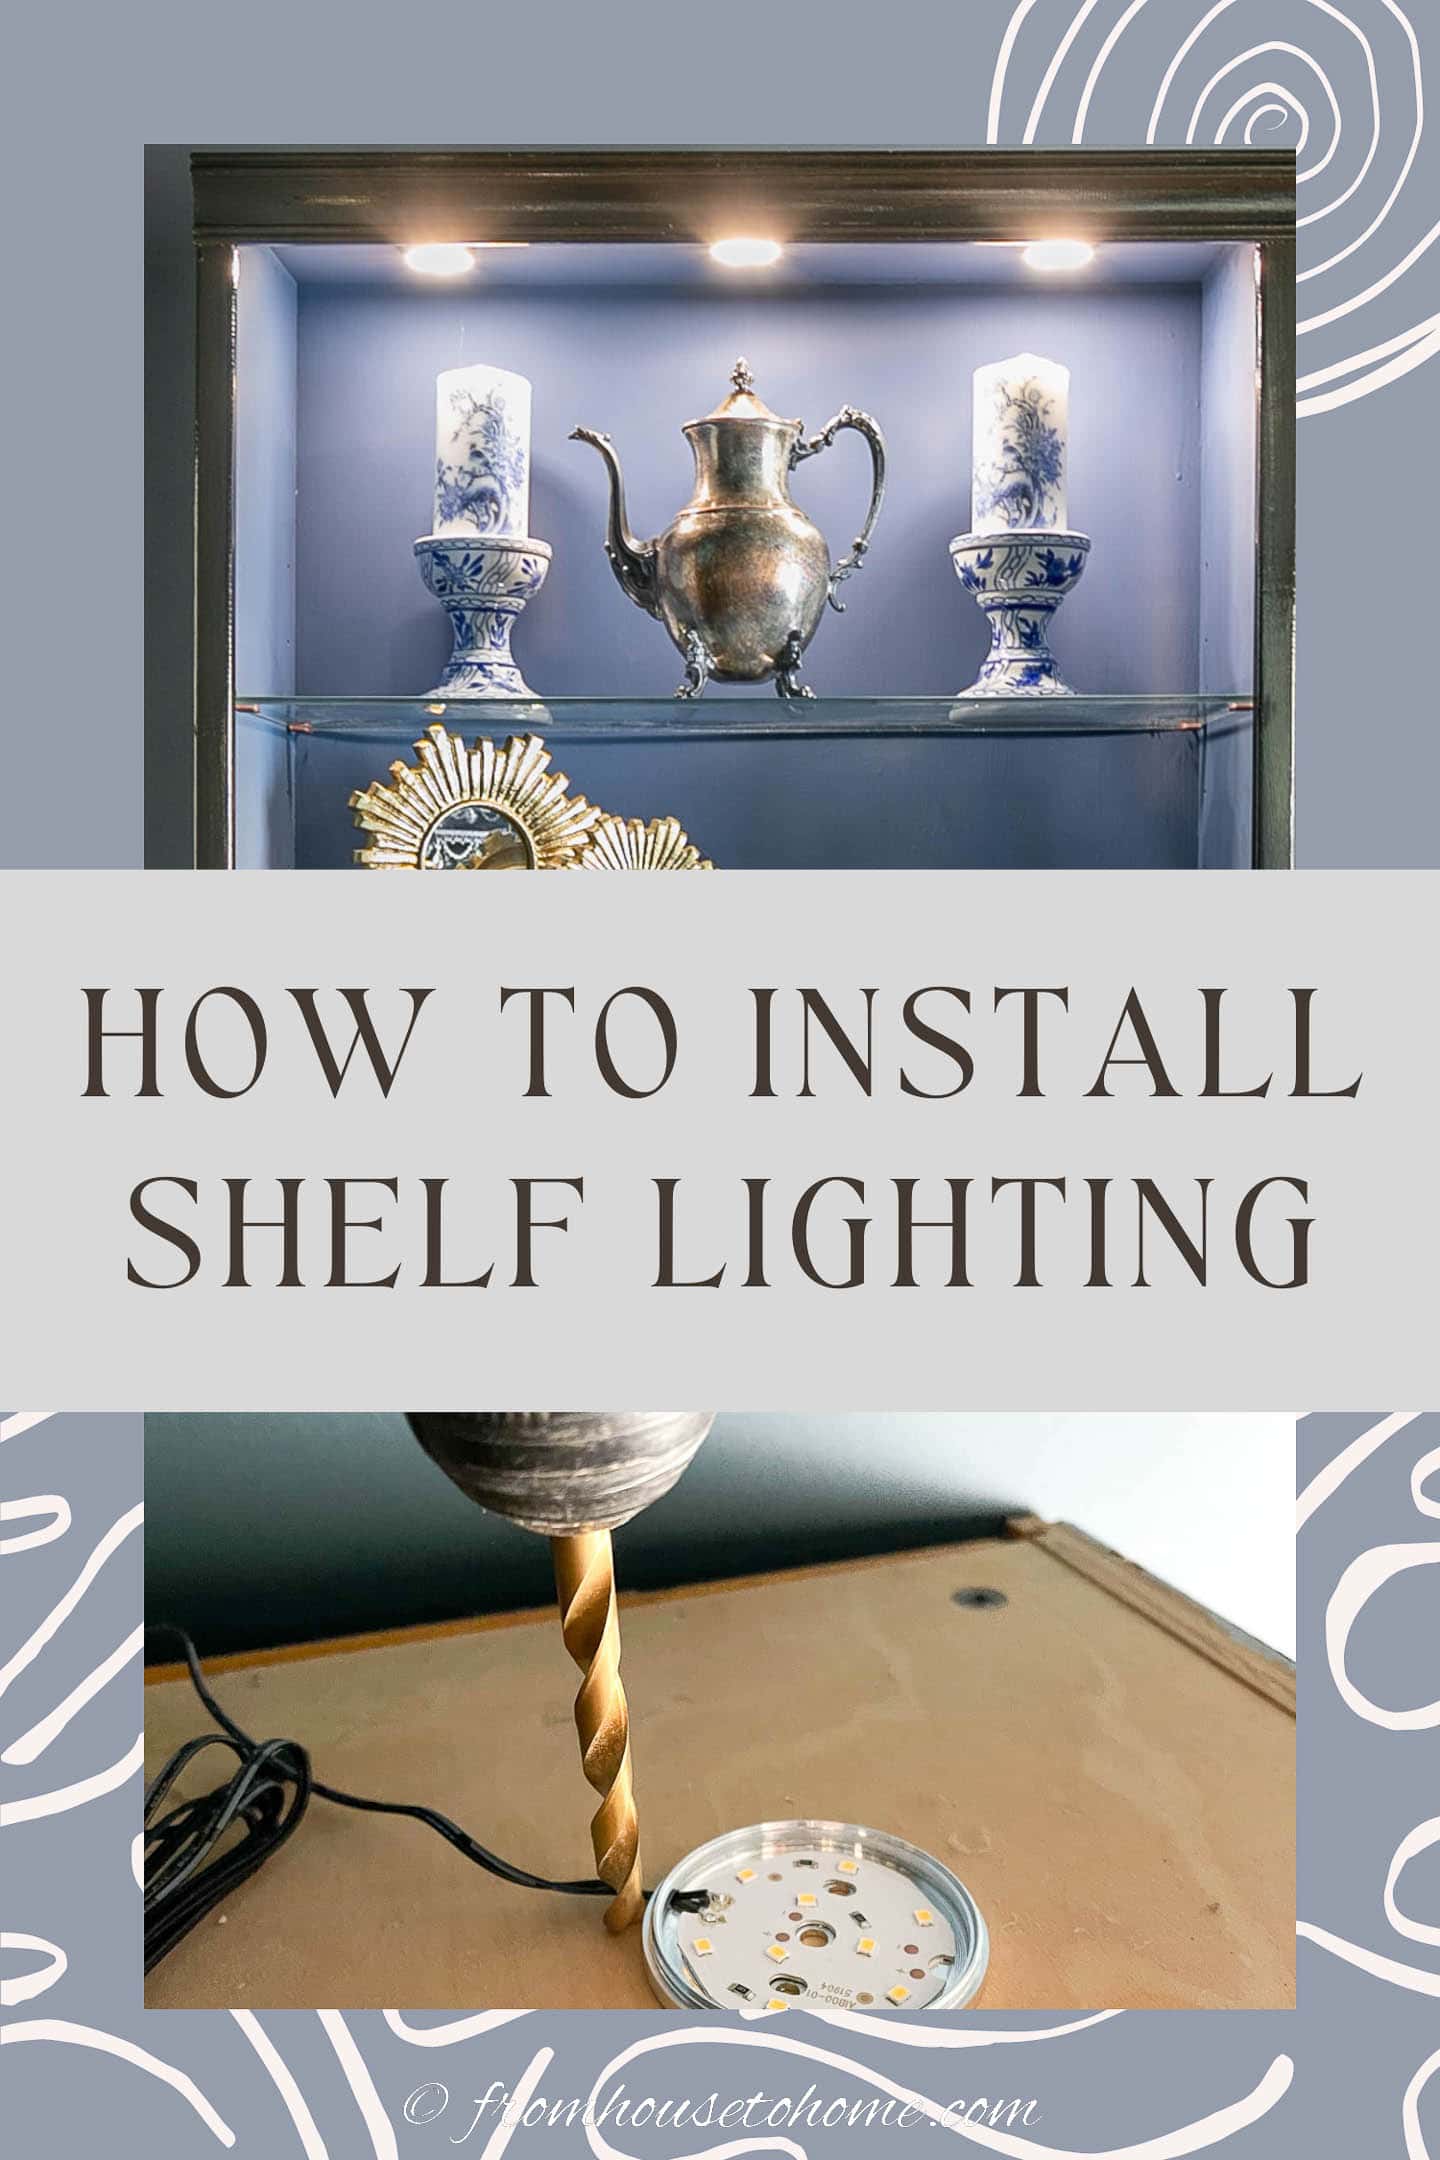
How To Install Shelf Lighting Using Puck lights
Shelf lights are a great way to add elegance to any room, and putting them up is not as hard as you might think. We’ll show you how to install shelf lighting using puck lights in just a few easy steps.
Installing lighting under your shelves is a great way to add a custom look to your home without spending a lot of money.
It’s an easy DIY project that doesn’t require a lot of fancy tools, or any electrical knowledge.
It immediately adds ambiance to any room and gives your home decor a more expensive look.
And it usually costs less than $20 to put up.
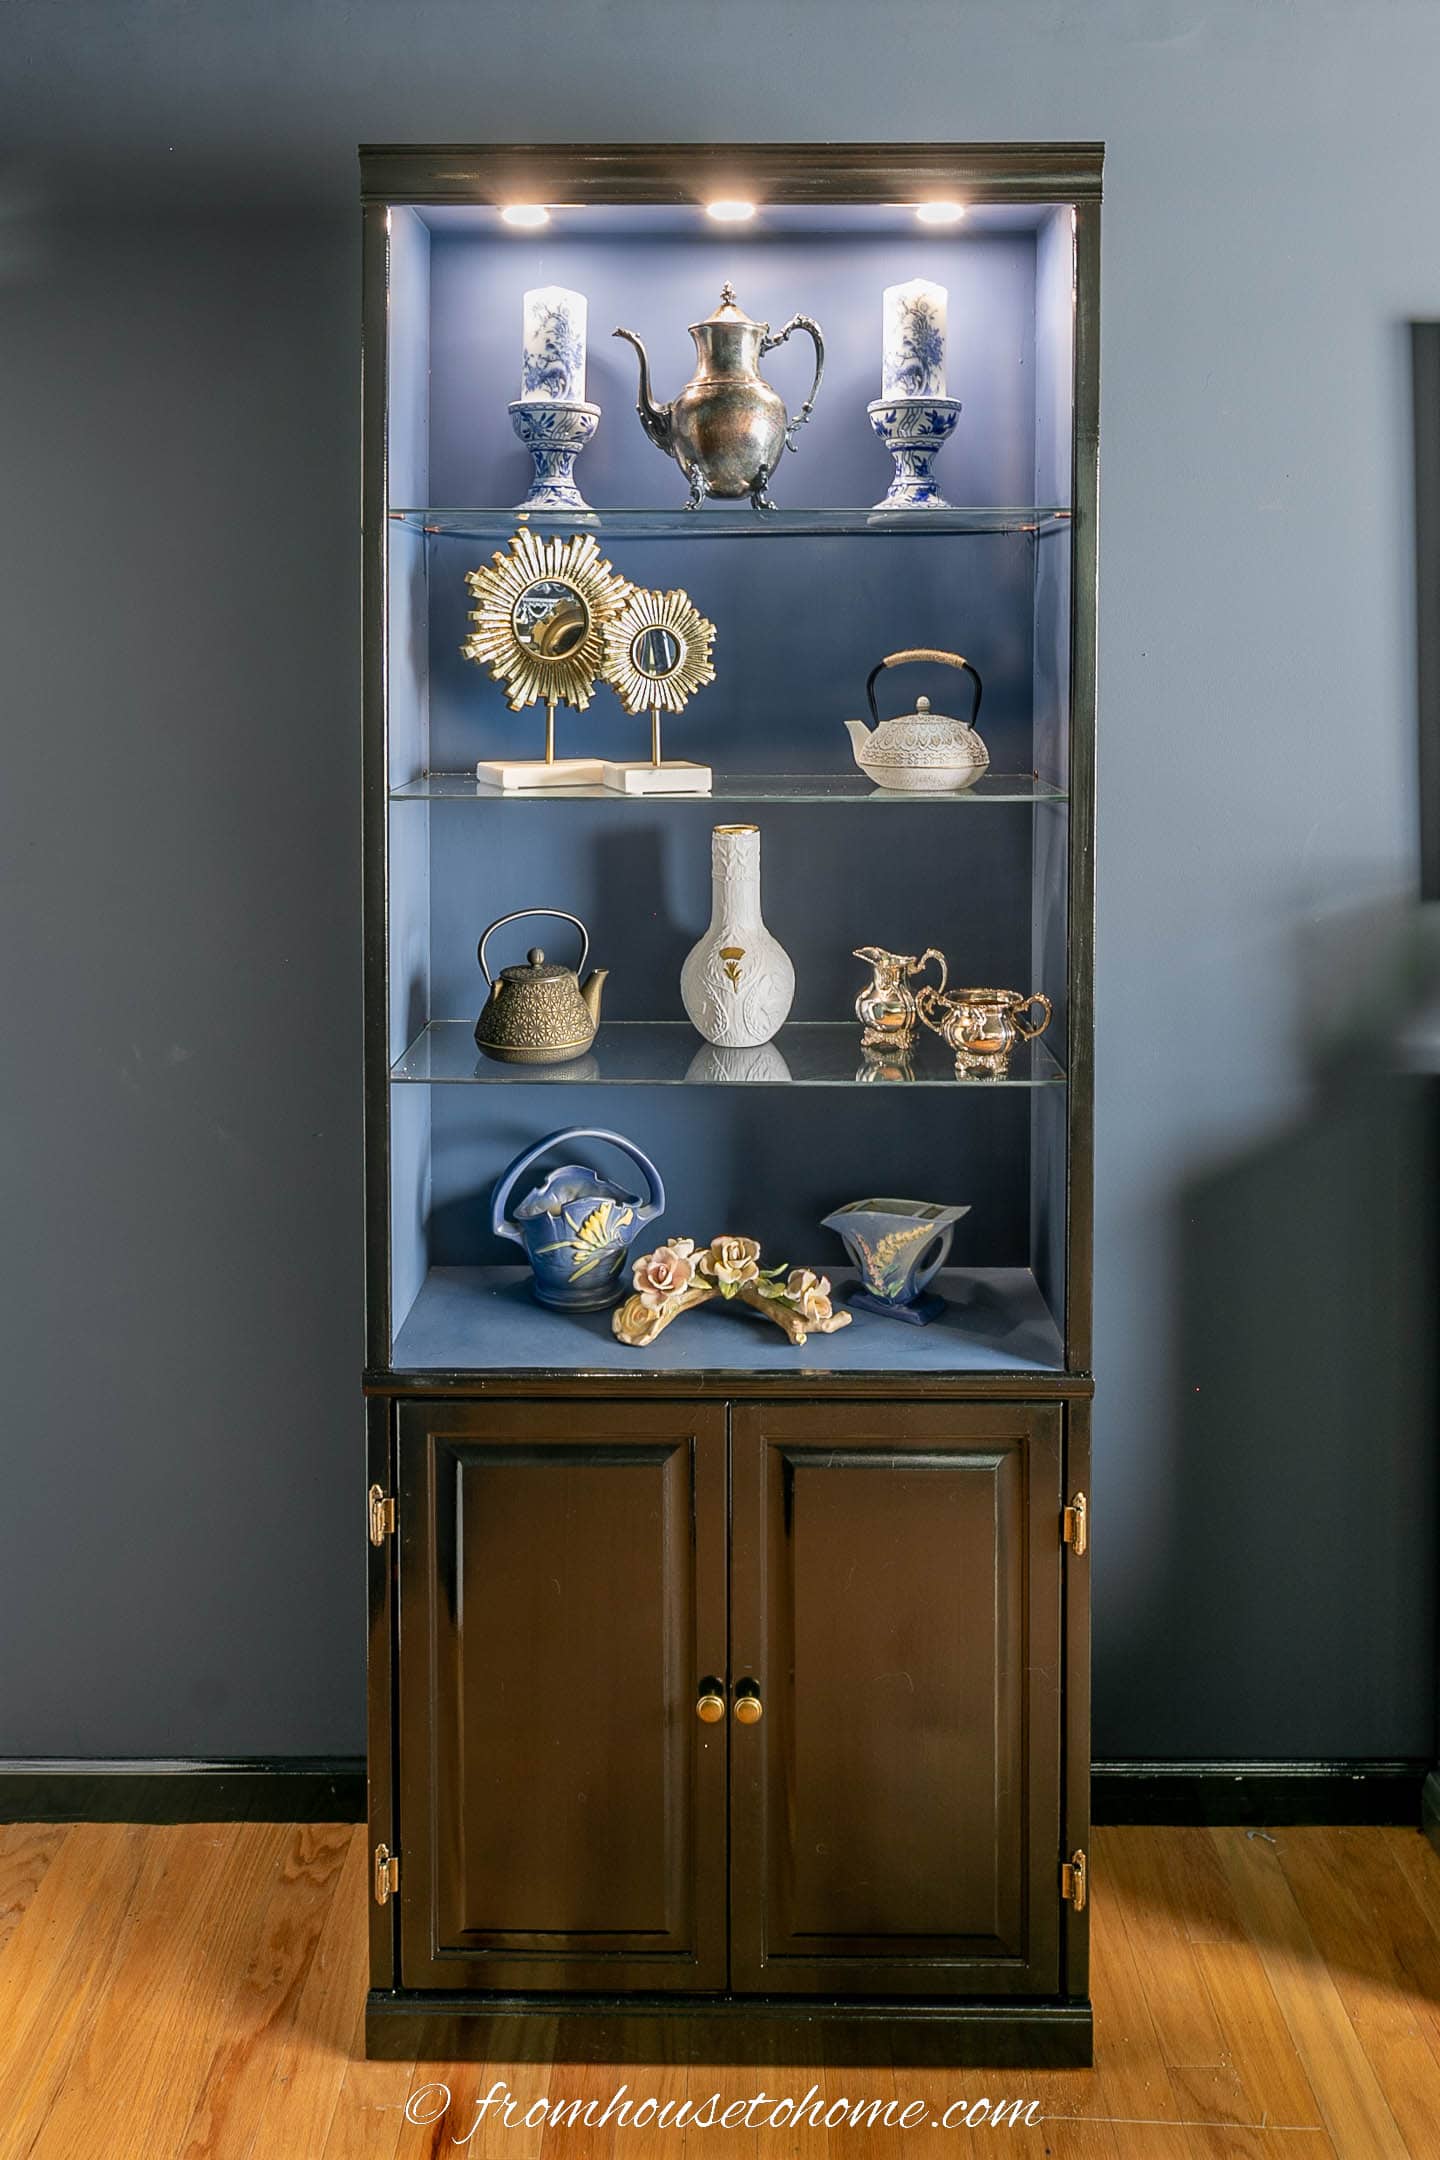
Which is why when I was making over the bookcases in my home office, I knew one of the updates would be to install shelf lighting.
Materials
Here’s what you need to buy. (I told you there wasn’t much to it!)
- puck lights – I ordered these electric ones* from Amazon that are normally used under kitchen cabinets. They come in 3 different light colors so you can choose how warm (or cool) you want the white to look. I went with the middle one.
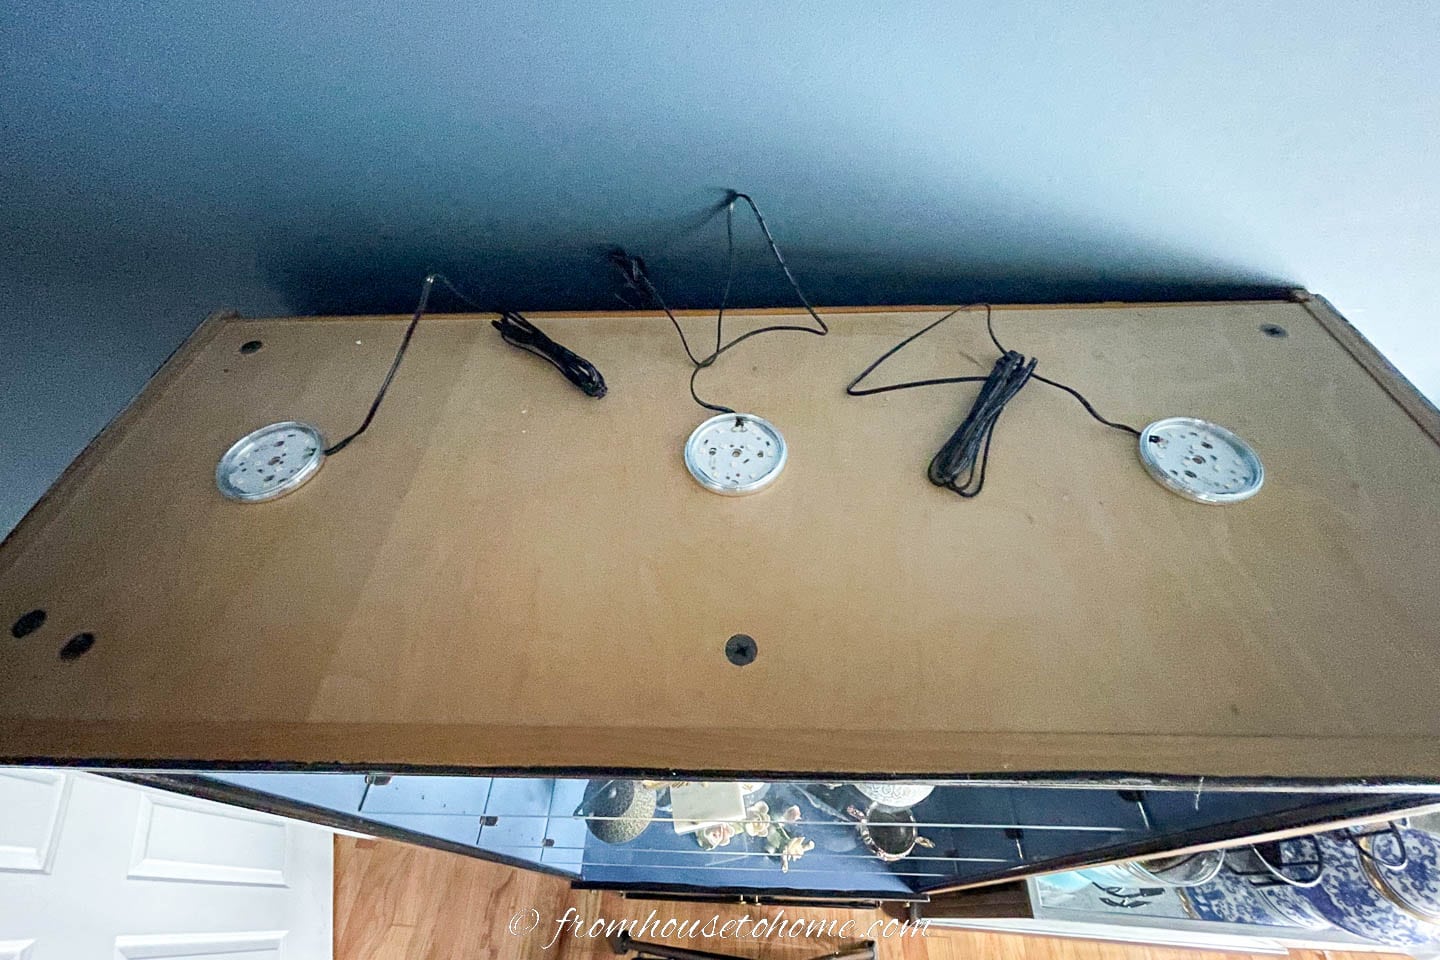
I find that about 1 light per foot works well for shelves. Since my shelves were 32″ wide, I used 3 lights. In this case, you could probably get away with 2, but 1 wouldn’t provide enough light. And 4 would be overkill.
Substitutions
This type of installation only works for the top shelf of a bookcase. Since my shelves are glass, that’s the only place I can put lights.
If you have solid shelves and want lights on all of them, I would use these battery operated puck lights* that you stick under the shelves with double sided tape.
That way there are no cords to run. And they still come with a remote.
Tools
- cordless drill – A corded drill will work, too, but the cord can make it more awkward to work with.
- 3/8″ drill bit – This is to make the holes for the cords. It needs to be big enough for the end of the cord to fit through. So the size you need may be different if you are using different lights.
- 1/16″ drill bit – This is to drill pilot holes to attach the lights to the shelf. While not absolutely necessary, this makes putting the screws in much easier.
- Screwdriver
How to install shelf lighting
1 | Position the lights
To start, take the covers off the under cabinet lights by rotating them counter clockwise.
Then lay the lights out on the top of the shelf and position them where you want to install them.
If you have shelves with a lip at the front, putting the lights closer to the front edge of the bookcase will make them less visible.
You may want to use a ruler to measure between each light and make sure they are an equal distance apart.
2 | Drill holes for the cords
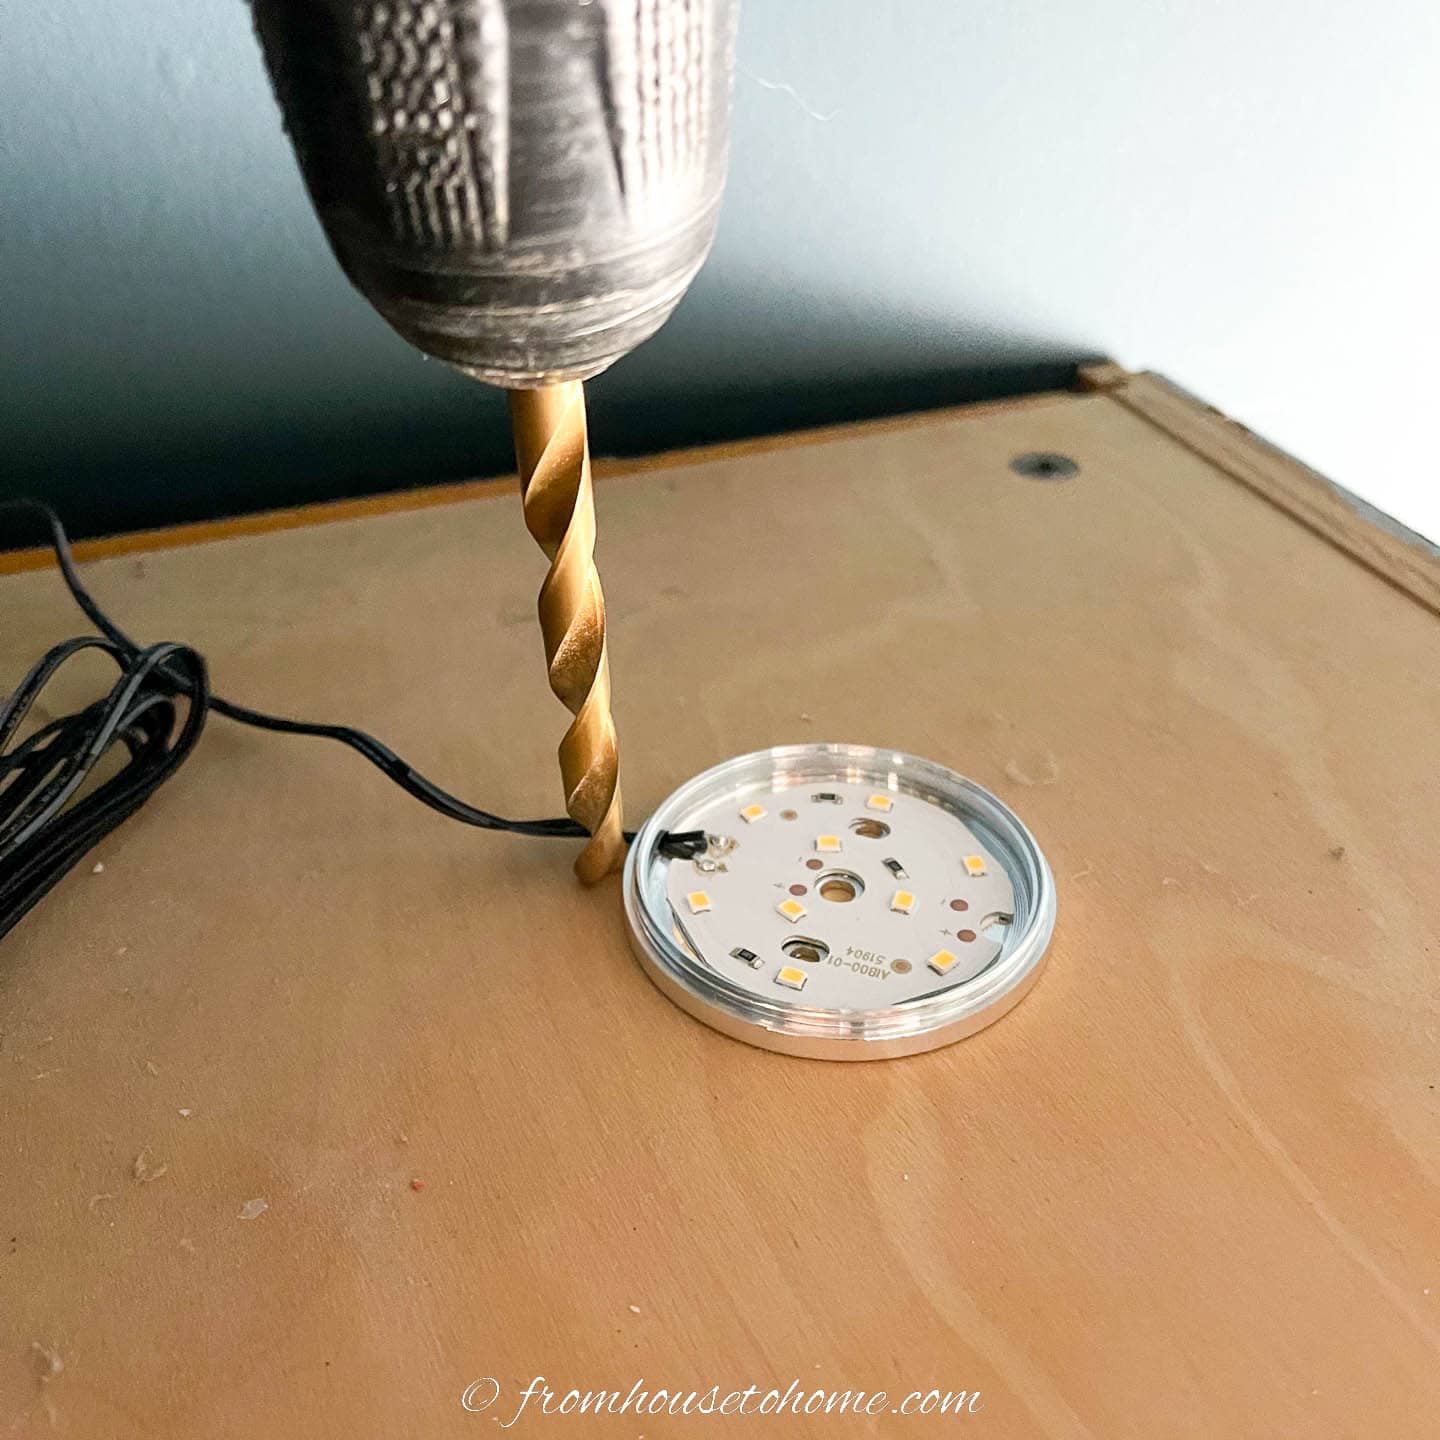
When you are happy with the spacing, use a drill to make holes in the top of the shelf where the cords come out of the lights.
The hole should be big enough for the end of the cord to come through. I usually use a 3/8″ drill bit.
You may want to clamp a piece of scrap wood underneath the shelf where the drill bit will come through.
This helps to prevent the wood from splintering, especially if your bookcases are made of plywood (like mine).
3 | Put up the lights
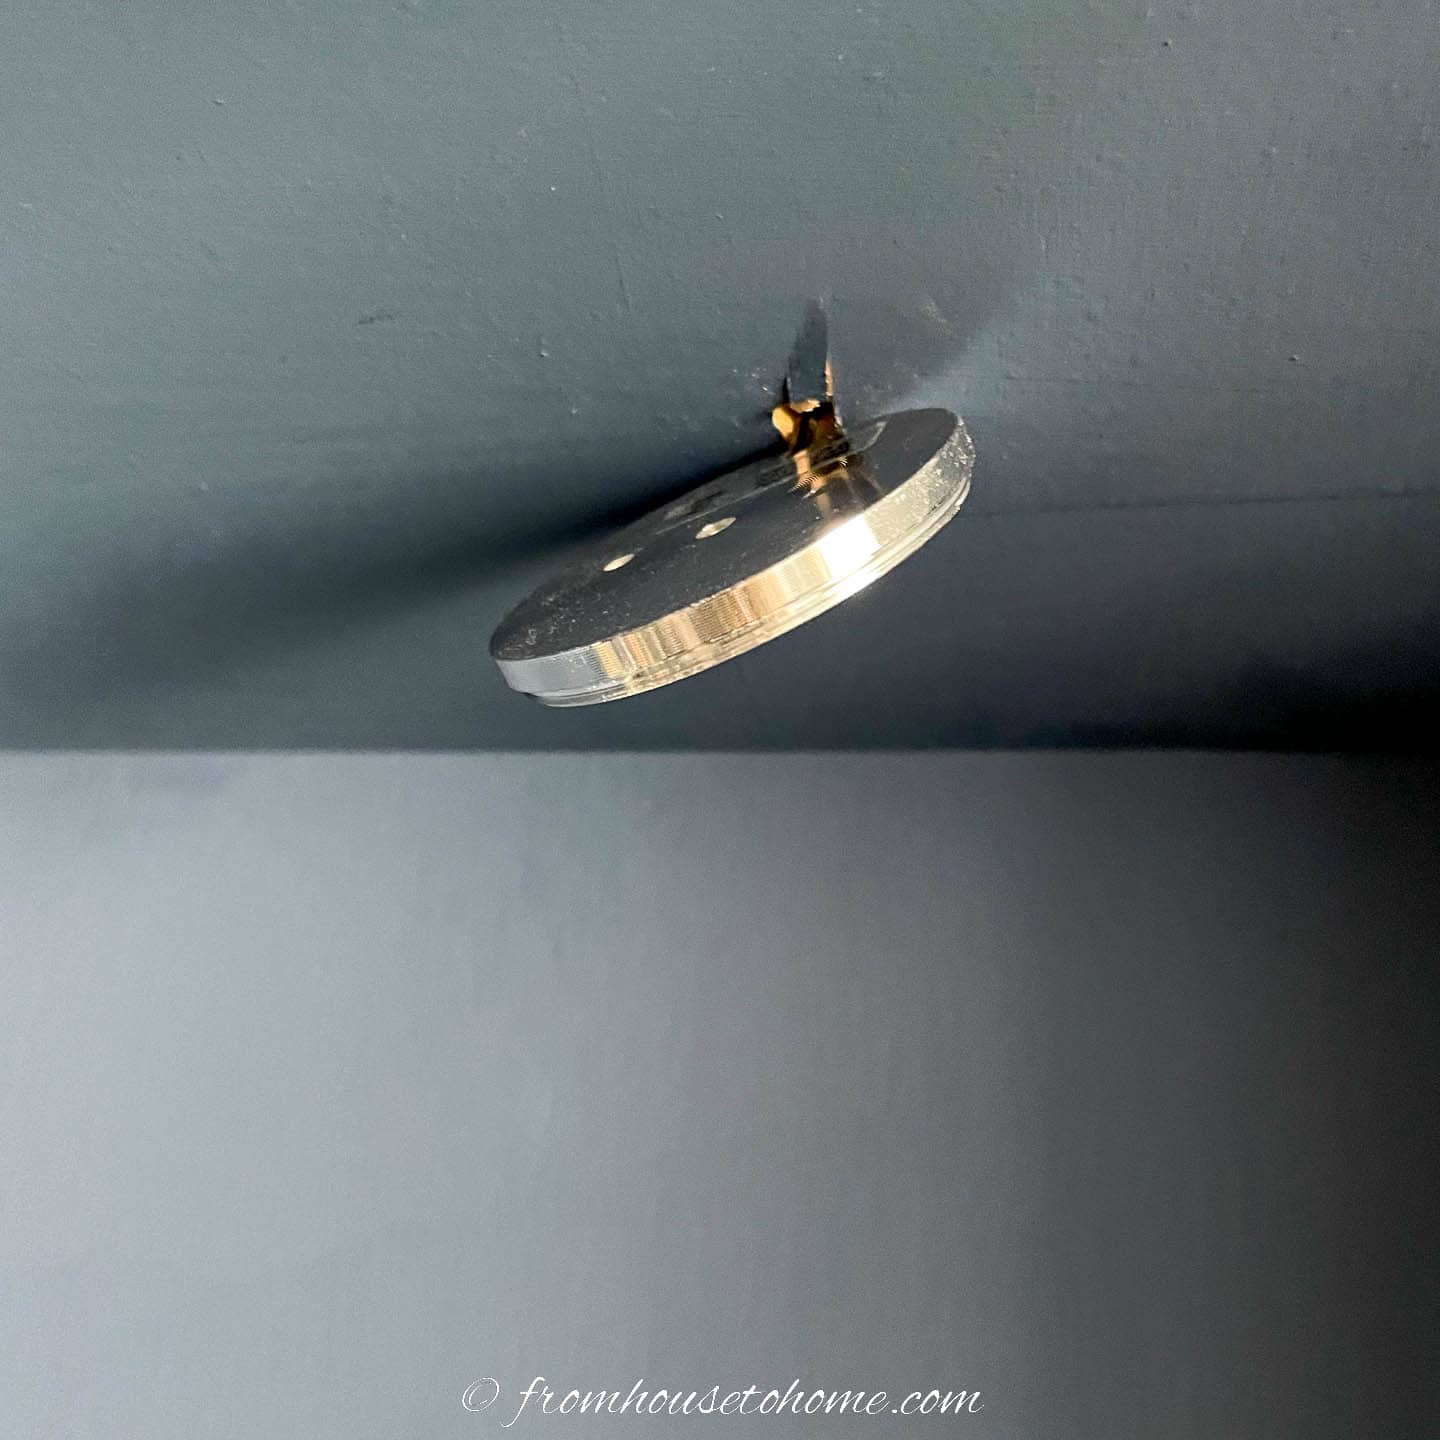
Then position the first puck light under the top shelf where one of the holes is.
The light should cover the hole.
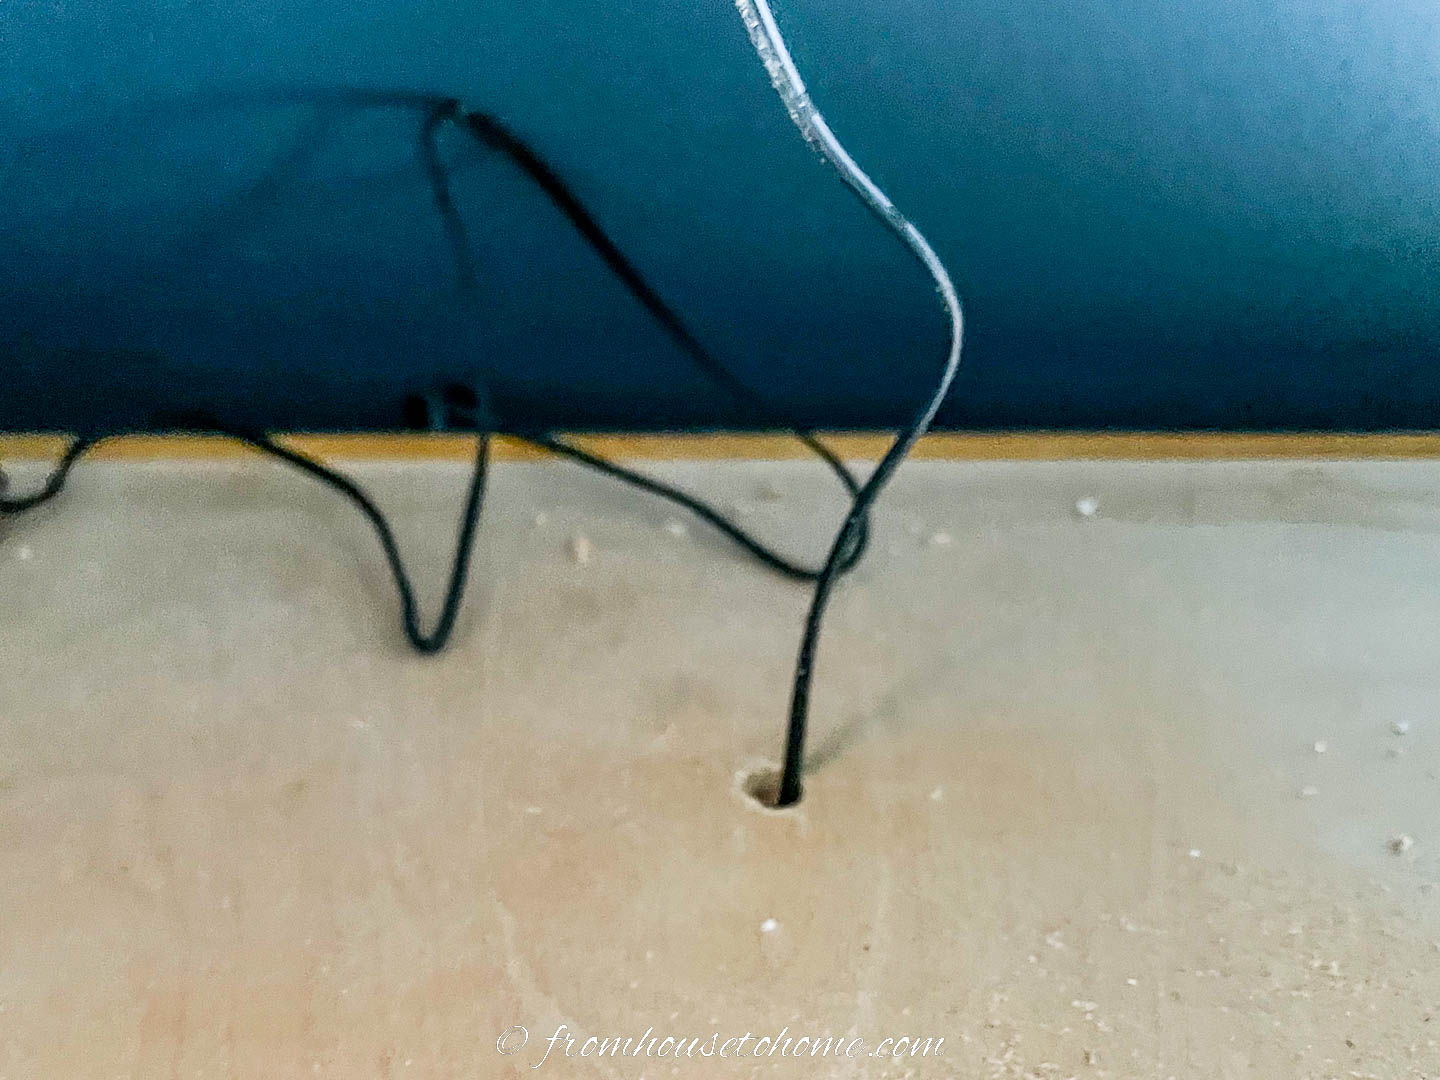
Run the cord up through the hole.

Use a small drill bit to create pilot holes for the screws that will attach the light under the shelf.
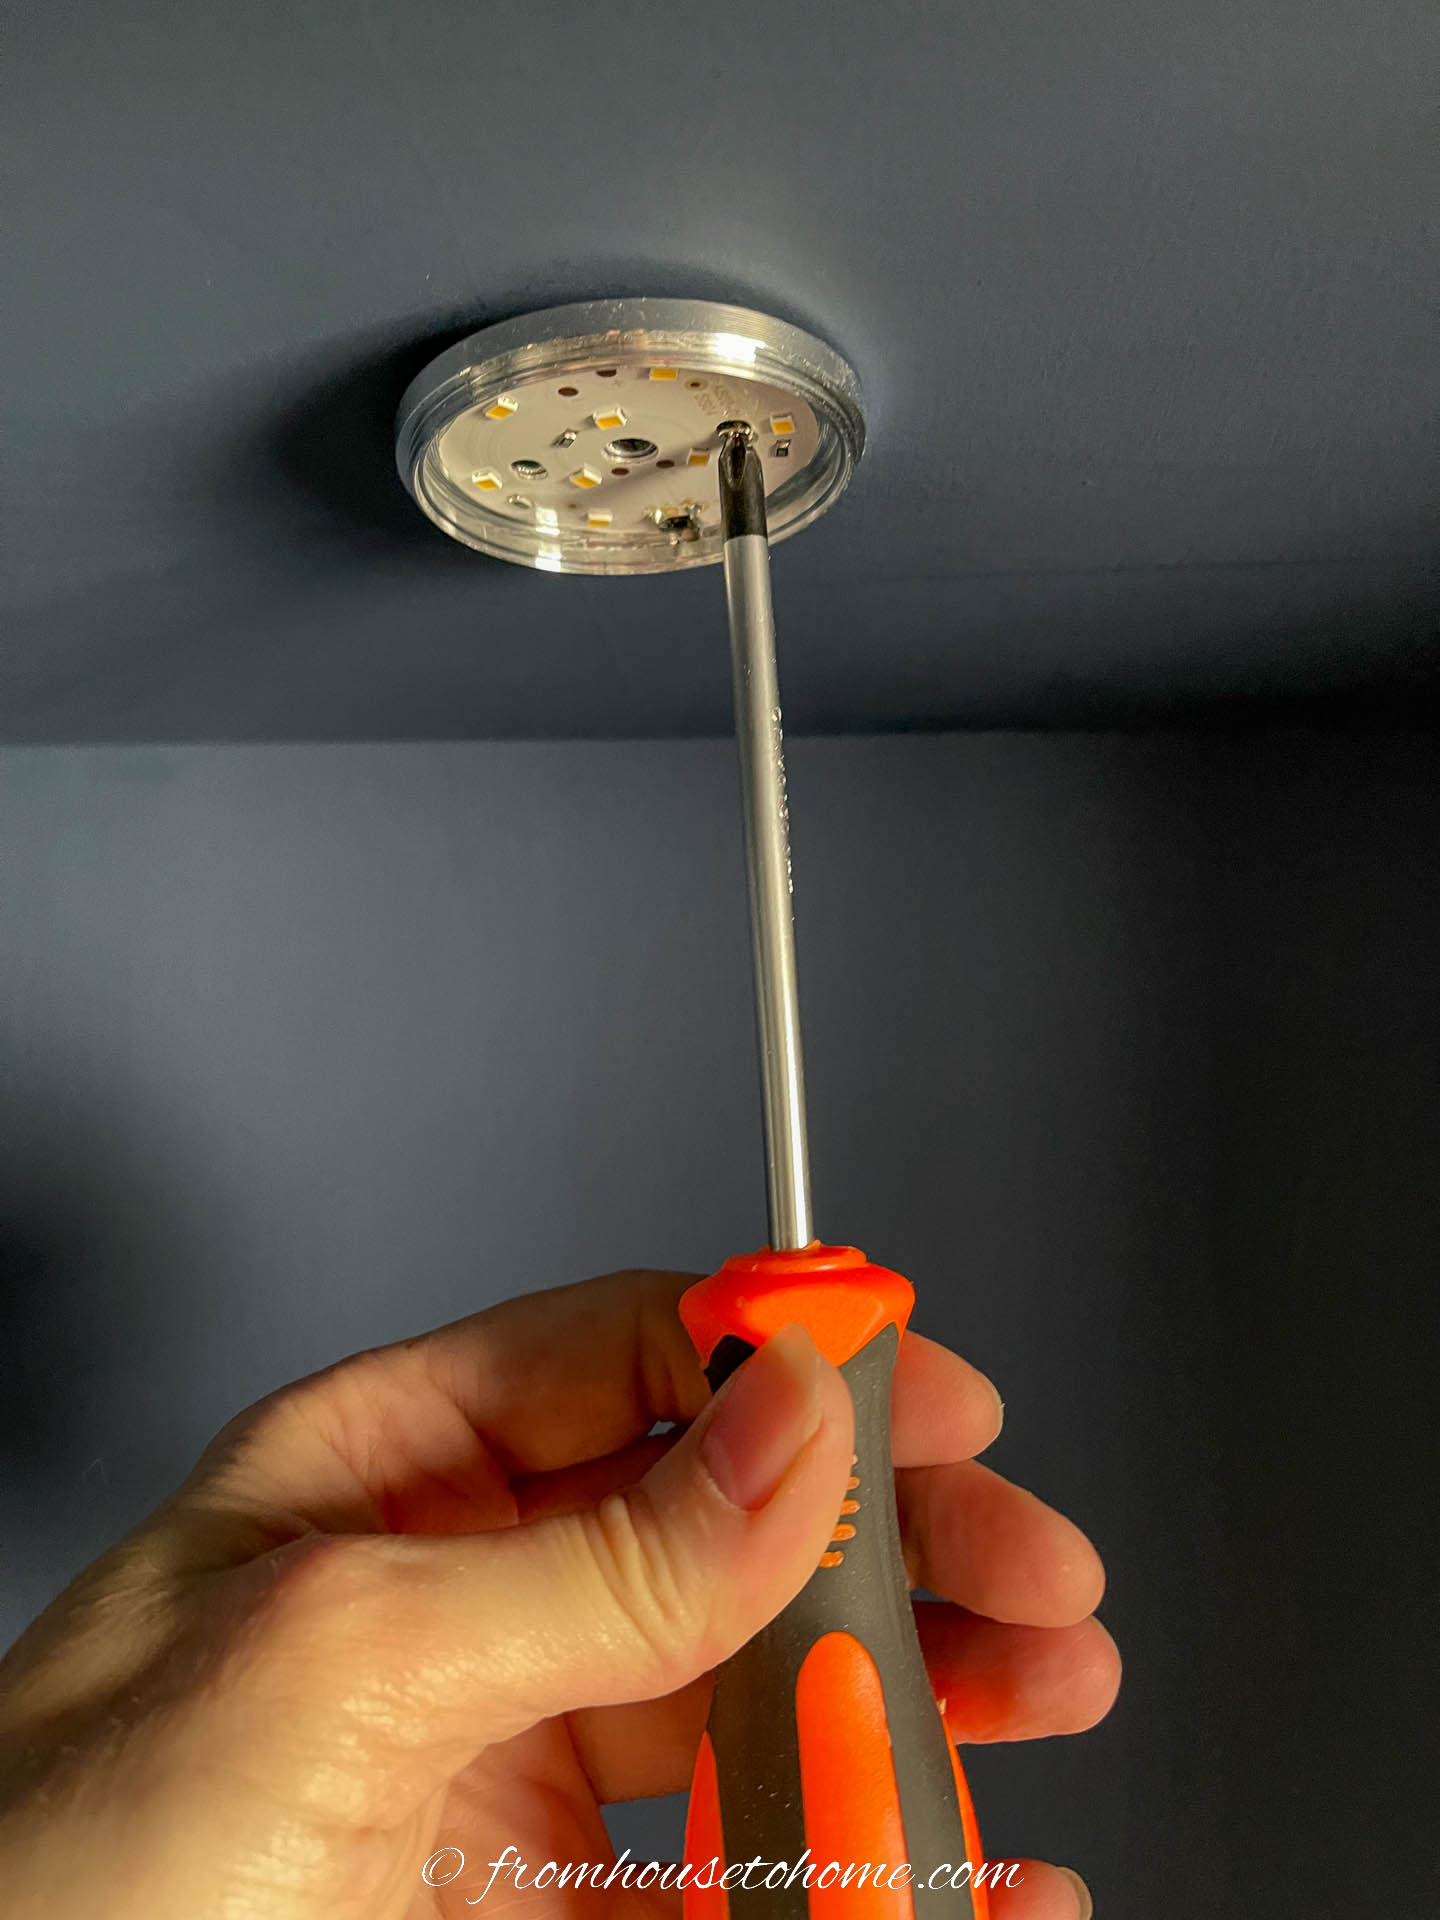
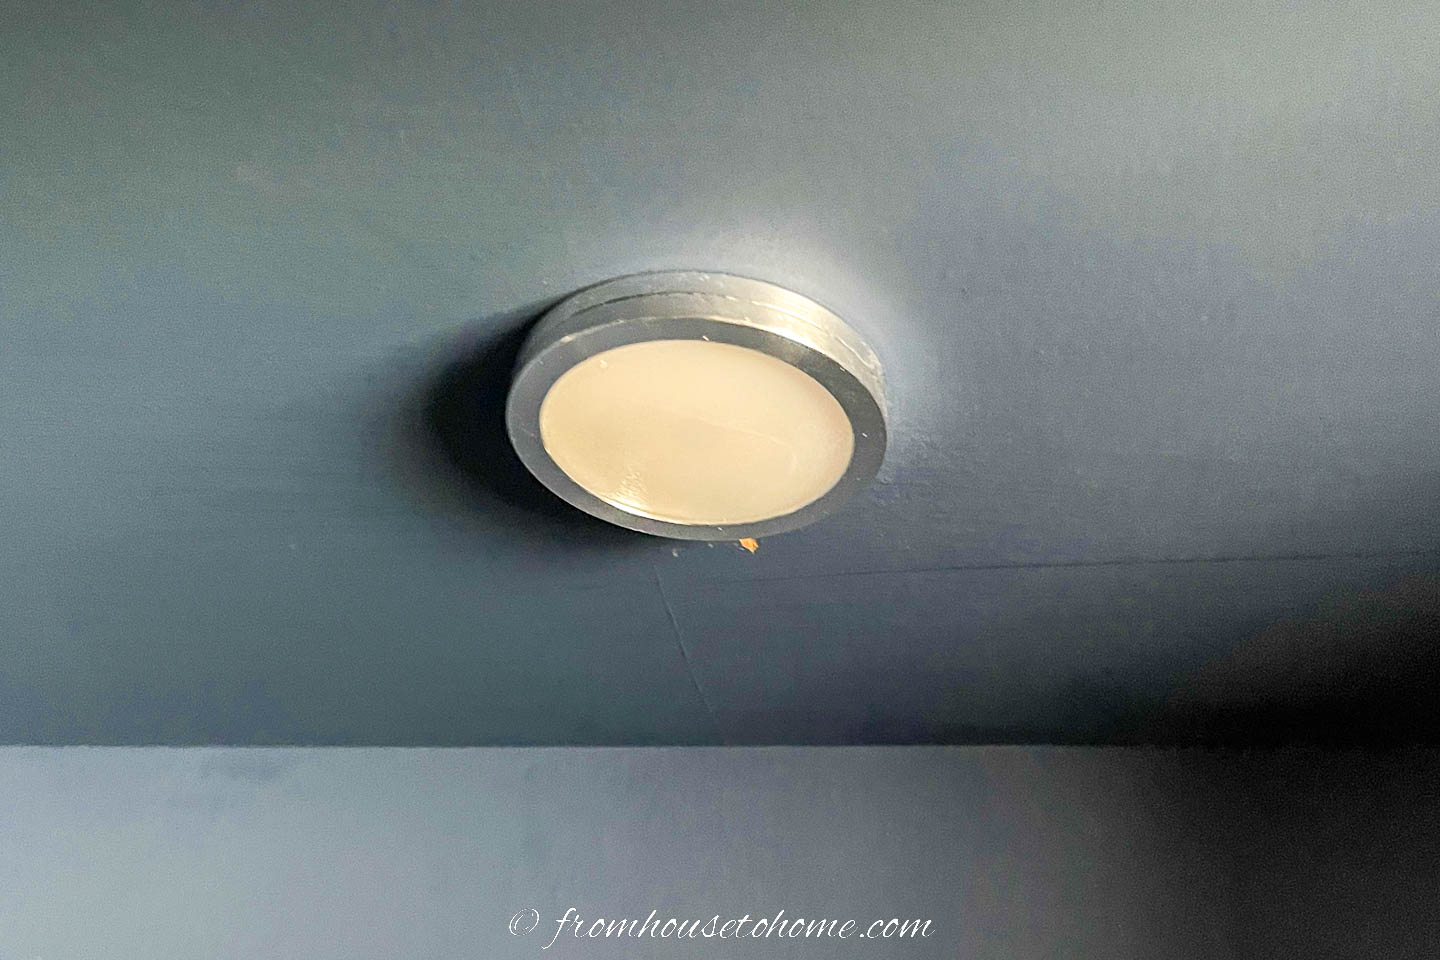
Use the small screws that come with the light to screw it under the top shelf.

Screw the cover back on.
Then attach the rest of the puck lights the same way.
4 | Hook up the lights
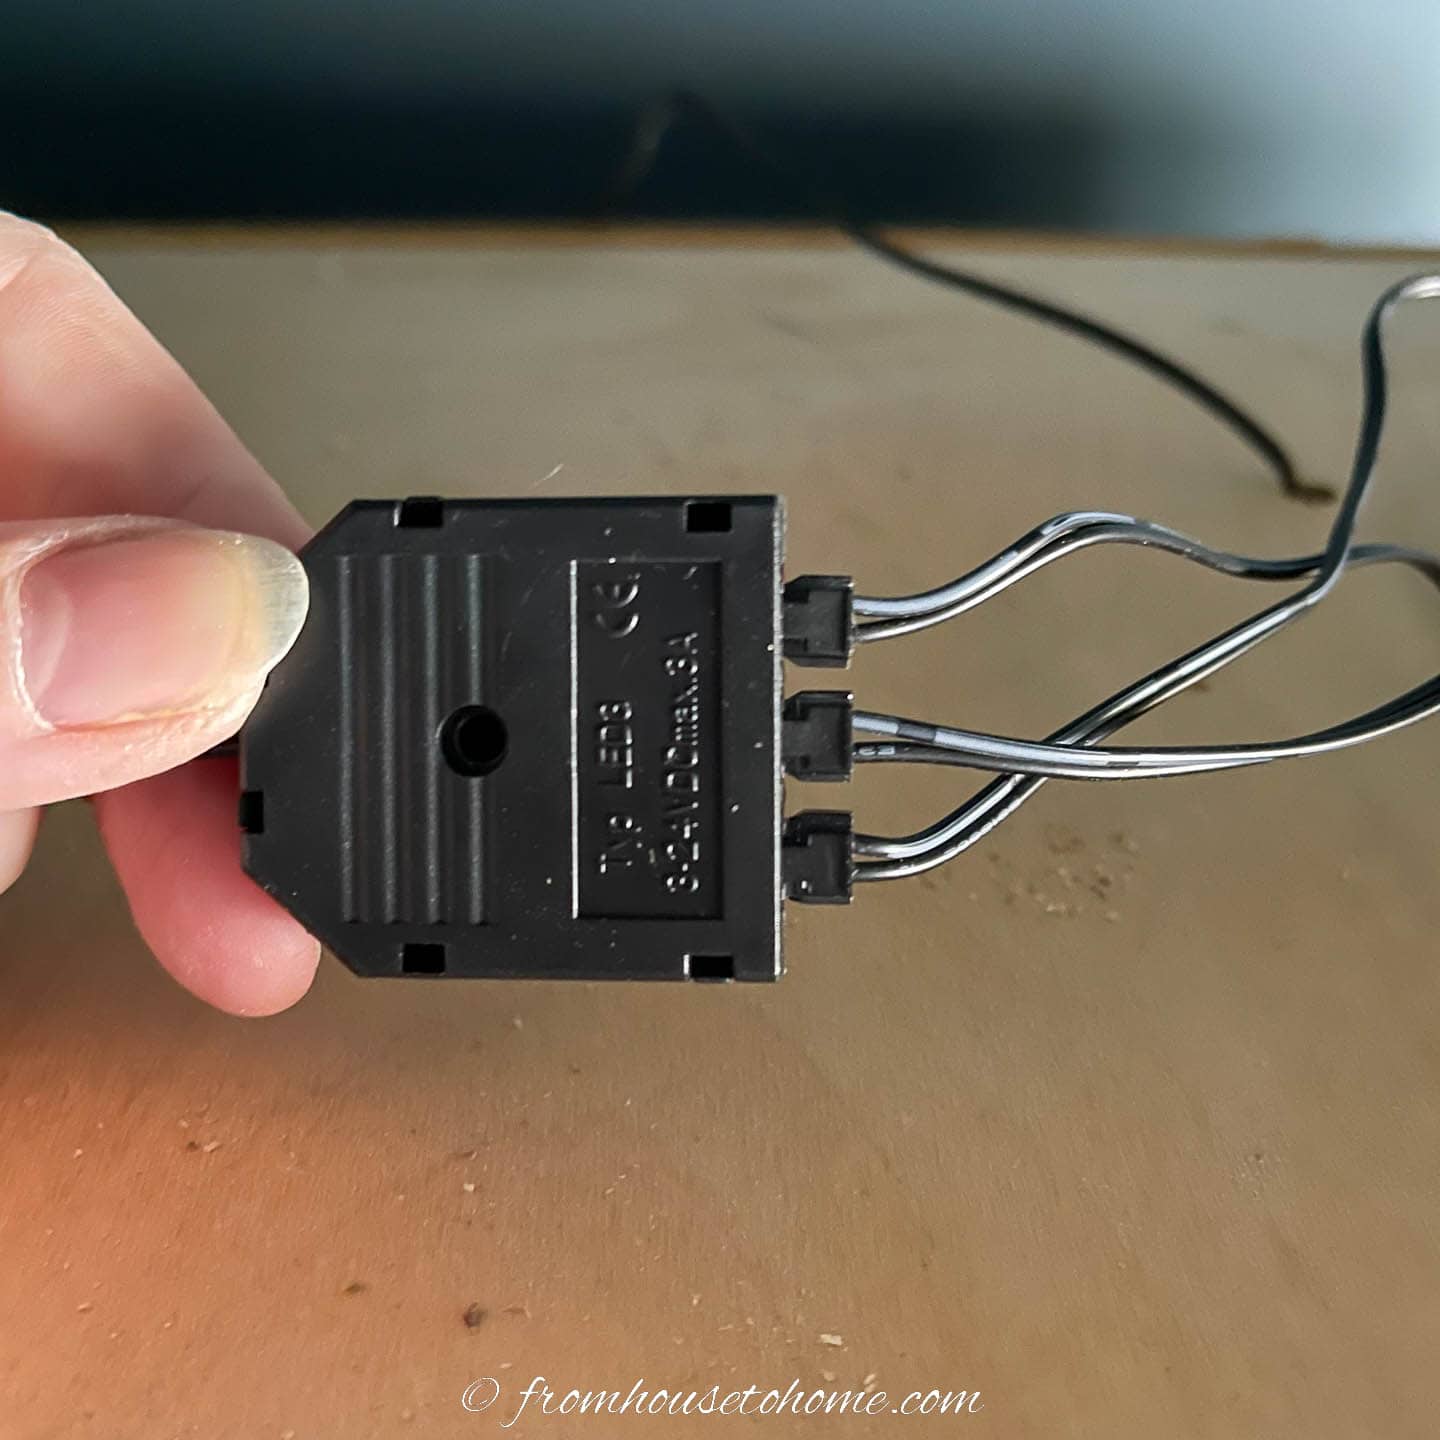
Finally attach the end of each of the cabinet lights into the connector for the plug.
These lights come with a remote control so you can turn them on and off, and dim them without having to reach the switch.
Which is great since you can keep the cords hidden behind the shelves.
To make the remote work, you need to switch out the middle section of the cable with the white portion that came in the package.
Then plug the lights in and they’re ready for use.
Other lighting ideas you might like
- How to convert a hardwired pendant to a plug in
- How to hang a chandelier
- How to choose the right overhead light fixtures