
How To Wallpaper The Ceiling (Even If You Are Working By Yourself)
Learn how to wallpaper the ceiling to ensure your wallpaper stays secure while allowing for easy removal when needed. With clear instructions on preparation and installation, this step-by-step tutorial simplifies a traditionally challenging task, making it easy for any DIY enthusiast.
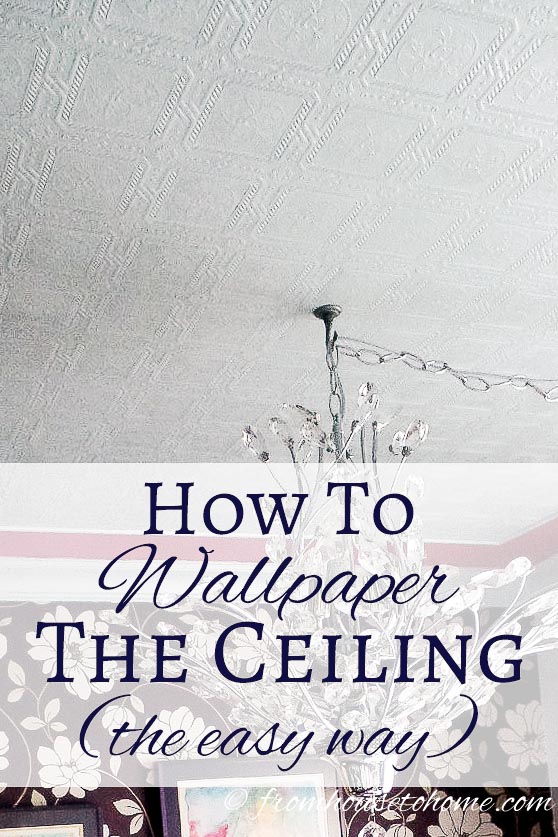
Wallpaper implies by its name that it is only meant to be applied to walls and, of course, that is where we usually see it.
However, it can also provide a nice textural interest on the ceiling.
Installation is the challenge!
Years ago, when my children were young, my son wrote an essay for his English class titled ”When your Mother starts wallpapering the ceiling, run away from home.”
I have learned a few tricks since then.
The most important one being, apply the paste to the ceiling directly. (In fact, this is now, how I hang all wallpapers.)
There is no messy water tray, the paper goes on smoothly, and matching patterns is simpler.
And although it is easier to do this project with a helper, it is possible to do it by yourself. (I’ll give you some tips for that, too).
So don’t be daunted!
What you will need
Materials
- TSP* – This is the best cleaner for getting grime off of ceilings and walls.
- Wallpaper primer* – You can also use regular paint primer, but wallpaper primer makes the wallpaper easier to reposition if necessary.
- Strippable wallpaper adhesive* – Using strippable adhesive will make it easier to remove the wallpaper if you ever choose to do so.
- Wallpaper – I used pre-pasted wallpaper. However, you can also use traditional wallpaper that requires adhesive (follow the same instructions below). Or peel and stick wallpaper, in which case you can skip the step of applying the glue.
Tools
- Bucket and wash cloth
- Painter’s tape
- Painting tray, paint brush, paint roller and extension pole
- Measuring tape
- Chalk line*
- Scissors
- Wallpaper smoother*
- Seam roller*
- Straight edge or long metal ruler
- Snap off utility knife* – Cutting wallpaper causes utility knives to get dull really quickly. Which is why the snap-off blades work best. That way you can easily get a new sharp knife when you need to just by breaking of the blade.
- Sponge
- Ladder – If you are working by yourself, I actually recommend using 2 ladders to make the job a little easier (see the details below)
Prepare the Ceiling
I know that doing a bunch of prep work before you actually start wallpapering doesn’t sound like fun.
But I promise that doing these steps will make the hanging process go so much smoother.
So, please don’t skip this!
1 | Remove the ceiling fixtures
Start by removing any ceiling fixtures, such as chandeliers or other light fixtures. Make sure to turn off the power before taking them down.
If you don’t want to actually take down the fixture, you can just loosen the covers above them and work around the lights as you put the wallpaper up. But this does make the process more difficult.
2 | Wash the ceiling
Ceilings tend to collect grime and dust since they don’t get cleaned very often.
So it’s very important that you wash it before putting up the wallpaper. Otherwise, it may not stick properly.
To do this, mix ¼ cup of TSP in 2 gallons of water, wash the ceiling with the mixture and rinse thoroughly with clean water.
Let it dry completely before continuing.
3 | Prime
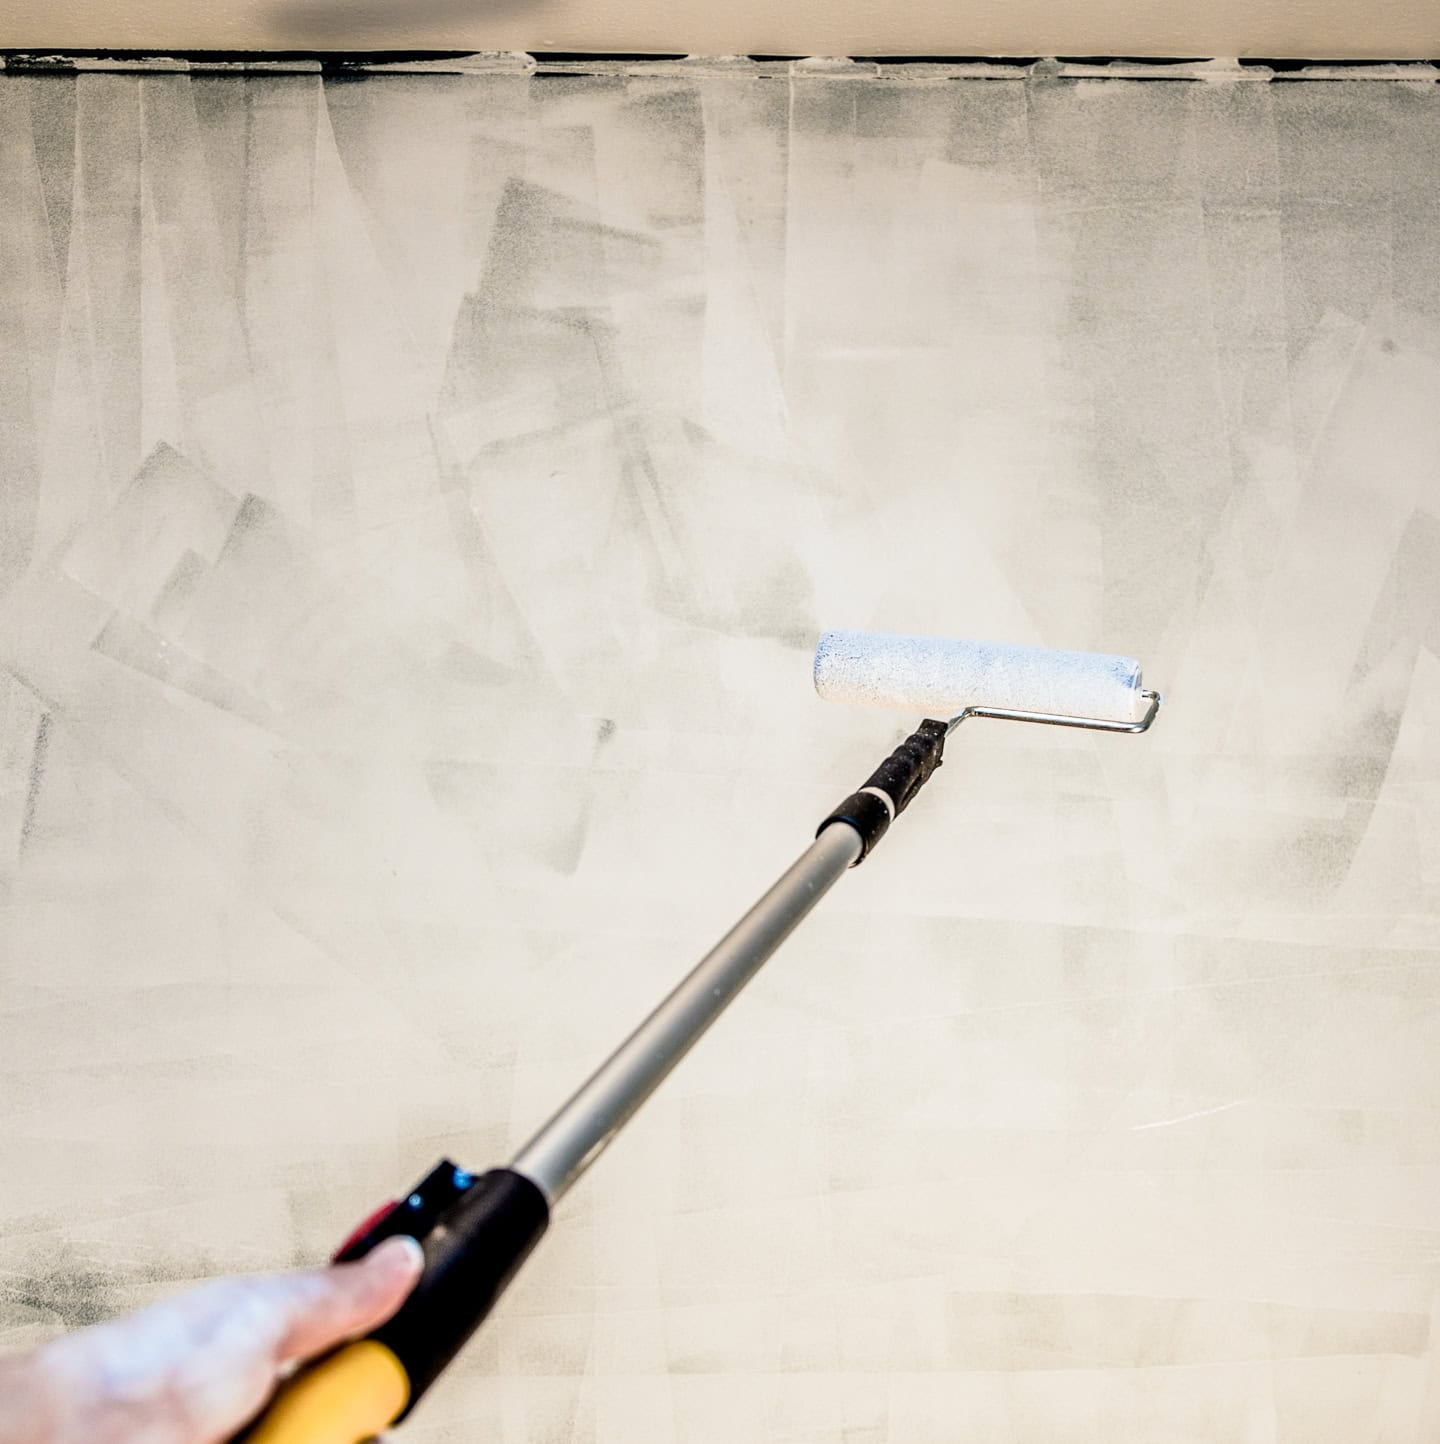
Most ceilings are painted with a flat paint which tends to soak up adhesive and can cause the wallpaper not to stick.
To prevent this, you’ll want to apply a primer to the ceiling.
Tape around the edges of the ceiling with painter’s tape.
Then use a brush to paint around the edges and a paint roller with an extension pole to paint the middle.
Let it dry for the recommended time before continuing.
If your wallpaper has a dark or colorful background, you may want to get your primer tinted to match. This will help to hide any small gaps between or around the wallpaper strips.
How to hang ceiling wallpaper
Now we’re on to the fun stuff!
1 | Draw a line on the ceiling
Before you put up the first strip of wallpaper you’ll want to mark where the outer edge of it should go. This will help to keep it straight.
To do this measure out from the wall the width of the wallpaper minus 2 inches. So if the wallpaper is 21″ wide, measure out 19″ (21″ – 2″).
Mark that position with a pencil.
Repeat on the opposite side of the ceiling so the measurements are across from each other.
Then put up a small nail on one of the marks and hook the end of a chalk line on it. Or get a helper to hold the end at the right spot.
Pull the chalk line across to the other side of the ceiling, line it up with your measurement and snap a line across the ceiling.
This will be the outside edge of your first wallpaper strip. Everything else will line up to this so make sure it is straight.
Shorter pieces of wallpaper are much easier to hang on the ceiling than longer ones. So if you can, make your line along the shorter side of your ceiling. (This may not be possible if your wallpaper has a pattern that you want to have displayed in a certain direction.)
2 | Cut the wallpaper
Measure the length of the room.
Cut a strip of wall paper this length plus 4”.
When you’re installing it, you’ll want the wallpaper to overhang both ends by about 2 inches. This will cover any wiggles in the walls and overcome any small errors in measuring.
3 | Apply adhesive to the ceiling
If you are using peel and stick wallpaper, you can skip this step.
Apply adhesive to the ceiling for the first strip of wallpaper. This should go along the entire length of the ceiling and out to your snapped line.
The easiest way to do this is by using a roller with an extension pole. But you can get up on a ladder and do it without the extension.
The instructions on the package may say that you need to apply the adhesive to the back of the wallpaper, or that you need to wet it and fold it over (for pre-pasted ones). Doing it that way will make the wallpaper much more difficult to install. Putting the adhesive on the ceiling accomplishes the same thing. So you can ignore those directions.
4 | Put up the first strip of wallpaper

Position the wallpaper so that it is running straight down your chalk line and sticking out past the end of the ceiling on the wall sides by about 2 inches. (This overhang will make sure there aren’t any gaps at the edges because of crooked walls.)
Then push about 2 feet of the wallpaper onto the adhesive with your hands. (Or however far you can comfortably reach. No falling off the ladder because you are trying to stretch too far!)
Run the plastic smoothing tool across the surface of the wallpaper to smooth out any bubbles and make sure the wallpaper has stuck.
Move your ladder down a few feet and do the next section. Continue until you have reached the other side of the ceiling.
If you are using peel and stick wallpaper, only peel the backing off a few inches at a time. Stick that little bit up and then peel off the next few inches. This prevents the part you aren’t working with from sticking to things you don’t want it to.
Having a helper hold up the other end will make this installation process much easier.
The big issue with hanging wallpaper on the ceiling is gravity. The weight of the wallpaper you haven’t put up yet can pull down the wallpaper you have already hung. The heavier your wallpaper, the more of an issue this is.
Which is why it is helpful to have a second person hold up the free end as you work.
However, I usually don’t have that luxury.
So I use a second ladder like a second pair of hands:
- Use the tallest ladder that will fit in your room. (The closer you can get the free end of the wallpaper to the ceiling, the easier it will be to hang).
- Put the additional ladder up about 3 to 4 feet away from where you are working, directly under where you will be hanging the wallpaper.
- Then lay the strip of wallpaper (pattern-side down) over your ladder and the second ladder.
- Adjust the distance between the ladders so that the wallpaper doesn’t have too much sag in the middle but is still supported on both ends. (The further away you can get them, the fewer times you will have to move the second ladder).
- Keep moving the second ladder over as you put up more of the wallpaper so that it is always supporting the free end.
Then you can install the wallpaper on the ceiling without too much trouble.
Note: To make the job easier for a big room, you could use more than 2 ladders (all in a row). Or get some scaffolding so you don’t have to be walking up and down ladders all the time.
5 | Trim and roll
After the paper is smooth and straight, place the straight edge against the ceiling at each wall. Carefully cut off the excess with the utility knife so that the wallpaper goes right out to the wall.
Wallpaper causes utility knives to get dull really quickly. So you’ll need to be snapping off or replacing the blade fairly often. If you notice that the wallpaper is starting to snag or pull when you’re trimming it, your blade is getting dull.
Gently roll the edges around the walls with the seam roller to make sure they are adhering.
Then wipe the edges with a damp sponge to remove any excess glue.
6 | Put up the rest of the wallpaper
Cut the next strip of wallpaper to the same length as the first one.
If your paper has a pattern, make sure that the pattern will match up. You may need to move down the paper to cut the top edge in the same spot as the first one in order to do this.
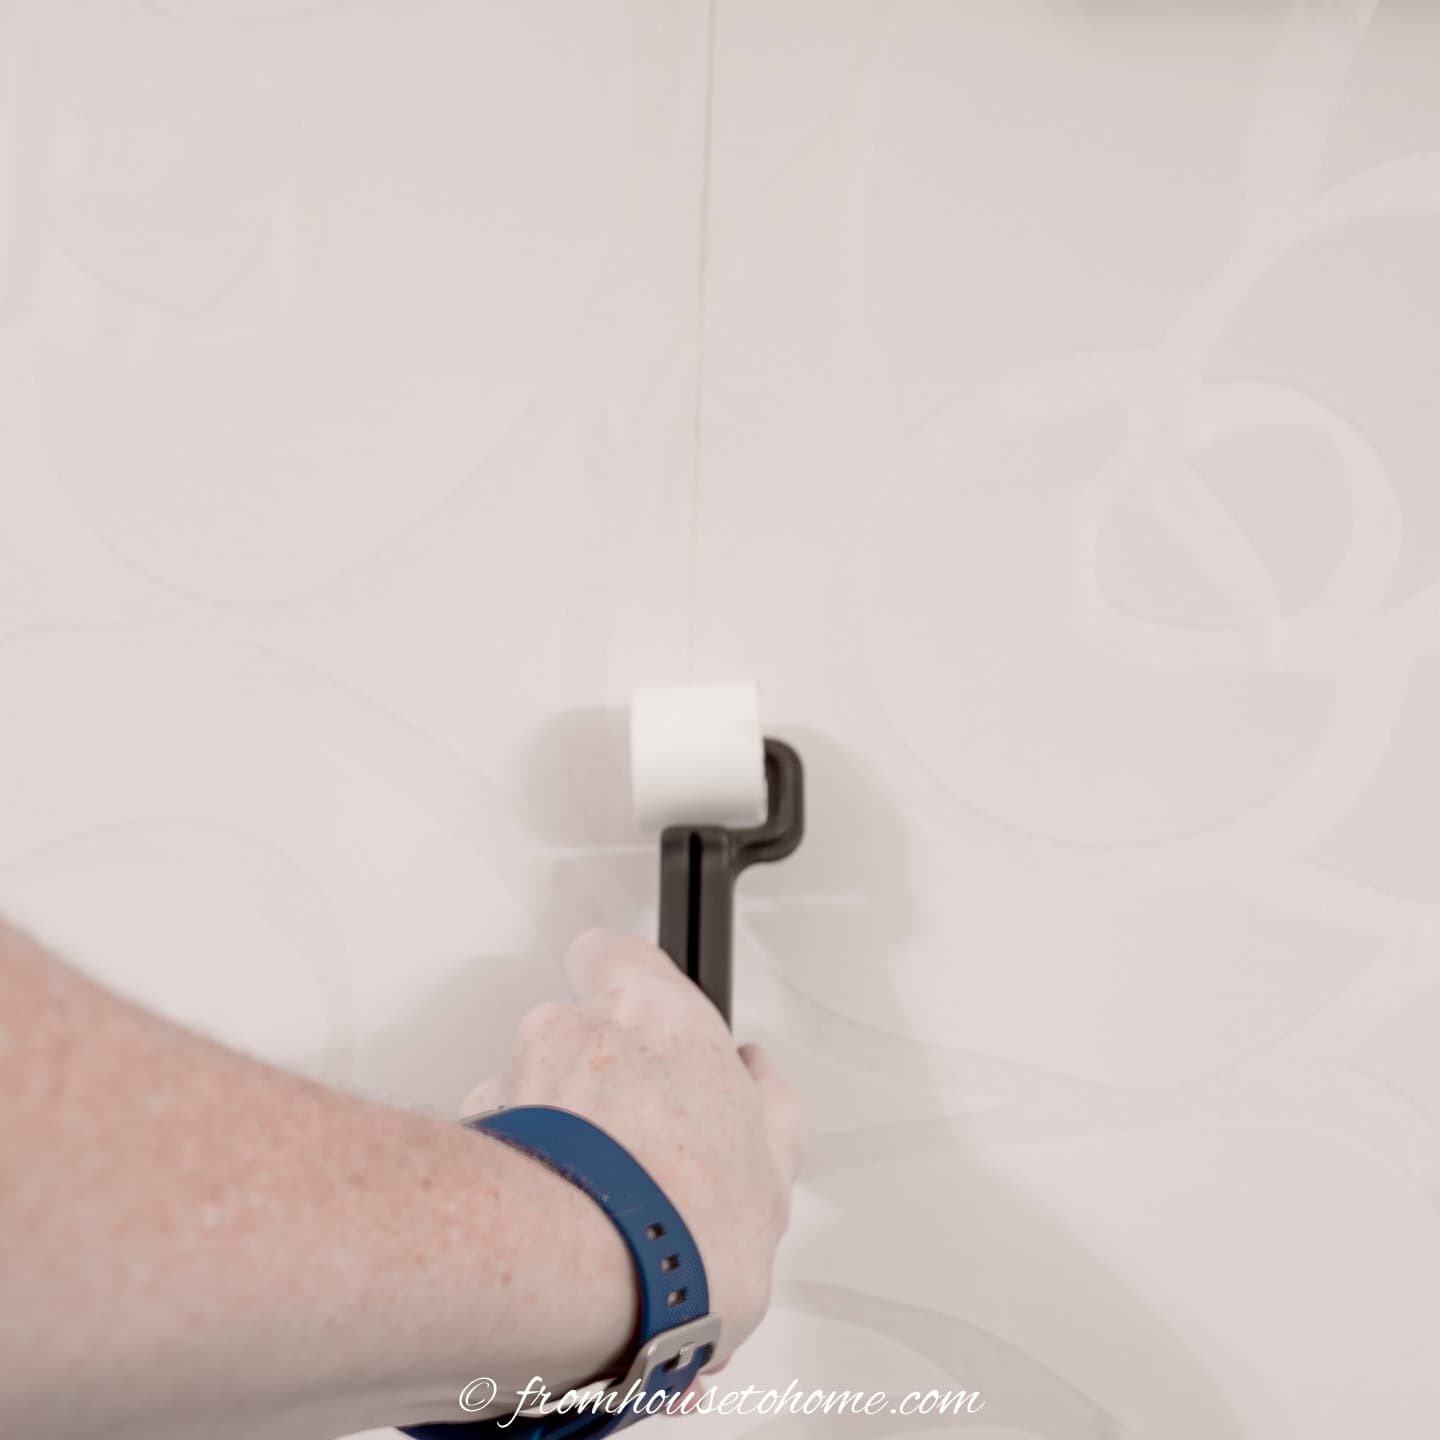
Then apply the glue to the ceiling, put up the paper aligning it to the previous strip, smooth and trim the paper, roll the edges (including the seam between the two strips), and sponge off any excess until the ceiling is covered.
Basically, repeating the steps from above but you don’t need to make another chalk line since you’ll be lining the paper up with the previous strip.
Finish the job
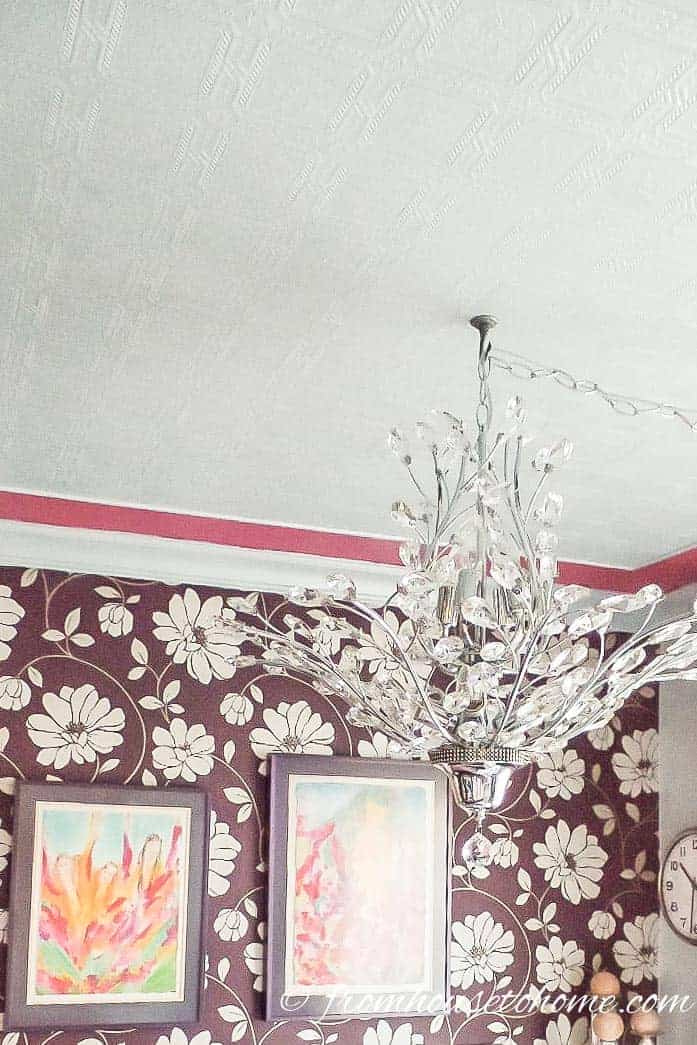
Turn the power off at the fuse box and put your fixtures back up.
If your wallpaper has a dark or colorful background and you can see small gaps (either around the edges or between the strips), you can touch them up using a fine marker in a similar color.
And you’re done!
Note: In the picture above, I painted a 1 foot wide strip around the entire room. Then I painted 1 inch wide half round molding and installed it 1 foot from the wall around the perimeter of the room. (I painted the molding prior to nailing it up, so the edges would be very crisp). The adhesive and paper are then applied inside the rectangle as described above.

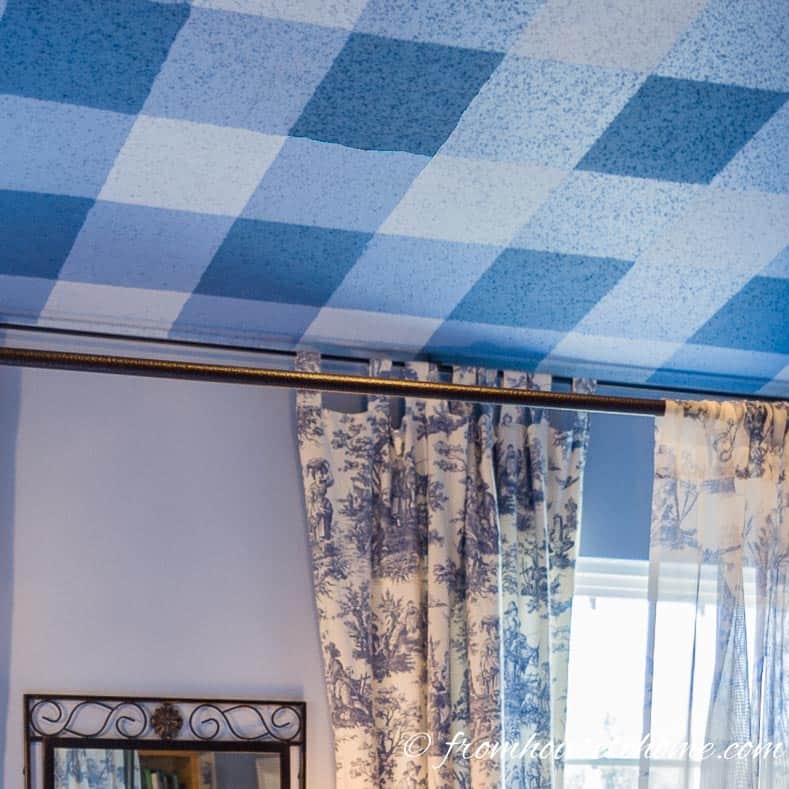
Have comments or questions about how to wallpaper the ceiling? Tell us in the section below.
This post was originally published on March 12, 2015 but was updated with new content on March 31, 2025.
Understanding the last photo. Is the quarter-round on the wall, close to the ceiling, a wide strip of paint, (the darker color) and then molding on the wall under the paint? Then wallpaper on the wall? Interesting. Am I correct?
Hi Gloria…Sorry, it’s not the best picture so it’s a little hard to see. The quarter-round and wide strip of paint are actually on the ceiling with crown molding in the corner and then wallpaper on the wall. (I will update the note at the bottom of the page to make that clearer.)
My ceiling has wallpaper on it but it has turned yellow at the seams. How can I tell if this ceiling can be painted? I looks like vinyl but I am not sure.
Hello Pat,
As a rule of thumb, I never paint over wallpaper. Vinyl wall paper is usually designed to be easy to remove. Just be sure to wash all the glue off of the ceiling surface before you paint. Yes, that is a lot of work.
If the seams are well adhered then it is possible to paint over the paper at the risk that at some future date the paper will start to deteriorate. Once it is painted it is virtually impossible to remove.
Is your paper embossed with a raised pattern? Then it could be one of those papers designed to be painted. Is it white now? I suspect that since the edges are yellowing that this is what you have and if so I would paint it. I suggest that you have a look in Home Depot at their paintable papers to see whether your ceiling is similar.
Thanks for answering my request. My paper is embossed with a raised pattern. It is an off white. I will take your advice and check out Home Depot to see if I can find something similar.
Do you have to use the primer if you painted the ceiling recently?
Hello Penney, I would use primer if the ceiling is painted with a flat paint. If it is a satin finish, primer would not be necessary.
I have painted over vinyl embossed wall paper on my bathroom ceiling. No problems at all. Don’t apply too much on roller. You don’t want to saturate the paper and pull it down. Give it a try before you pull it down. Mines been up 5 years now. No issues
Thank you Rhonda for sharing your experience. The main reason I don’t like to paint over wallpaper is the difficulty it presents if I ever want to remove it.
I want to wall paper my ceiling and the living room
Good luck with it. I hope you enjoy the results.