
How To Paint Melamine Kitchen Cabinets With A Paint Sprayer
Learn how to paint melamine kitchen cabinets using a paint sprayer for a smooth, professional finish. This step-by-step guide covers preparation, priming, and painting techniques to transform your kitchen cabinets with ease.

If you have watched any decorating shows, you will have seen that they often refurbish old kitchen cupboards by painting the doors.
It always seems like such a quick, easy, and inexpensive makeover on television.
So when I wanted to update my kitchen, I decided to give it a try.
And while it is a very cost effective undertaking, I discovered it takes much longer than you might expect.
However, I think the invested time and effort is well worth the results.
And if you use an electric paint sprayer, you can get professional-looking results very easily.
Here are the steps I took to paint my melamine kitchen cabinets with a paint sprayer.

Supplies
Materials:
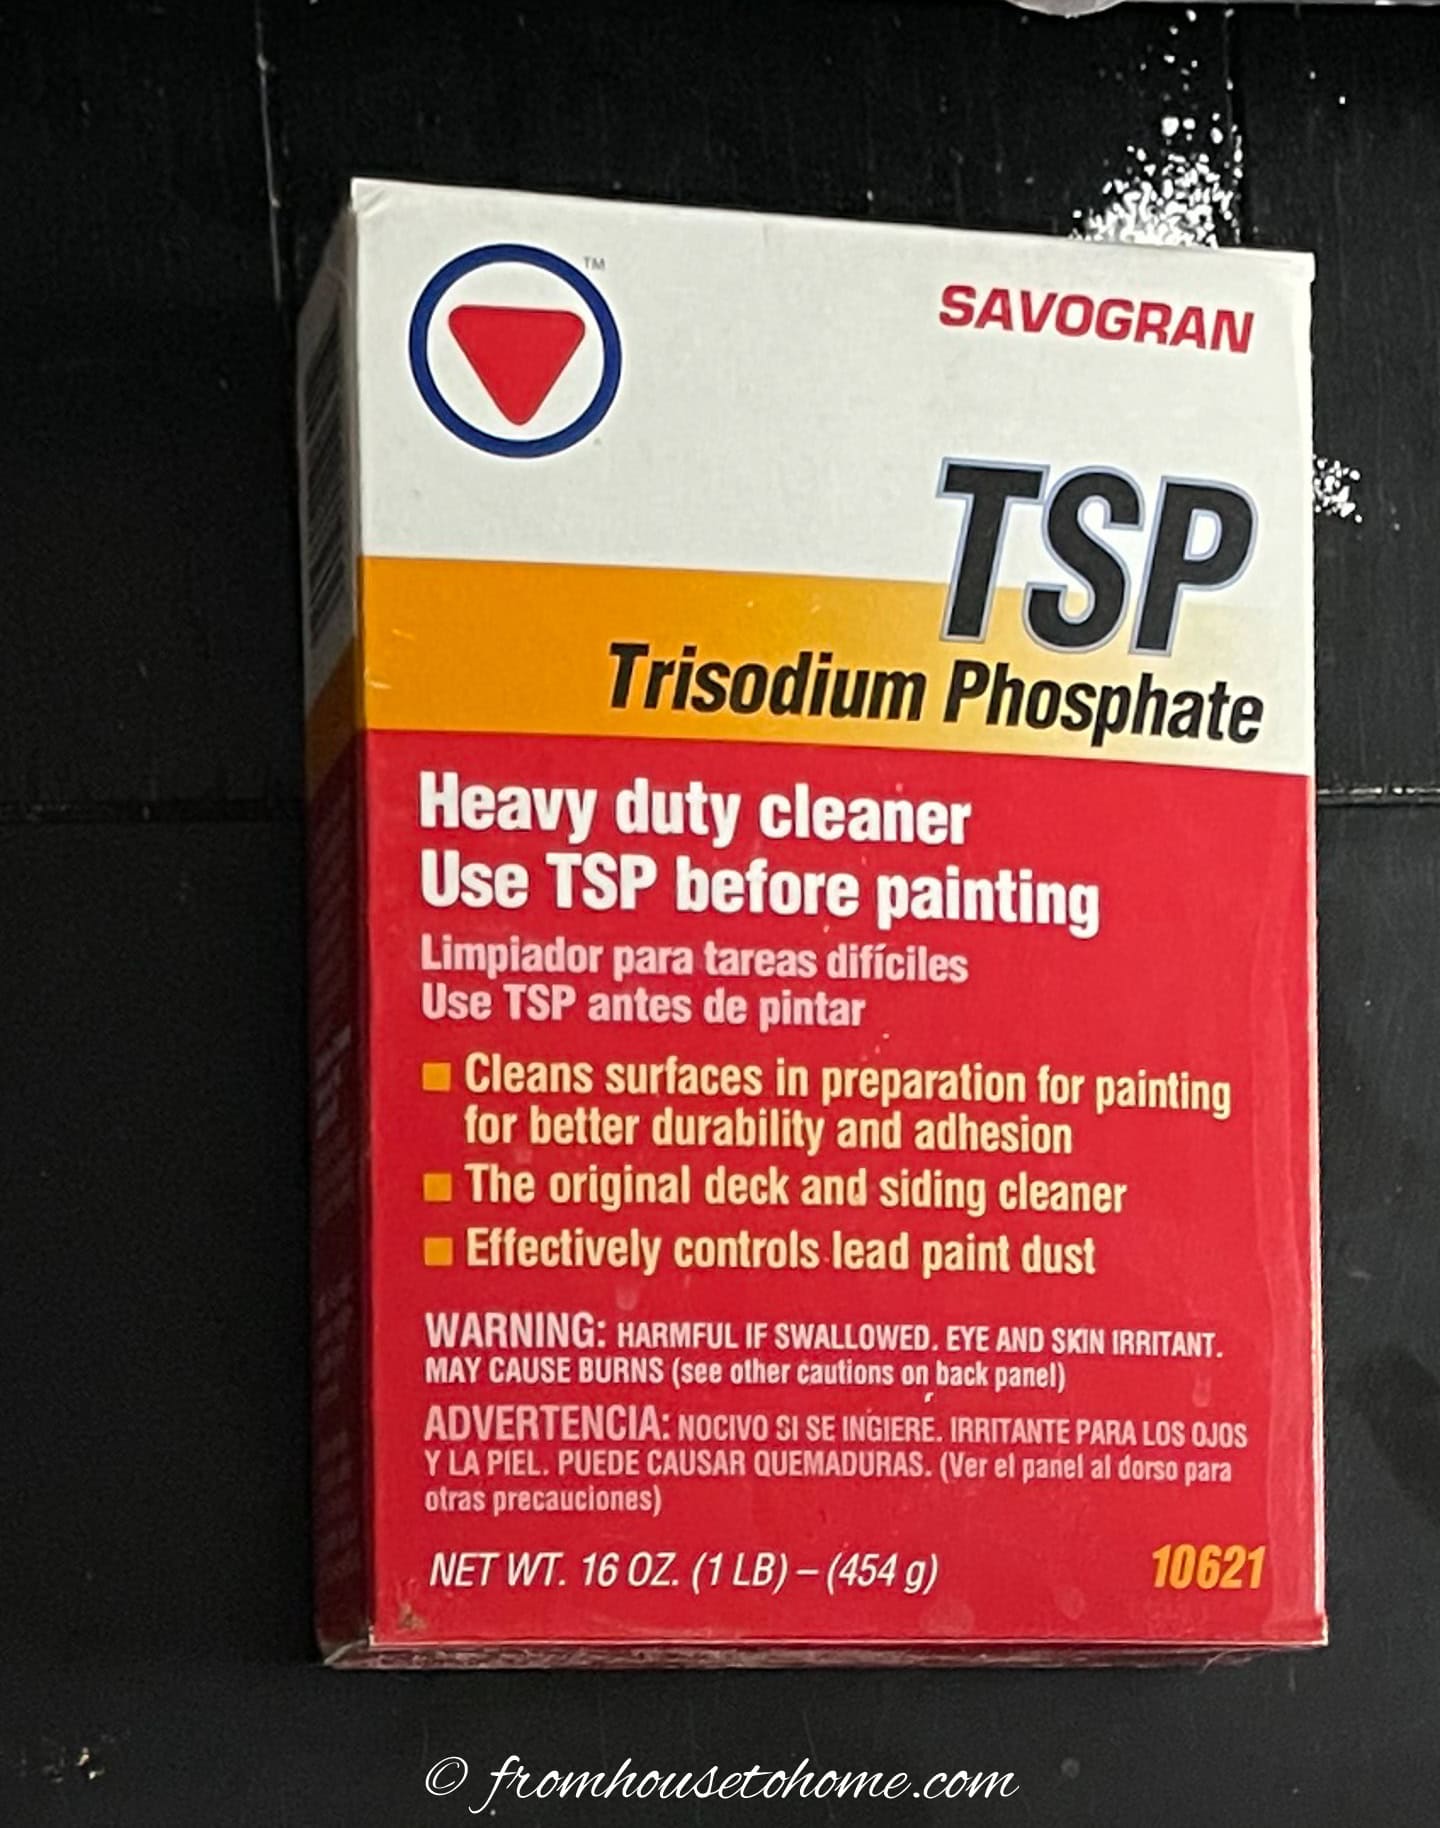
- TSP – This is the best way to remove grime and get the cabinets and doors ready for painting. You can find it HERE.*
- spackling compound or wood filler – This is only required if you are changing the position of the handle or knob holes.
- sand paper
- primer – I like to use Zinsser Bull’s Eye 1-2-3 primer* for this purpose. It is water-based so it is easy to clean up and really adheres well to the melamine.
- semi-gloss (or gloss) trim and door paint – I like Benjamin Moore’s Advance paint in a semi-gloss finish for kitchen cabinets. It is self leveling so it creates a smooth, hard finish that’s durable enough to withstand the wear and tear of a kitchen.
Tools:
- screw driver
- putty knife (optional) – Only required if you are changing the position of the handle or knob holes.
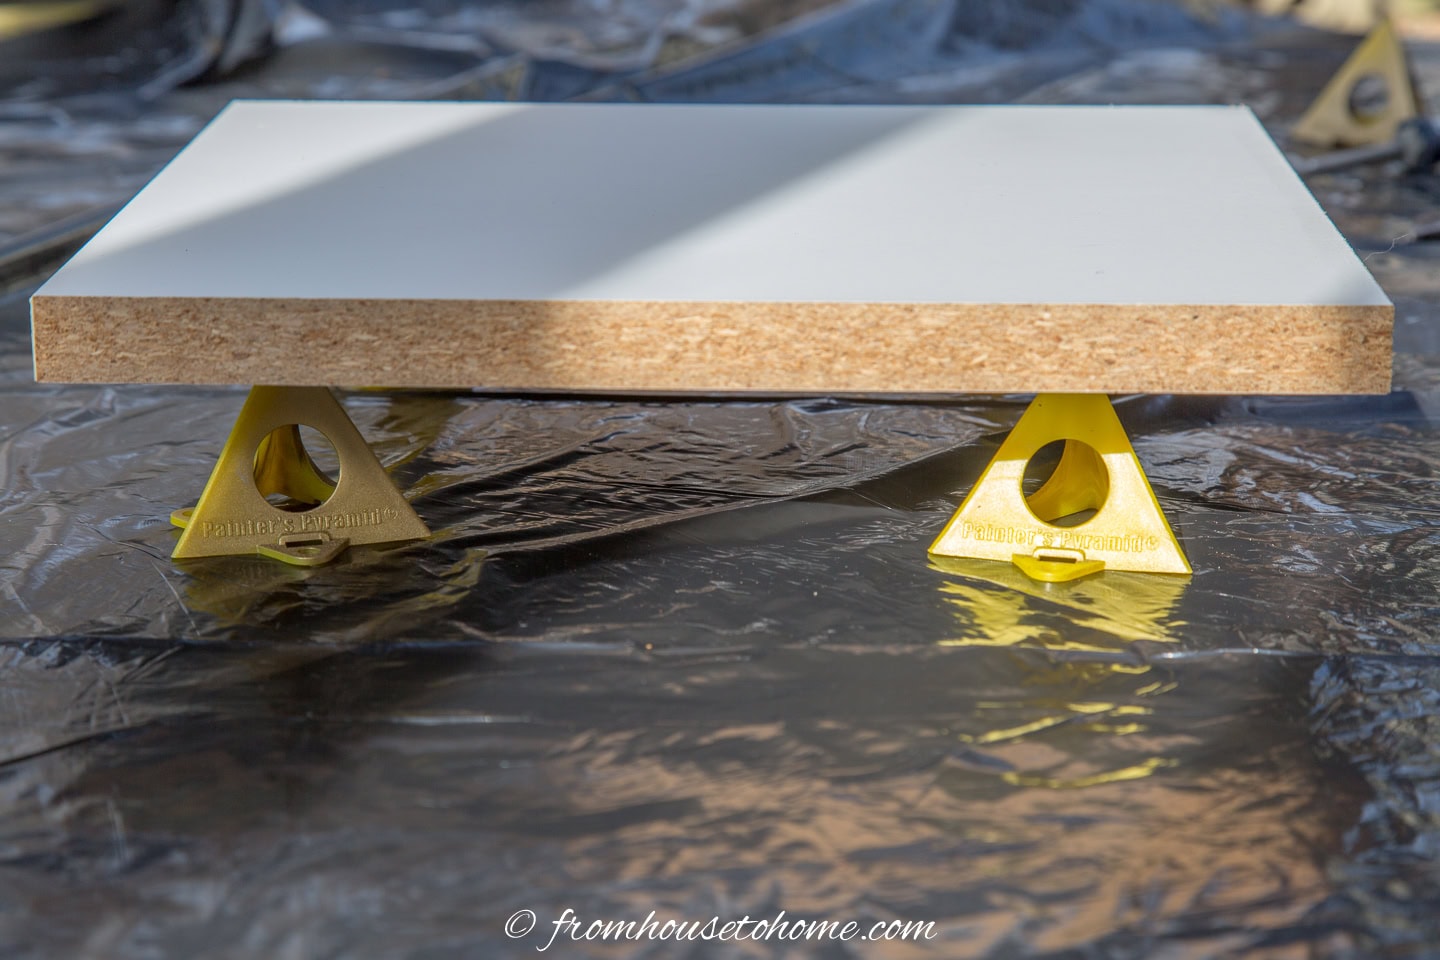
- pyramid stands (optional) – These pyramid stands* allow you to raise the doors off the surface by a couple of inches so you can paint the sides easily. And the plastic doesn’t stick!
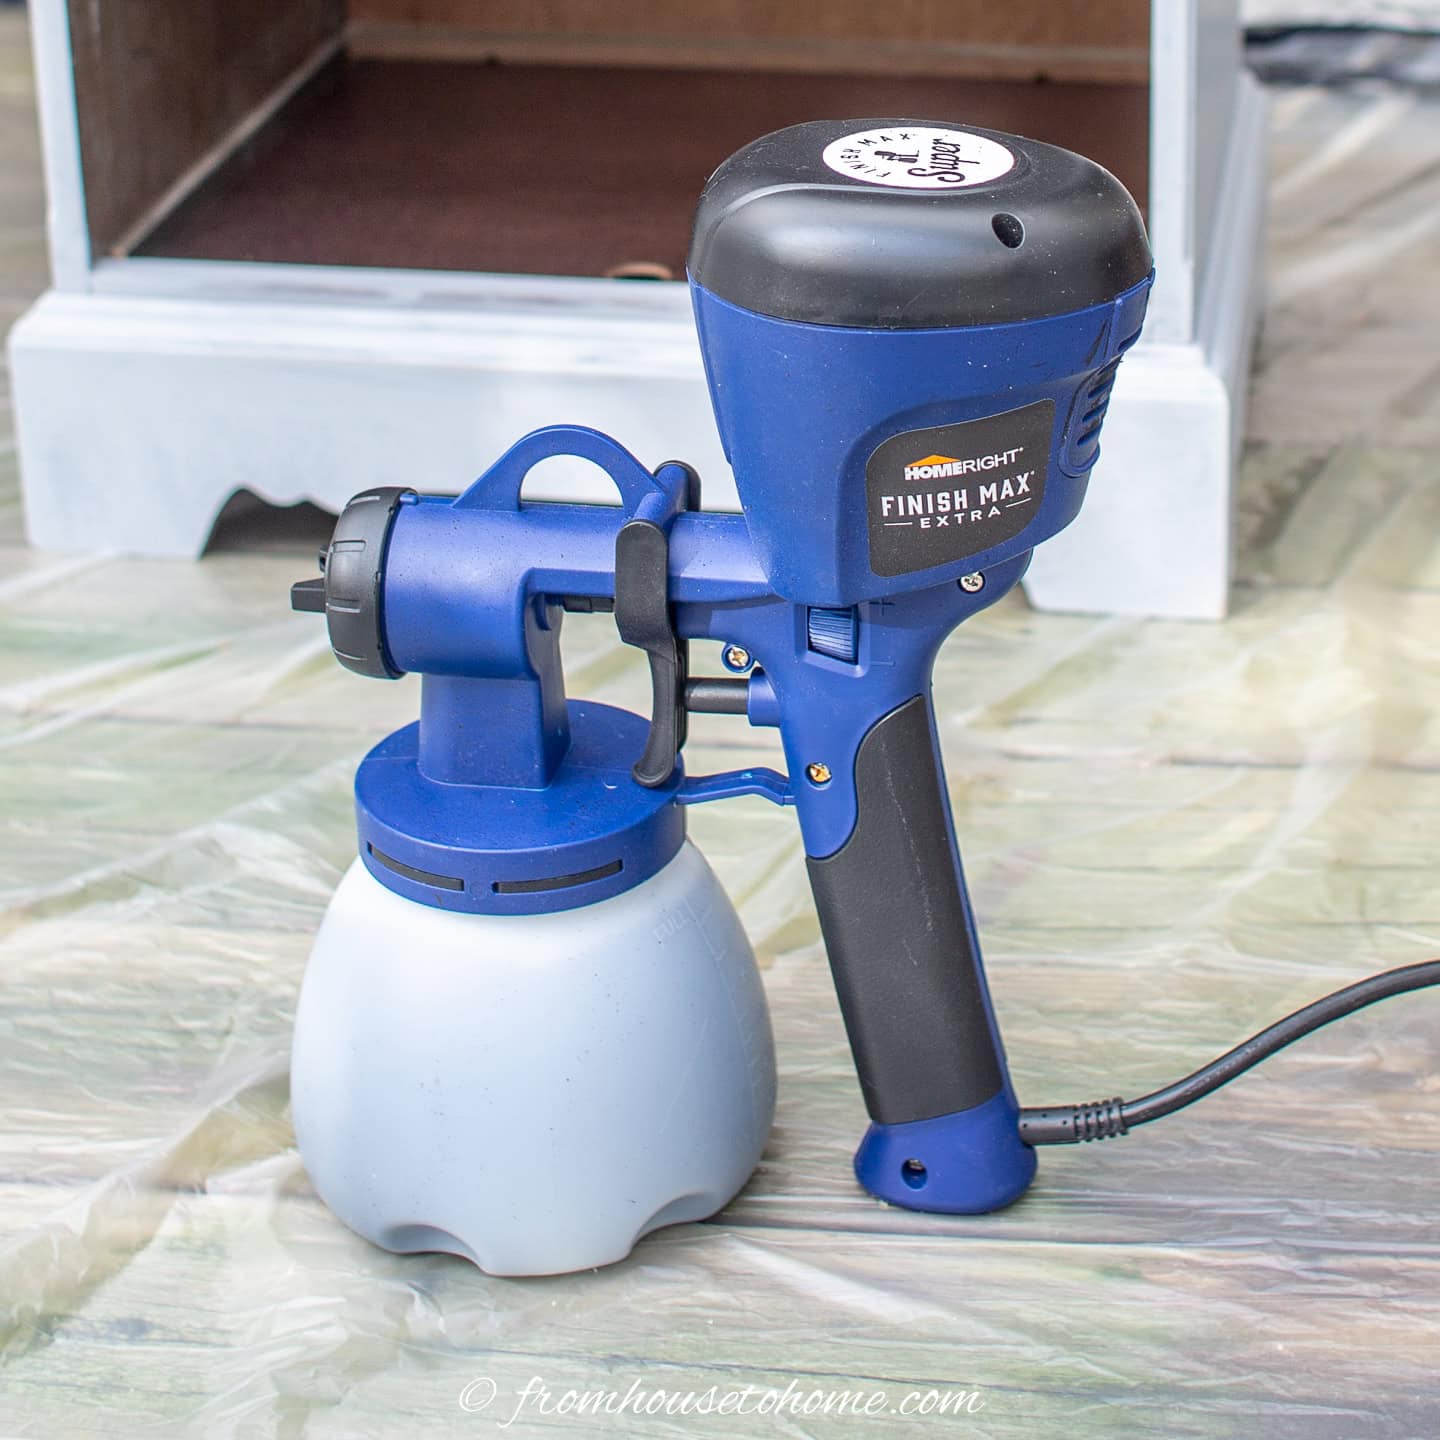
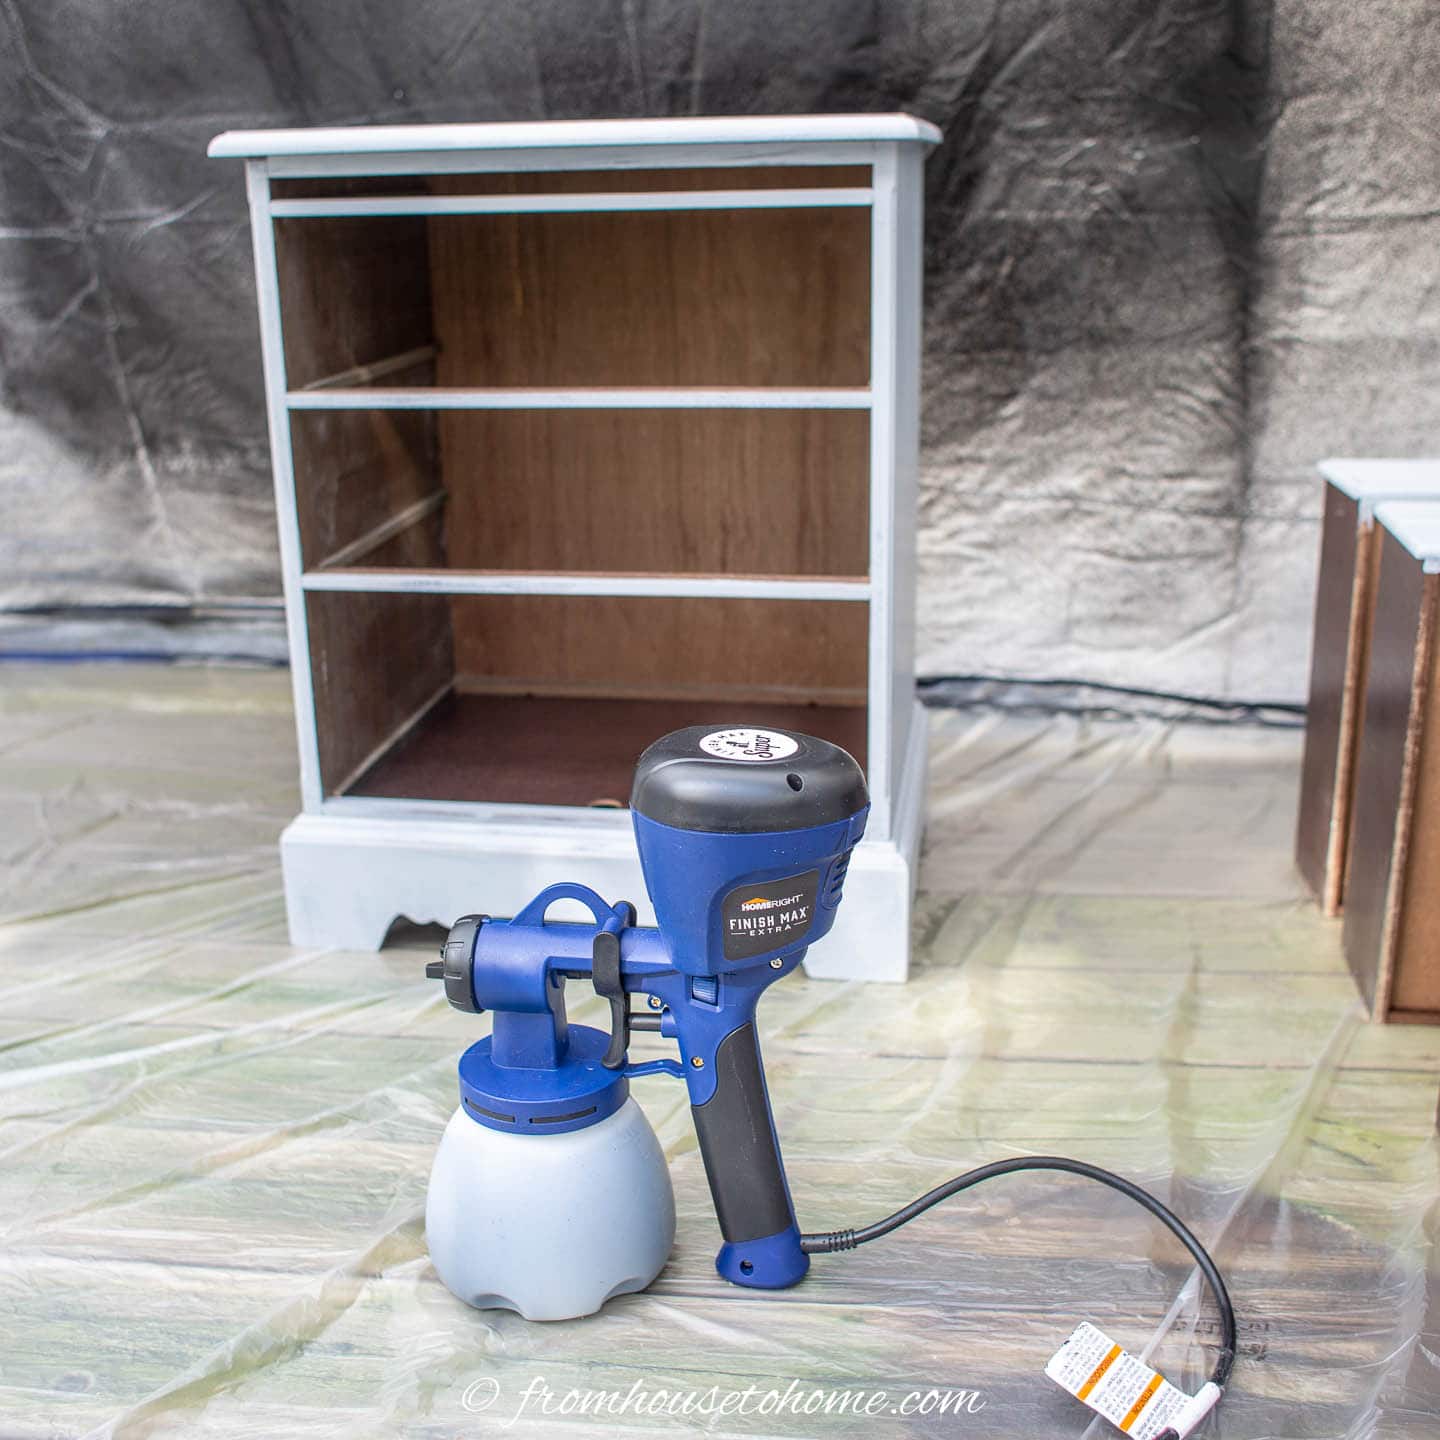
- electric paint sprayer – I love this Finish Right Max paint sprayer*. It is super simple to use and the clean up is much easier than other paint sprayers I have used.
- sanding block or electric sander (optional) – While this isn’t absolutely necessary, it makes the sanding job faster and easier.
- drill (optional) – This is only necessary if you are installing new handles that need to have new holes drilled for them.
Preparation work

1 | Remove doors and hardware
Start by taking all the doors off the cupboards.
Remove the hinges, knobs, and handles from each door.
To keep track of where each door belongs, write a number on a piece of masking tape and stick it to the back of the door and the corresponding cabinet. (I usually put the tape in the hole where the hinge goes so it won’t interfere with the painting.) This will help you put them back in the right place later.
If you are planning to replace the hardware, fill any unwanted holes in the doors with spackling compound or wood filler.
Use a putty knife to apply the filler, smoothing it out so it’s level with the surface. Let it dry completely before moving on to the next step.
2 | Sand the surface

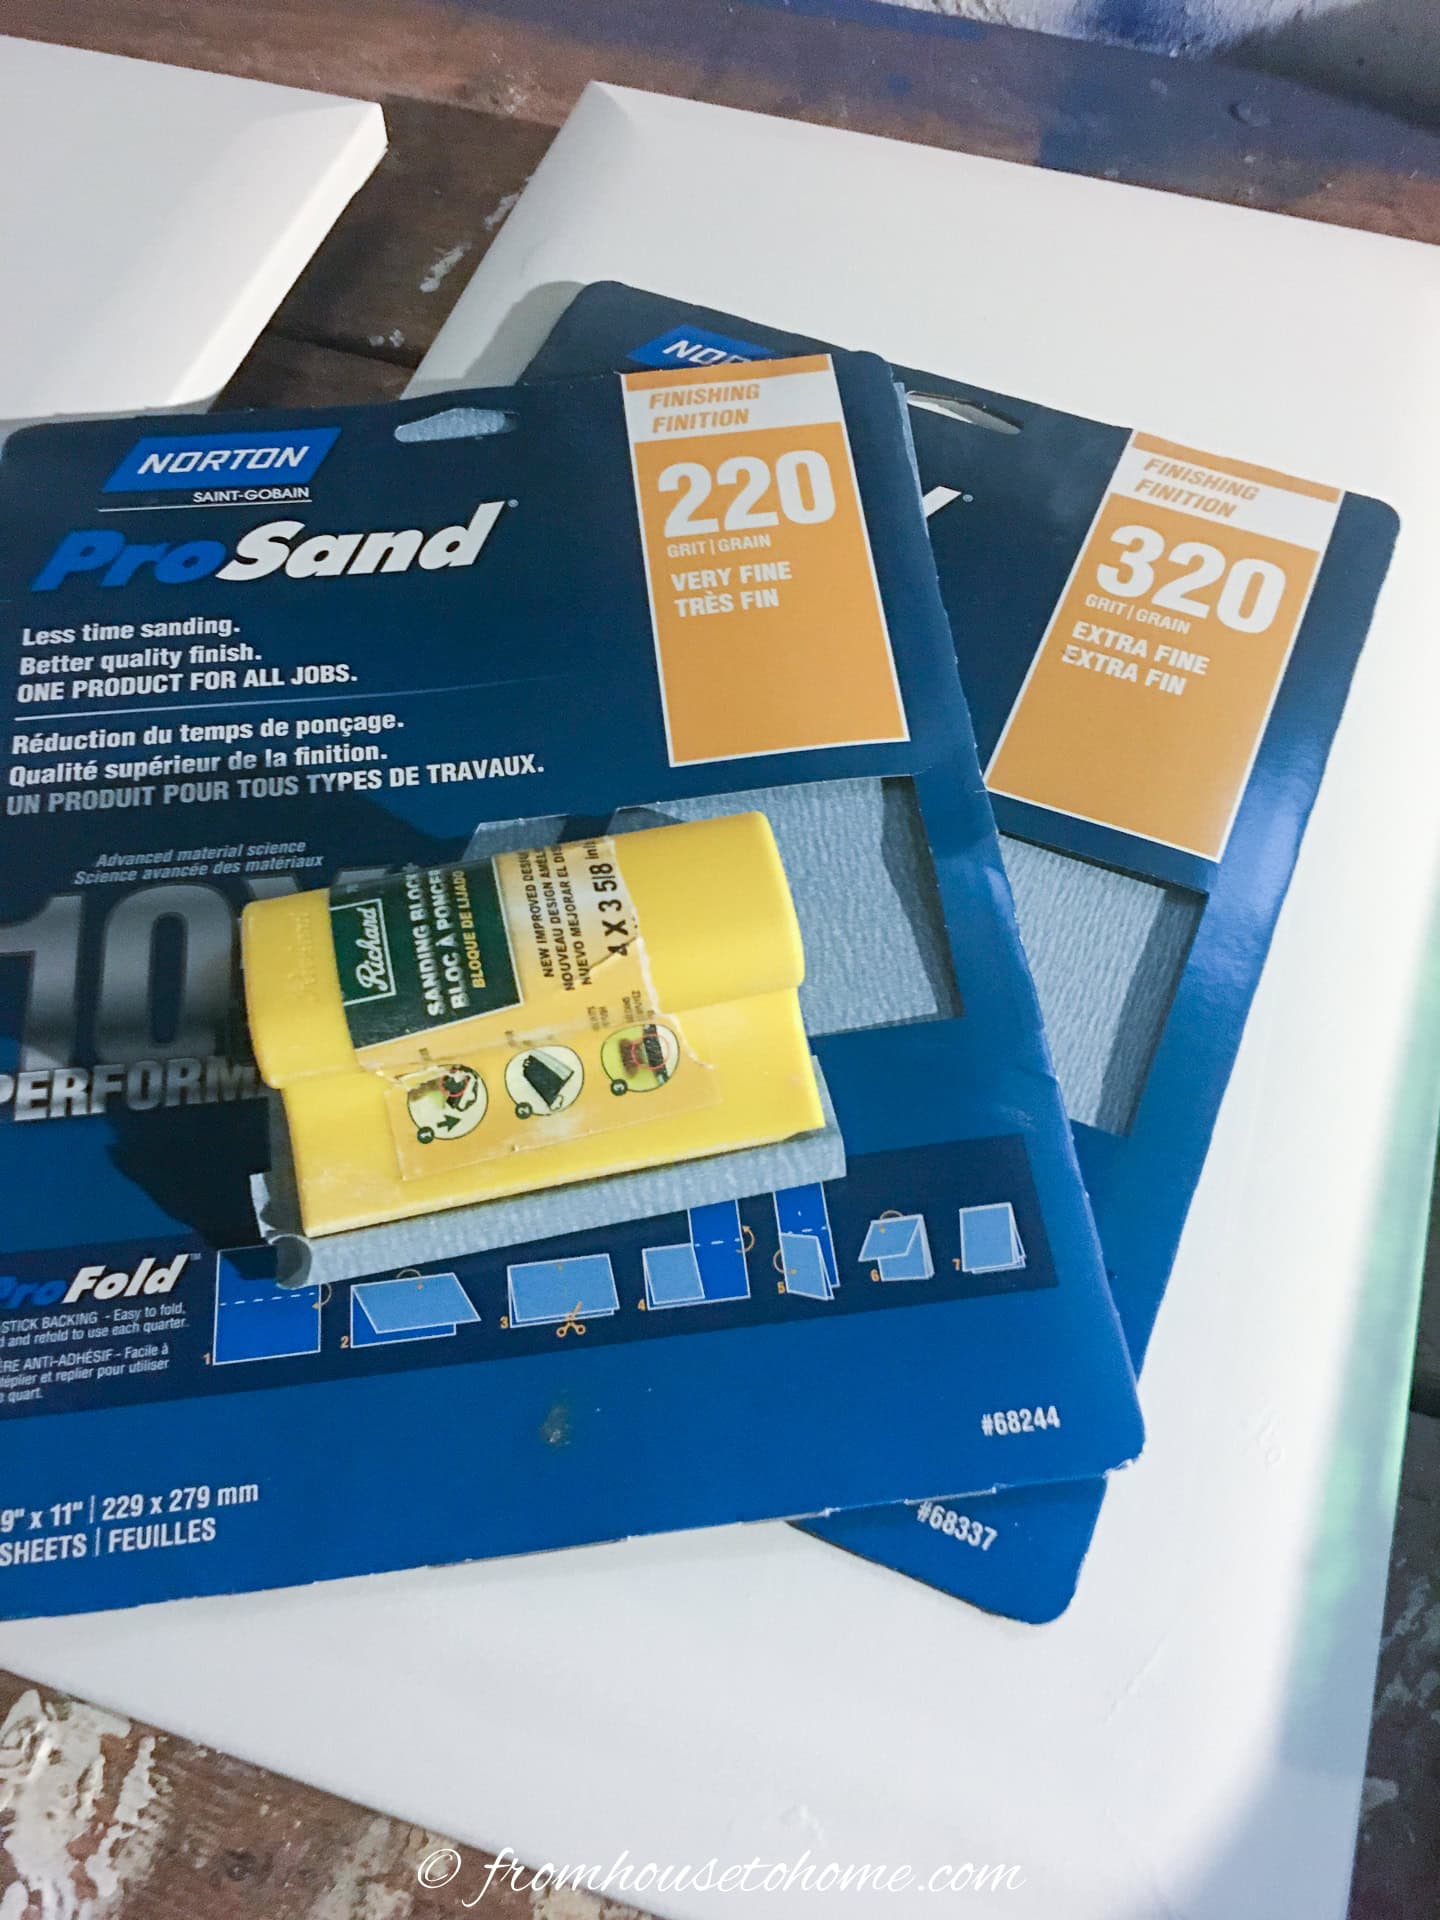
Use a piece of fine-grit sandpaper, around 220 grit, to gently sand the cabinets. Attaching it to a sanding block or using an electric sander will make the job easier.
This will help to rough up the surface just a bit, making it easier for the paint to stick.
Be sure to sand evenly over every area you plan to paint.
If you notice any bumps or imperfections, spend a little extra time sanding those spots to make them smooth.
3 | Wash the cabinets

Clean the cabinet doors and front edges with TSP* (trisodium phosphate) mixed in warm water. This step is crucial to remove any grease and dirt.
To make the cleaning solution, follow the instructions on the TSP package. Usually, it involves dissolving a certain amount of TSP in a bucket of warm water. Wear gloves to protect your hands, and use a cloth to scrub all surfaces thoroughly. Pay special attention to corners and edges where grime can build up.
After scrubbing, rinse the cabinets with clear warm water to wash away any dust and detergent residue. Use a clean cloth or sponge for this step, ensuring you leave no soapy film behind.
Allow the cabinets to dry completely before moving on. This can take a few hours, so you might want to plan other tasks while waiting. You can speed up the drying process by using a fan or opening windows for better air circulation.
How to paint laminate kitchen cabinets
4 | Prepare the paint area
Find a well-ventilated, clean area where you can lay the doors flat.
Then cover everything with a plastic sheet.
When you are spray painting, little particles of paint get everywhere so make sure to cover anything you don’t want to get paint on.
Arranging the doors in the numbered order will make it easier to find the ones you need when it comes time to hang them back up.

5 | Prime the cabinet doors

Spray each door with an even coat of primer.
Point the spray gun off to the side of the door before starting the paint flow.
Sweep the paint spray across the entire door in one smooth motion, ending with the spray gun pointing off the door on the other side.
This technique prevents big blobs of paint from landing on the door when you turn the gun on and off.
Keep the spray gun nozzle an even distance of about 8 to 12 inches away from the surface to ensure the paint is distributed evenly.
Allow the primer to dry completely before moving on. I like to wait at least 24 hours to ensure the primer has fully dried. Otherwise, the paint may not cure properly.
One coat of primer is usually all you need.
6 | Prime the cabinets
You will also need to prime the outward-facing edges and sides of any cabinets that are visible.
Because of the mess that spray painting creates, I do this with a foam roller and paint tray. Roll the paint on in smooth, even strokes to cover the surface without leaving roller marks.
You can use your paint sprayer if you really want to, but you will need to tape up a lot of plastic. Make sure to cover the walls, ceiling, floor, appliances, countertops and any doorways so you don’t get paint where you don’t want it.
7 | Paint the cabinets and doors
Use the same paint methods as the primer to paint each cabinet door and cabinet with an even coat of semi-gloss or gloss trim and door paint. Make sure to cover all areas evenly.
Then let the paint dry completely before applying another coat.
This type of paint takes longer to dry than regular latex paint, so I usually wait at least 48 hours between coats to make sure.
Lightly sand the surface and wipe away any dust before continuing.
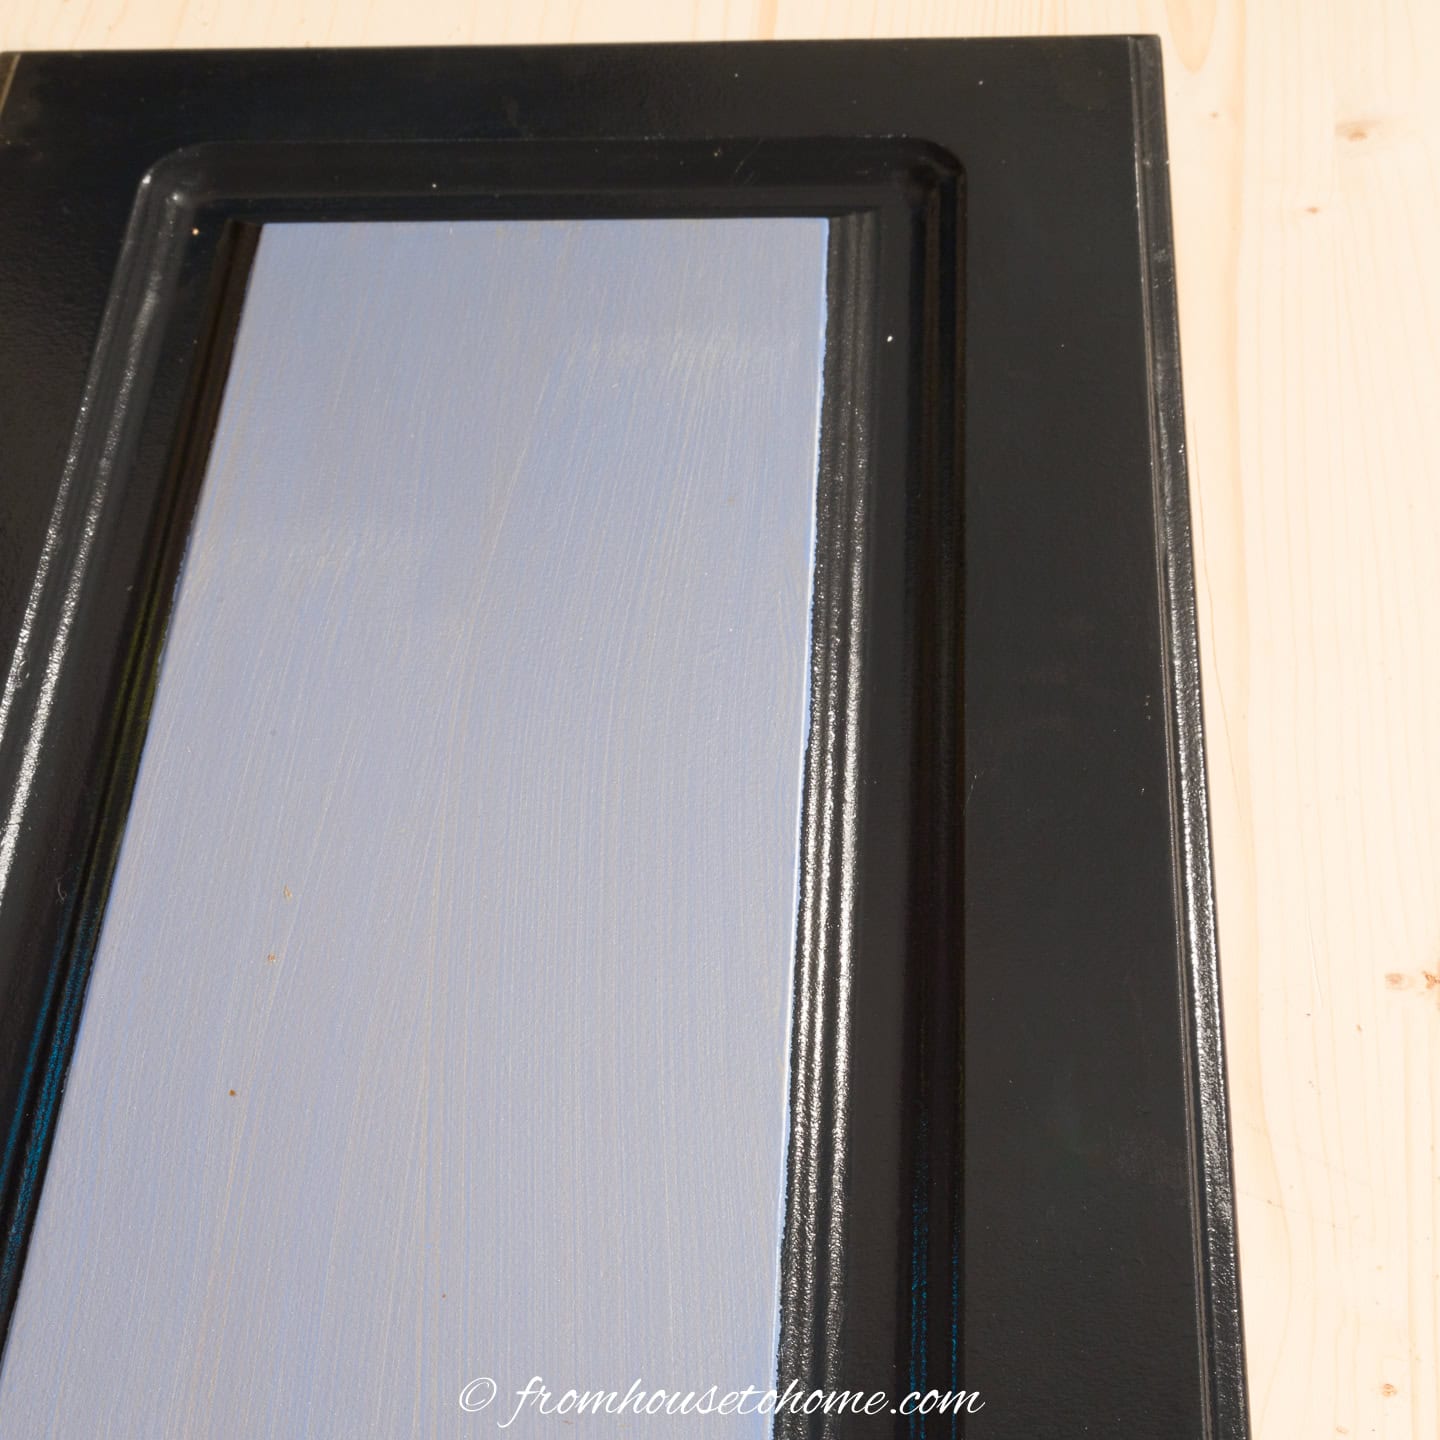
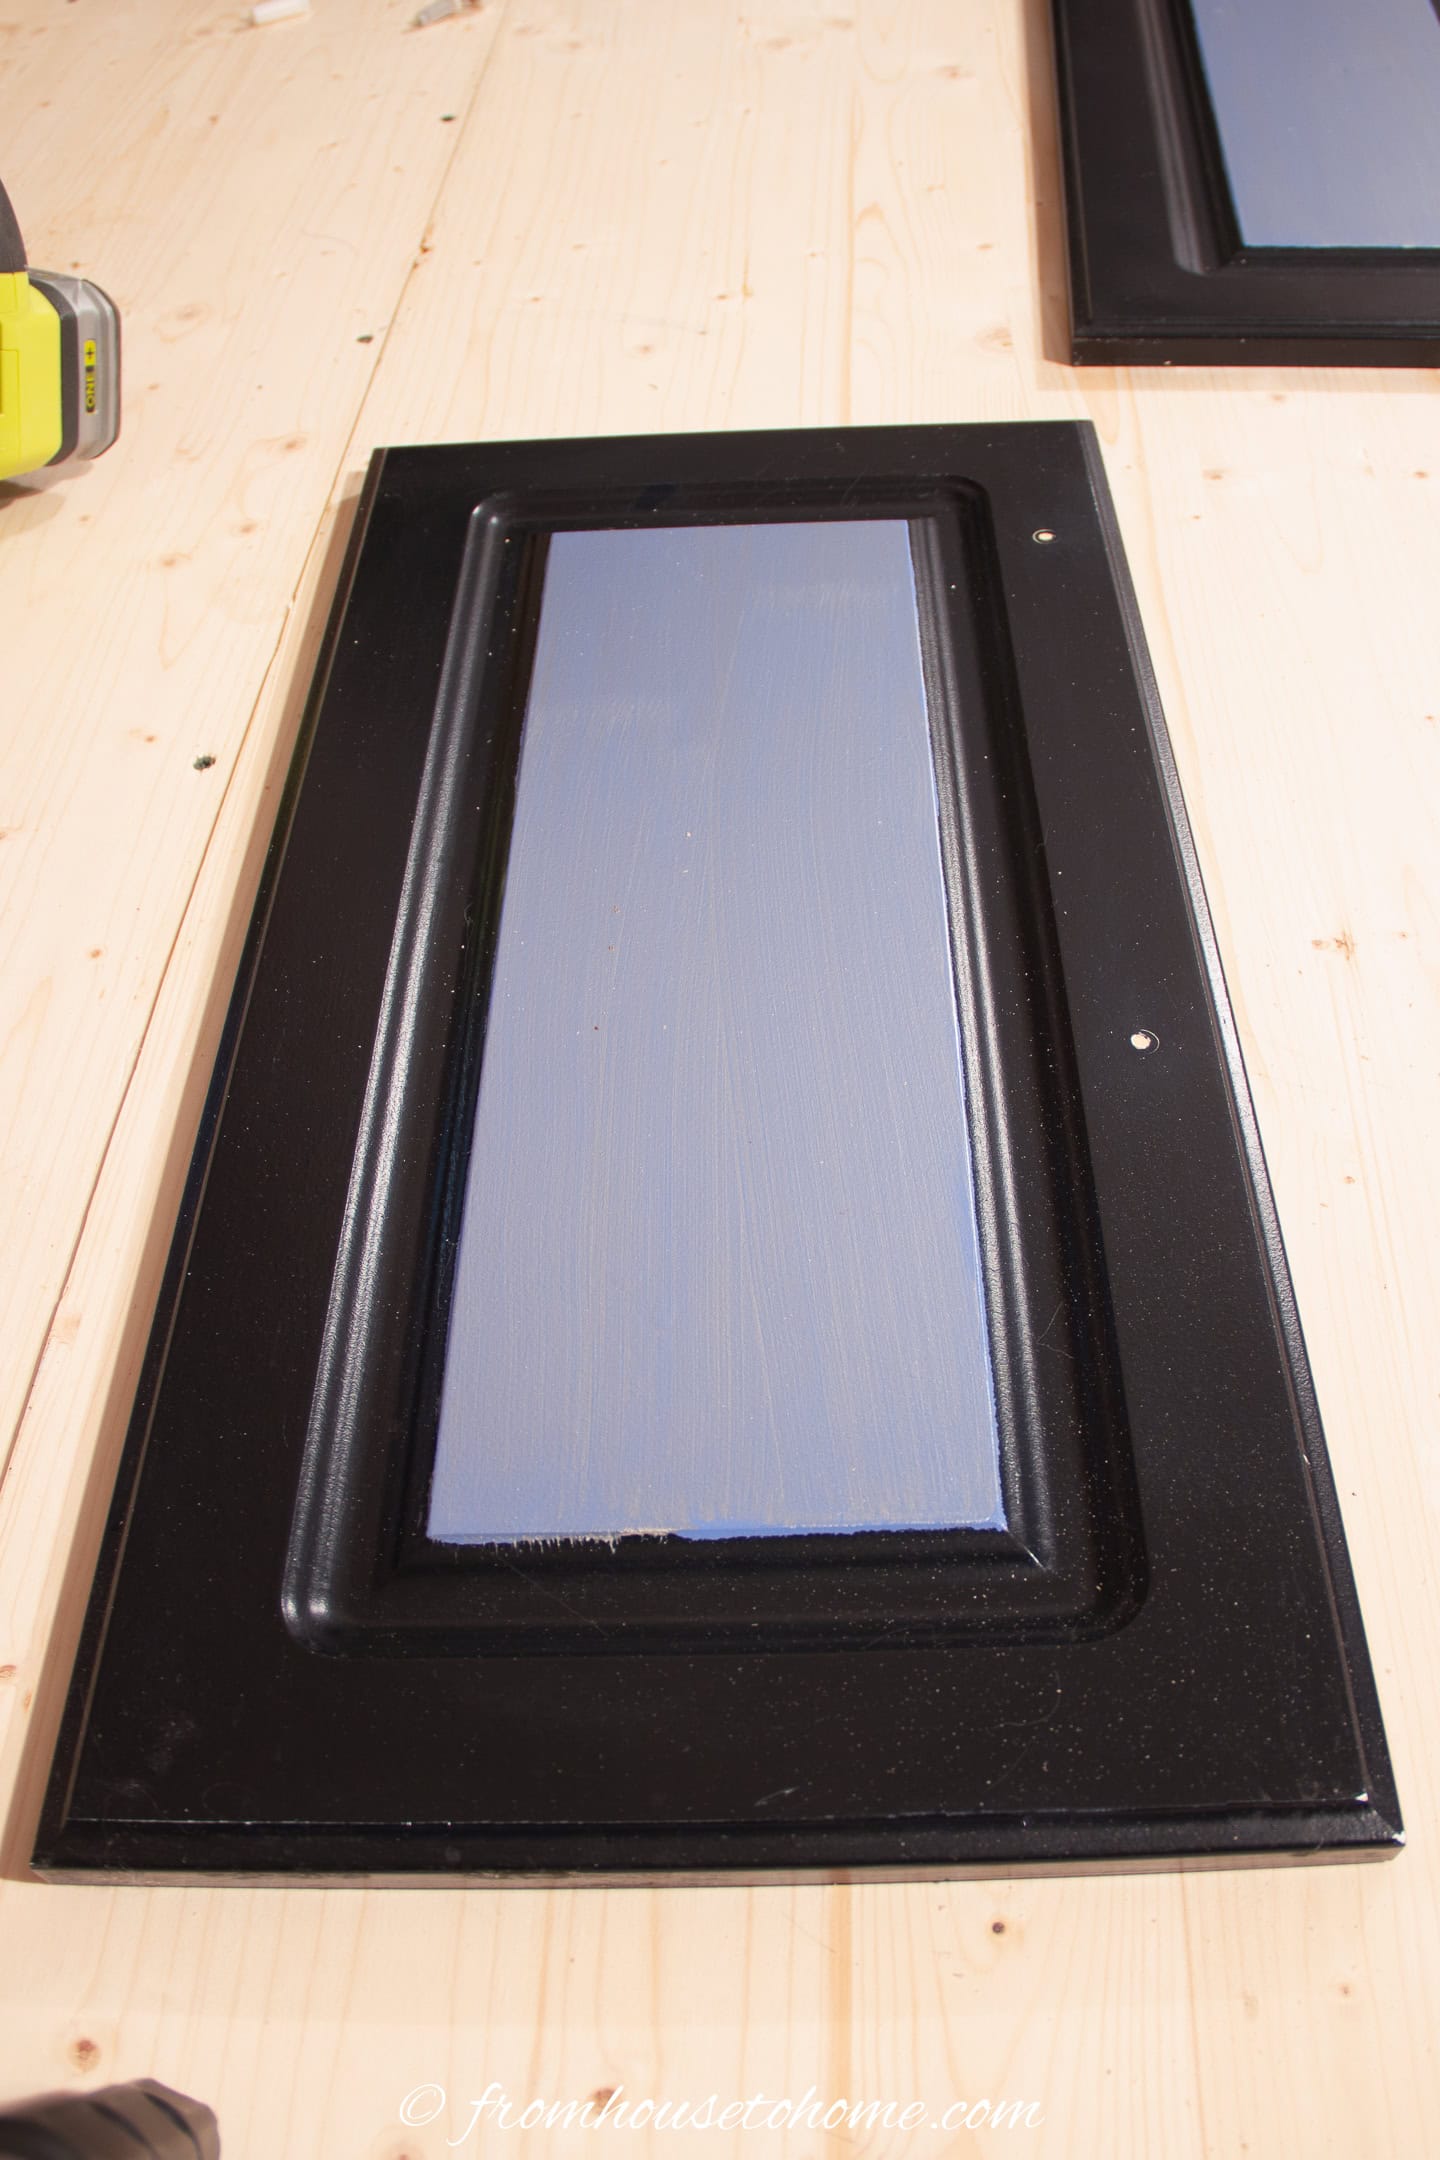
You will need at least two coats of paint, and possibly three, to achieve a smooth, even finish. Check the coverage after each coat to determine if an additional layer is needed.
Re-assemble the cabinets
8 | Drill new handle holes

If you are attaching new handles that need different holes than the originals, you’ll need to drill new holes in the cabinets.
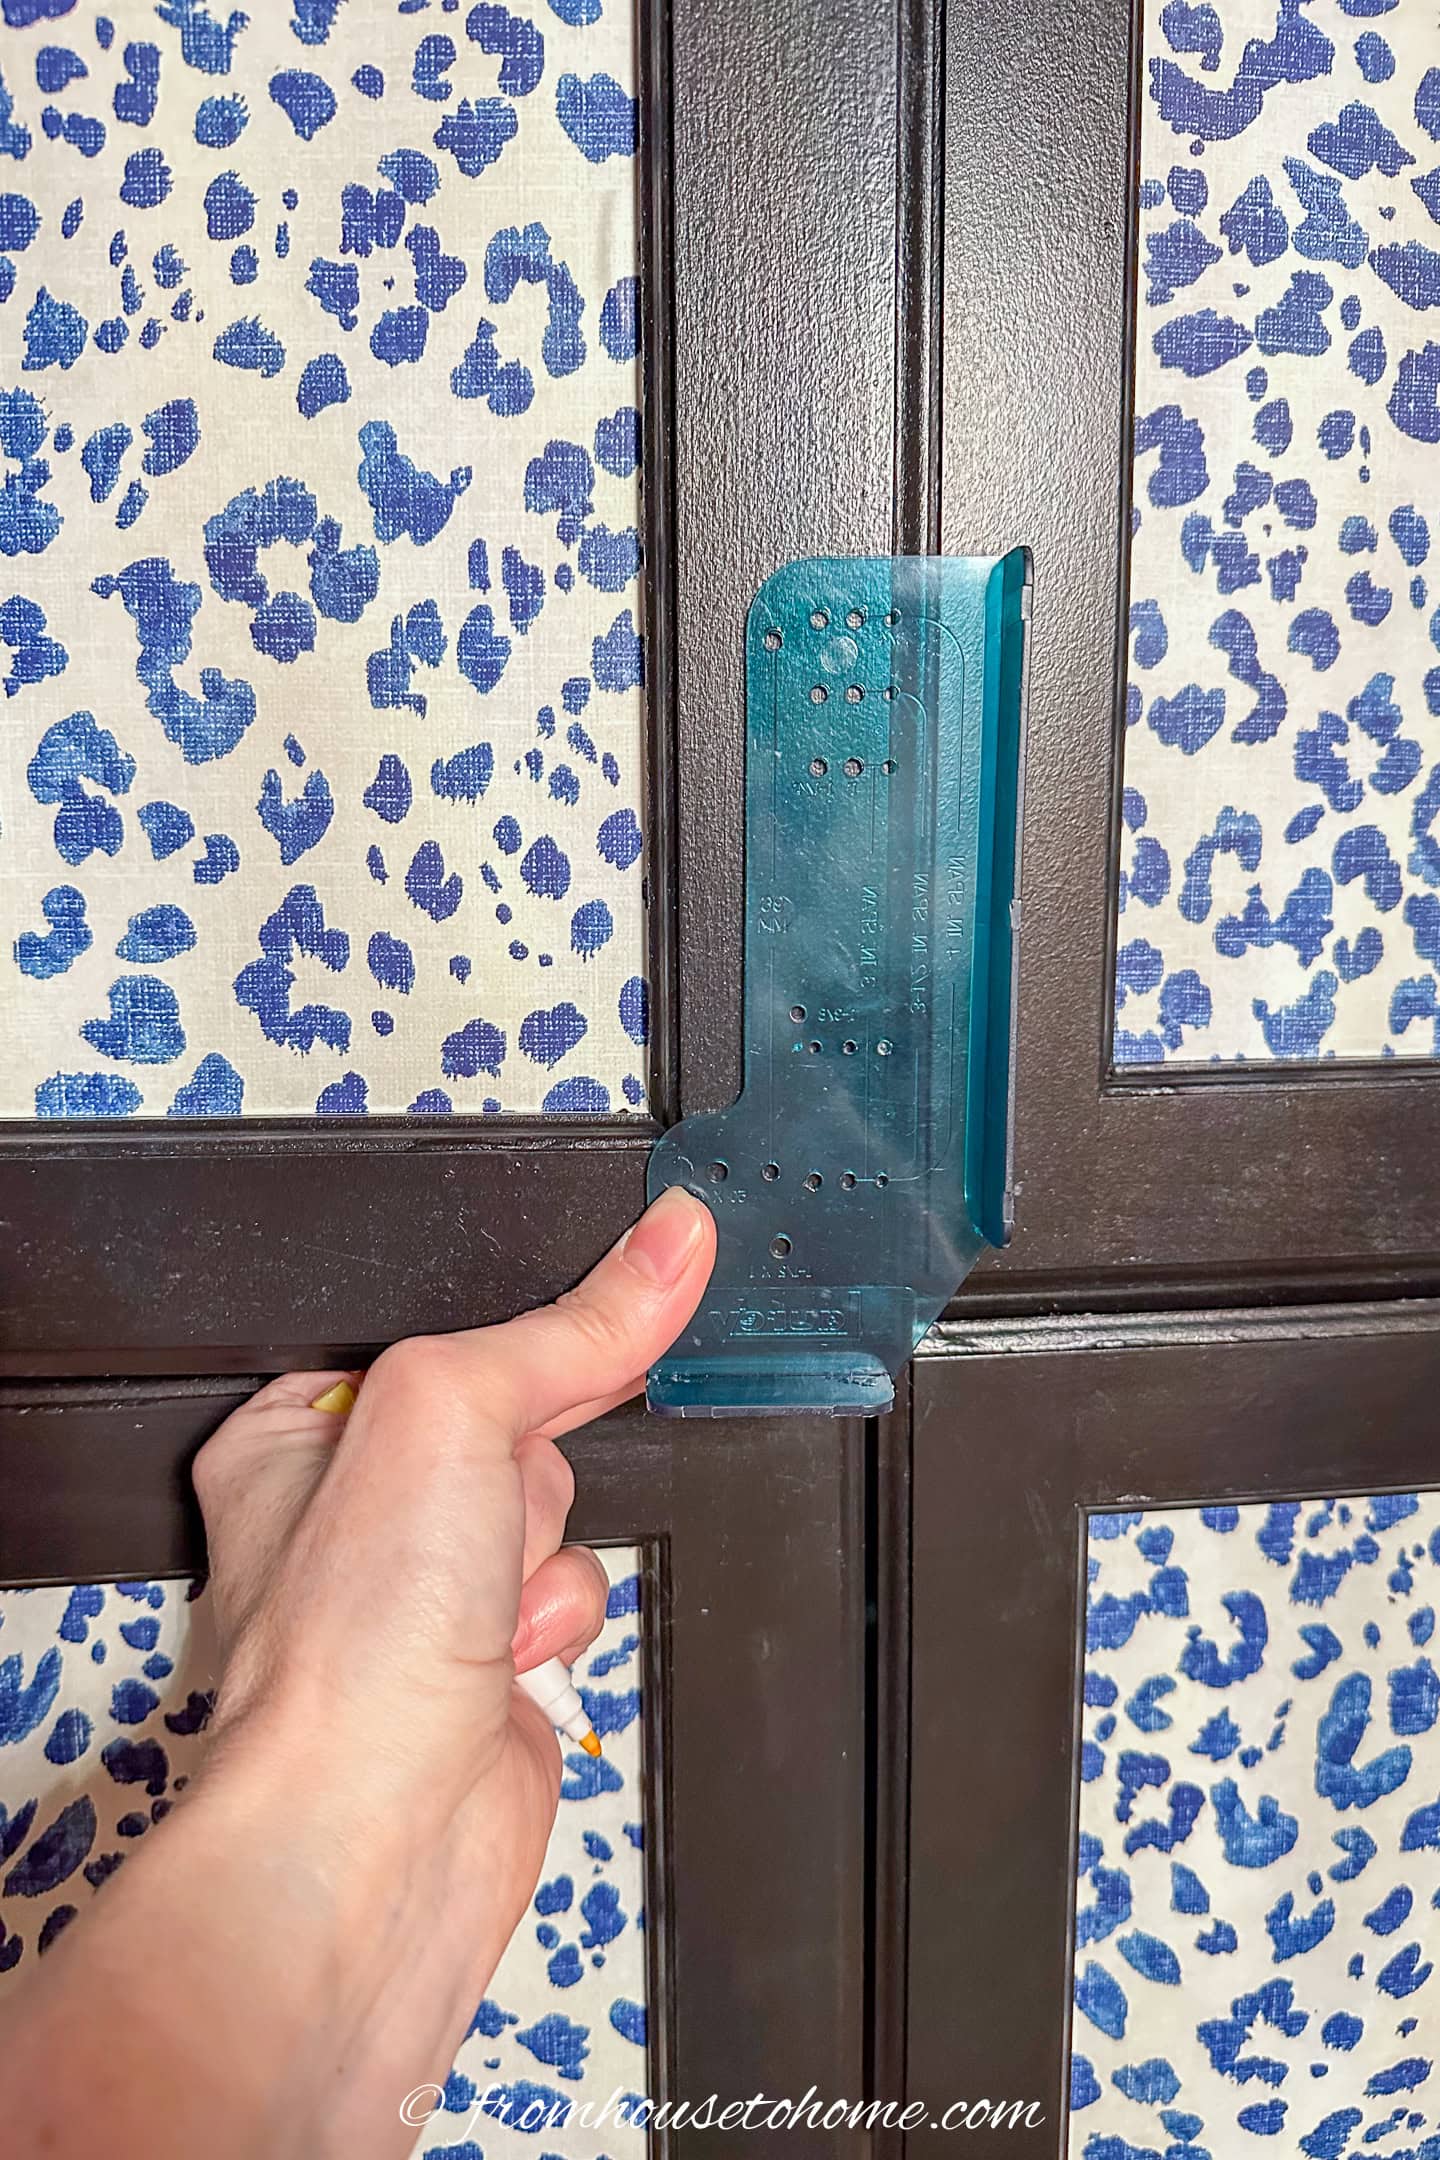
To make sure you get them all level and in the same spot on each door, use a template to mark the hole location with a pencil.
Then you can drill the hole in the marked spot to make sure they are in the right place.
8 | Re-hang the doors
Once the paint is dry, you can put the doors back up.
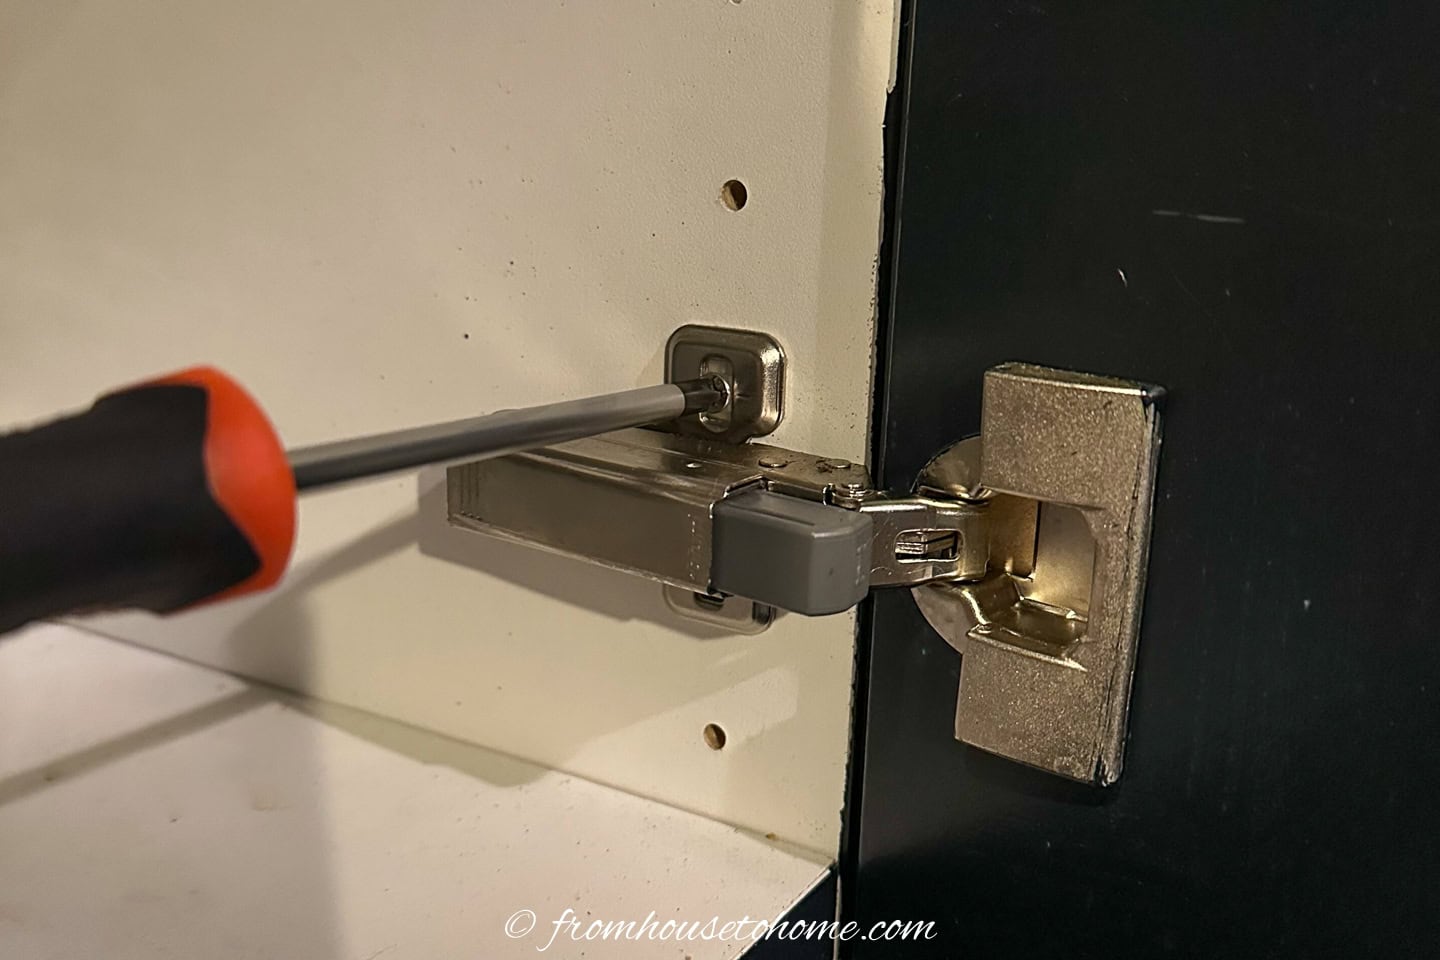
The paint will still be very soft at this point and scratches easily, so be careful while you are attaching them. Line up the hinges with the screw holes on the cabinet frame and use a screwdriver to secure them in place.
To make sure everything is aligned properly, close the doors and check that they are straight and even. If needed, adjust the hinges slightly until the doors sit perfectly.
9 | Attach the knobs and handles
Finally, attach the knobs and handles.
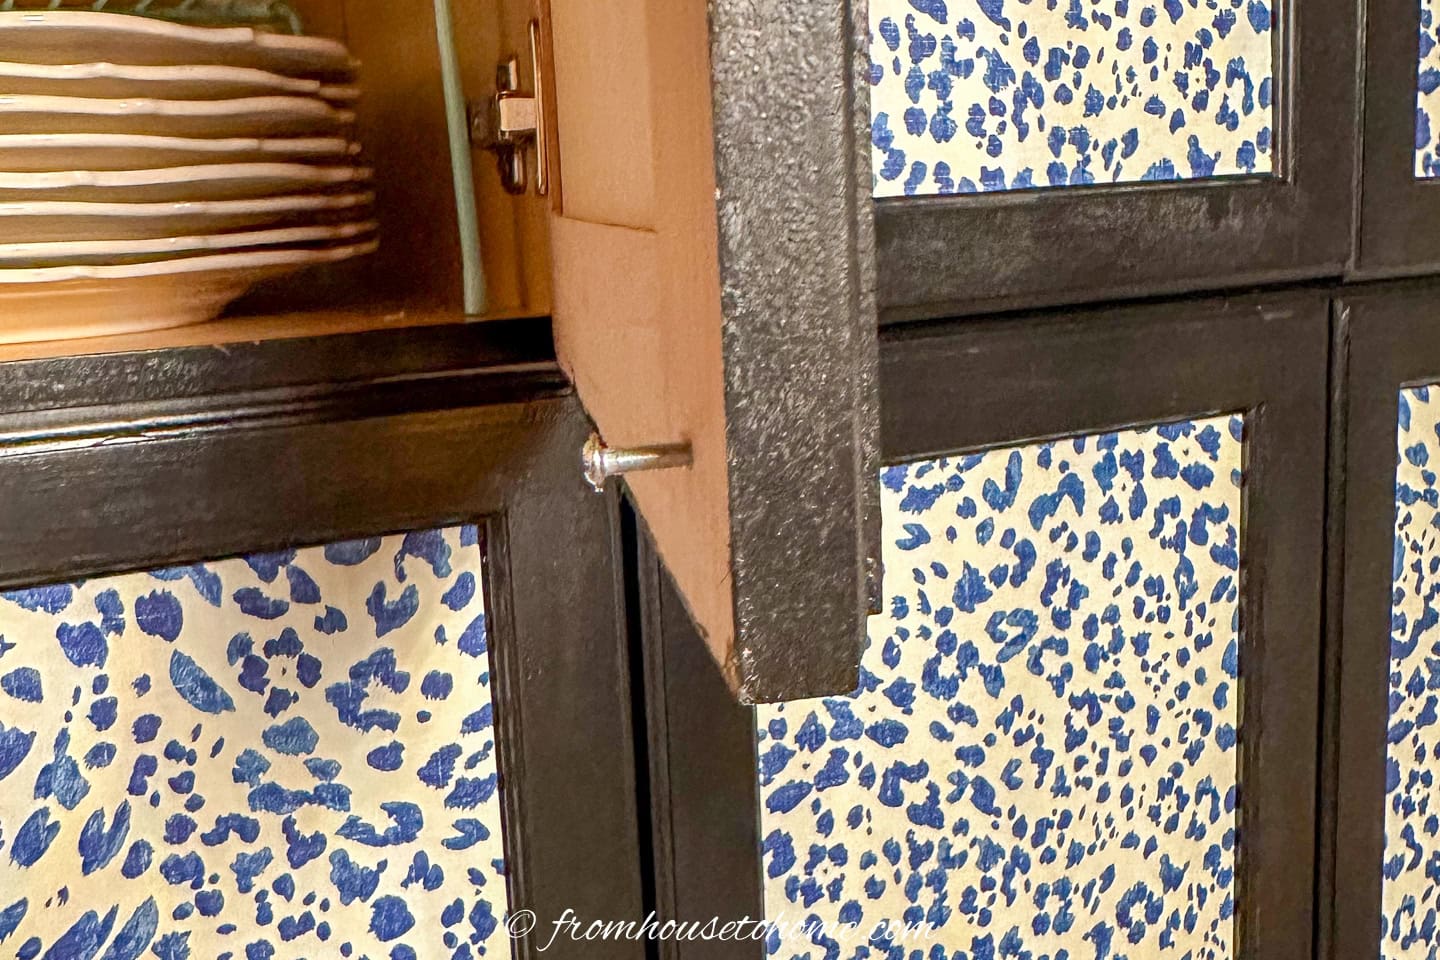
Position each knob or handle over its corresponding hole. Insert the screws through the back of the door and into the knob or handle.
Tighten the screws with a screwdriver until the knobs and handles are firmly in place, but be careful not to over-tighten and damage the paint.
The painted kitchen cabinets
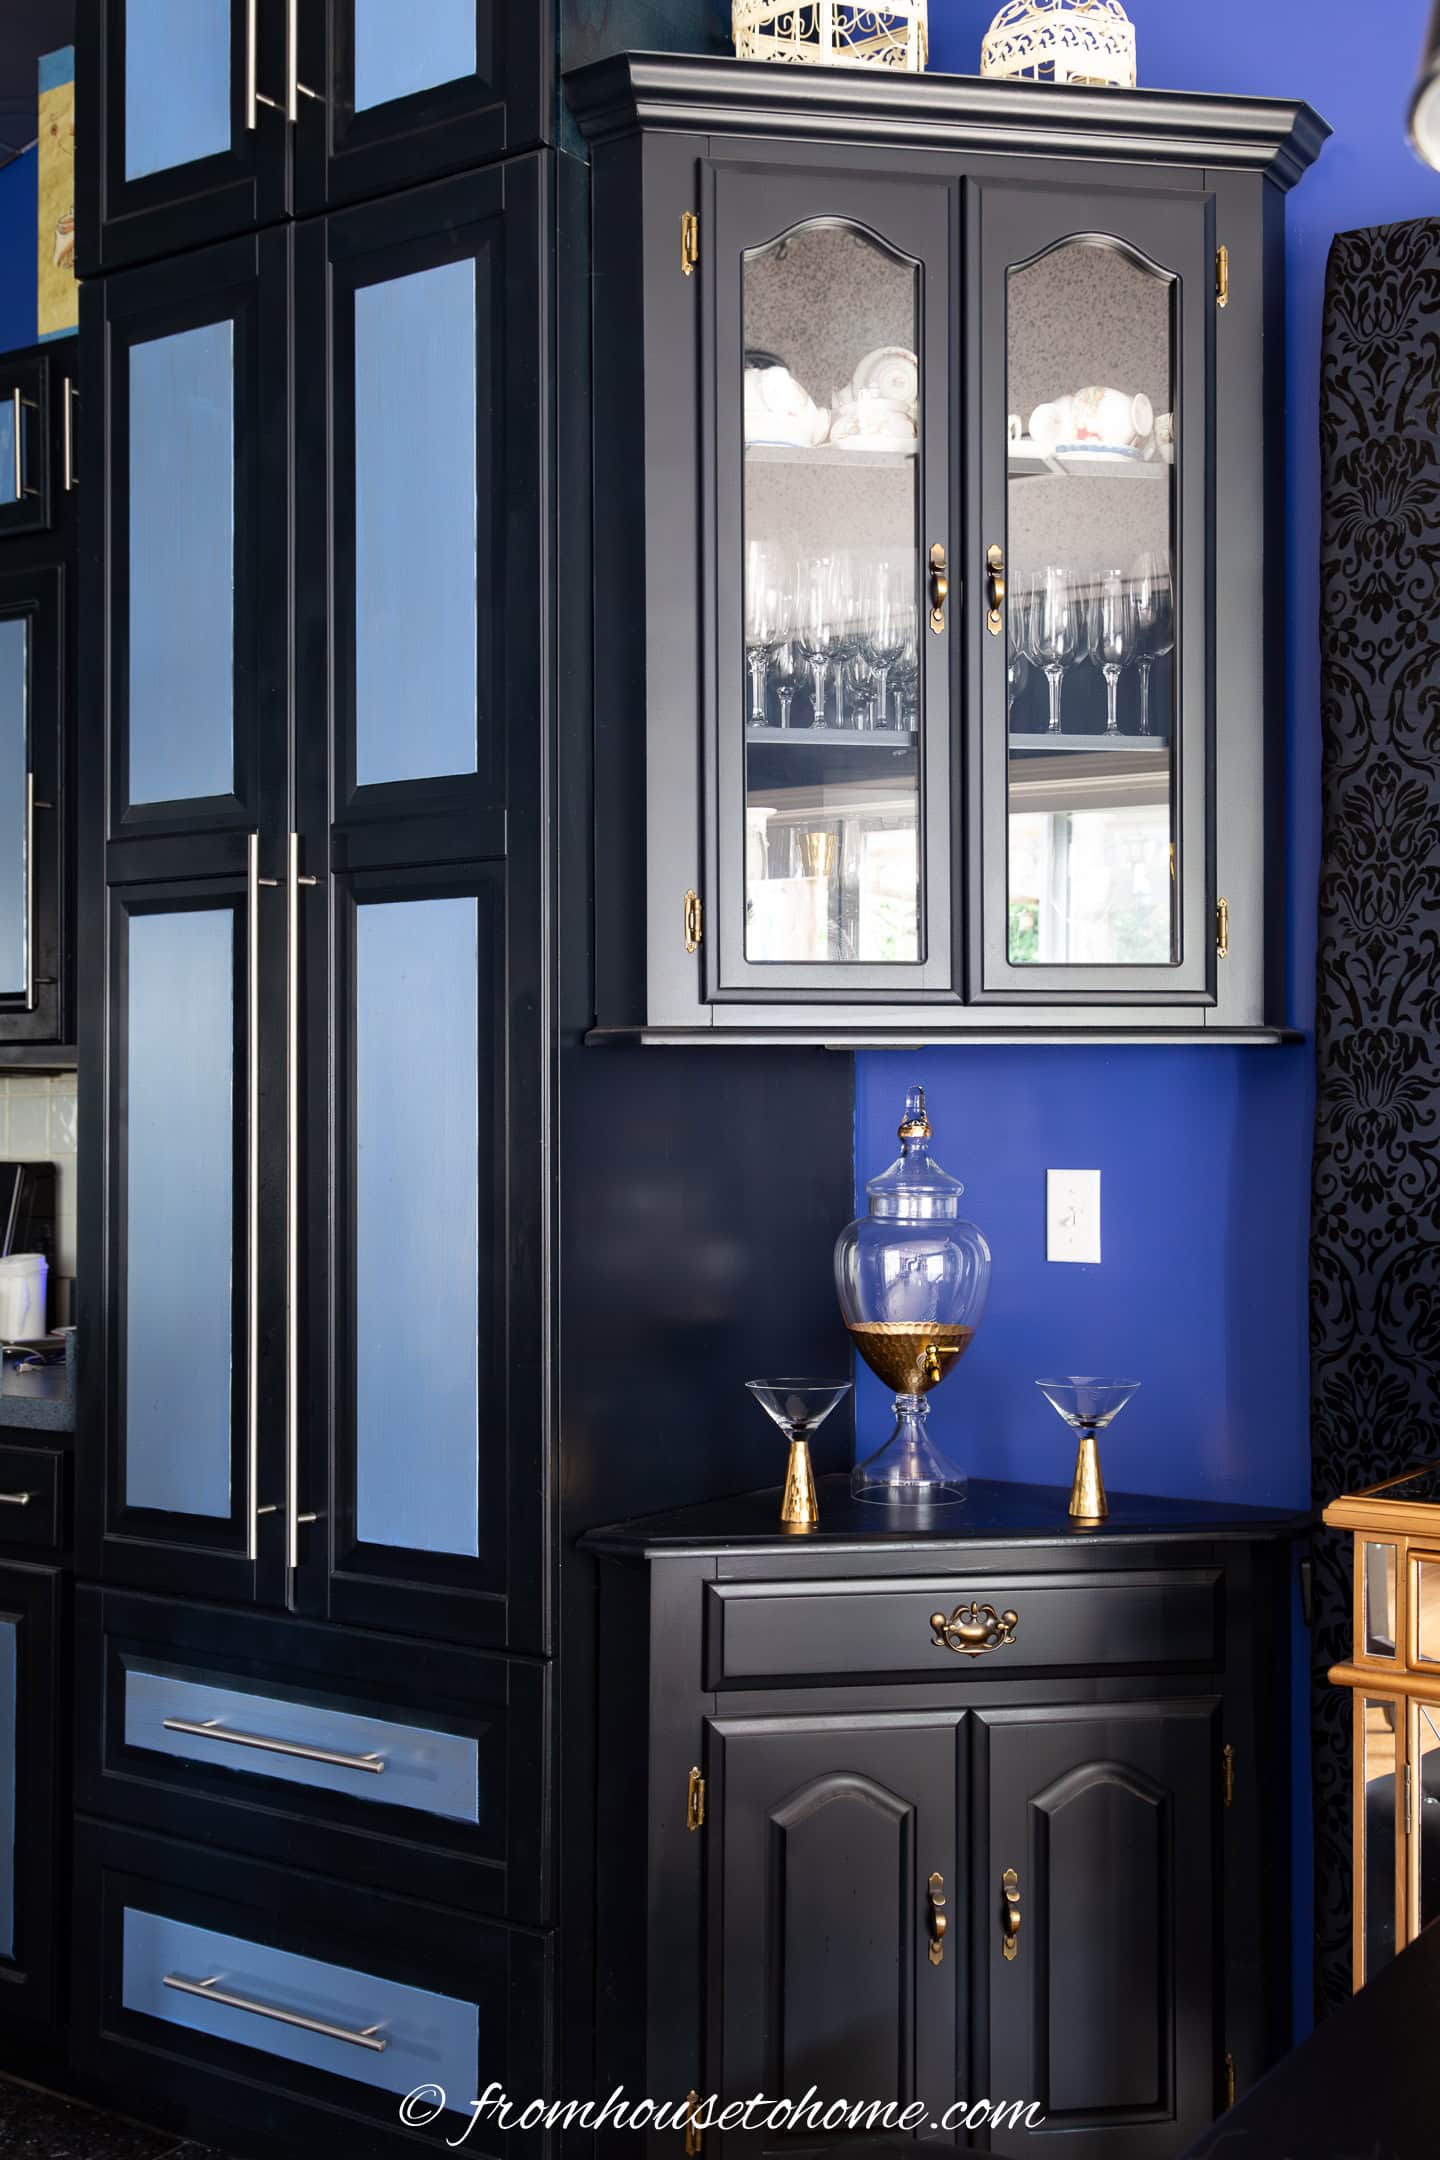
Then your kitchen is done!
I painted the inset of my cabinets a different color to add a little contrast. And I like them so much better than the plain white.
And if you’re wondering how well painted cabinets hold up. I have had mine for more than 15 years and they are still going strong.

Frequently asked questions
What kind of paint should I use for melamine kitchen cabinets?
For melamine kitchen cabinets, door and trim paints work best. I like Benjamin Moore’s Advance line. These types of paint adhere well to the smooth surface of melamine and provide a durable finish.
Do I need to sand the cabinets before painting?
Yes, sanding is an important step, especially with melamine or laminate cabinets. This helps the primer and paint adhere better to the surface and prevents the paint from chipping in the future.
Is it necessary to use a primer?
Absolutely. Using a primer on melamine or laminate is crucial. The primer helps the paint adhere better and increases the durability of the finish.
How many coats of paint will I need?
If you use a primer, two coats of paint are usually sufficient for good coverage. However, depending on the color and quality of the paint, you might need a third one.
How long should I wait before using my cabinets after painting?
It’s best to wait at least 48 hours before reassembling and using your cabinets. This allows the paint to cure properly, ensuring a durable finish. For full curing, it may take up to a month, so handle the cabinets gently during this time.
What should I do if the paint starts to chip or peel?
If you notice any chipping or peeling, lightly sand the affected area, clean with a de-greaser (such as TSP), apply a primer, and repaint. Ensuring that the surface is properly prepared and using high-quality materials helps to prevent this issue.
How To Paint Melamine Kitchen Cabinets With A Paint Sprayer
Print PinMaterials
- TSP
- spackling compound or wood filler
- sand paper
- primer
- semi-gloss (or gloss) door and trim paint
Tools
- screw driver
- pyramid stands (optional) to keep the doors off the surface and make painting easier
- electric paint sprayer
- sanding block or electric sander (optional)
- drill (optional)
Instructions
- Start by removing all doors from the cupboards. Take off the hinges and knobs or handles. Number the doors to keep track of their original positions. If replacing hardware, fill any unneeded holes with spackling compound or wood filler.
- Lightly sand the surfaces to rough them up and remove imperfections.
- Wash the doors and front cupboard edges with TSP in warm water, ensuring all grease and dirt are removed. Rinse with clear warm water to eliminate dust and detergent residue. Let dry thoroughly.
- Lay the doors out on a sheet of plastic in a well-ventilated, clean area for painting. Arrange them in numbered order for easy re-installation.
- Spray each door with an even coat of primer. Wait until the primer dries completely, ideally for at least 24 hours. If you want to paint the backs of the doors, turn them over and repeat the priming process on the other side.
- Prime the outward facing edges and sides of the cabinets with a foam roller. You can use a paint sprayer for this, but you will need to cover everything except the cabinets with plastic to prevent over spray.
- Paint the doors and cabinets with an even coat of semi-gloss or gloss door and trim paint using the same method as the primer. Wait until completely dry (at least 48 hours), sand lightly and then apply another coat. Apply at least two coats, possibly three, for smooth coverage.
- Once the paint is dry, re-hang the doors carefully to avoid scratching the paint. Attach the knobs and handles.


Have comments or questions about how to paint laminate kitchen cabinets with a paint sprayer? Tell us in the section below.
Pin It So You Don't Forget It!
This post was originally published on June 19, 2015 but was updated with new content on September 18, 2024.
I want to do our bathroom cabinets that are similar to those shown going from white to black. When rolling on the paint, how does that work in all the grooved or onset areas?
Hi Carla…if the grooves aren’t very deep, you can still use the roller. The depth of the roller will get the paint into the grooves. If they are too deep for that, I would use a brush to paint just the grooved areas first and then do the flat areas of the door with the roller. If you’re afraid of not being able to get the paint on smoothly, you can try mixing some Floetrol with it…it will help eliminate any brush marks. Good luck with your project!
Thank you for posting this, I love it. And your kitchen came out Beautiful.
Thanks, Susan! I really like the way the cabinets came out, too. The color definitely adds some pizzazz to the room 🙂