
DIY Wall Christmas Tree
Create a festive atmosphere with a DIY wall Christmas tree that saves space and adds a unique touch to your holiday decor. Follow simple steps to craft a beautiful and functional tree using materials you likely already have at home.

Every holiday season, I find myself looking for creative ways to bring the festive spirit into every corner of my small home, especially in those rooms where a traditional Christmas tree just won’t fit.
That’s when the idea of a DIY wall hanging Christmas tree came to life.
Using real evergreen branches or a garland, this project offers a fresh and natural touch to your holiday decor without taking up any precious floor space.
It’s an easy and delightful way to ensure that even the coziest spaces in your home are filled with the magic of Christmas.
Plus, with our straightforward step-by-step guide, you can have your own wall-mounted tree up in no time, making your holiday decorating both fun and efficient.
More small room Christmas decorations

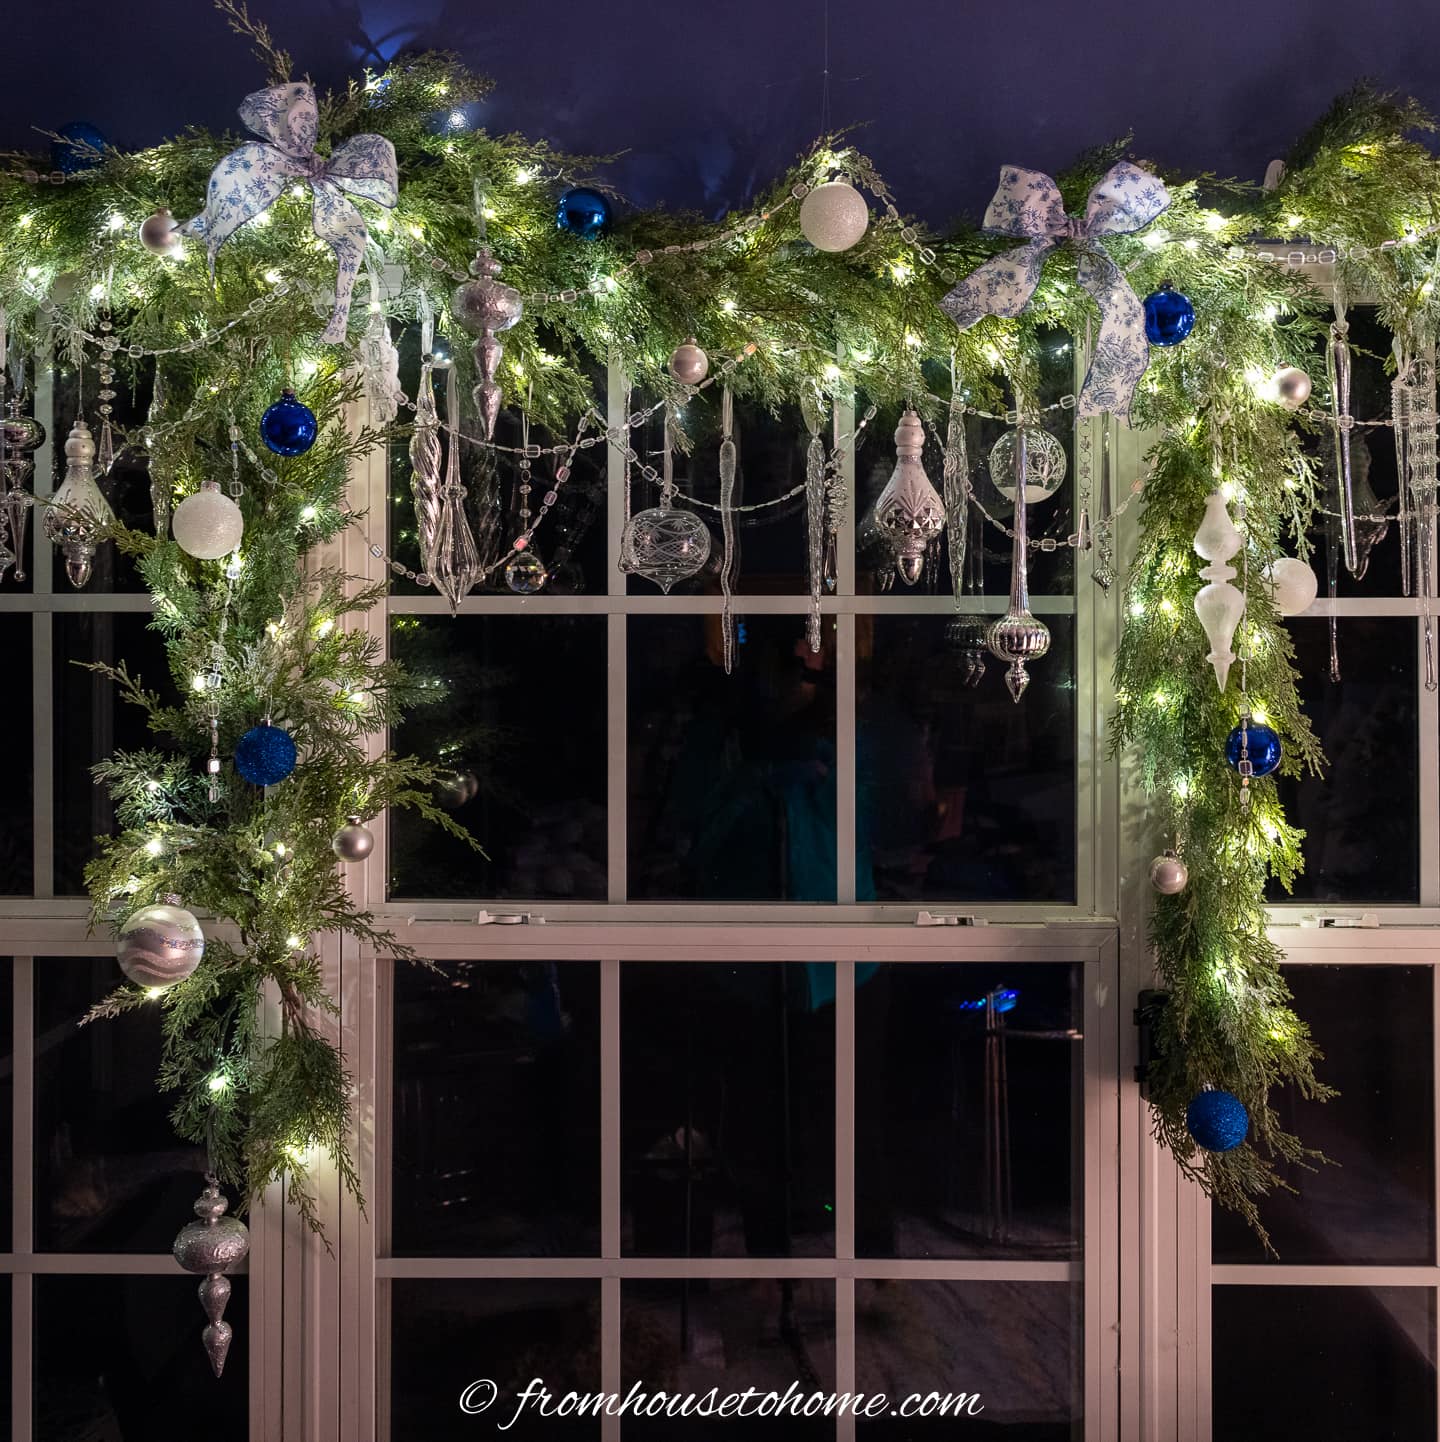

Supplies
Materials:
- 5 evergreen branches, a garland you can cut into 5 pieces or a pre-made wall hanging Christmas tree – I have used both evergreen branches cut from my garden and a wall hanging faux Christmas tree intended for this purpose. Either will work.
- Command hooks – For individual branches, you’ll need 2 for each branch plus a few extra for the longer branches. If you’re using a wall hanging tree, you’ll need a large one for the top and several as extra support for the branches. Clear command hooks work best if you can find them.
- Fairy lights – I like the battery operated ones with a timer for this project.
- Various ornaments – I used 3″ and 4″ blue, white and gold balls and my favorite ginger ornaments. But you can use whatever colors go with your decor.
- Tree topper – I used a large navy and gold poinsettia clip, but a bow would work also.
Tools:
- Garden snips – you’ll need these to cut the branches
How to make a wall Christmas tree
1 | Cut the branches
Begin by gathering real evergreen branches or a garland for your wall hanging Christmas tree.
To create a triangular shape, cut the branches into varying lengths.
Aim for sections that are approximately 6 inches, 14 inches, 22 inches, 30 inches, and 38 inches long. These measurements will help form a classic tree shape on your wall.
If you prefer a larger tree, feel free to add more branches or adjust the widths to suit your space.
Use sharp pruning shears for clean cuts, and always cut at an angle to help the branches maintain their shape and freshness.
2 | Hang the tree
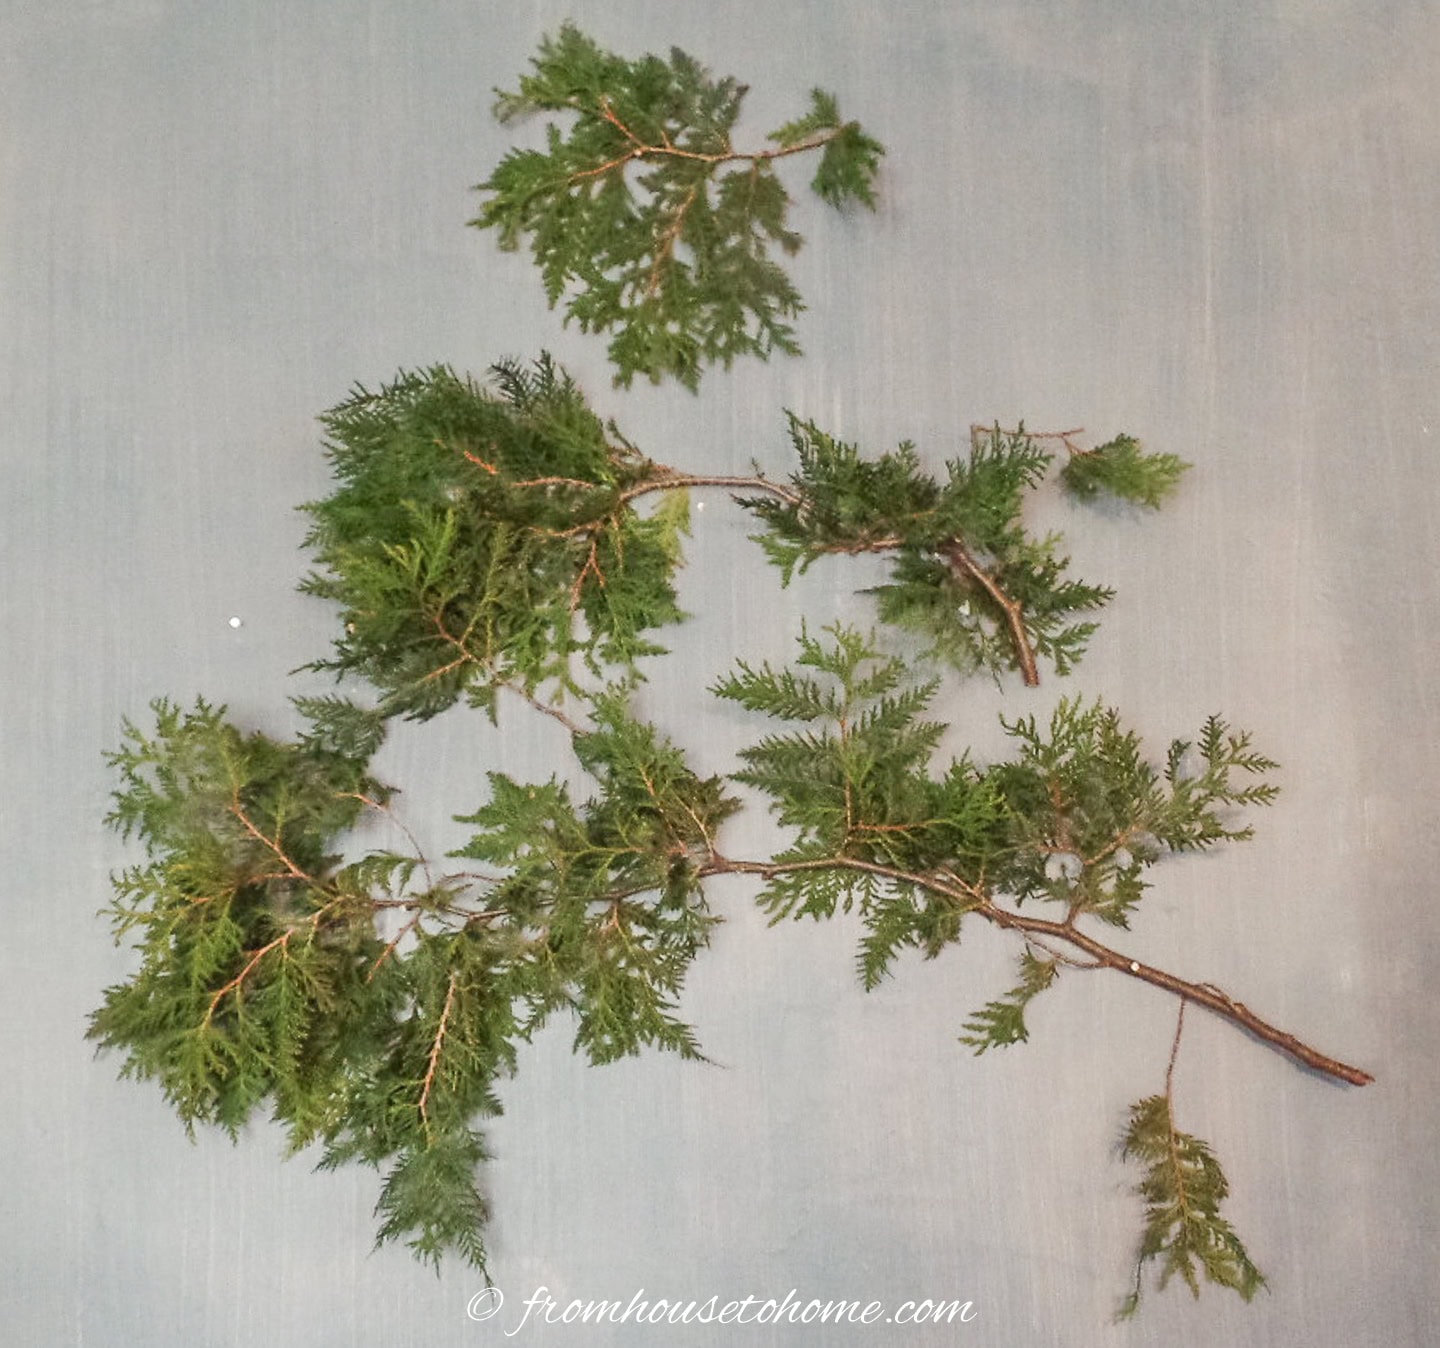
Choose a height for your wall tree that keeps the bottom branch above any nearby furniture like tables or chairs. This ensures it remains visible and accessible.
Start by putting up the smallest branch at the top. Then add the other branches in increasing sizes underneath it.
Space each branch 6 to 8 inches apart for a balanced look.
Attach command hooks at each end of the branch. For longer branches, add one or two extra hooks in the middle for extra support.

If the branches don’t stay in place, secure them to the hooks using picture wire. To do this, wrap the wire around the branch and hook, twisting the ends to tighten.
If you have a pre-made wall tree, use a large command hook at the top to hang it. Then, place about three command hooks on the wall behind each branch and attach the branches to these hooks. This setup helps distribute the weight evenly, especially when you add ornaments.
Finally, fluff the branches by gently pulling and spreading them apart. This adds fullness and ensures the branches look lush and well-distributed.
3 | Add lights
It’s time to brighten up your wall hanging Christmas tree by adding lights.
Battery-operated fairy lights work well for a hassle-free experience.
These lights are lightweight (so they won’t weigh down the branches) and you won’t have to deal with an electrical cord stretching up the wall.
I like the ones with a built-in timer so they switch on automatically at the same time each day, adding convenience to your festive decor.
To hang the lights, gently wind them in and out of the branches. Start at the top and work your way down, ensuring the lights are evenly distributed.
4 | Hang ornaments

Choose ornaments in your favorite colors and begin placing them on your wall-hanging Christmas tree.
Feel free to use as many or as few ornaments as you prefer, depending on your desired look.
I sometimes only use a few.

And sometimes put up a lot.
Start by hanging the largest ornaments first. Distribute them evenly across the branches, ensuring they are spread from top to bottom and side to side. This will create a balanced look.
Next, fill in any gaps with smaller ornaments to add depth and variety.
Save any special ornaments for last, such as unique or cherished pieces, to ensure they stand out and are easily visible. This will highlight their beauty and significance on your festive display.
5 | Add bows (optional)

You can also add bows to the branches.
They are lightweight, easy to attach, and add a charming, soft texture to your tree.
Tie each one securely around the branches of your tree. Spread them out evenly for a balanced look.
Adjust the loops and tails of the bows to ensure they look full and fluffy. This simple addition will give your tree a festive and personalized touch.
6 | Put up a tree topper

To complete your wall hanging Christmas tree, place a tree topper at the top.
Choose a topper that suits your style, such as a large decorative clip or a bow. In this case, I used a navy poinsettia clip with gold glittering stamens to add a touch of elegance. But a bow also works well.
Simply attach the tree topper to the top branch or secure it onto the Command hook behind the branch.
The finished tree

Enjoy the beautiful sight of your completed wall Christmas tree, now gracing your living room wall.
This eye-catching decoration brings a touch of glamour and a delightful surprise to the space, all while keeping your floor free of clutter.
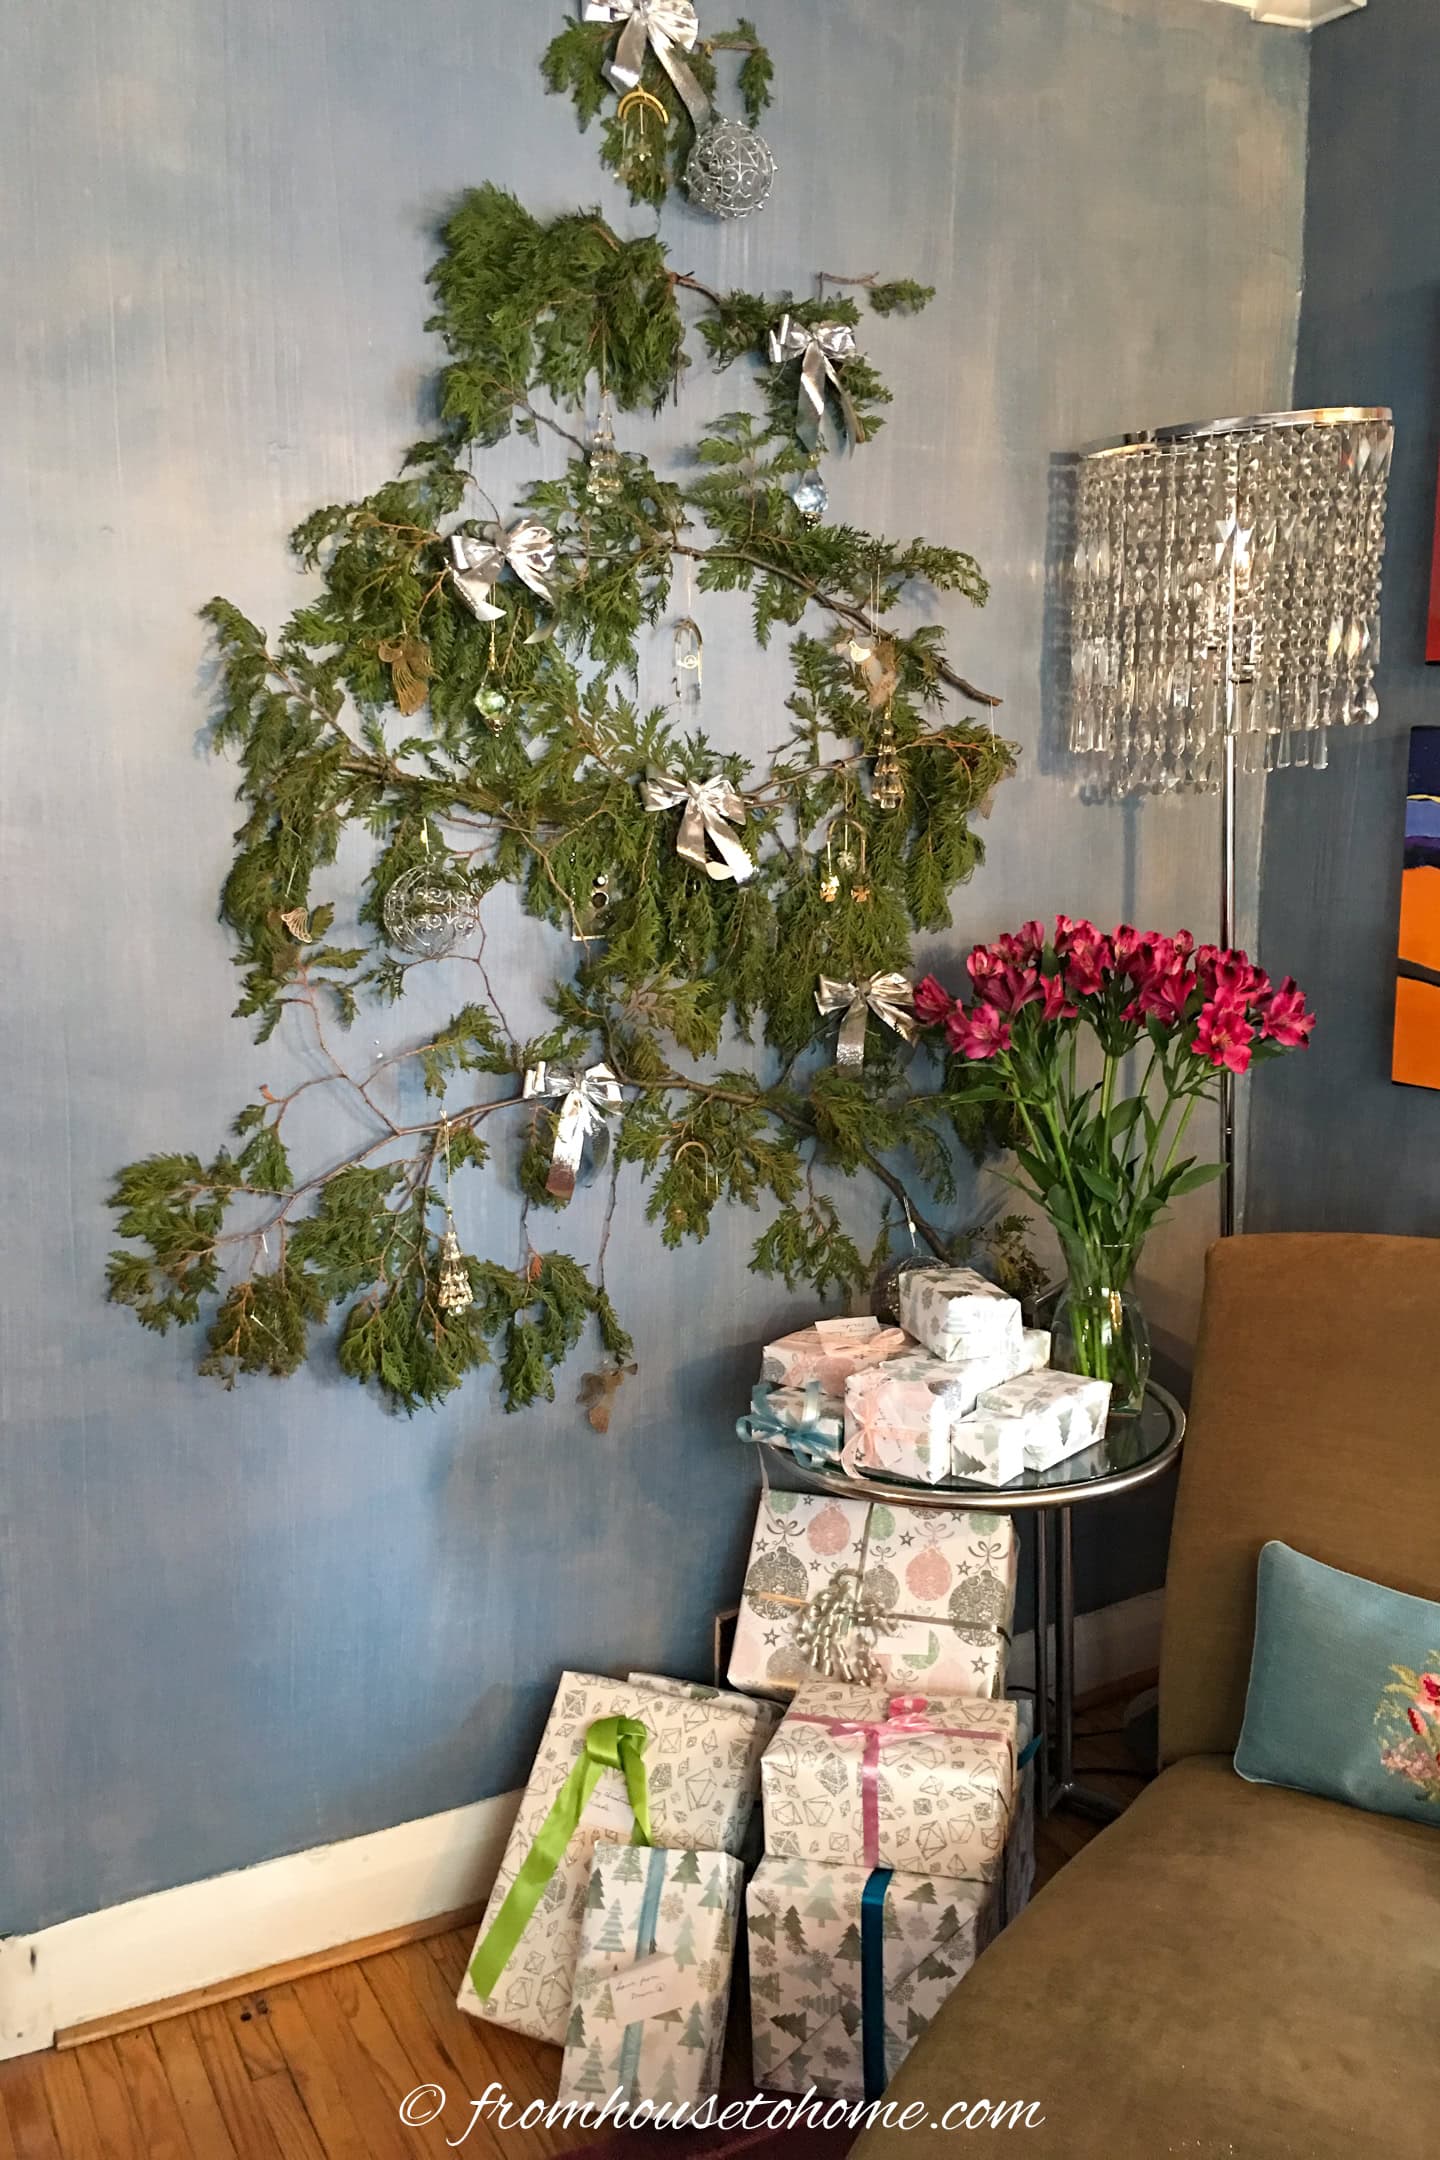
And you can still put some presents under the tree if desired.

DIY Wall Christmas Tree
Print PinMaterials
- 5 evergreen branches, a garland you can cut into 5 pieces or a pre-made wall hanging Christmas tree
- 10 to 13 Command hooks
- Fairy lights
- Various ornaments
- Tree topper
Tools
- snips
Instructions
- Start by cutting real evergreen branches or garland into sections measuring approximately 6″, 14″, 22″, 30″, and 38″ long to form a triangle shape on the wall.
- Hang the wall tree at a height that keeps the bottom branch above any furniture. Attach command hooks on either end of each branch, adding 1 or 2 in the middle for longer branches, and space them 6" to 8" apart. Secure branches with picture wire if needed. For a pre-made wall tree, use a large command hook at the top and place about 3 hooks behind each branch to distribute weight.
- Add battery-operated fairy lights by winding them in and out of the branches. Choose lights with a timer for automatic daily activation.
- Hang ornaments in your chosen colors, starting with the largest ones and distributing them evenly from top to bottom and across the branches.
- Fill gaps with smaller ornaments, adding as many or as few as you like. Place special ornaments last for visibility.
- (optional) Add bows to the branches by tying them on throughout.
- Hang a tree topper onto the top branch or the command hook behind it.


Have comments or questions about our DIY wall Christmas tree? Tell us in the section below.