DIY Under Cabinet Storage Rack For Hanging Kitchen Utensils
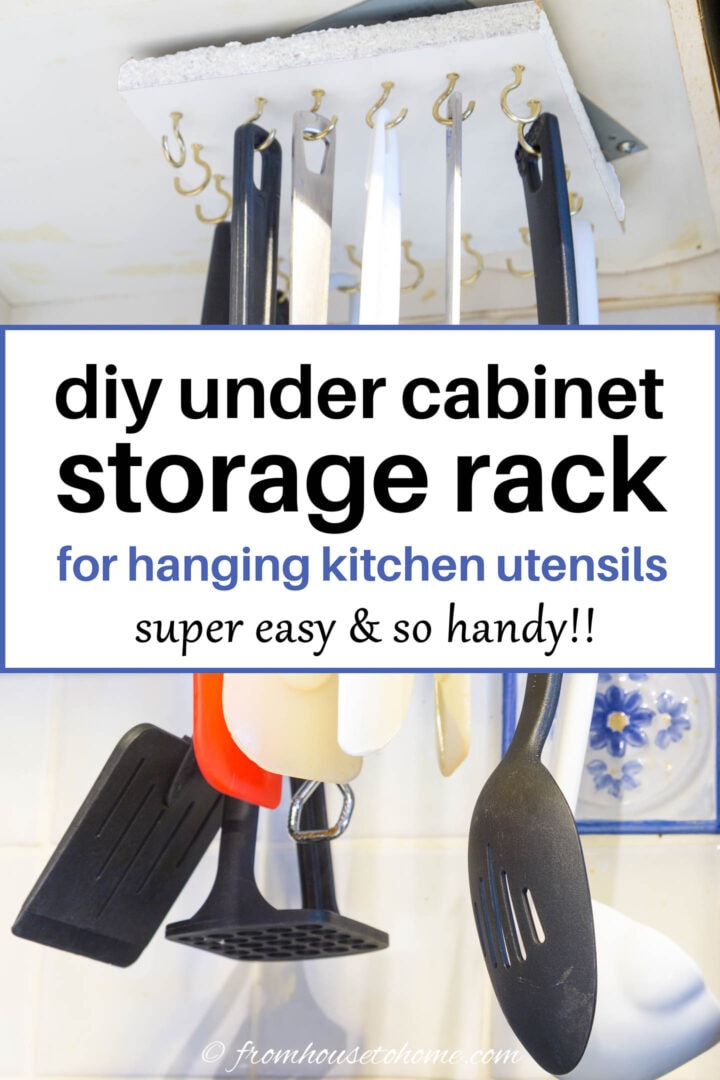
This DIY under cabinet storage rack for hanging kitchen utensils doesn’t take up much space, makes the utensils really easy to find and get to, and you can build it in less than an hour for less than $10.

I cook. A lot.
And when I’m cooking I like to have all of my frequently-used cooking utensils in an easy-to-access location.
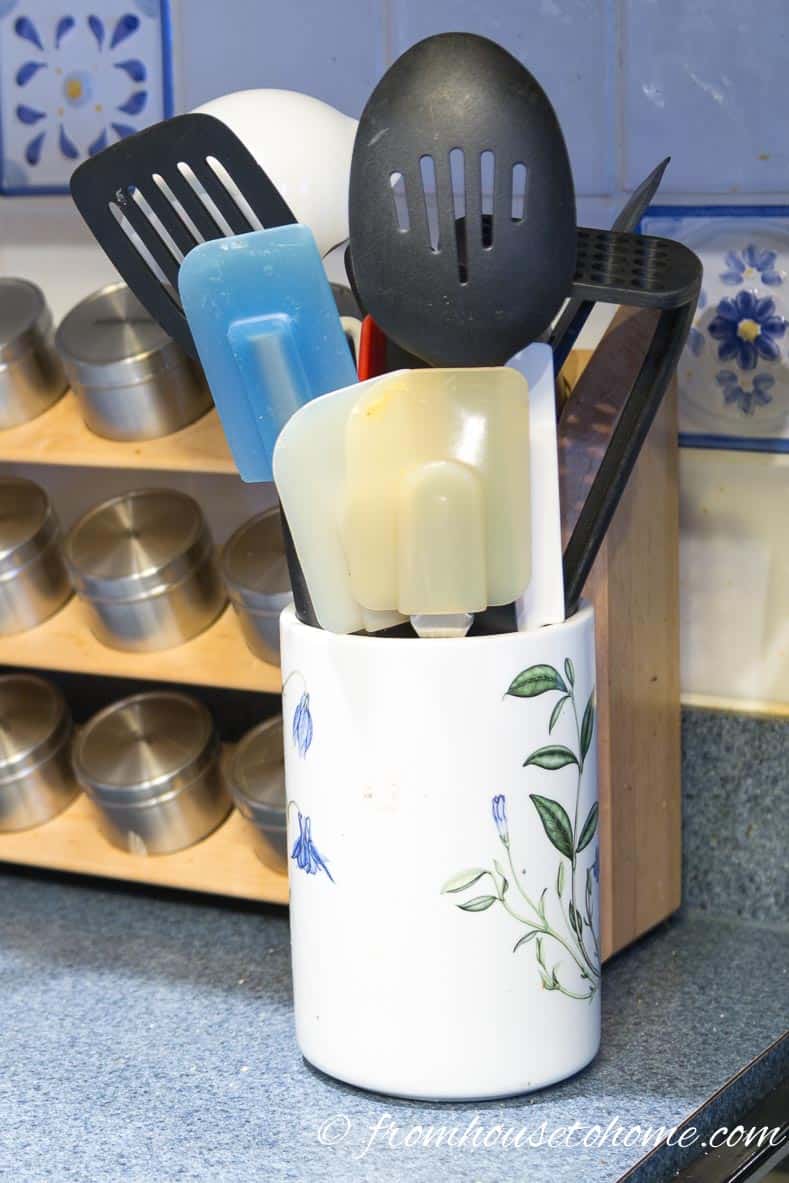
Which is why I used to have a container full of spoons and spatulas right by the stove.
It’s very convenient!
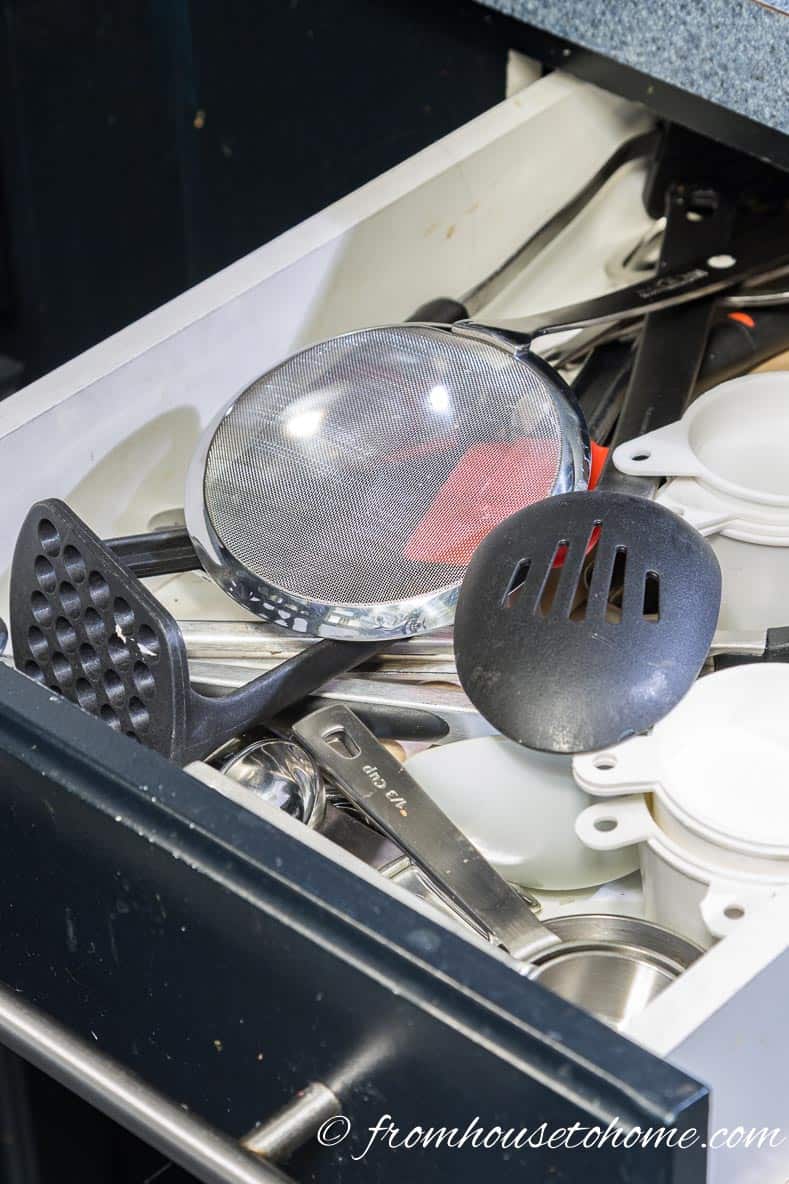
And I also happened to have a drawer that looked something like this.
It contained all of the other things that could not fit in the jar. Not so convenient!
There were 3 problems with this set up:
- The container wasn’t big enough to store all of my utensils. Every time I went to pull something out of it, a bunch of other things would come out with it.
- It takes up valuable counter space…something I don’t have a lot of in my kitchen. And I hate having to clean in and around it all the time.
- Finding anything in that drawer was not an “easy-to-access” scenario.
So I needed a solution that would make it easier to get at my cooking utensils without having extra “stuff” on the counter.
The original solution
This post may contain affiliate links. We make a small commission if you buy the products from these links (at no extra cost to you). As an Amazon Associate, I earn from qualifying purchases. But we only recommend products we would use ourselves. For more information, click here to see our disclosures.
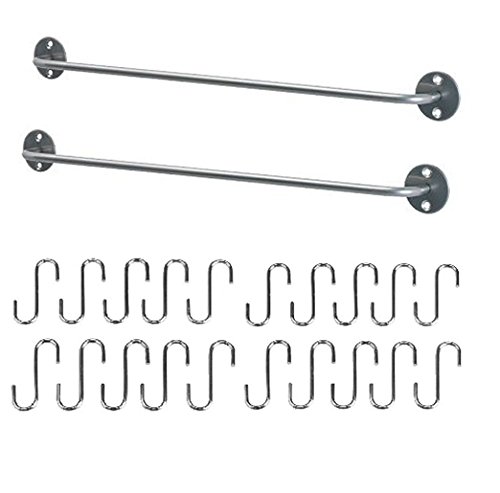
My original thought was to install one of these IKEA rods with S-hooks.
It would get everything off the counter and be easy to organize.
I actually bought one, but when I went to try it, it was too easy to pull the hooks off the rod when you grabbed a utensil.
Which adds the extra step of always having to put the hooks back up.
I also have a tile backsplash so I wasn’t sure how I would put it up without drilling through the tile.
So I knew I wouldn’t be happy with that solution.
The DIY Hanging Storage Rack solution
Then I saw this Lazy Susan hack on pinterest.
The comment on the pin says that they actually took apart a lazy susan and installed it upside down under their cabinet.
I love this idea!
It doesn’t take up much room but you can still get to everything easily because it rotates.
However, I didn’t have a Lazy Susan hanging around.
And I also needed way more than 8 hooks to hang my collection of utensils.
So I decided to make my own.
Keep reading to find out how to hang your kitchen utensils with this DIY under cabinet storage rack.
What You Need
Materials
- 4″ or 6″ square Lazy Susan hardware*
- Scrap piece of ½” melamine, plywood or wood that is at least as big as the plate on your lazy susan hardware.
- (optional) ½” melamine edge banding – this is to finish the edges, but isn’t absolutely required, especially if your cabinets have a lip at the bottom so you can’t see the edges of the board.
- Cup hooks* – I used brass ones because that’s what I already had. But if you’re buying new ones, you might want to get them to match your cabinets (I would have bought white). If you have some kitchen utensils with thick handles, you may need to get a few larger hooks that they will fit into.
- ½” wood screws
- (optional) Small piece of pegboard – we’ll use this as a template to make sure the hooks are evenly spaced
Tools
- miter saw, jig saw or rotating saw
- (optional) iron – only required if you need to attach the edge banding.
- carpenter pencil
- drill
- 5/64-inch drill bit
How to make The hanging storage rack
1 | Cut the wood
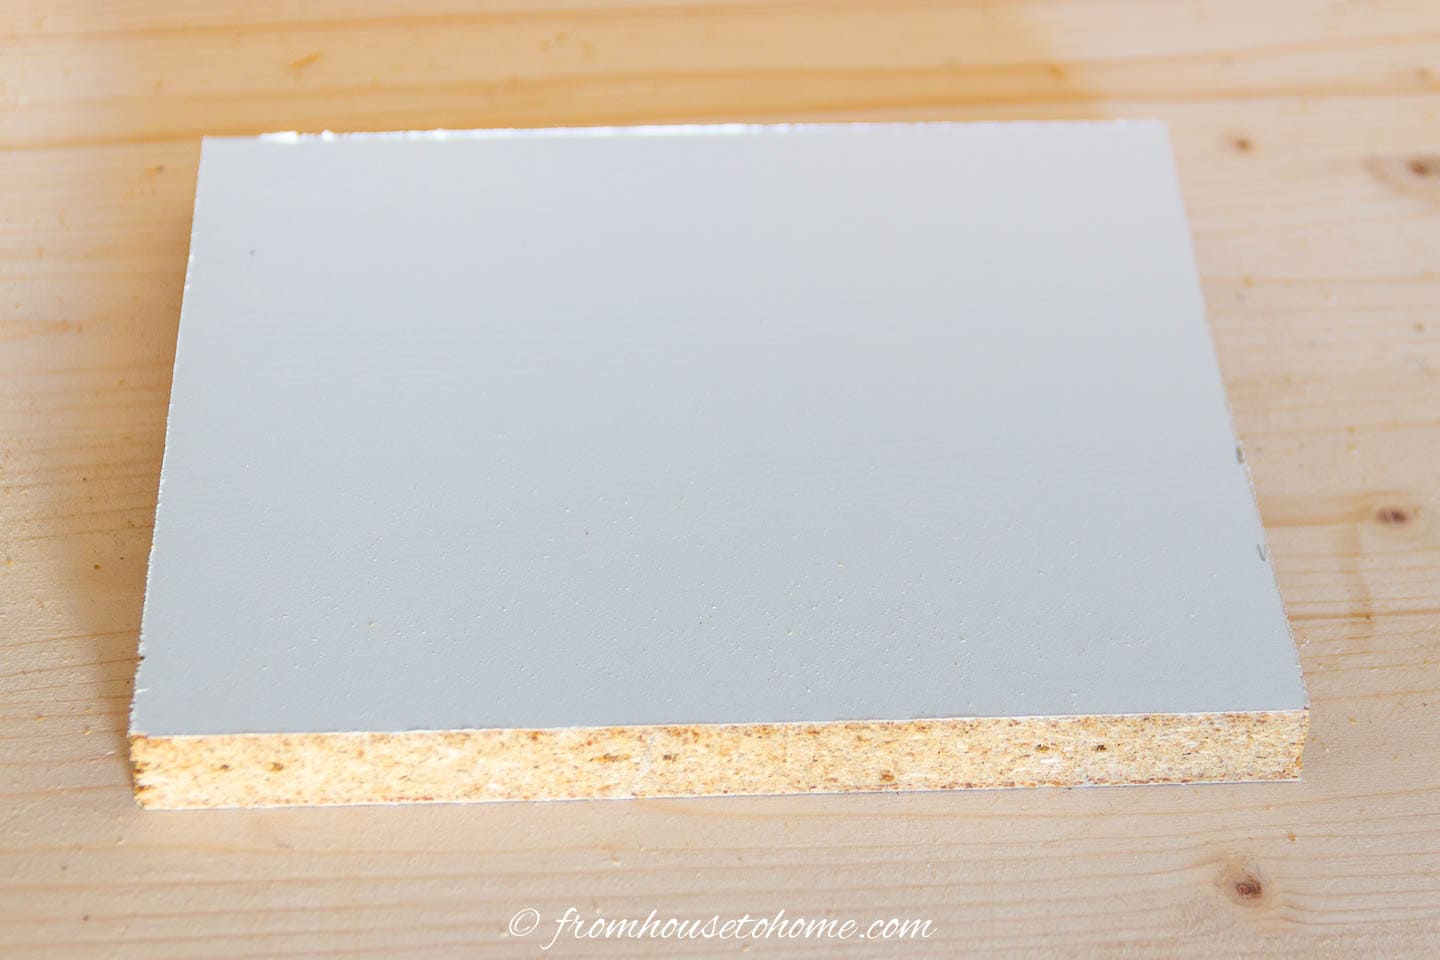
Cut the ½” plywood into a square that’s about the same size as your lazy susan hardware.
If you got the 4″ version, your square will be 4″ x 4″. If you got the 6″ version, it should be 6″ x 6″.
Since this Lazy Susan will be installed upside down under the cabinet, I didn’t really care that much what it looked like. (You can’t see it anyway).
So I went with a square piece of wood (instead of the standard round one).
It’s much easier to cut and install.
2 | Finish the edges
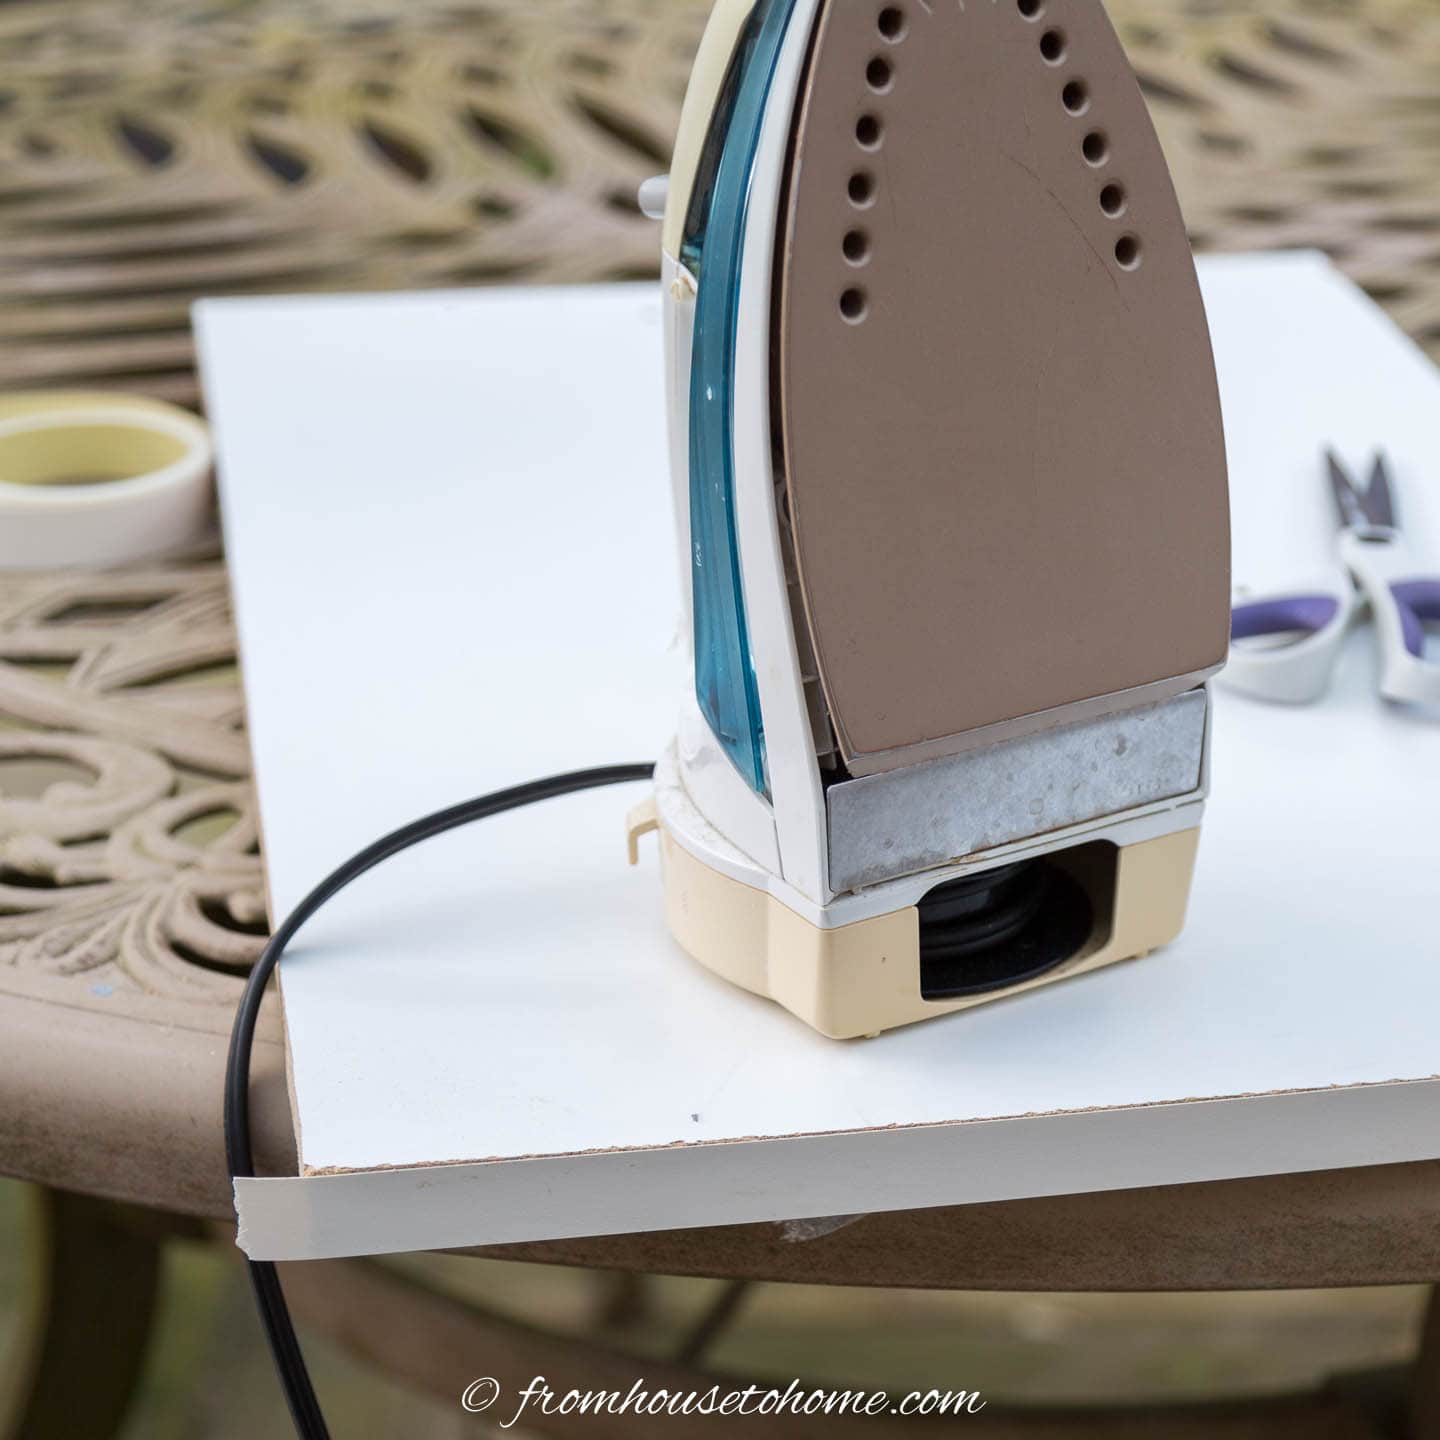
If you want to finish the edges, cut pieces of melamine edging that are just longer than the side of your board.
Then use an iron to attach the iron-on melamine edging to the sides of the board.
You can also paint them. (This is what I ended up doing because I didn’t think to finish the edges until after it was already installed)
Or if you have a lip on your cabinets and aren’t that concerned about how the edges look (because you can’t see them), you can leave them unfinished.
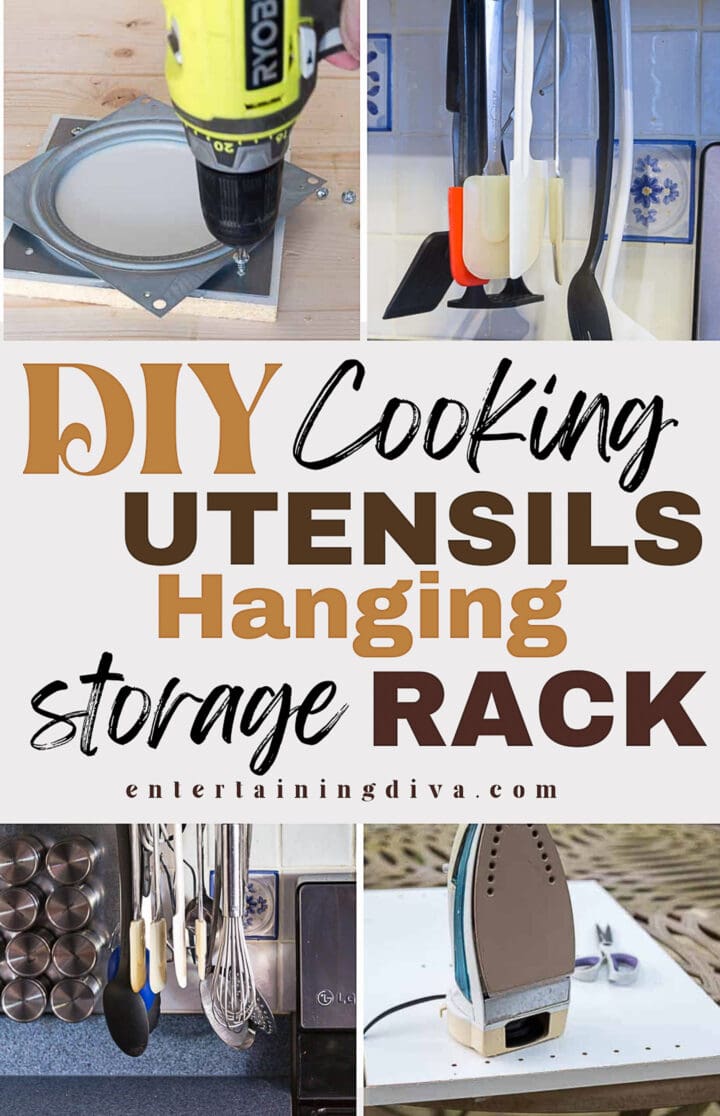
3 | Attach the board to the Lazy Susan
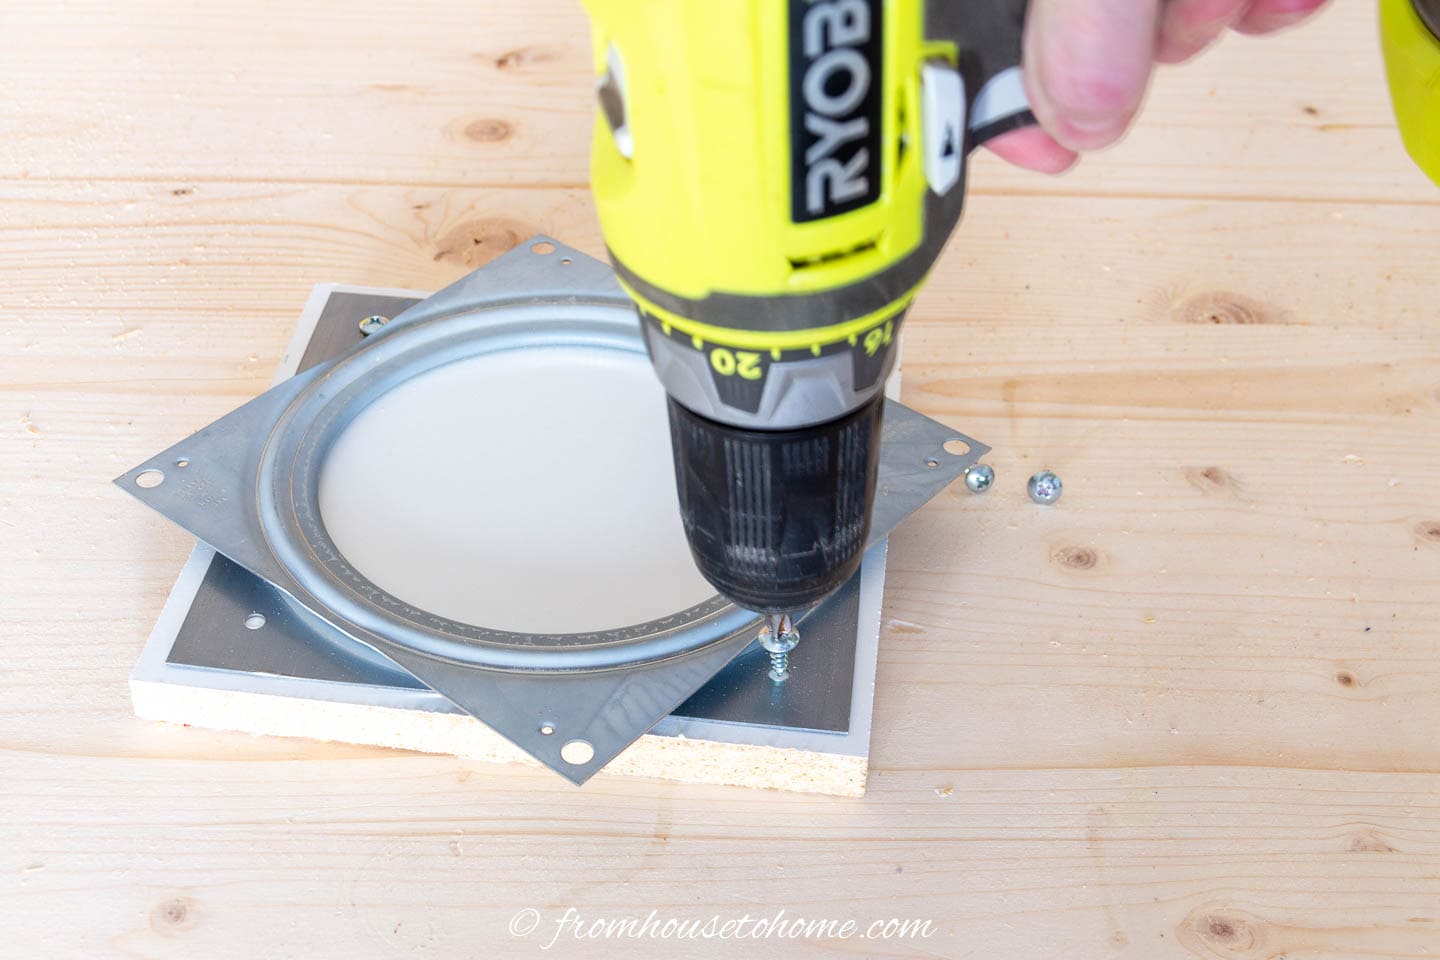
Rotate the top plate of the Lazy Susan hardware so that you can see the holes where the screws should go.
Then use ½” wood screws to attach the Lazy Susan hardware to the small board.
4 | Attach the hooks
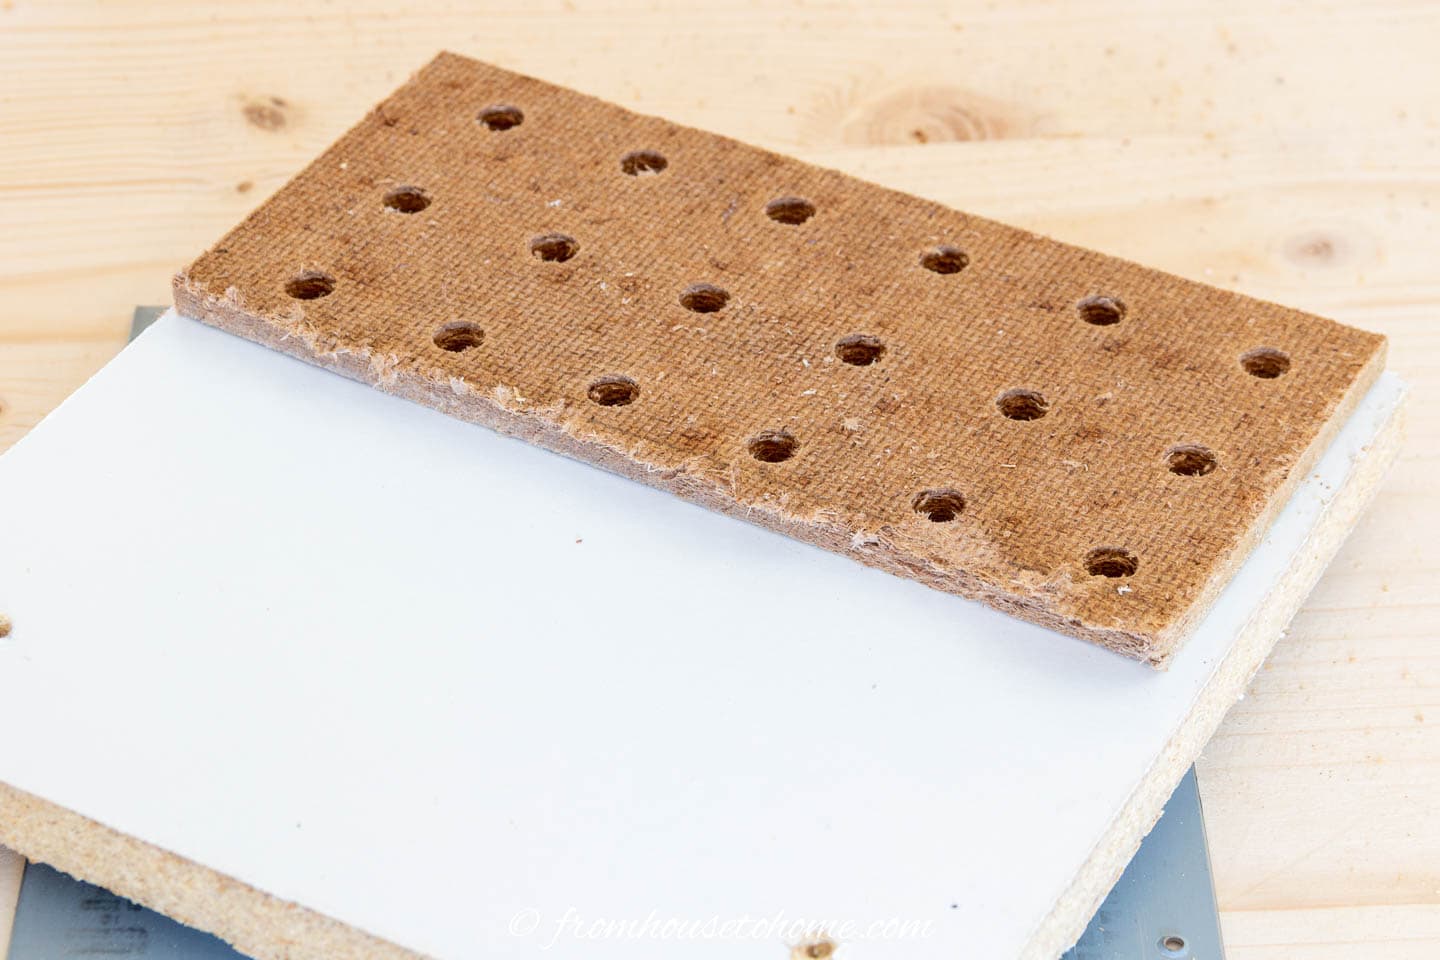
Mark where you want the cup hooks to be placed on the plywood.
Using the pegboard holes as a template makes sure that they are evenly spaced.
Then use a drill bit that is smaller than the width of the hook end (mine was a 5/64″ bit) to pre-drill the holes where your marks are.
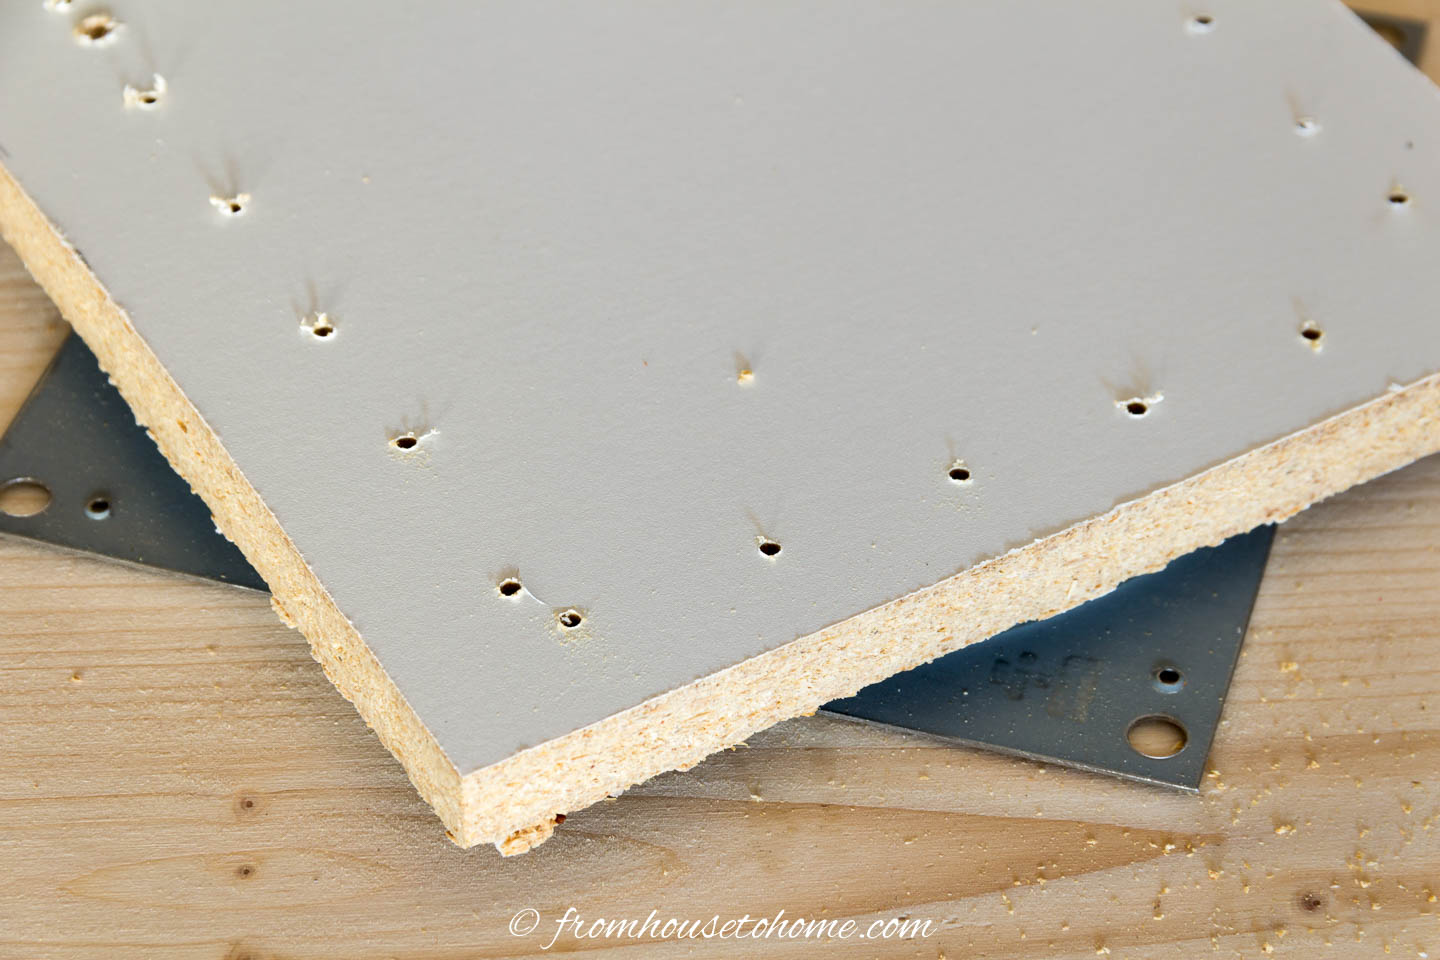
These are just pilot holes so they only need to go in a little way. Not all the way through the wood (although it isn’t a big deal if they do).
This will make it easier to install the hooks and make sure that they go in straight.
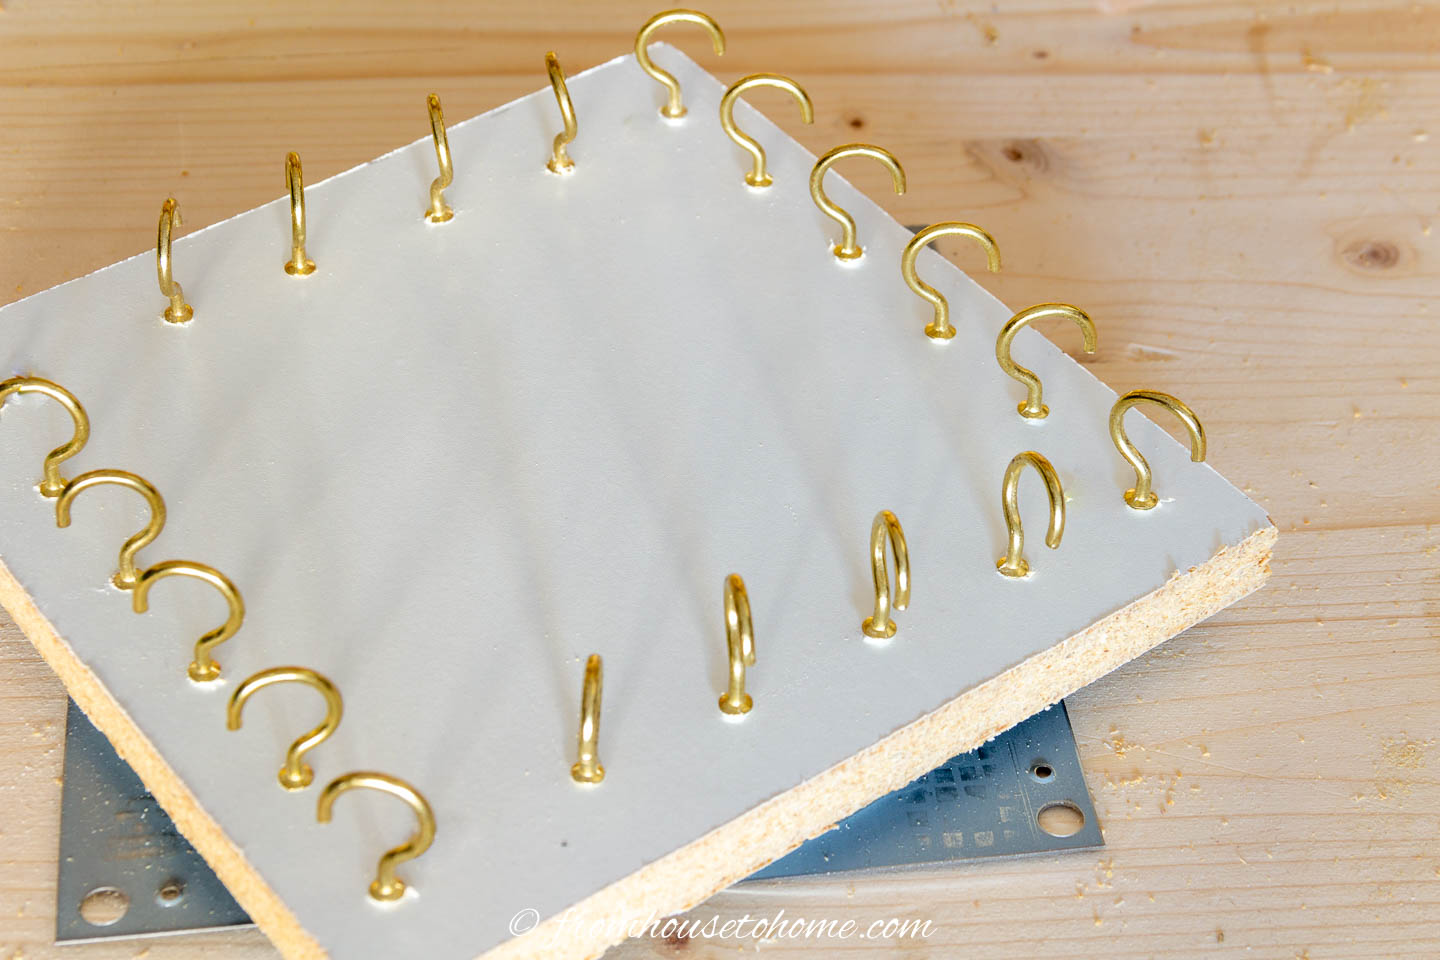
Screw the cup hooks into the pre-drilled holes.
Note: I used brass cup hooks because I happened to have them in my tool box. If I were actually buying hooks for this project, I would definitely go with the white vinyl ones that blend in better with the melamine.
5 | Install under the cabinet
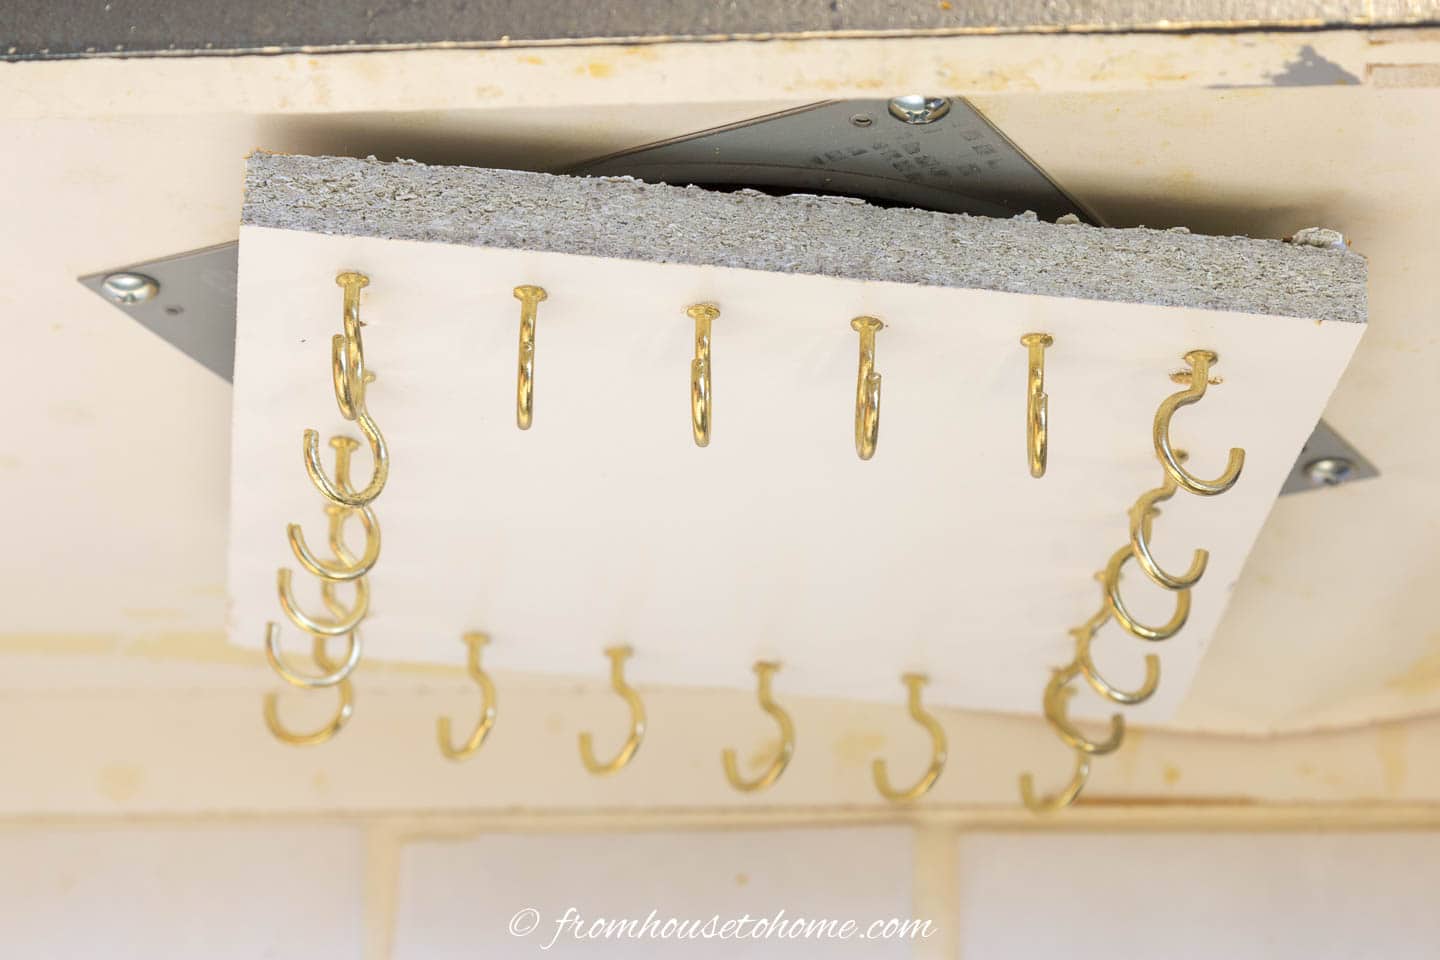
Rotate the plywood side of the hanging rack around until you can see the screw holes in the top half of the lazy susan hardware.
Make sure to position it so that the board can turn completely around without hitting anything.
Then screw it into the bottom of the kitchen cabinet using ½” wood screws.
If you did happen to make yours round instead of square, you’ll have to drill larger holes in the board directly above the screw holes in the Lazy Susan. Then line those holes up so you can fit your screwdriver through the board to put the screw in.
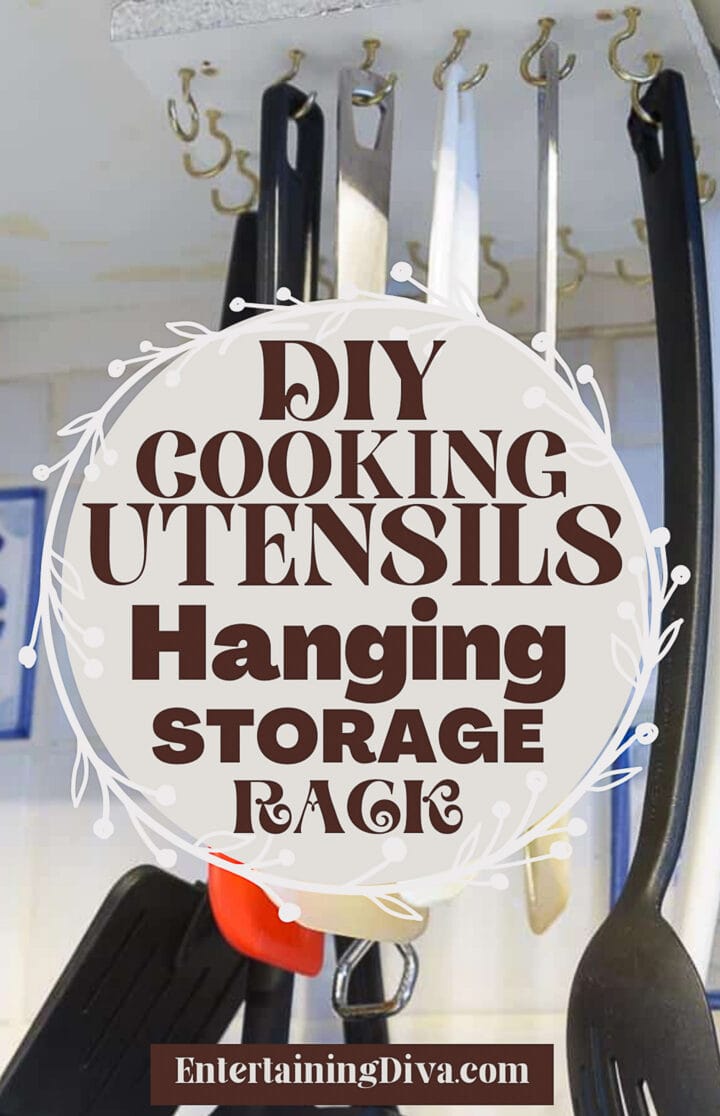
6 | Hang the kitchen utensils
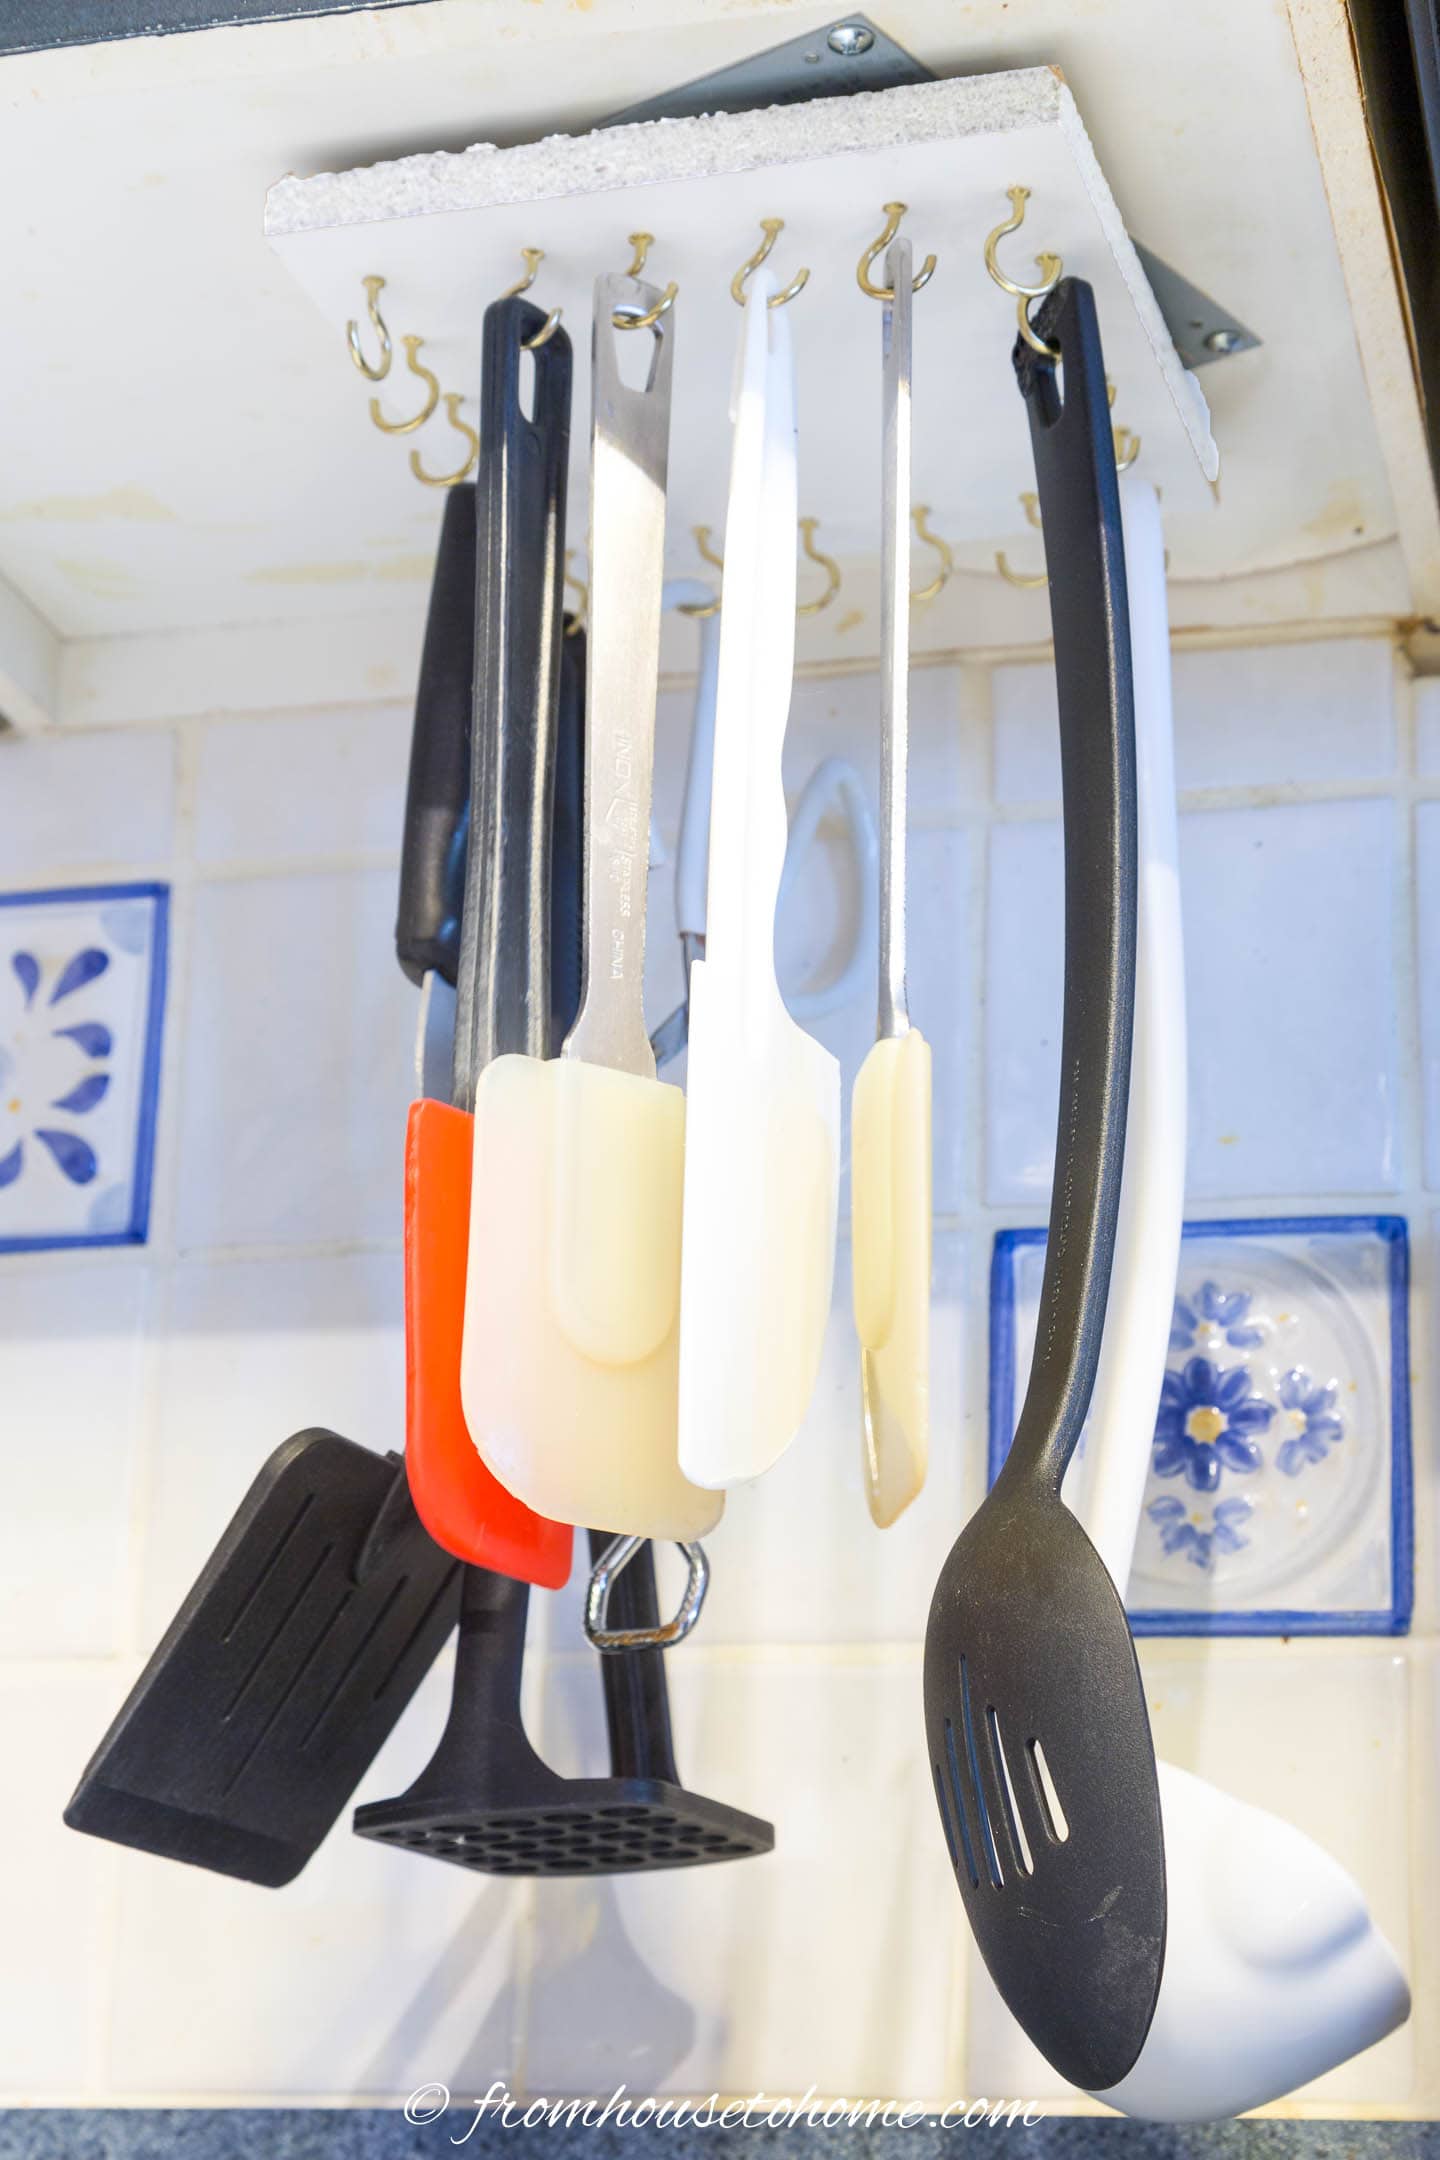
Hang up your utensils and you are ready to go!
Now you just have to rotate the rack to find what you need.
You can fit more in by turning the hooks in different directions depending on the type of utensils.
Flat things like spatulas and tongs can be hung sideways.
Larger spoons can be hung on an angle.
If you have some utensils with fatter handles that don’t fit into the small cup hooks (like I do), swap out a few of them for larger hooks so that everything fits.
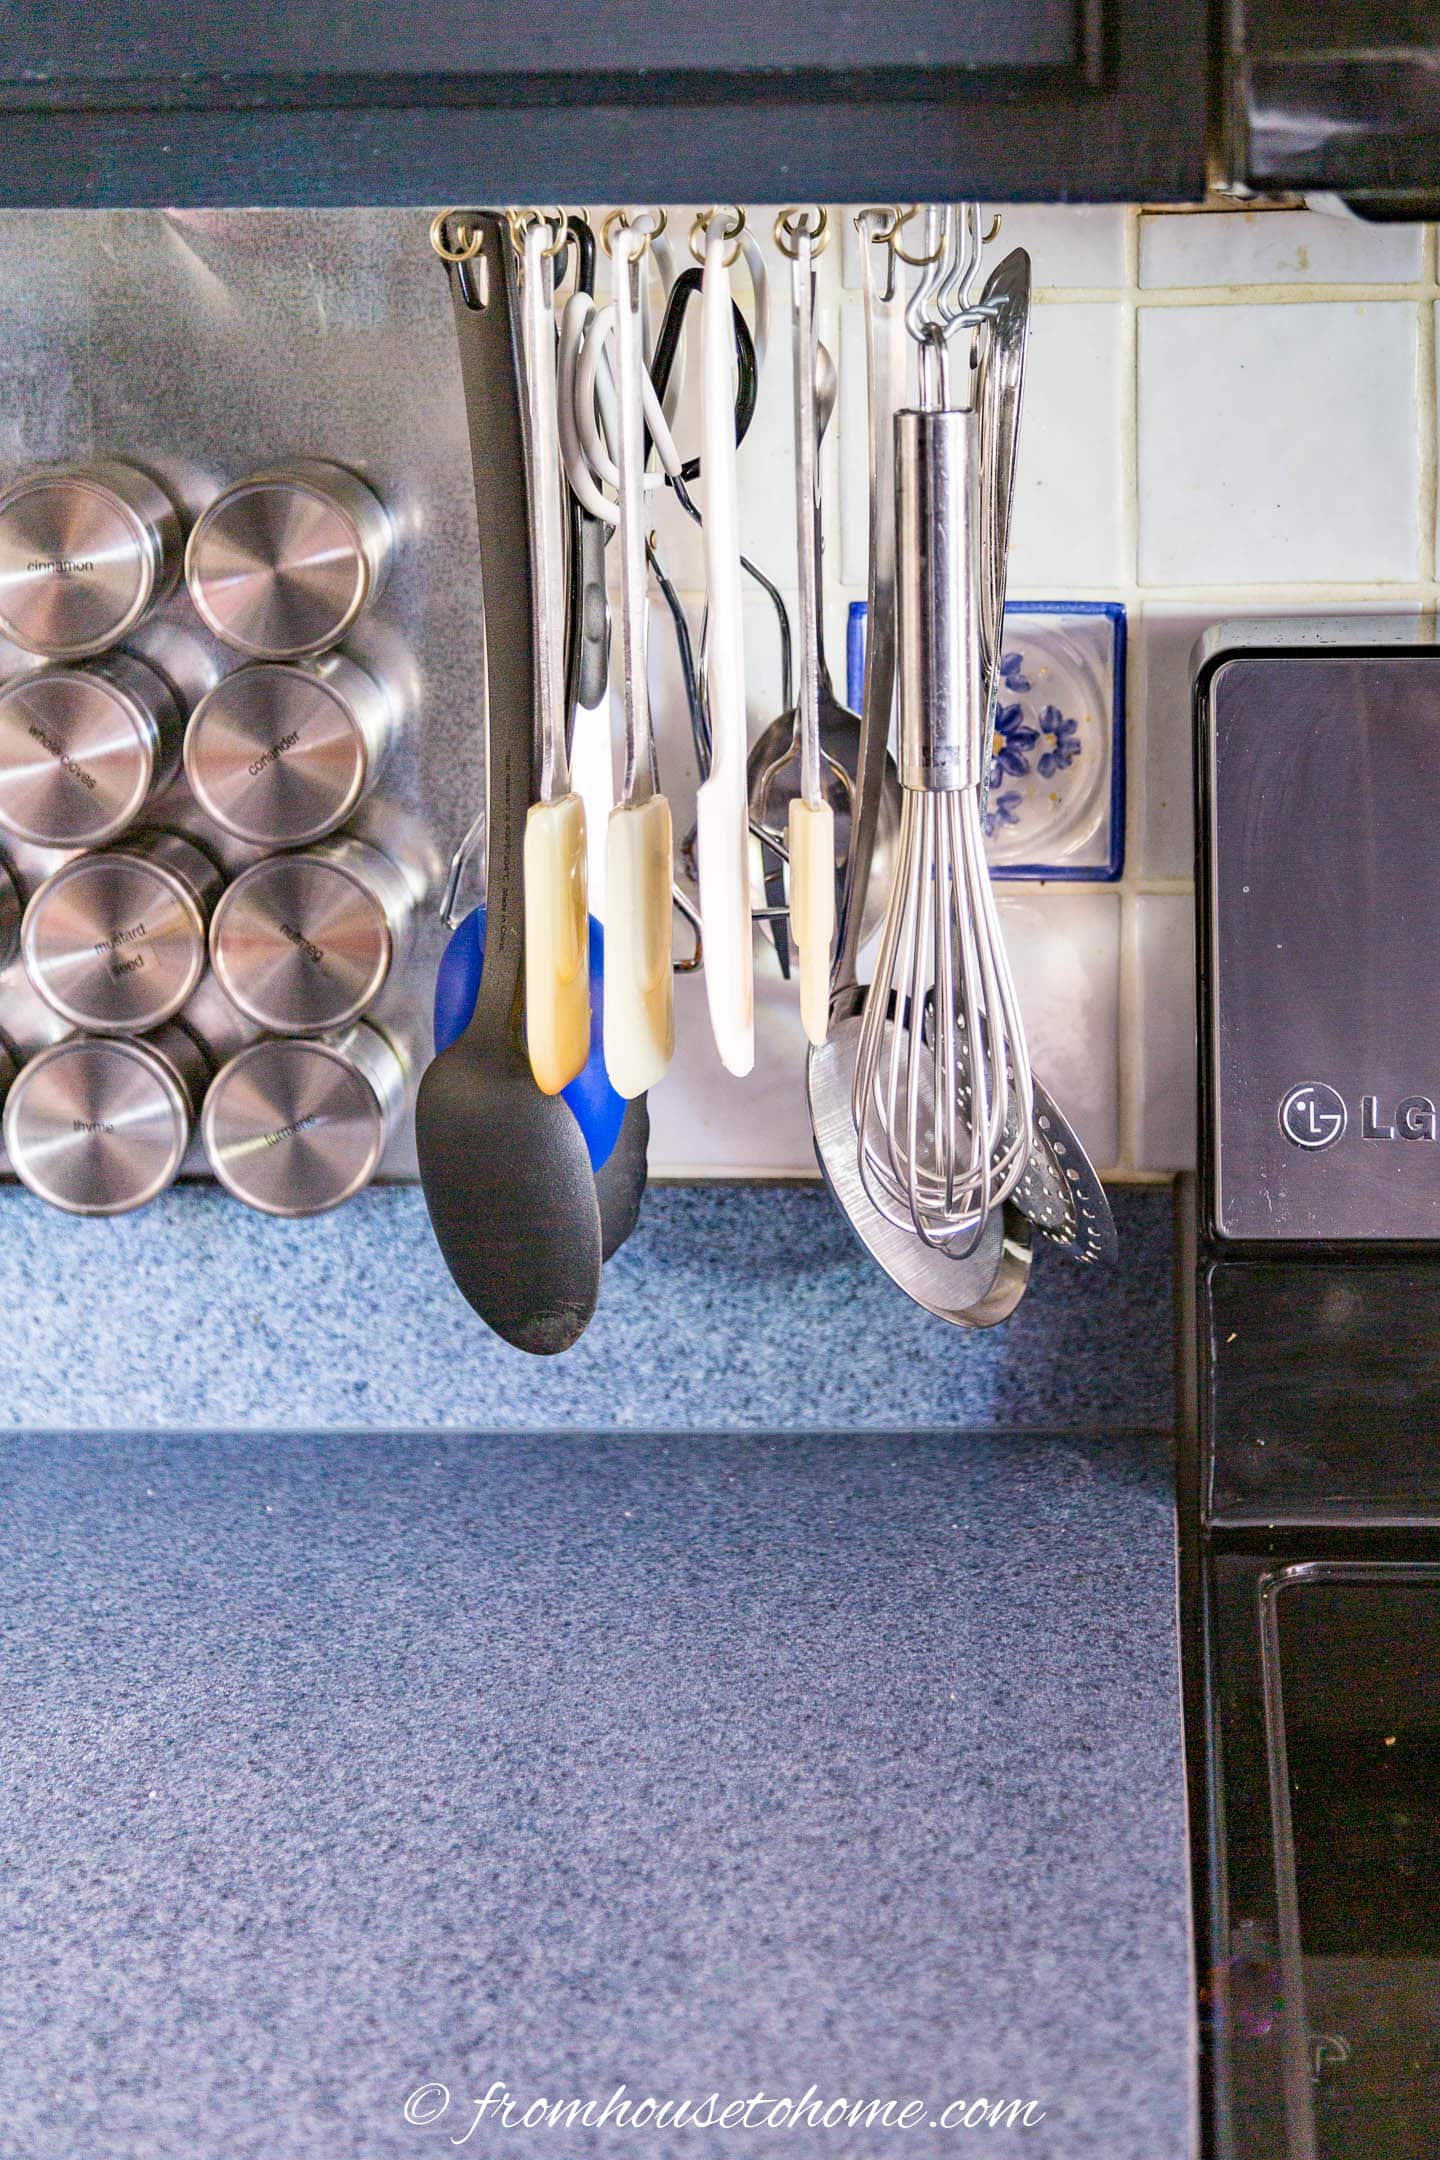
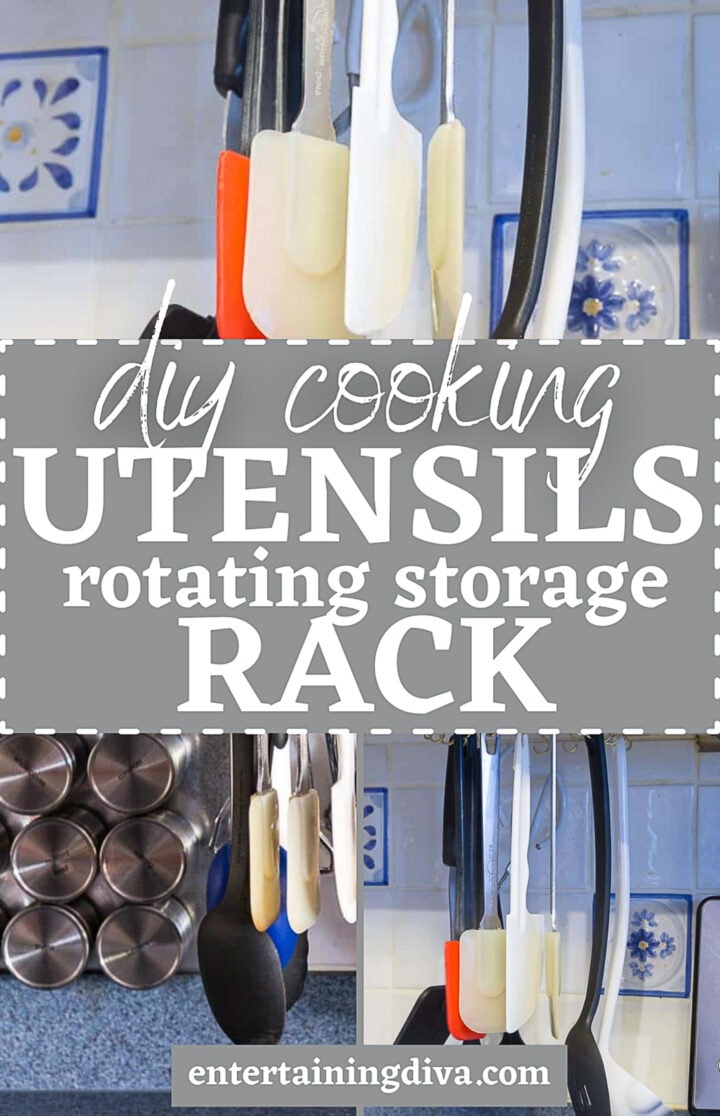
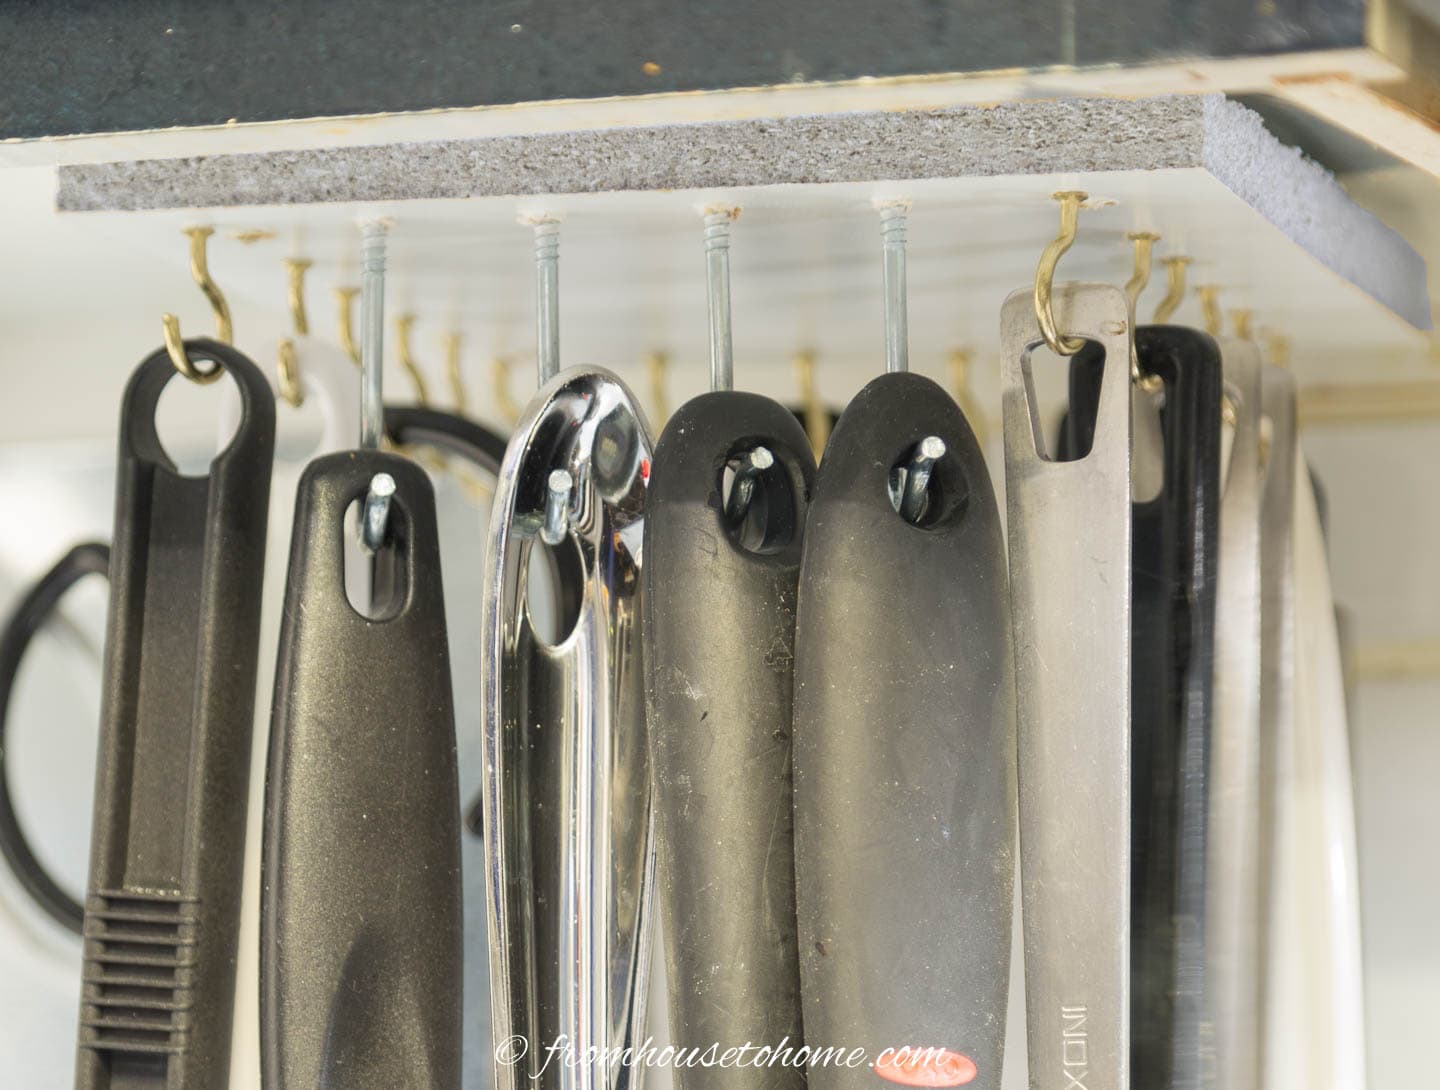
My new cooking utensils rotating storage rack works perfectly, and now I don’t have anything on the countertop.
After I put it up, I was amazed at how much easier it is to keep the counter clean when you don’t have to keep moving things out of the way.
In fact, I like it so much I think I’m going to make some more to use for hanging tools in the garage. And necklaces in my closet.
Other kitchen organization ideas you might like
In case you’re working on getting your kitchen in order, here are some other kitchen storage ideas you might like:
- Turn hard-to-reach shelves into easy-to-access drawers.
- Drawer organizing ideas
- DIY magnetic spice wall
- DIY pull down cookbook stand
- Over the fridge cabinet organizer
- Cabinet door storage ideas
DIY under cabinet storage rack for hanging kitchen utensils
Equipment
- miter saw, jig saw or rotary saw
- iron
- carpenter pencil
- drill
- 5/64-Inch drill bit
Materials
- 4-inch or 6-inch Lazy Susan Hardware
- small piece ½" melamine or plywood that is at least as big as your lazy Susan hardware
- ½ inch melamine edge banding
- cup hooks
- ¾ inch wood screws
- small piece of pegboard
Instructions
- Using a saw, cut the ½" plywood into either a 4" x 4" square (if you have a 4" Lazy Susan) or a 6" x 6" square (if you have a 6" Lazy Susan).
- Iron the melamine edge banding onto the cut edges of the board using the hottest setting on the iron.
- Rotate the top portion of the lazy susan so that you can see the screw holes.
- Screw the Lazy Susan hardware to the board.
- Use the pegboard holes as a template to mark where you want the cup hooks to be placed on the plywood.
- Drill small holes in the board where the marks are.
- Screw the cup hooks into pre-drilled holes.
- Attach the other side of the lazy susan to the bottom of your cabinet, making sure that the board can turn completely around without hitting anything.
Notes
- Using a square board instead of a round one makes it much easier to install the Lazy Susan hardware since you can get to the holes in the plate by rotating it. If you want to make a round one, you’ll need to drill holes in the board that line up with the holes in the plate in order to install it under the cabinet.
- If you don’t have melamine edge banding, you can also paint the edges. Or if you have cabinets with a lip, leave it unfinished since you won’t be able to see the edges.
- Pre-drilling the holes for the cup hooks makes them much easier to install and keeps them straight.
Have comments or questions on how to hang kitchen utensils with our DIY under cabinet storage rack? Tell us in the section below.
This post was originally published on February 1, 2016 but was updated with new content on May 21, 2023.
love this sdea gotta try it I desperately need the counter space,only thing I will do different is put it in opening between kitchen and L/R right by my stove.
Thank you for being such a great person in showing me how to spend my time in creating something for my home Keep up the great work and hope for your next instalment Thank you Amanda
Thanks, Amanda! I’m happy you’re finding them helpful 🙂
Ermagersh, one of the greatest DIY projects ever! I just hate a cluttered countertop or drawers. My mistakes I wish I paid more attention to were to cut the square bigger so could fit more hooks, and I faced the hooks opening side outward which crowded the utensils. This can be remedied and I’m even thinking about adding a piece of wood to each corner.
Small hacks for a better space. I love it, thanks for sharing.
Amazing Wanda,
I saw your pin and immediately came over! I have a big problem with utensils in my small kitchen. I’ll see if I can do this under one of our cupboards! Thanks for the tips!
Thank you for this! I’m trying to clear our counters off as much as possible, but my wife would strangle me if I tried to put all the spatulas and spoons in a drawer. This gets them off the counter without hiding them away.
I ended up with an 8″ circle with 4″ lazy susan hardware, and I was cursing myself for not following your advice about the relative sizes the whole time I was attaching it under the cabinet. The finished product will be worth it, though (I think/hope). We’ll see when she gets home from work!
Thanks again!
I’m happy it was helpful, Whytte! It works really well in my kitchen so I hope your wife liked it, too 🙂
Wanda,
Love this idea. I have junk in the round ceramic utensil and in my drawers. Would love to do a clean out and hang them. Just wondering, though, the screws you mentioned are they able to go into the bottom of the cabinet without coming thru. I have real wood cabinets and the bottom is pretty thick but I would hate to screw it in and have the tip of the screw sticking through.
Hi Lynne…The 3/4″ screws worked fine on my cabinets without coming through. But to be on the safe side, I would measure the width of the wood on your cabinets, and then get screws that are 1/8″ shorter. You don’t need them to be very long to hold this up.
Love this idea!! Do you have a neat way to store measuring spoons, cups, and potholders?
Thanks, Debbie! I haven’t come up with any great ideas for storing potholders, but I do like hanging measuring spoons and cups from pegboard on the inside of my kitchen cabinet doors. Here’s the link to that project: https://www.fromhousetohome.com/cabinet-door-storage-ideas/. Hope that helps!
Hi there. Loved the idea. Question though, I bought a large piece of oblong pine (with the bark around the edge.) I want to hang it on my ceiling. (I live in an RV) but I can’t figure out how to hang it because I can’t get to the screw holes that will attach to the ceiling. Do you have any suggestions?
Hi Jeannie…I think you might need to drill holes in the pine directly in line with the lazy Susan screw holes so that you can get at them. I would use a small drill bit to drill a pilot hole from the lazy susan side through the screw hole and all the way through the wood. Then flip it over and drill bigger holes where those pilot holes are using a drill bit that is larger than the head of the screws you want to use. Install it by lining the holes in the wood up with the holes in the lazy susan and putting the screws in through the holes. Then fill in the holes with wood filler. I hope that makes sense. Good luck with it!
Sounds like a great idea. Thanks for sharing. Love your ideas.
Love your idea for utensils. Do you have any recommendations as to how to make the cabinets above a refrigerator more accessible? Seems like wasted storage when I can’t get to them.
Is it possible to reply via email?
Thanks
Hi Eleanor…If you have a 24″ deep cabinet above the fridge, it can actually be pretty useful for storing long things. I put in vertical dividers for cookie sheets and cutting boards, as well as some shelves that aren’t very far apart for serving plates and trays that I don’t use very often (prevents them from all being stacked on top of each other). You can find the instructions for my DIY over the refrigerator organization project HERE.
If your cabinet is only 12″ deep, that makes it a little trickier since they are so hard to reach. I would be tempted to build it out so that it is 24″ deep. Either buy or build a second cabinet the same size as the one you have only without a back on it. Then add legs so that it sits on top of the refrigerator at the same height as the existing cabinet. Take the doors off the cabinet that is there, attach your new cabinet to the front of the existing one so that you now have a 24″ deep storage space. Finally, put the doors back on to the front of the extension. (If you built it, you’ll have to get a side panel or some paint to match the color). Then you’ll be able to reach the front of the cabinet more easily and can put in an organizer like the one above.
Hopefully this helps!
Hi Wanda,
Recently cut my counter to rid myself of an old cook top stove and bought a spanking new stove, and have a storage 3 tier slider next to it but above this an empty space, so, because of your perfect utensil hanging idea where to hang what I usually reach for when cooking has been solved. Thank you for coming up with a genius and inexpensive solution. God bless you and yours.
Thanks, Marilyn! Sounds like the perfect spot for it! I really love how convenient it is in my kitchen 🙂
Hi again Wanda,
Bought all I needed from my Home Depot store, came home and put it up, looks terrific and freed up 2 of my utensil drawers. I shall continue to follow you to see what other genius ideas you come up with in helping myself and others in solving kitchen issues, pesky stuff !! Thank you once more. God bless.
I’m happy it worked out for you Marilyn! And thanks for following along 🙂
Great idea for new homeowners. Put it in before/when you move in and unpack. Your kitchen utensils will be organized from the beginning.
Thanks, Kari! You’re right, it would have made my life so much easier if I had done this from the beginning 🙂
Your DIY Rotating Cooking Utensils Storage Rack gave me just what I needed to create something better for me (I need to store a lot more items). My wonderful husband used the ideas you provided, and then created one that makes use of the rather large area in the kitchen. It’s DEFINITELY not one that a homeowner could make, but my husband can do just about anything. If you tell me how to send you a picture, I’d love to show it to you.
Hi Barbara…that sounds awesome! I would love to see a picture. You can email it to me: [email protected]. Thanks for sharing!
It actually does take up the counter space directly underneath it, no biggie though, still a great idea.
Thanks, Valerie! You’re right that you can’t put tall things under it, but I usually use that area for staging plates or cookie sheets that I’m about to use…and it works fine for that…
Love this DIY. I’m going to Lowe’s now to get parts to make me one.
Thanks, Catherine! Hope you are as happy with yours as I am with mine 🙂
I showed it to my brother, who is a retired building contractor, and he was quite impressed. I hope to remodel my kitchen after summer is over and will incorporate the hanging utensil storage rack then. Thank you so much for the great idea!
Genius!
Thanks, Shirley! I thought it turned out pretty well myself 🙂
I love this idea!! Where did you find the “lazy Susan” hardware?
Thanks, Charlotte! I bought mine at Lowes (at the Lowes by me, it was in the same section with the drawer slides and other cabinet hardware)…but I’m sure Home Depot and other hardware stores carry it, too. Or you can order online from amazon.com. It’s called a Lazy Susan turntable (although they would probably know what you were talking about if you asked for Lazy Susan hardware).