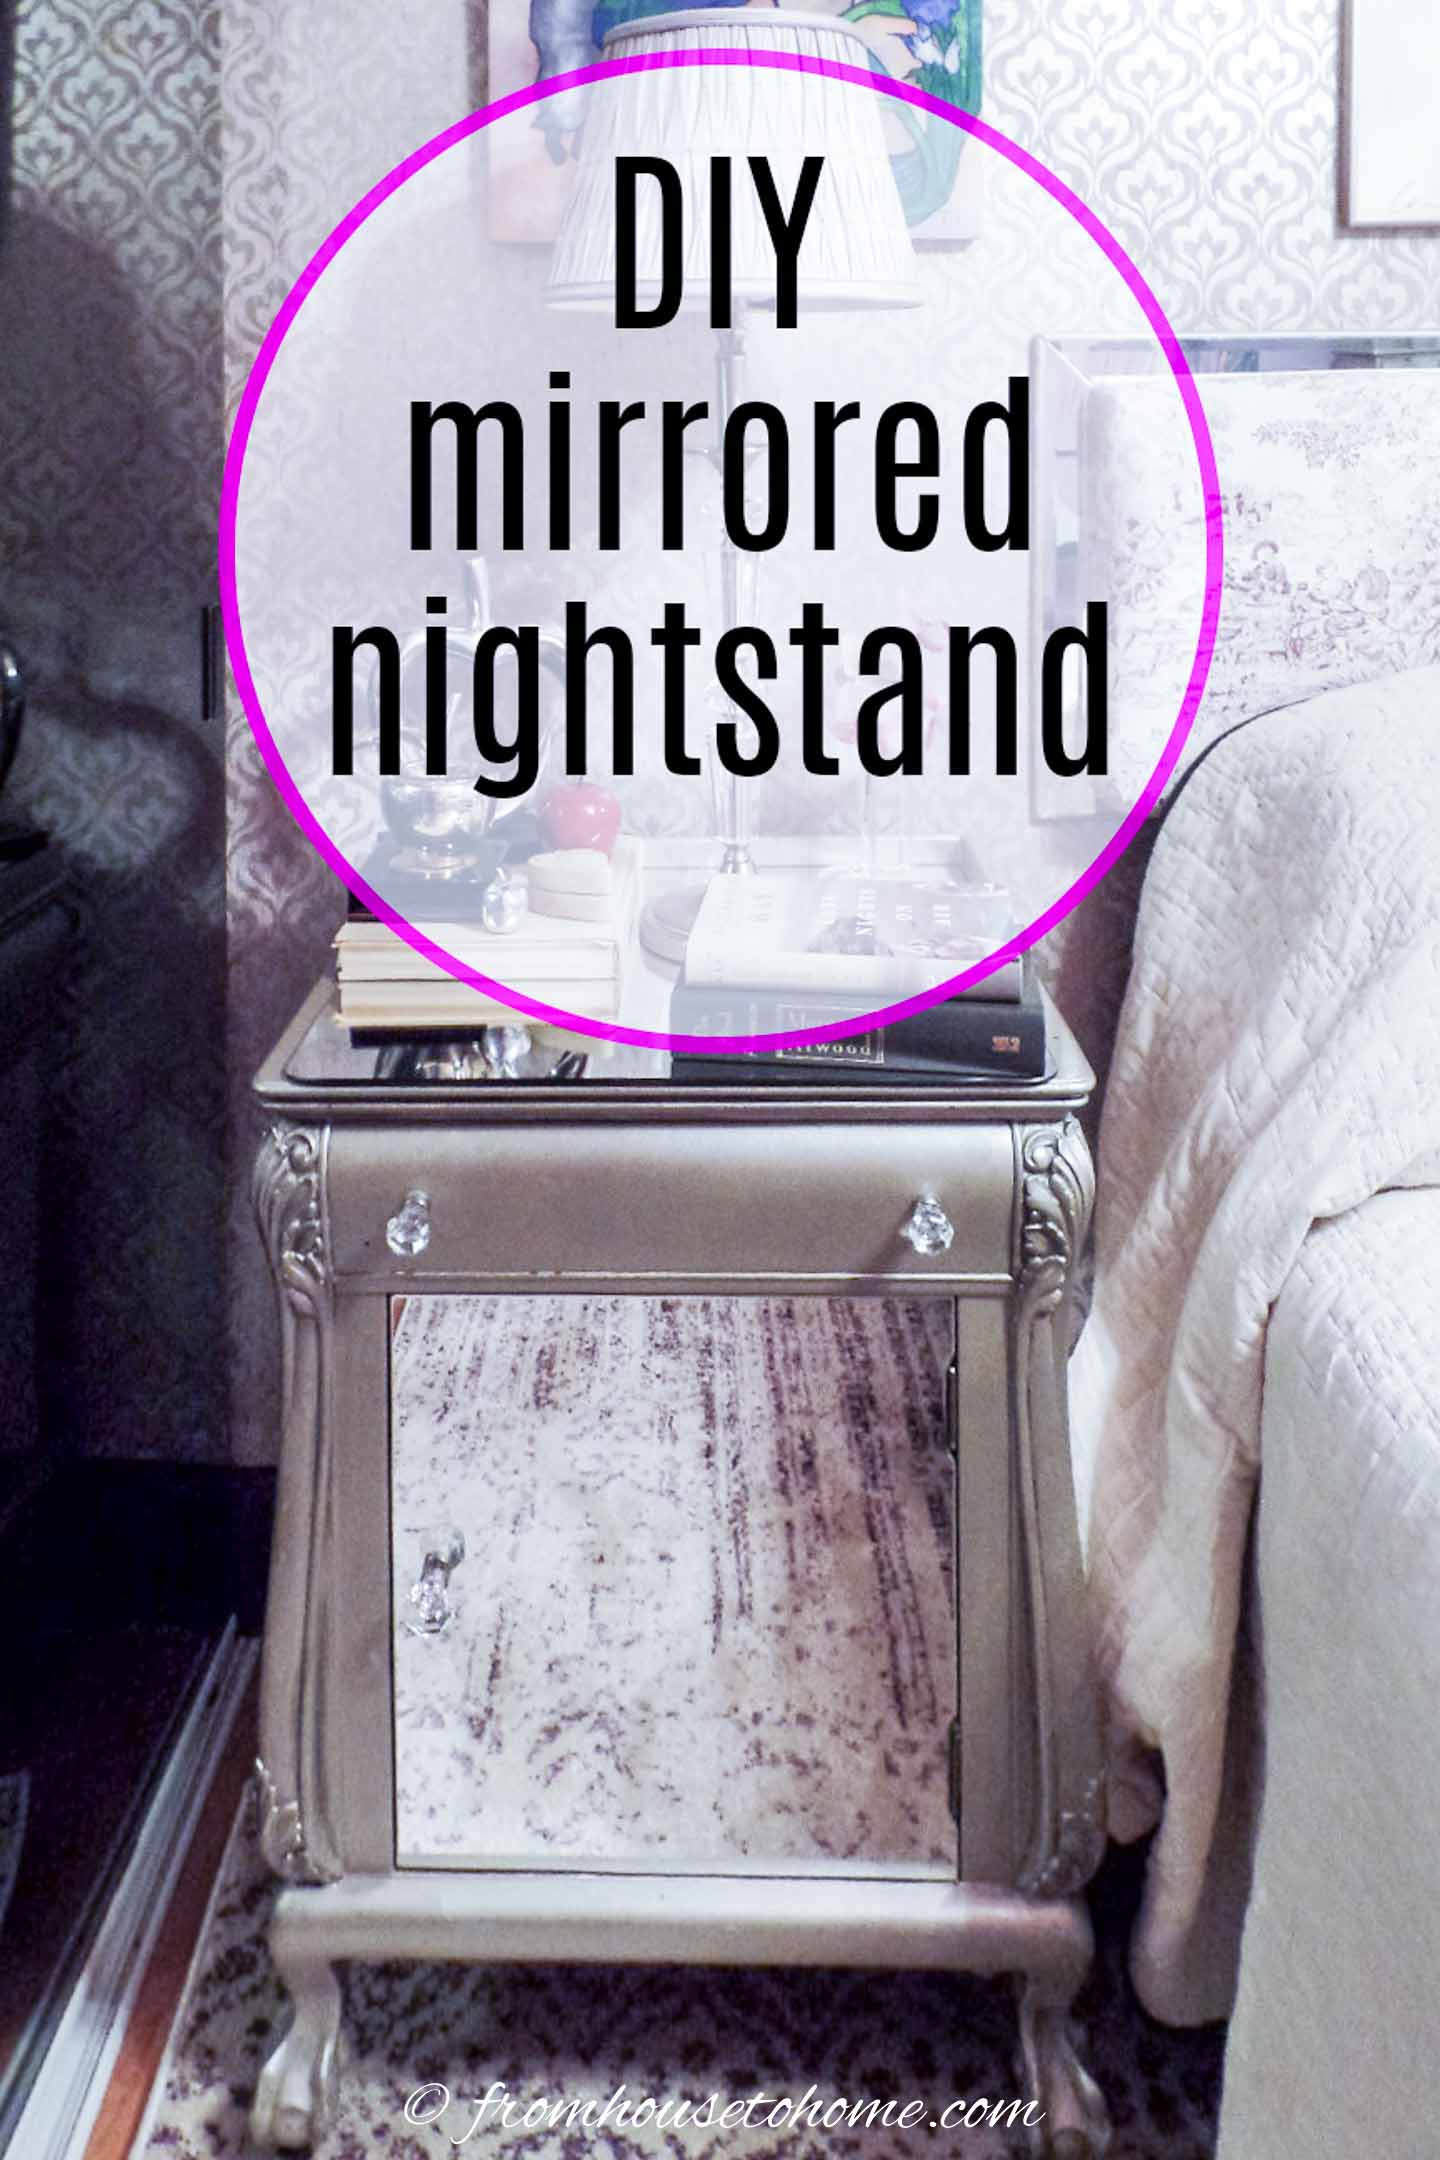
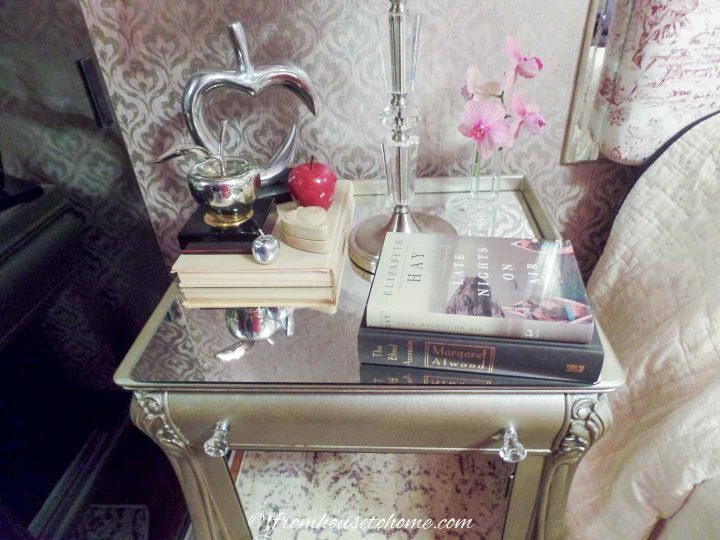
DIY Mirrored Nightstand (A Gorgeous Glam Bedside Table)


If you’re on the hunt for a new bedside table but can’t find one that meets your needs, think about making it yourself! Use our tutorial to make a DIY mirrored nightstand from an old cabinet or piece of furniture you like using some silver paint and mirrors.
I don’t know about you, but I have a thing for mirrored furniture.
The problem is that it’s so expensive!
So when I wanted a new bedside table, I decided a DIY project was in order. And set out to upcycle an old cabinet into a beautiful mirrored nightstand.
Unfortunately, the old cabinet was so ugly that I forgot to take before pictures. (You’ll just have to trust me on that one!)
Supplies
Materials
- 80-grit or 120-grit and 220-grit sand paper – if your table has a lot of thick paint on it, you’ll need to start with the 80-grit sand paper, otherwise 120-grit should work fine
- carpenter’s wood filler
- Cleaner / Degreaser*
- primer
- silver paint* – I used the kind that you brush on, but silver metallic spray paint would work, too.
- mirror cut to size – you can order this at a local glass and mirror shop, or from some Lowes stores*
- mirror adhesive*
- crystal knobs*
Tools
- measuring tape
- finish sander or sanding block – I like this cordless sander* from Home Depot
- small foam paint roller
- paint brush
- caulking gun
- screw driver
- (optional) drill with a carbide-tipped glass-cutting drill bit
How To Make A Mirrored Nightstand
1 | Get The Mirror Cut
Measure the width and length of the table top.
Then measure the height and width of the door or drawer fronts.
Have mirror pieces cut to these measurements.
If your table has knobs that will need to go through the mirror, you might want to measure where they are as well, and get the store to pre-drill the holes for you.
You can do this at a local mirror and glass store, or some Lowes stores*.
2 | Prep The Table
Before you begin, you’ll want to strip any old finish off the table.
Remove the door or drawers, and any knobs.
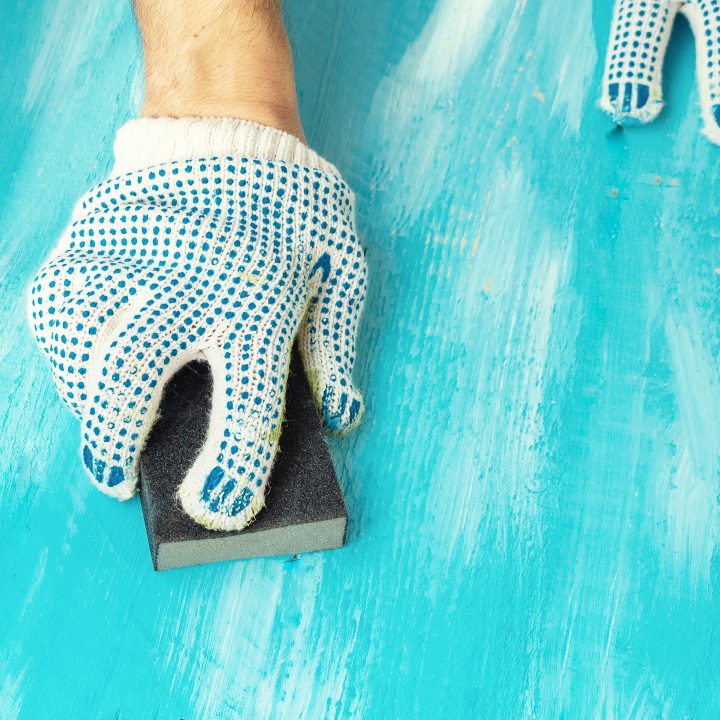
Use a finish sander or sanding block on the flat surfaces to remove any loose or peeling paint or stain. You’ll need 80-grit sand paper if the old finish is thick. Otherwise, 120-grit sand paper should work.
Hand sand any of the curved surfaces that are awkward to do with the sander.
Then go over the entire piece with the 220-grit sandpaper to smooth out the surface.
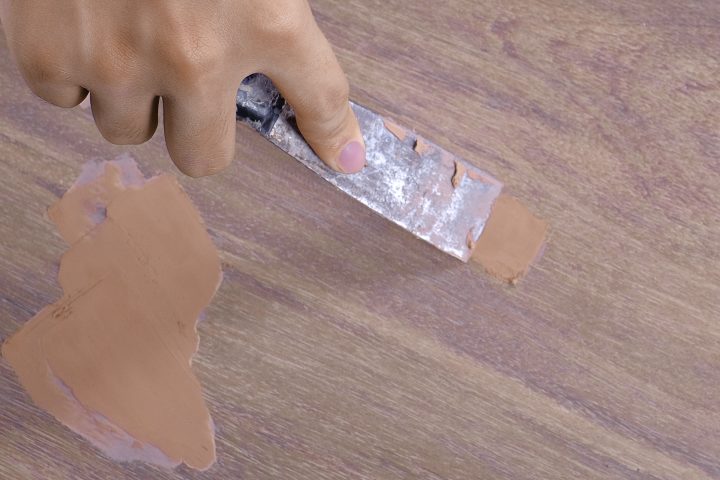
Fill any holes and rough spots in the veneer with Carpenter’s wood filler, especially in the parts that will be painted.
When it is dry, re-sand with the 220-grit sand paper until the filled spots are smooth to touch. Any unevenness will show up on the painted surface.
Clean the entire piece with the cleaner/degreaser to make sure there is no dust, grease or dirt left.
3 | Paint The Table Silver
Because it’s difficult (and can be expensive) to cover the whole table in mirror (especially if it has round edges), I decided to paint the rest of the nightstand silver before putting the mirror on.
To make sure it sticks, don’t paint the parts where the mirror will be glued on.
Start by putting a coat of primer on all parts of the table that will be painted.
I find that using foam rollers gives the smoothest finish.
But you’ll probably need to use a brush in some of the spots that the roller can’t get to easily.
Don’t forget to do the edges of the door or drawers.
And you may want to paint about 1″ around the outside of the table top and door or drawers where the mirrors will go.
This will make sure there won’t be any bare spots if your mirror doesn’t quite reach the edge (like mine).
When it is dry, paint over the primer with two coats of silver paint.
Make sure to wait the recommended amount of time between each coat to make sure it is dry. Otherwise, you may end up with a paint surface that is always sticky.
3 | Glue On The Mirrors
Put the mirror adhesive tube in the caulking gun.
Open the mirror adhesive tube by cutting a small piece off the top. You want the hole to be fairly small or you’ll get too much glue coming out.
Spread the glue around the top of the table.
Glue the mirror onto the top.
If your knobs are going through the mirror, and you didn’t have the holes pre-drilled, you’ll want to drill them now using a carbide-tipped glass-cutting drill bit.
That way if the mirror breaks, it hasn’t been glued down yet and you can replace it easier.
Since I’m not an expert on this process, take a look at the instructions on Home Depot’s site for more information on how to this.
Repeat the gluing process with the door or drawers.
4 | Add The Knobs

Once the glue is dry (it can take up to 24 hours), you can replace the knobs with the crystal ones, and then put the door or drawers back on.
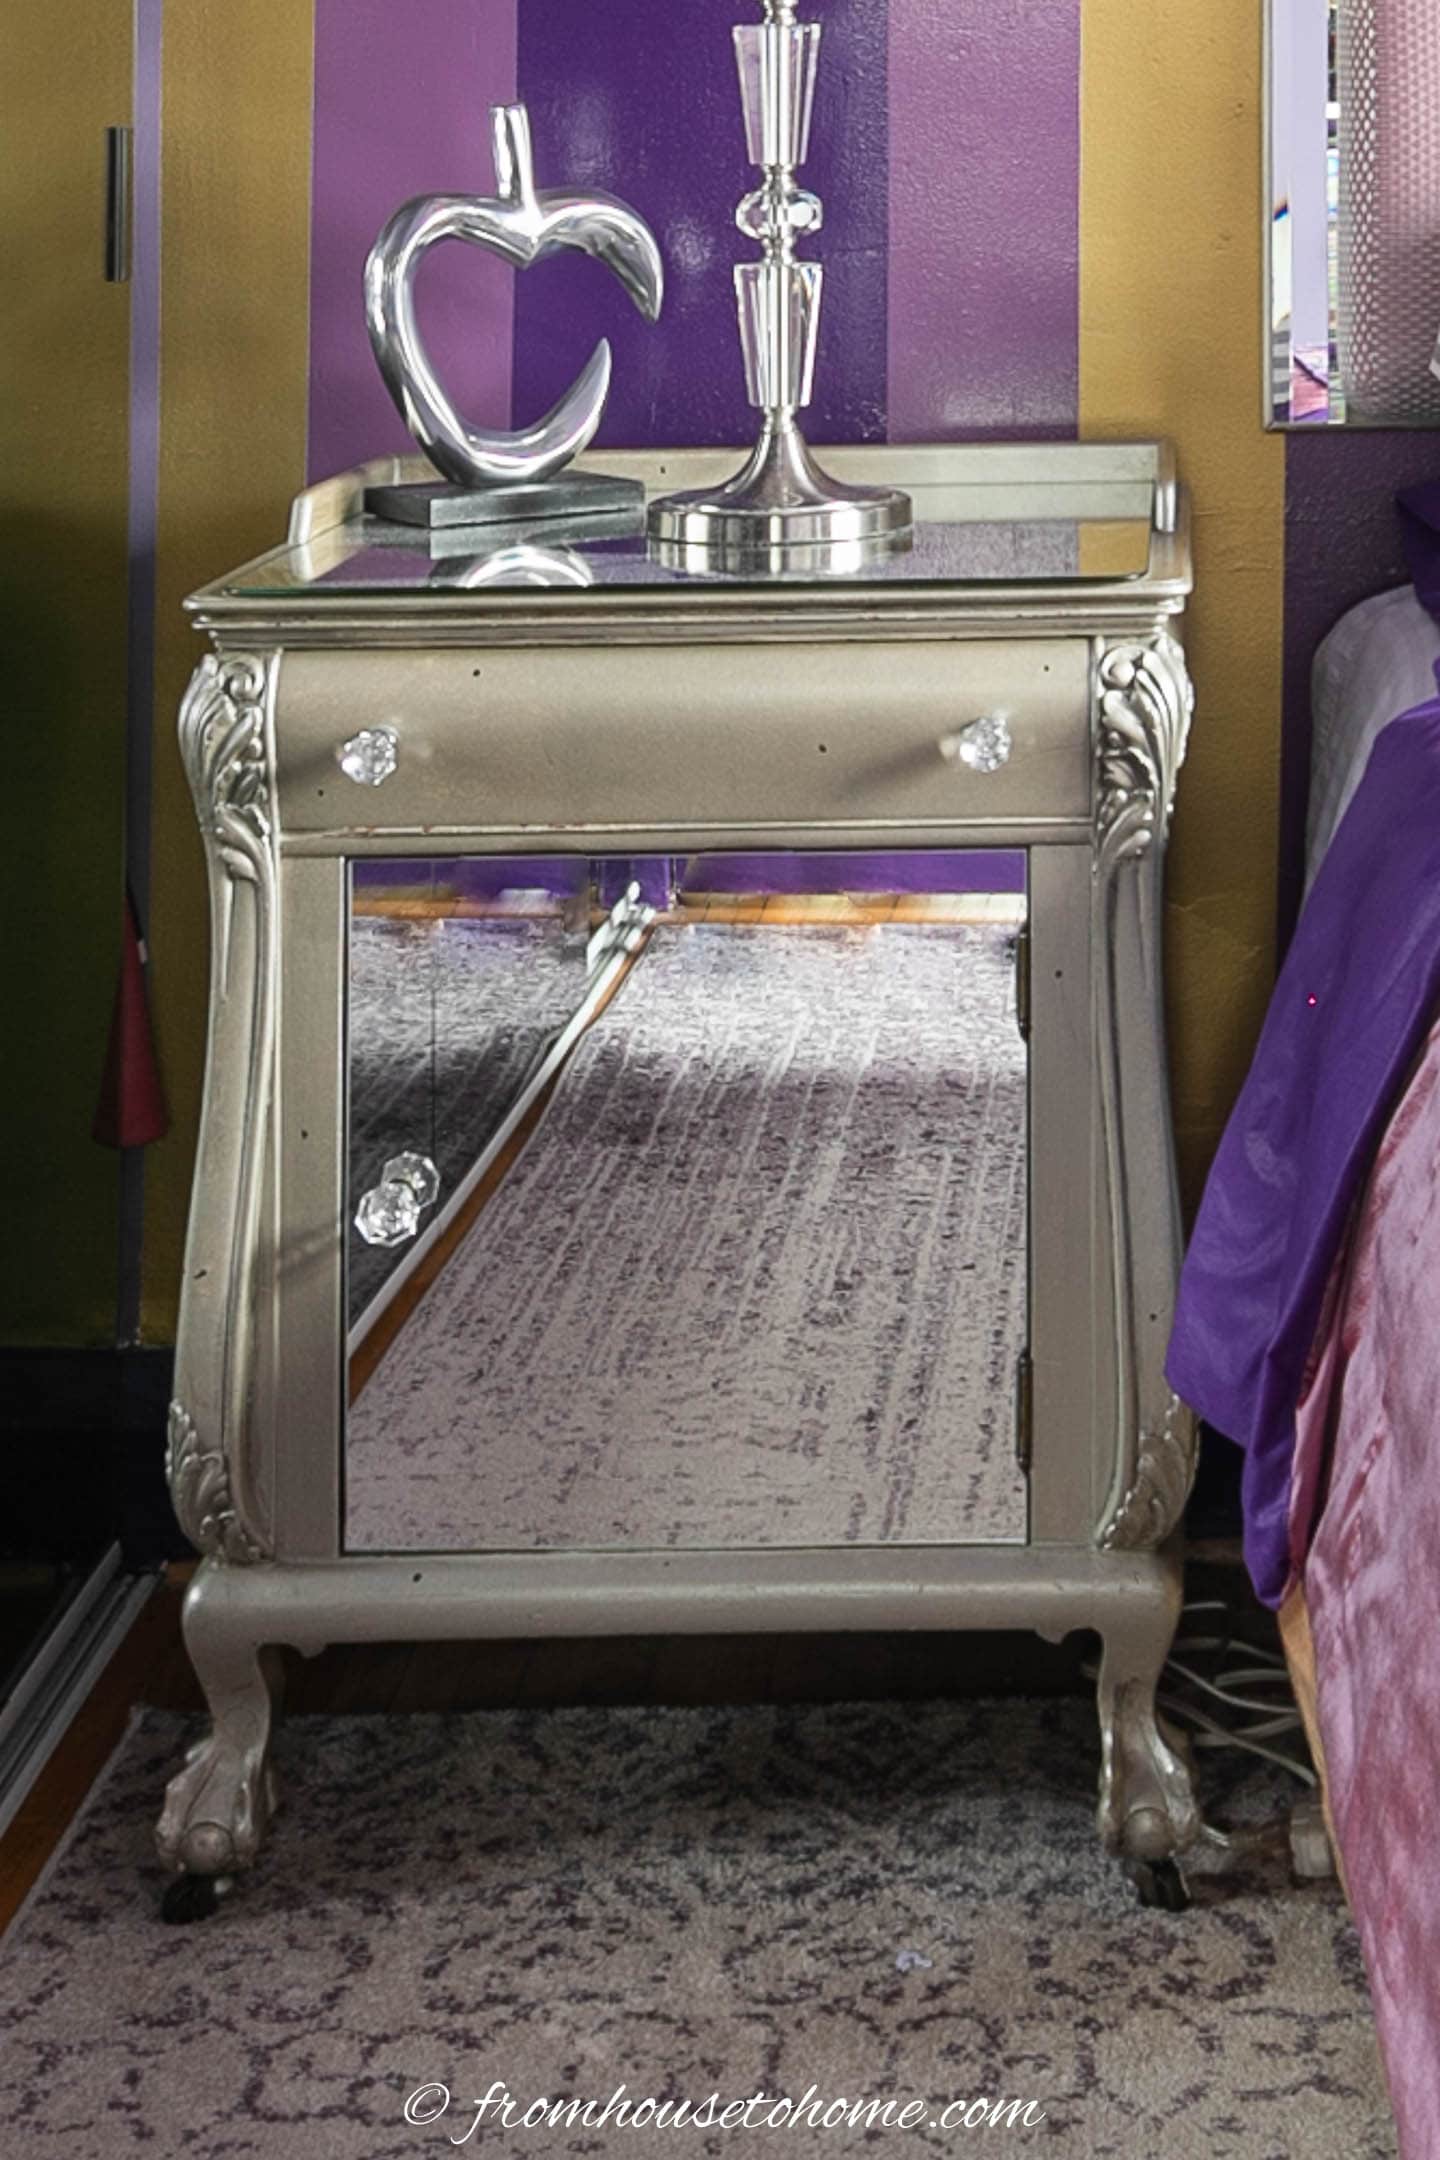
And your DIY mirrored nightstand makeover is complete!

My room has been through a few makeovers since I did this project, but I like it so much that it always stays.
Other Home Decor Ideas You Might Like
- How To Decorate With Mirrors
- How To Make A Small Room Look Bigger
- Space Saving Design Ideas For Small Bedrooms
- How To Get the Luxury Hotel Look At Home
Have comments or questions on our DIY mirrored nightstand? Tell us in the section below.
This post was originally published on February 11, 2021 but was updated with new content on February 15, 2022.