
How To Decorate An Open Concept Living Room
If you’re wondering how to decorate an open plan living room, I’ve learned a few practical tricks from years of living in a space with all its quirks. These simple, actionable ideas can help your open-concept area feel cozy, stylish, and perfectly pulled together.

When I first bought my house, I thought the open concept layout was going to be a dream come true.
More space, better flow, easier entertaining. And in many ways, it does deliver on those promises.
But I also realized that making one large room feel cozy and stylish with a functional layout all at the same time is a lot trickier than it looks.
Here’s what I’ve learned after 20+ years of making open concept spaces work.
The key isn’t fighting the openness, it’s learning how to create definition within it.
You can absolutely have distinct, purposeful spaces without putting up walls.
Let me show you exactly how to transform your open concept from one big undefined room into multiple zones that each have their own character and function.
Why open concept decorating feels so challenging
Before we talk solutions, let’s acknowledge why open concept decorating trips up so many people.
Traditional decorating advice assumes you have walls to anchor furniture, define spaces, and create focal points.
When those walls disappear, everything we thought we knew about room layout goes out the window.
Most people make one of two mistakes:
- they either push all their furniture against the few walls they do have (creating a bowling alley effect),
- or they float everything in the middle with no clear purpose or flow.
The good news? Once you understand how to work with an open concept instead of against it, you’ll wonder why you ever wanted walls in the first place.
Some of the images below are not mine and cannot be pinned from this page. Please click through to the original source to save them.
1 | Use Furniture to Create Zones

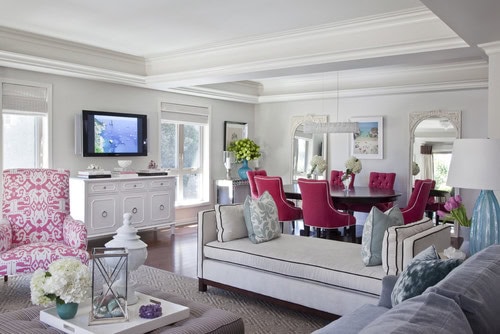
photo by Emily Ruddo (via houzz.com) The secret: Your sofa is your new wall. Instead of pushing it against a wall, float it in the space to create natural boundaries between areas.
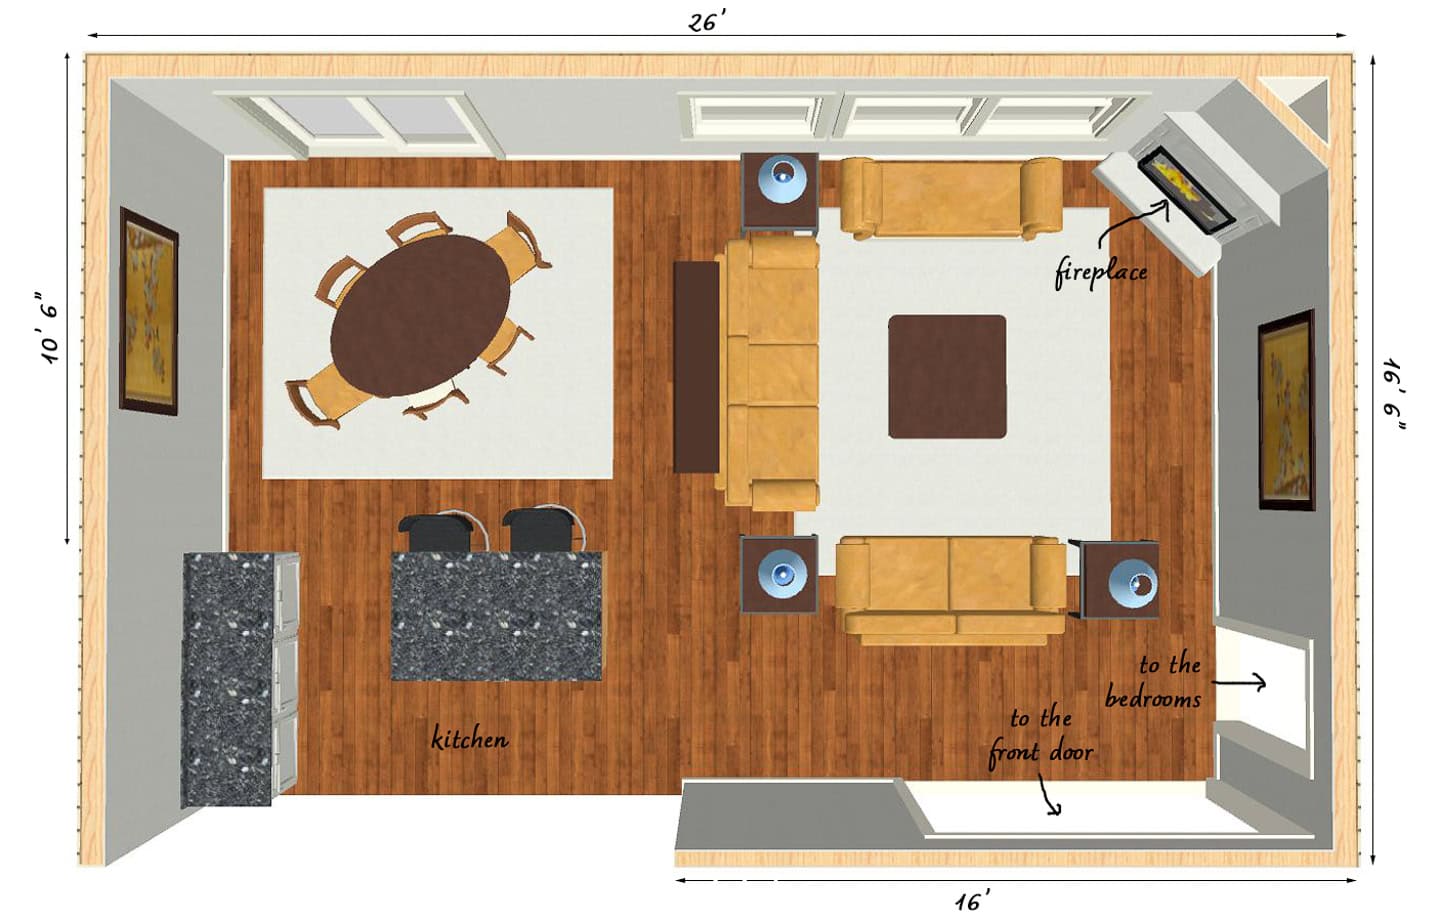
Living room definition: Position your sofa to face away from the kitchen , creating a clear “back” to your living space. This instantly separates your relaxation zone from your cooking zone, even though they’re in the same room.
Dining zone creation: Use your dining table and chairs to anchor a distinct eating area. Even if it’s just a few feet from your kitchen island, the furniture placement makes it feel like a separate room.
Here’s what works: Think of your furniture as puzzle pieces that define activity zones. Each zone should have a clear purpose and feel complete on its own, while still flowing with the overall space.
I like to put a console table behind the sofa. It dresses up the back of the sofa. And gives you a place to put lamps or other accessories you might want to display.
Get a FREE Room Makeover Workbook by signing up for our newsletter
You’ll also get access to our members-only resource library with all of our other printables.
We won’t send you spam. Unsubscribe at any time.
2 | Master the Art of Rug Placement
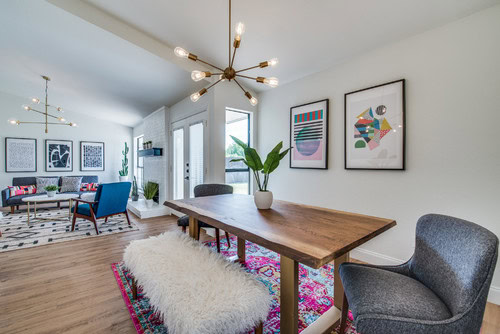
photo by Jackie James LLC (via houzz.com) The foundation: Rugs are one of your most powerful tools for defining spaces in an open concept. They create visual boundaries and help each zone feel grounded and intentional.
Living room rugs: Choose a rug large enough that at least the front feet of all your main furniture pieces (sofa, chairs, coffee table) sit on it. This creates a cohesive conversation area that feels separate from the rest of the space.
Dining room rugs: Your dining rug should extend at least 2 feet beyond your table on all sides so chairs remain on the rug when pulled out. This defines your eating space and protects your floors.
Kitchen considerations: If you want to add rugs in front of your sink or stove, choose washable ones since they’ll get dirty quick. A cushioned rug can make standing in one spot while cooking or doing dishes more comfortable. You might also consider a runner along your island or in front of your refrigerator to add warmth throughout the kitchen.
Color and pattern strategy: Your rugs should coordinate but don’t need to match. Use similar colors or complementary patterns to create flow while maintaining distinct zones.
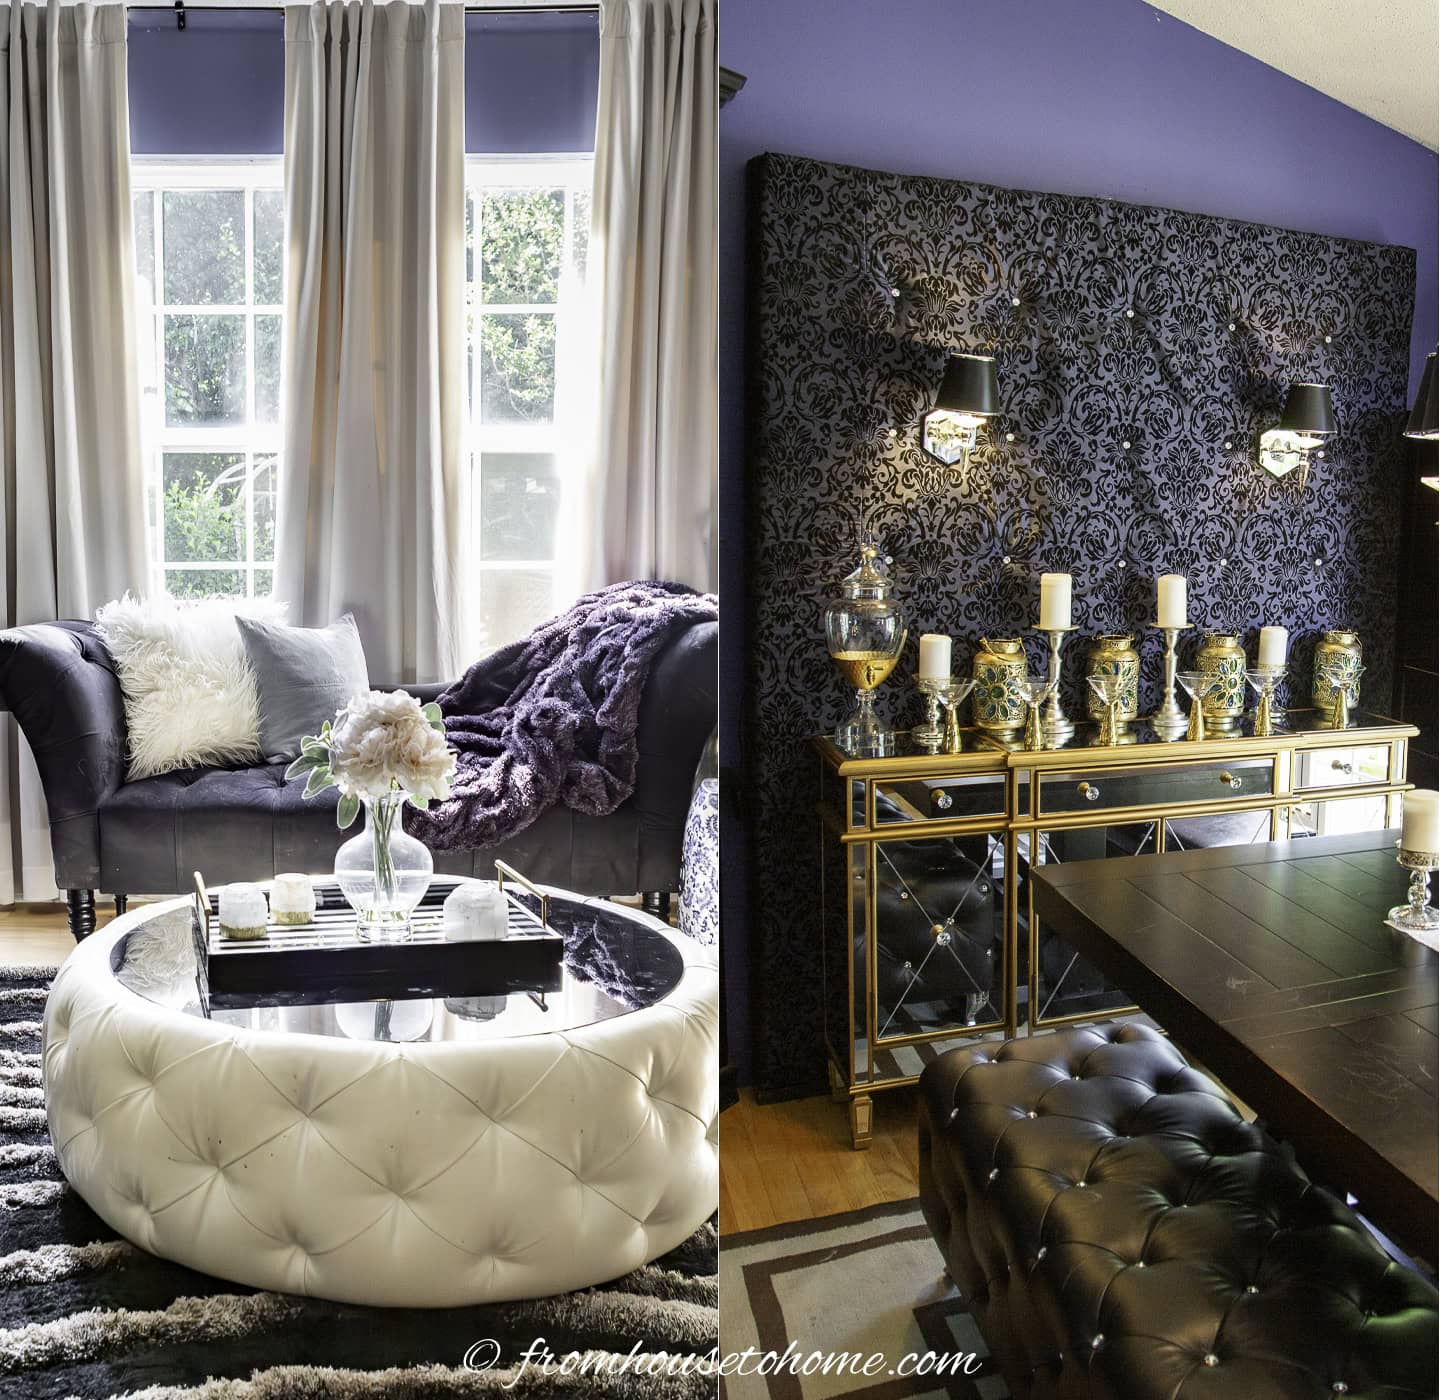
You can also create a zone by NOT having a rug under it when everything else does. This is useful for reading nooks, a desk workspace or other small spaces that you don’t want to be part of the main groupings. I do this with the chaise in my living room. It doesn’t really fit in a conversation area. But it’s really comfortable for reading or watching TV so it works great in its own little zone.
3 | Create Definition with Lighting

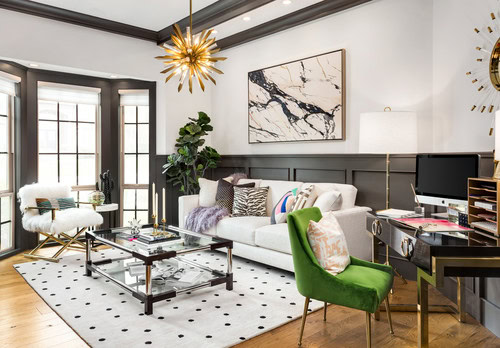
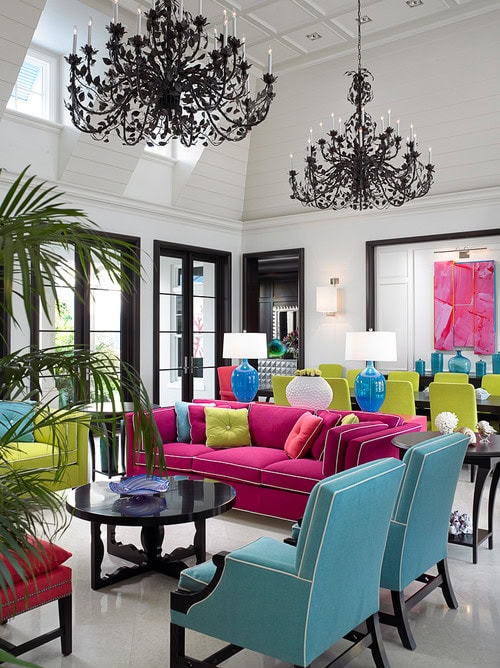
photo by DUO DESIGN STUDIO (via houzz.com) Layer your lighting: Each zone in your open concept needs its own lighting personality. This is what makes spaces feel distinct even when they’re physically connected.
Living room lighting: Combine table lamps, floor lamps, and overhead lighting to create ambient, cozy illumination that’s different from your kitchen’s task lighting.
Dining room focus: A statement chandelier or pendant light over your dining table creates an instant focal point and defines the eating area. This is one of the most effective ways to make your dining space feel special and separate.
Kitchen functionality: Keep your kitchen lighting bright and functional, but add under-cabinet lighting or pendant lights over an island to create visual interest and definition.
The dimmer difference: Install dimmers wherever possible so you can adjust the mood in each zone independently. You might want bright task lighting in the kitchen while keeping your living room soft and cozy.
Adding lights to the top of a bookshelf is a great way to add some ambient lighting. You can install outside of the shelves at the top. Or under the top shelf. If you do latter, you might also want to replace the shelves with glass ones. That way the light can shine all the way down.
4 | Use the Same Paint Color Throughout

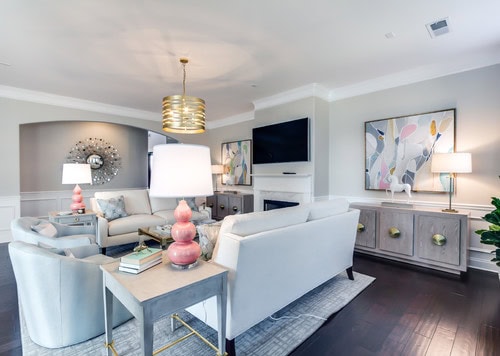
photo by Ponciano Design (via houzz.com) The unifying power of paint: One of the simplest ways to make your open concept feel cohesive is to use the same wall color throughout all connected spaces.
Why it works: When walls flow seamlessly from room to room without color breaks, your eye moves naturally through the space without jarring interruptions. This creates the feeling of one harmonious environment rather than separate rooms trying to coexist.
Choosing the right color: Pick a color that works well with all your planned furniture and decor. Since this color will be seen throughout your entire main living area, make sure it’s one you truly love and can live with long-term.

But it doesn’t have to be beige or white. I painted my open concept living room Farrow and Ball’s Pitch Blue (which is a fairly dark tone). I love the color and it goes with everything I own. So it works really well in my room.
Creating interest within sameness: Just because your walls are the same color doesn’t mean your space has to be boring. Use your furniture, accessories, lighting, and art to create variety and personality in each zone.
When to consider accent walls: If you do want some wall color variation, limit accent walls to areas that feel somewhat separate from the main flow or have defined edges. Like a reading nook, angled fireplace wall or a dining area that’s partially defined by architecture.
The flow effect: Same-color walls help your open concept live up to its promise of spaciousness and flow, making even modest-sized homes feel larger and more gracious.
If your all over paint color feels too boring, try installing some moldings on the wall (like wainscotting, chair rail or picture moldings) and crown molding at the ceiling. Then paint all the trim a contrasting color. It will definitely add some drama!
5 | Add cohesive personality

photo by John David Edison Interior Design Inc. (via houzz.com) The challenge: How do you give each zone its own personality while maintaining a cohesive look throughout the open space?
My approach: Choose one main color palette that flows through all your zones, but use varying amounts of each color in different spaces. For example, the accent color in your living room might become the main color in your dining room.
Foundation colors: Start with 2-3 colors that appear throughout your space. These create the backbone of your design and ensure everything feels connected.
Zone-specific accents: Add variety to each area with accent colors that reflect the space’s function. Deep jewel tones in the dining area for drama; soft pastels in the living area for a fresh, welcoming feel.
The 60-30-10 rule adapted: In an open concept, use the same color palette throughout but shift the proportions in each zone. Your living room’s 10% accent color might become the dining room’s 30% color, creating distinction while maintaining flow.
6 | Create Focal Points for Each Zone

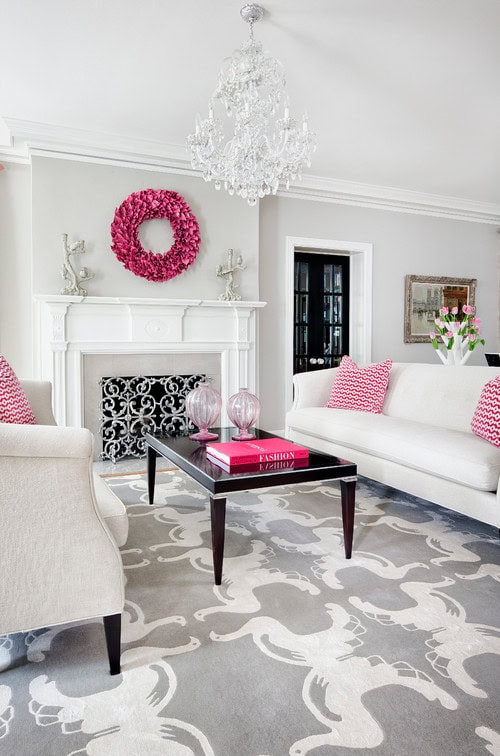
photo by O’Hara Interiors (via houzz.com) Why this matters: Each area in your open concept needs its own visual anchor – something that draws the eye and gives the space purpose.
Living room focal points: This could be a fireplace, a large piece of art, a statement wall, or even just a beautifully styled console table.
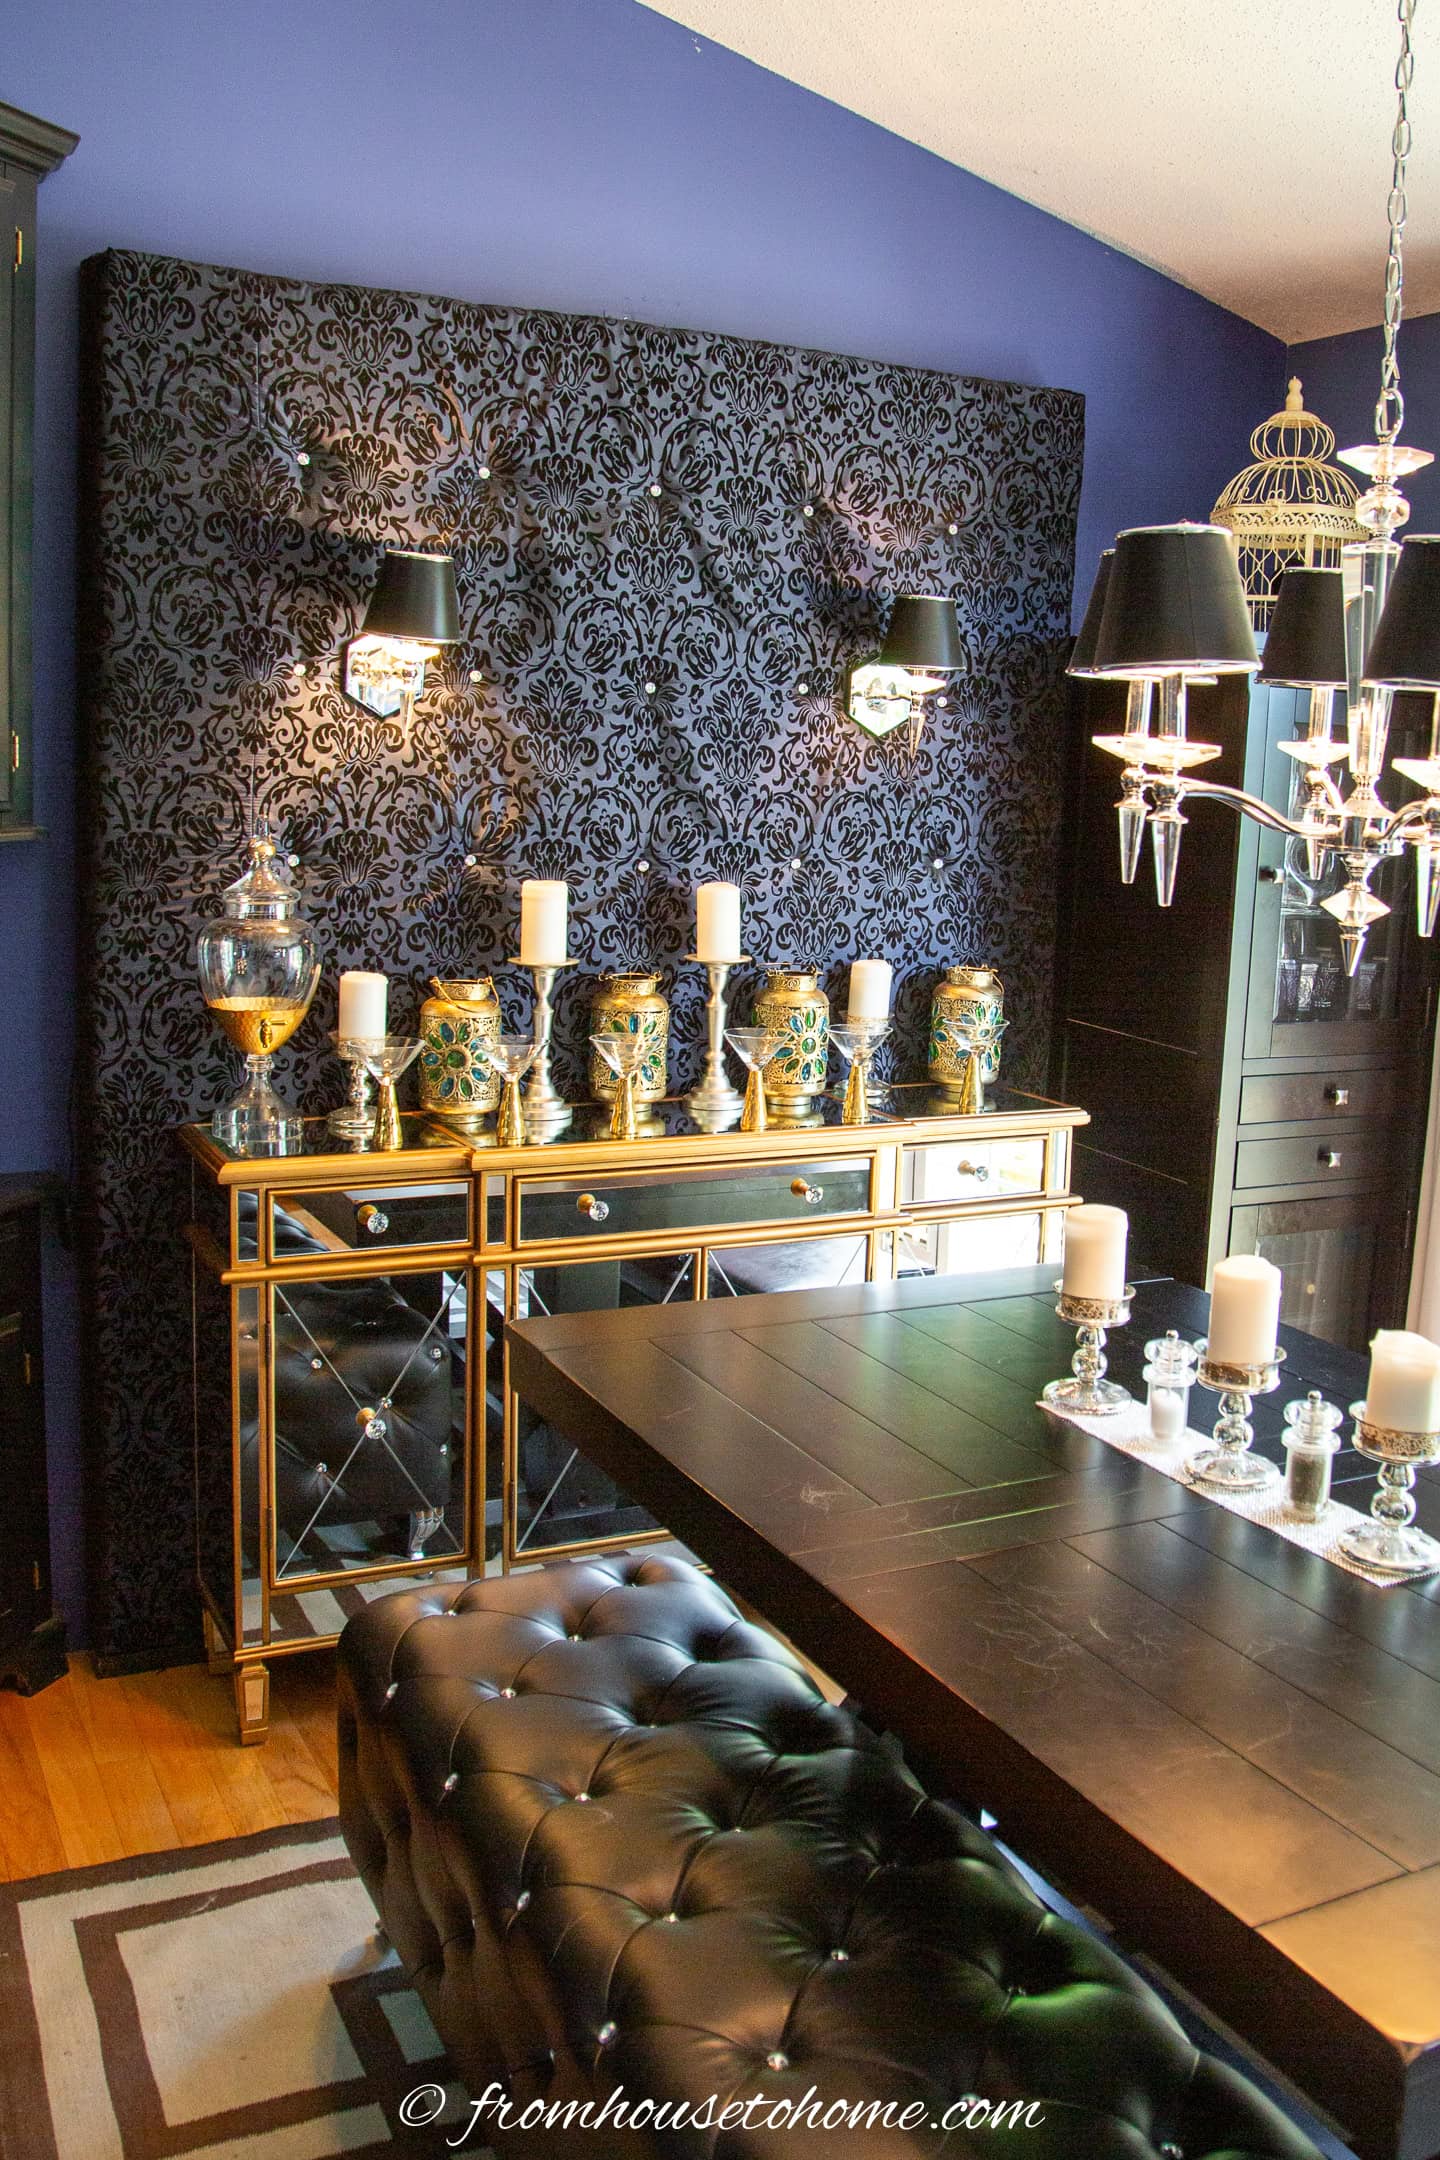
Dining room anchors: Your dining table is the natural focal point, but enhance it with a statement light fixture above or a dramatic piece of art on the nearest wall.

I installed an upholstered panel behind the table that makes sure this wall is the center of attention.
Kitchen statements: Your backsplash, island, or a collection of beautiful cooking accessories can serve as focal points that define your cooking zone. I love all of the colorful small appliances that are available now. They’re so pretty, you might actually want to leave them out on the counter!
The key: Each focal point should be visible from its zone but not compete with focal points in other areas.
If your focal point doesn’t really stand out in the room, try adding a pop of color to it. It will draw your attention and make sure everyone knows what the focal point is.
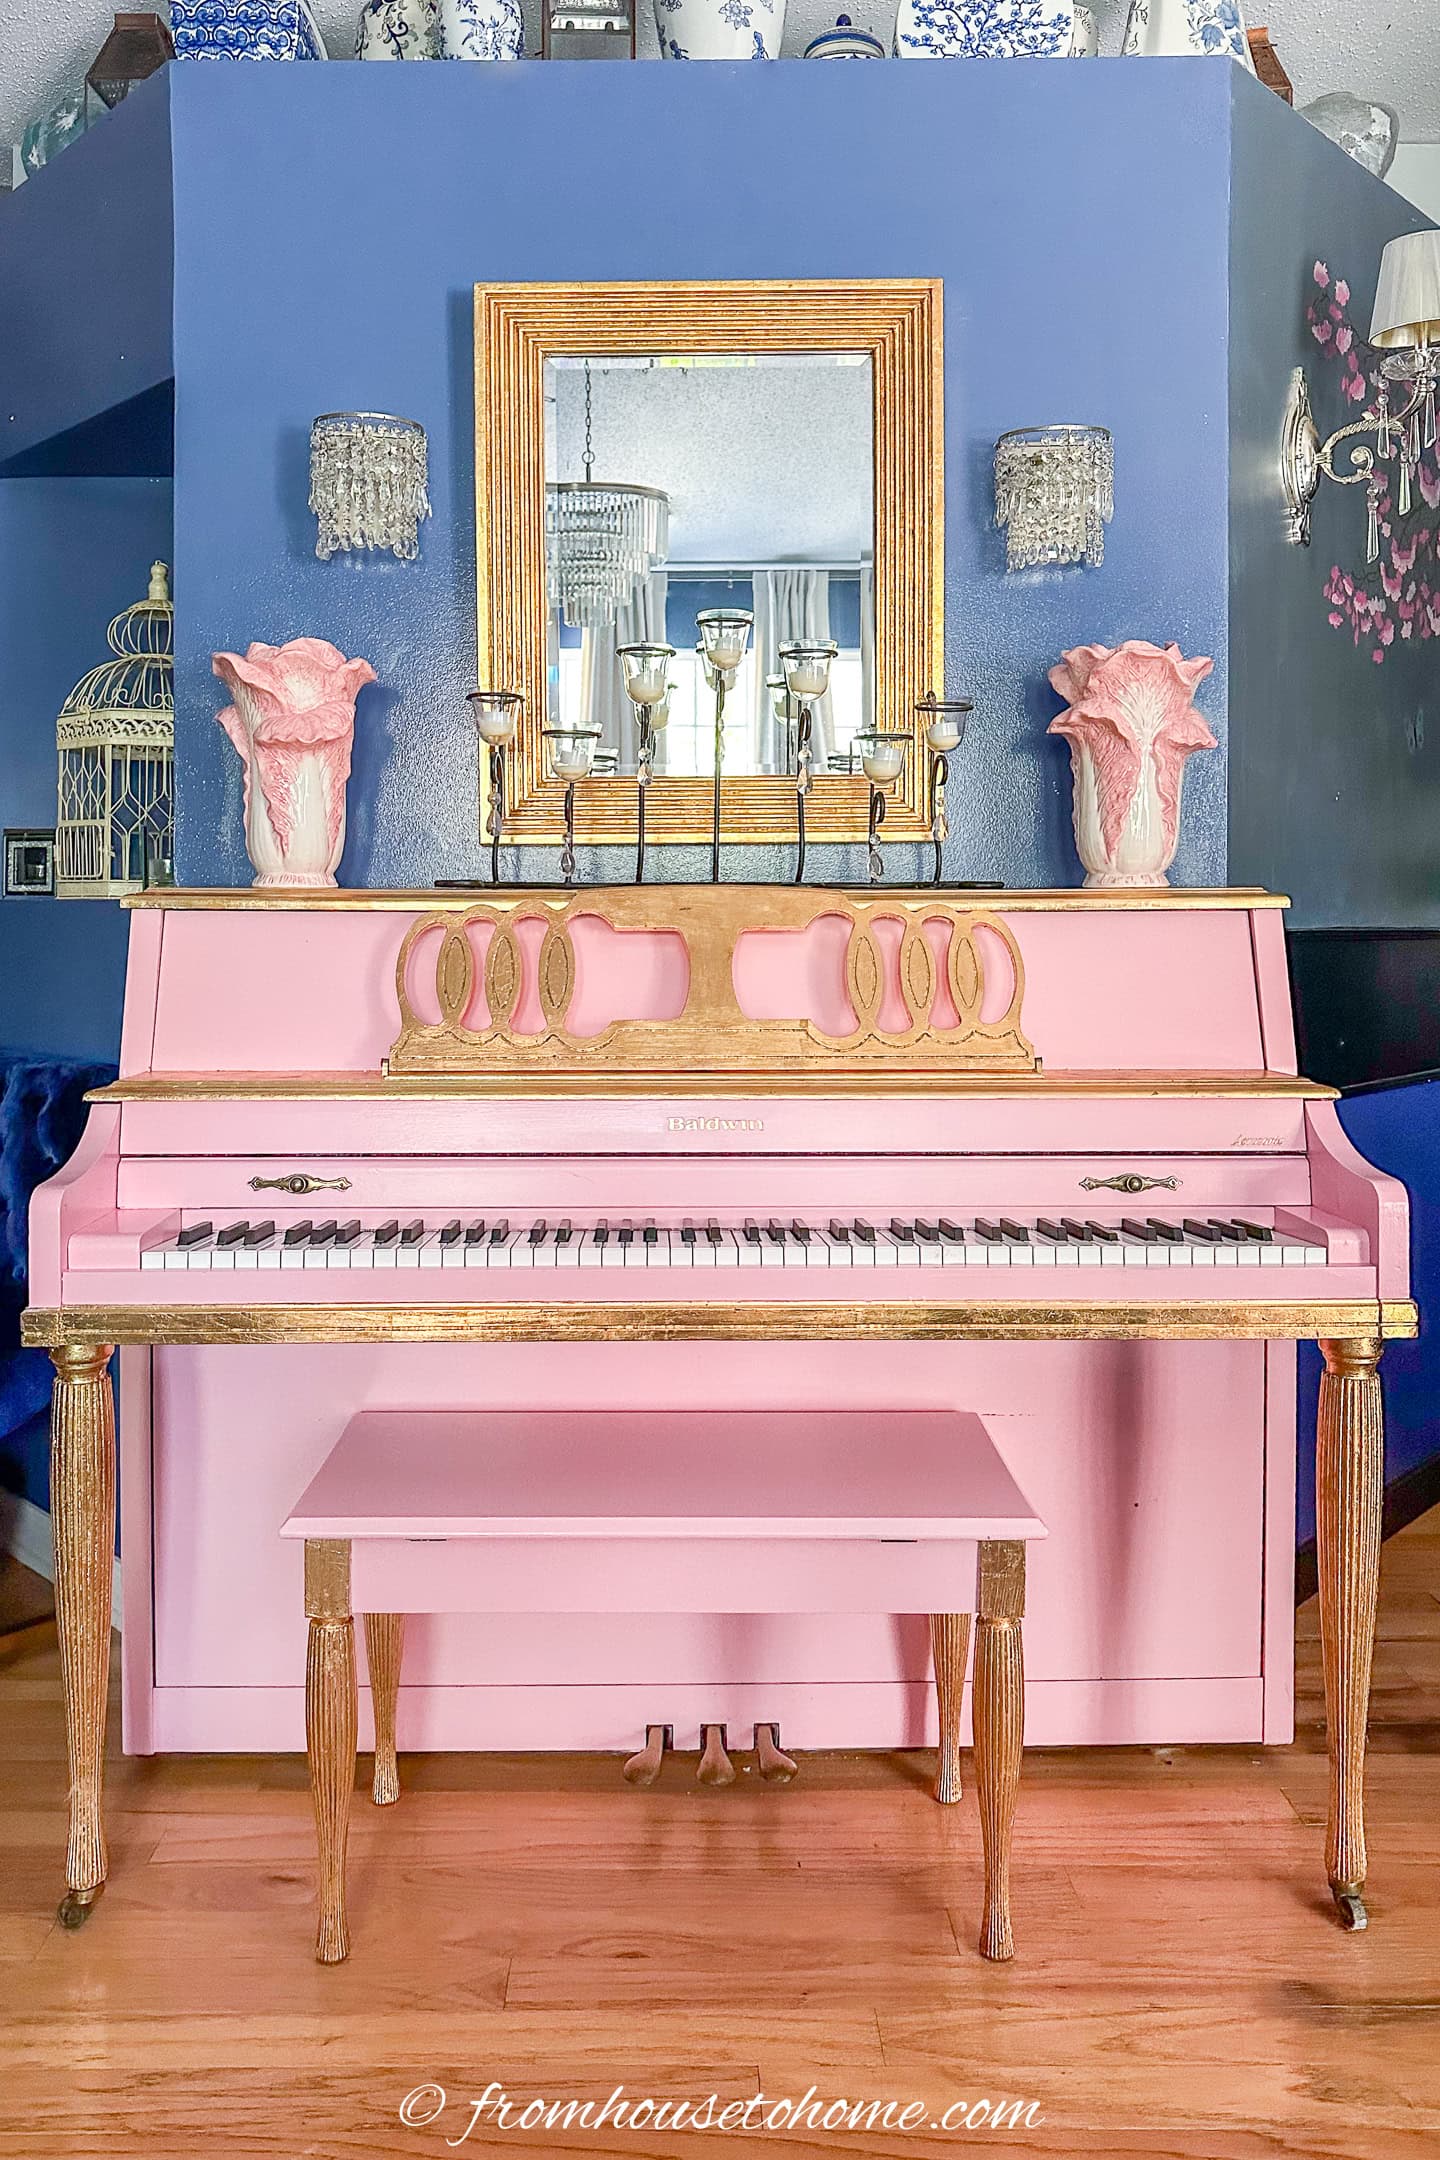
They did it with the bright pink wreath above the fireplace in the picture above.
I did it on a much bigger scale.
My old piano used to fade into the background, and was more of an eyesore than a focal point. Until I painted it pink!
7 | Design Traffic Flow That Makes Sense

Think like an architect: How do people naturally move through your space? Your furniture arrangement should enhance that flow, not fight it.
Main pathways: Keep at least 3 feet of walking space for main traffic routes. Don’t make people weave around furniture to get from the front door to the kitchen.
Conversation zones: Arrange seating so people can comfortably talk without shouting across the entire open space.
Kitchen work triangle: Even in an open concept, your sink, stove, and refrigerator should form an efficient triangle that doesn’t interfere with other zones.
Entryway consideration: Create a clear landing zone near your front door, even if it’s just a console table and basket for keys and mail.
8 | Storage Solutions That Don’t Block Sightlines

photo by Lita Dirks & Co. (via houzz.com) The challenge: You need storage throughout your open concept, but traditional storage furniture can make spaces feel divided and cramped.
Multi-functional pieces: Choose storage that serves double duty. Like an ottoman with interior storage, a console table with drawers, or a dining bench with hidden compartments.
Open storage displays: Use open shelving and styled storage as decoration. Beautiful baskets, stylish bins, and organized shelves add personality while keeping things tidy.
Kitchen storage: Invest in drawer organizers and cabinet systems that keep your kitchen clutter-free. When your kitchen is part of your main living space, organization becomes even more important. For more ideas, see our kitchen storage ideas.
Hidden storage: Look for opportunities to hide storage where it won’t interrupt sight lines. Under stairs, in built-in benches, or behind furniture.
One of the easiest places to add storage is the bottom half of bookshelves. They often come with doors. But even if they don’t, you can hang fabric that matches your decor across it for an inexpensive update.
9 | Define Your Entryway Without Walls

photo by Brewster Home Fashions (via houzz.com) The challenge: In an open concept, you often walk directly into your main living space with no clear entry area or landing zone.
Why it matters: Everyone needs a place to transition from outside to inside. Somewhere to drop keys, hang coats, and mentally shift from public to private space.
Creating an entry zone: Use furniture placement to define an entryway area near your front door. Even a console table and bench can establish this important transition space.
Functional elements: Include storage for daily essentials. A place for coats, a basket, tray or bowl for keys, and a place to sit while putting on or taking off shoes.
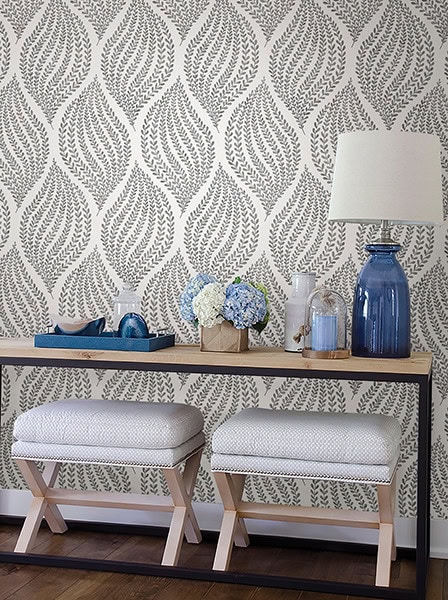
Visual definition: Even without its own space, you can make your entryway feel distinct. Add different lighting (like a pendant or table lamp), wallpaper an accent wall behind your table, and hang a welcoming piece of art or a mirror that serves both function and style.
Guest consideration: A defined entryway helps visitors understand where they should pause when entering your home, making the space feel more welcoming and intentional.
I like to use a console table with shelves and doors in the front hall. That way you have an easy and convenient place to store shoes right beside the door.
10 | Use Scale and Proportion to Your Advantage

The open space challenge: Furniture and accessories that looked perfect in smaller, traditional rooms can get completely lost in an open concept space.
Think substantial: Choose furniture with enough visual weight to anchor your zones. A delicate side table that worked in a closed living room might disappear next to a large sectional in an open space.
Art and accessories: Go bigger than feels comfortable when selecting wall art and decor. What seems oversized in the store will likely look just right on your walls. Group smaller accessories together to create more visual impact.
Ceiling height considerations: If you have high ceilings, use tall furniture pieces, floor-to-ceiling curtains, and substantial lighting fixtures to fill the vertical space and make the room feel proportional.
Avoid the dollhouse effect: Too many small-scale pieces will make your space feel cluttered and unintentional, even if you have plenty of room. Choose fewer, larger pieces that can hold their own in the expansive space.
Balance visual weight: Distribute substantial pieces throughout your open concept so no single area feels too heavy or too light compared to the rest of the space.

Have comments or questions about how to decorate an open plan living room? Tell us in the section below.