
How To Fold Fabric For Storage (The Easy Way)
Storing leftover fabric can be a challenge, especially when you want to keep it organized and easy to find. Learning how to fold fabric scraps using foam board is a super simple way to make this happen.
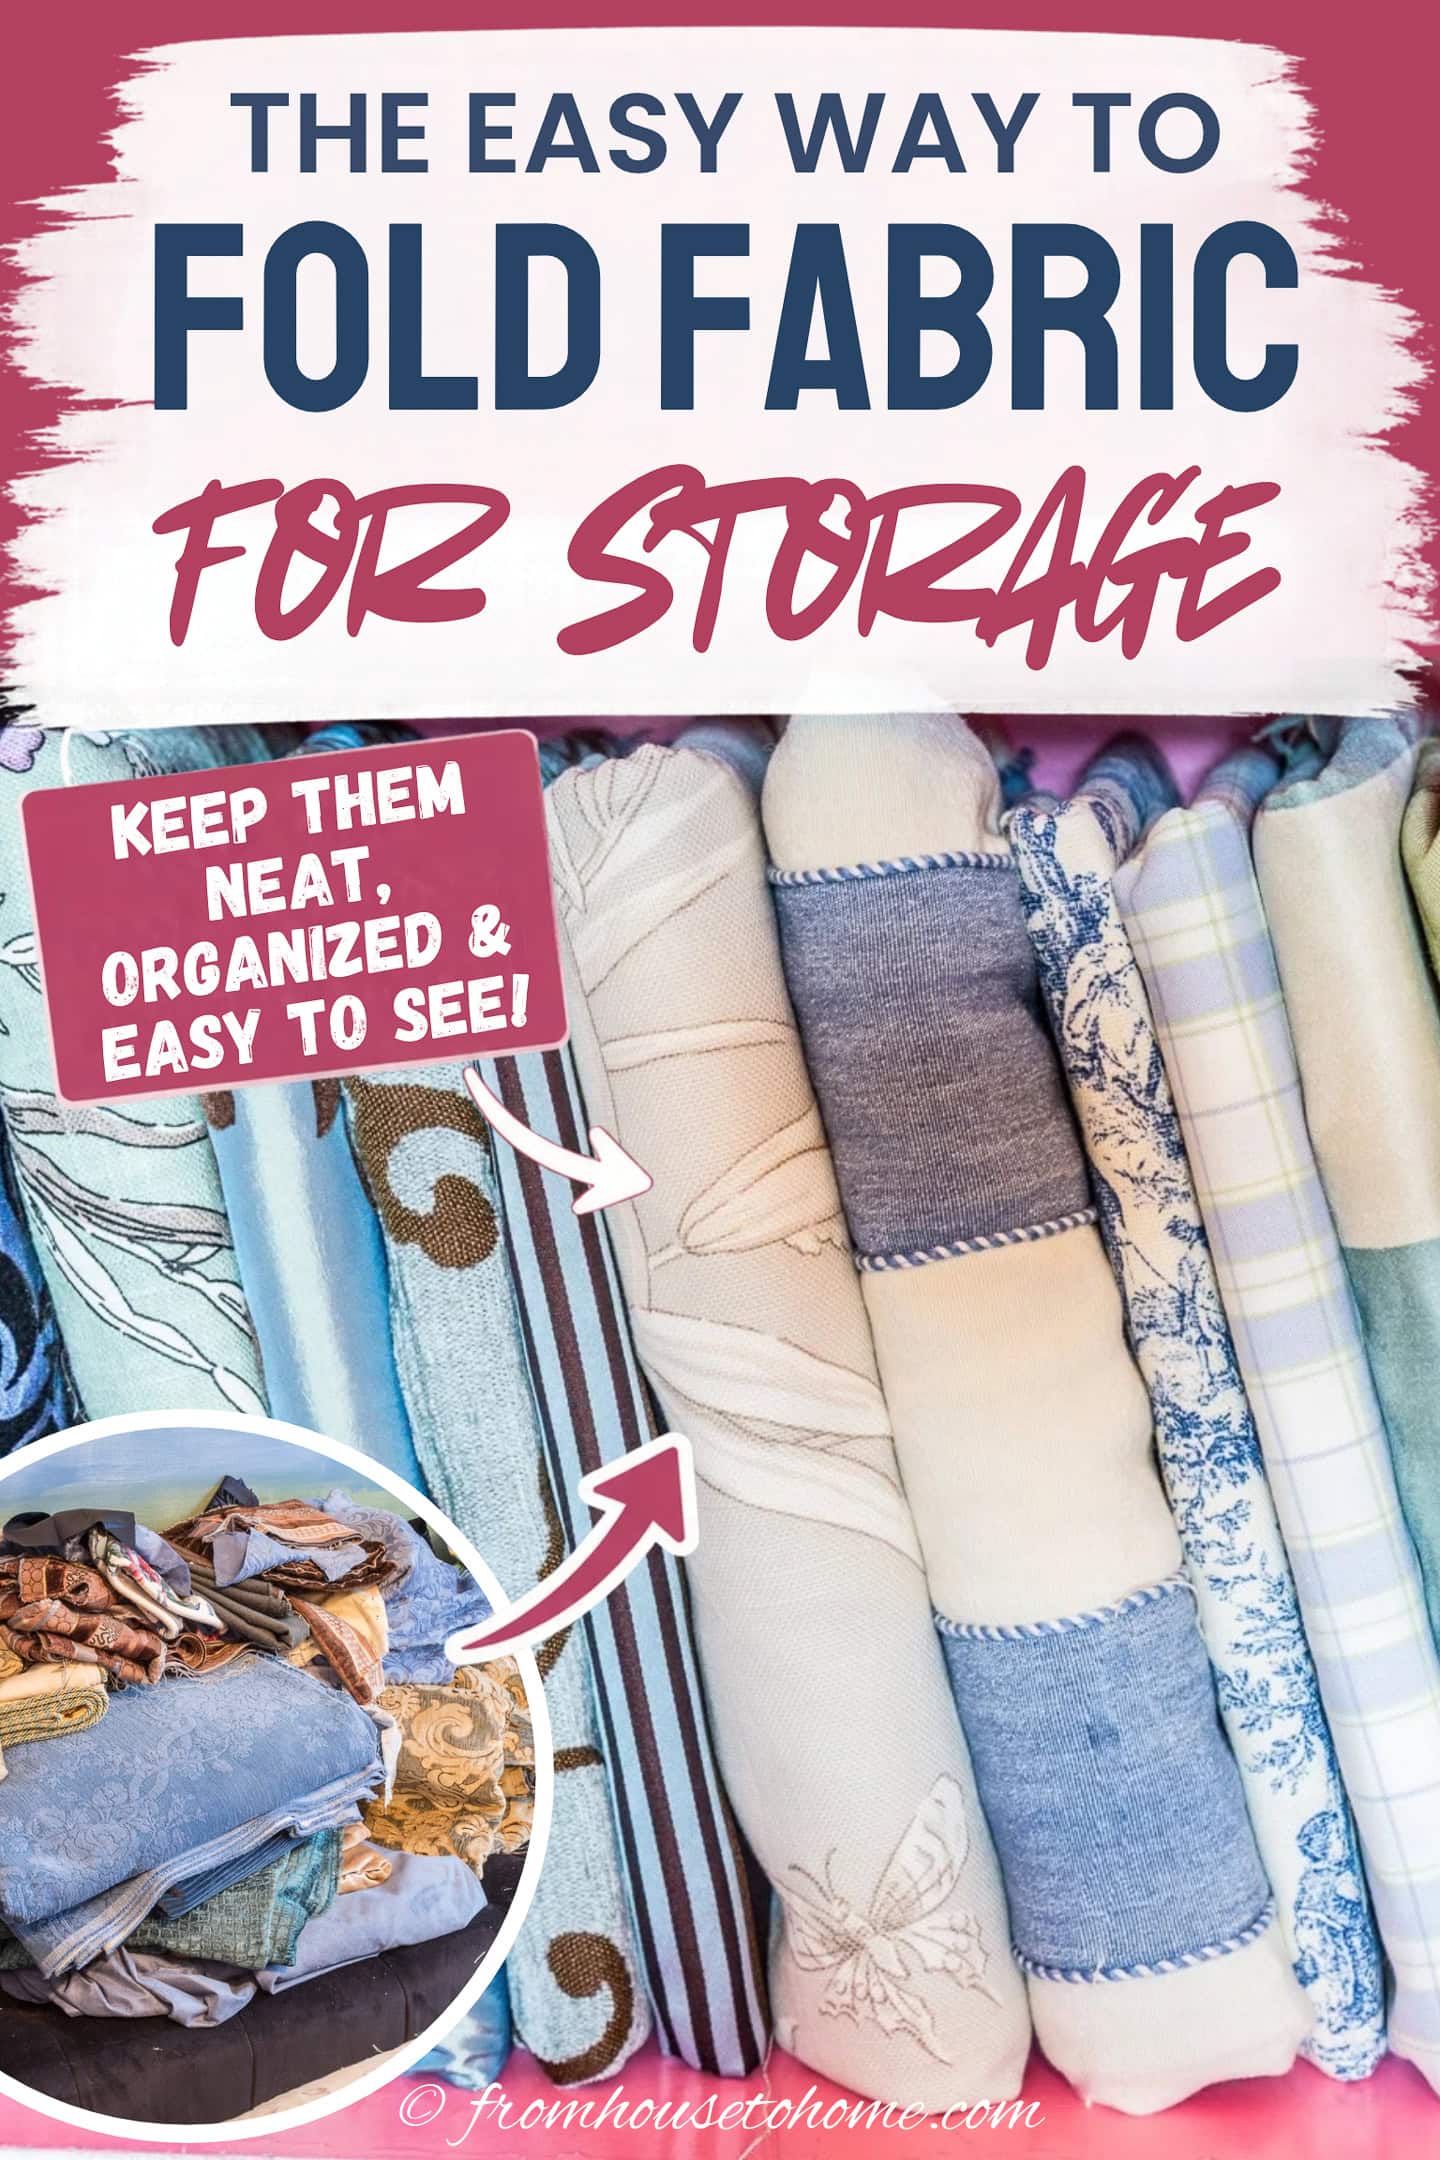
I like to keep my leftover fabric from decorating projects so I can use it again, but storing all those different shapes and sizes can be a challenge.
Some are fairly large pieces, while others are smaller or odd-shaped scraps that never seem to fold neatly.
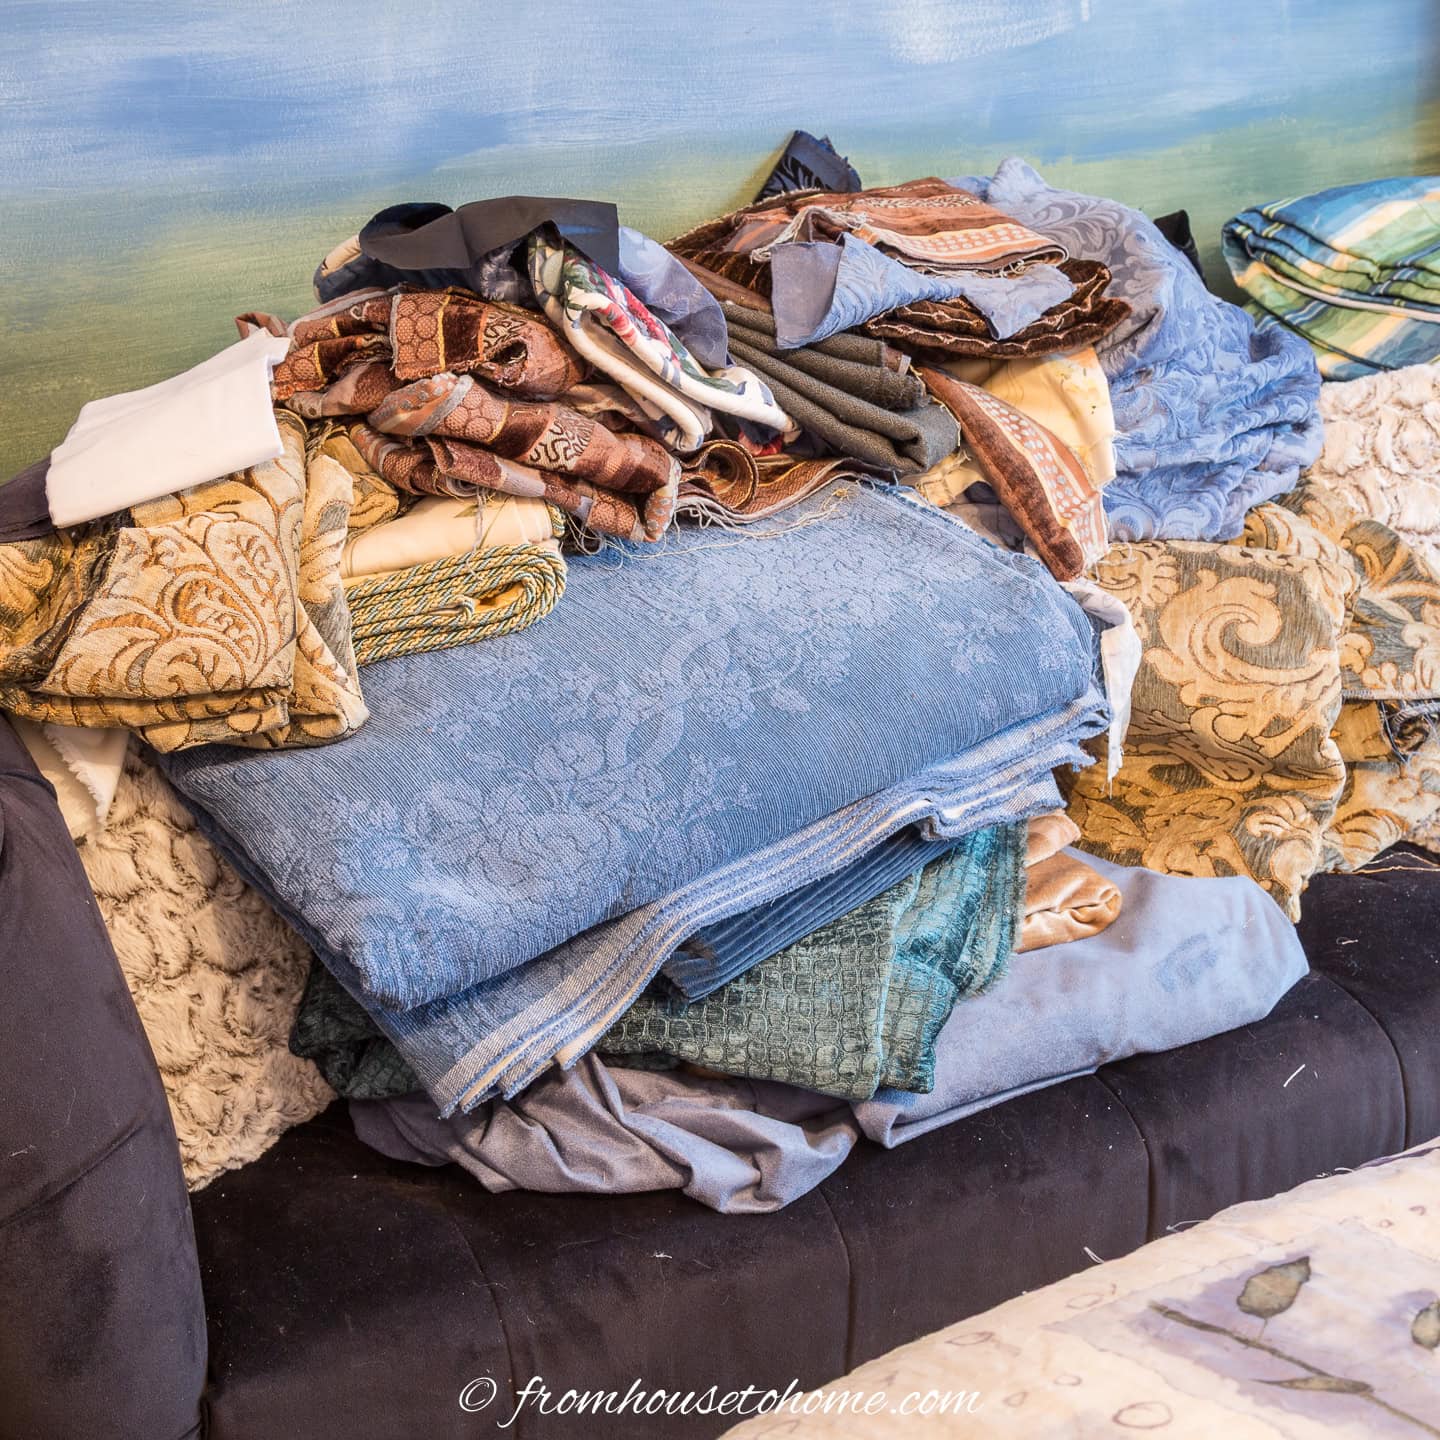
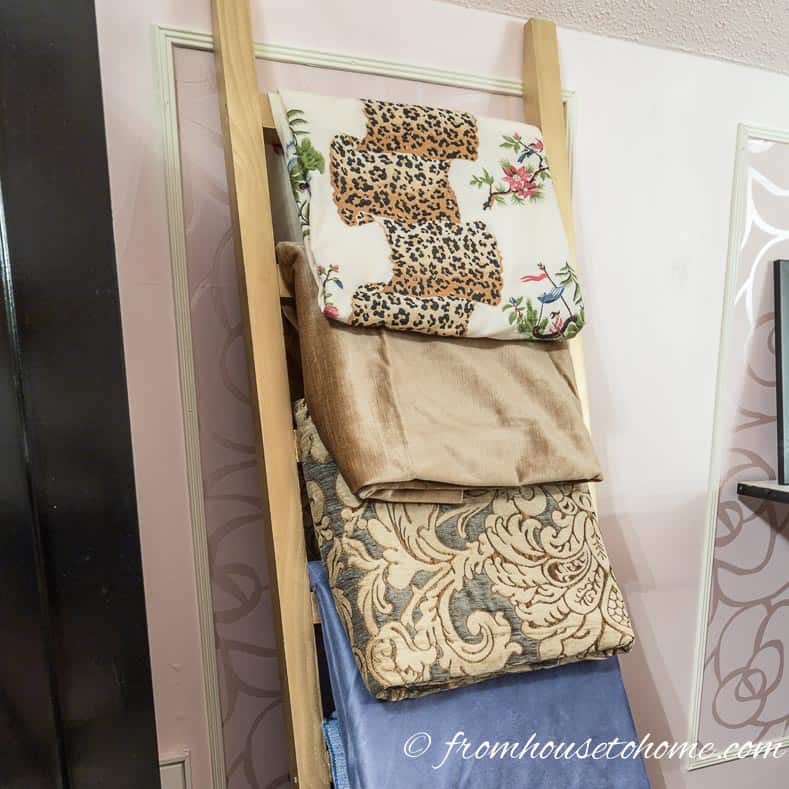
And they usually end up in a pile like this.
I wanted to store them on shelves so I could easily see what I had, but getting everything to fit without ending up with a bunch of messy piles was always a problem.
Then I found a simple way to fold my fabric so that all of the pieces end up being about the same height and depth, no matter what shape or size they started out as.
It makes organizing them on shelves so much easier, and I don’t have to spend a bunch of time trying to get every piece folded to exactly the same size.
While I use this method for my fabric shelves, it would work just as well for folding fabric to put in bins or drawers.
Keep reading to find out how to fold fabric scraps the easy way.
More fabric storage solutions
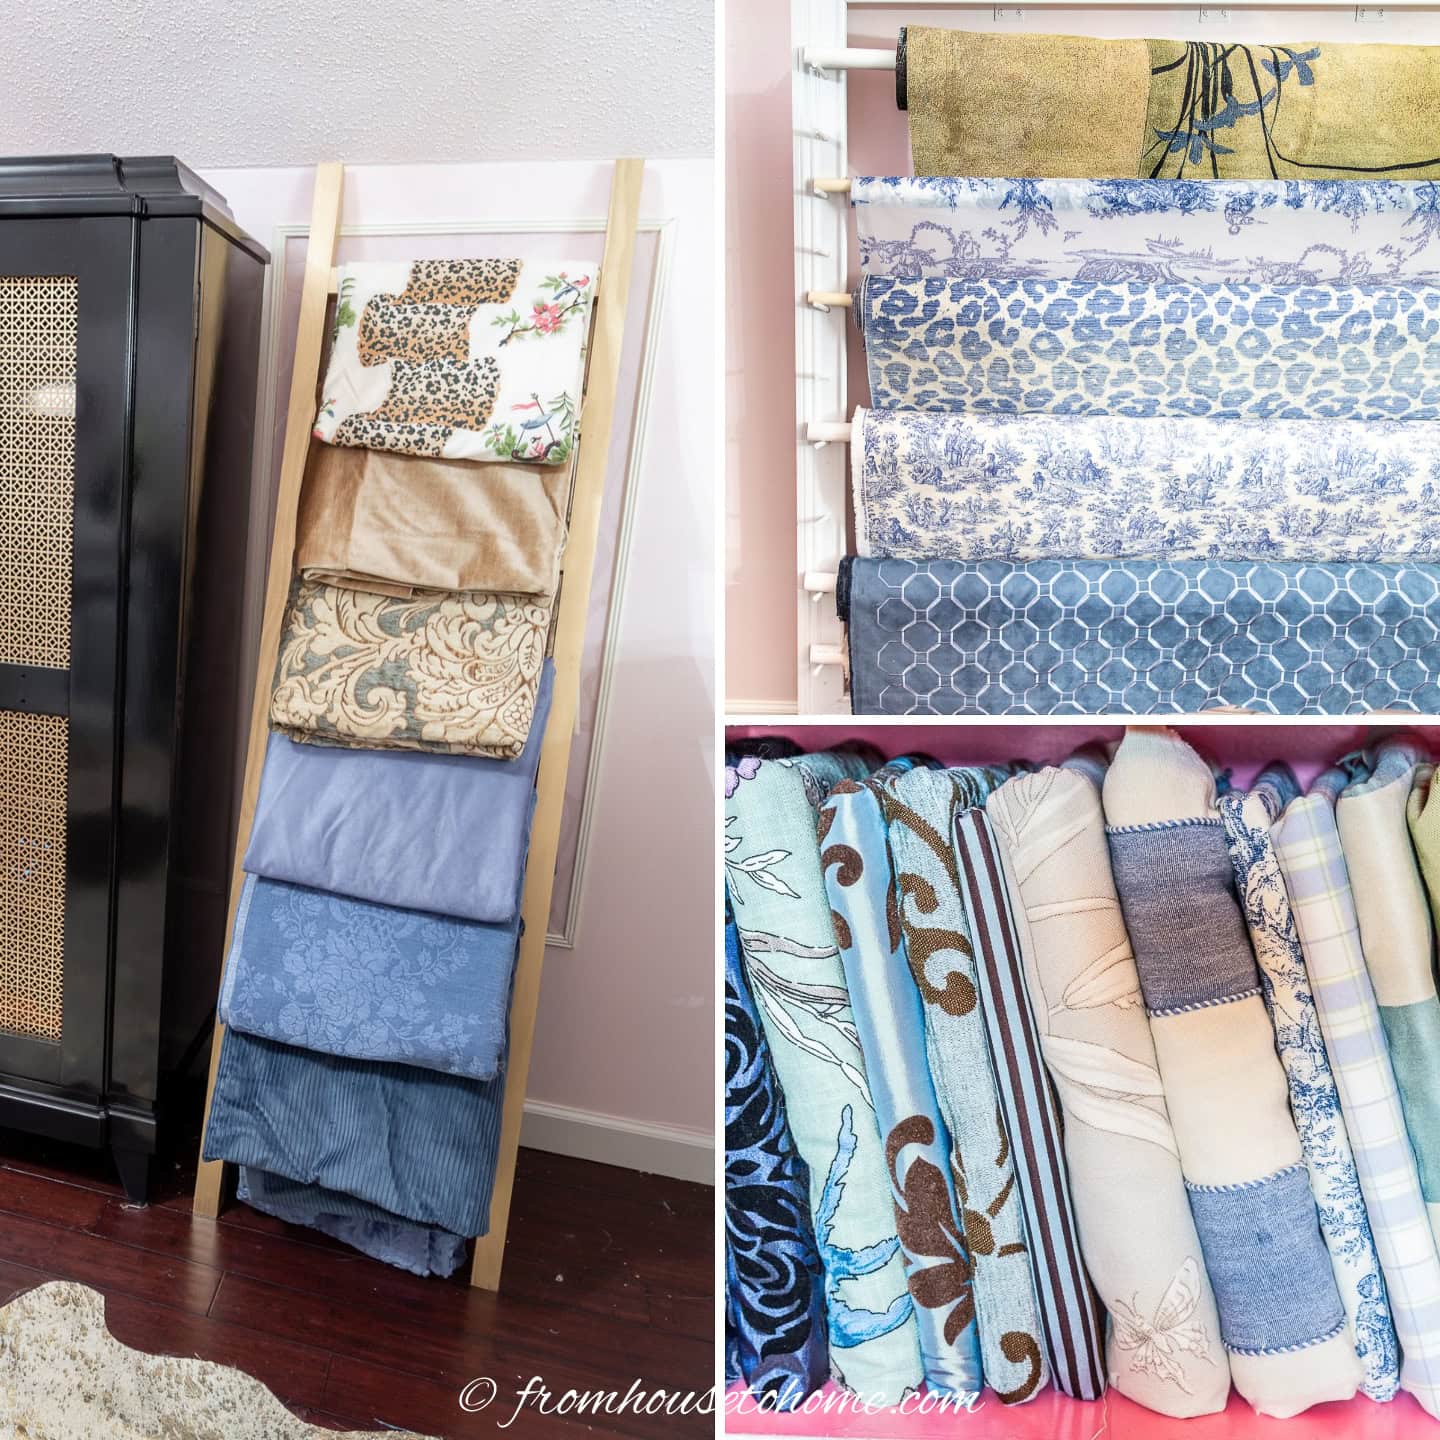
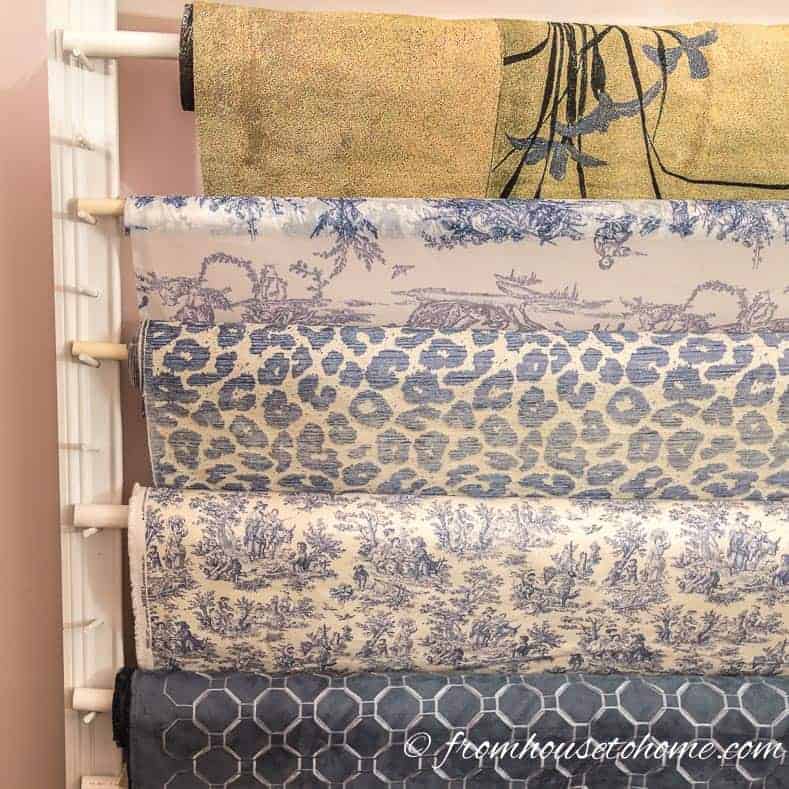
What You Need
Materials
- The fabric to be folded – At least one piece of the fabric that you are wrapping needs to be longer and wider than the card you are wrapping. Otherwise, it won’t hold very well on the card, and you won’t be able to see the color and pattern of the fabric from the side edge.
- Foam Board* – I used 30″ x 40″ boards.
- Upholstery T-Pins*
Tools
- Utility Knife*
- Straight Edge Ruler* – this needs to be long enough to draw all the way across your foam board. Mine is 48″ long.
1 | Figure out the size of your cards
To figure out the size of your cards, you need to know where you’re going to store the folded fabric.
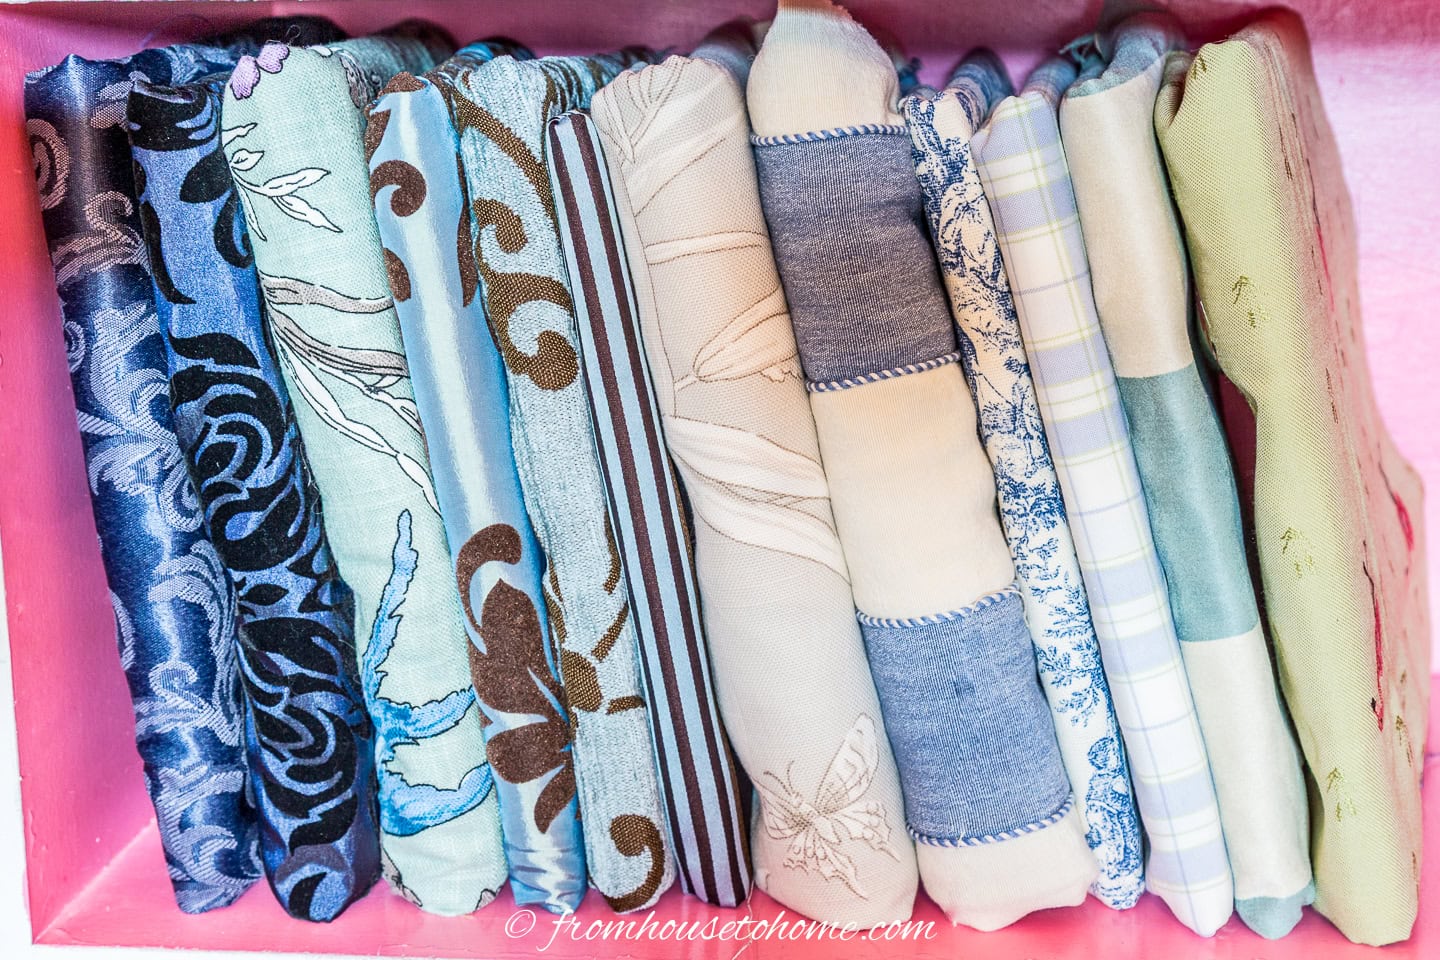
I keep mine on a bookshelf that is 12 inches tall and 12 inches deep.
Subtract 2″ from each length to come up with your size.
So in my case, the size was 10″ x 10″.
Which worked out pretty well since I was using 30″ x 40″ foam board. So I could get 12 cards out of the board without any waste.
2 | Make the foam board cards
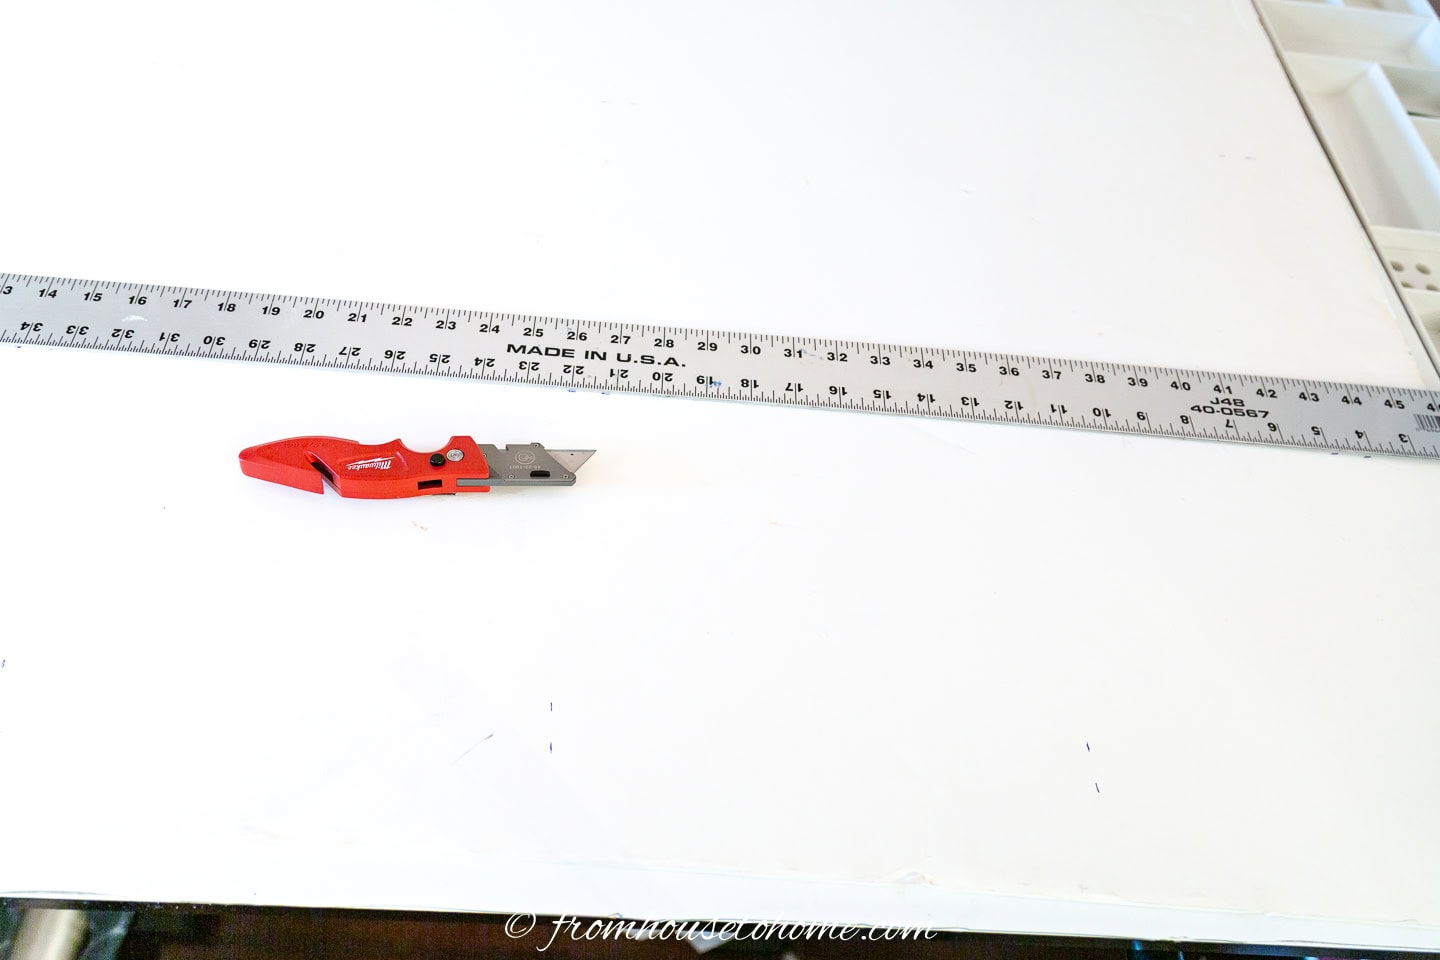
Cutting the foam board is relatively easy.
Use a utility knife and ruler or straight edge to score one side where you want to cut it.
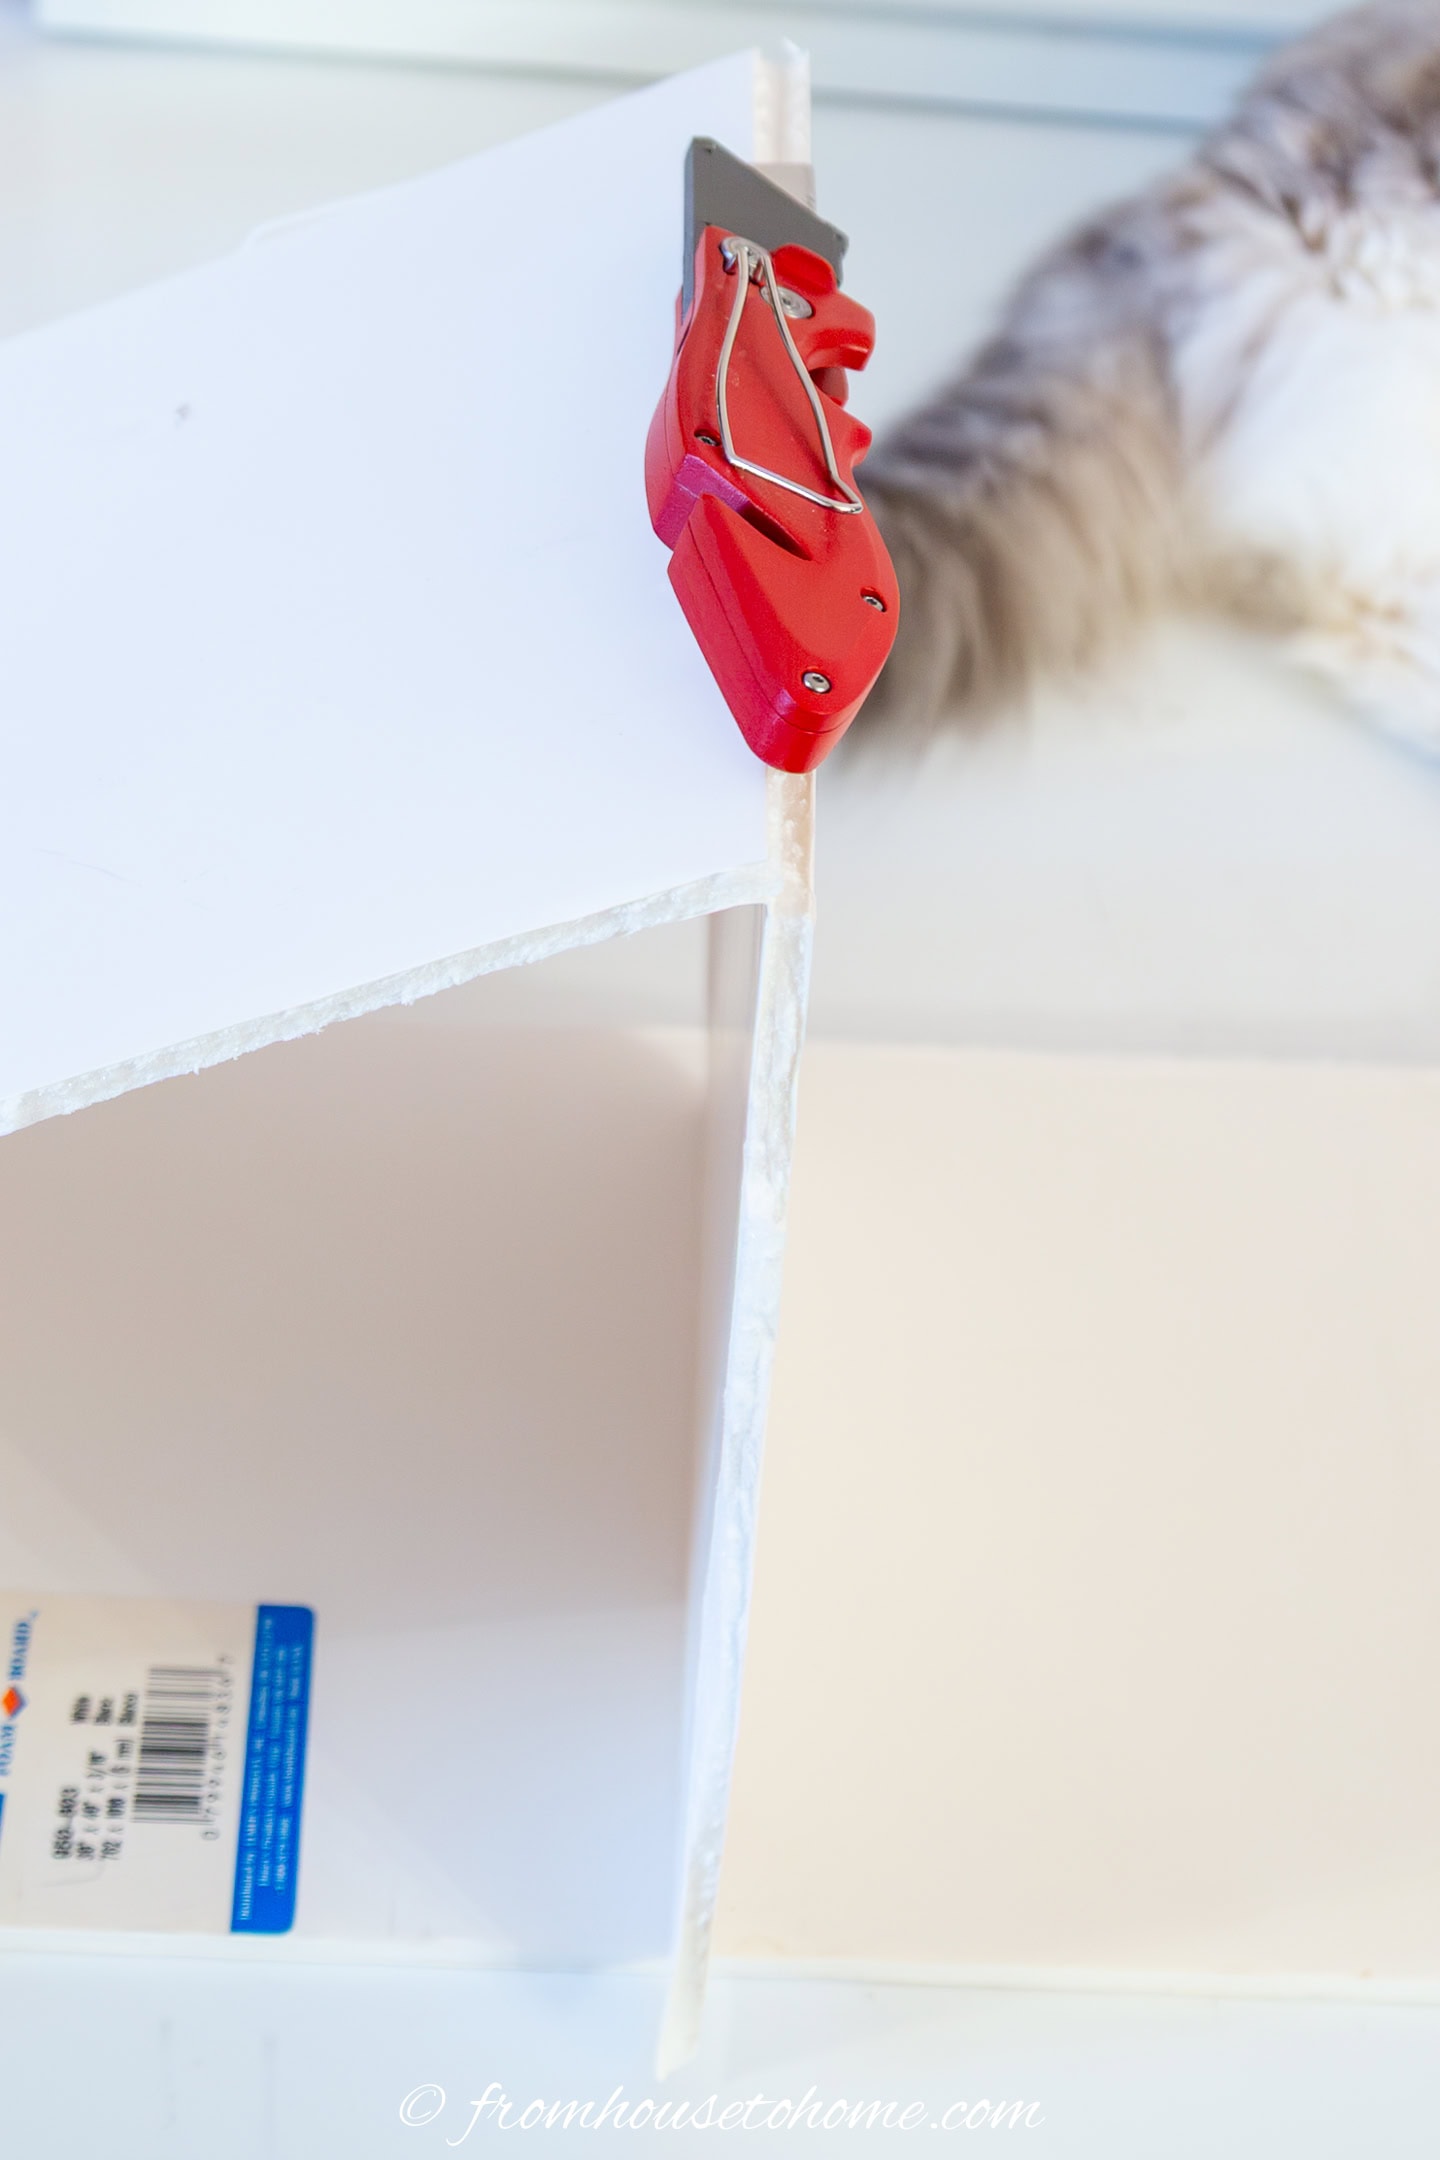
Then bend the foam board on those lines and it will break.
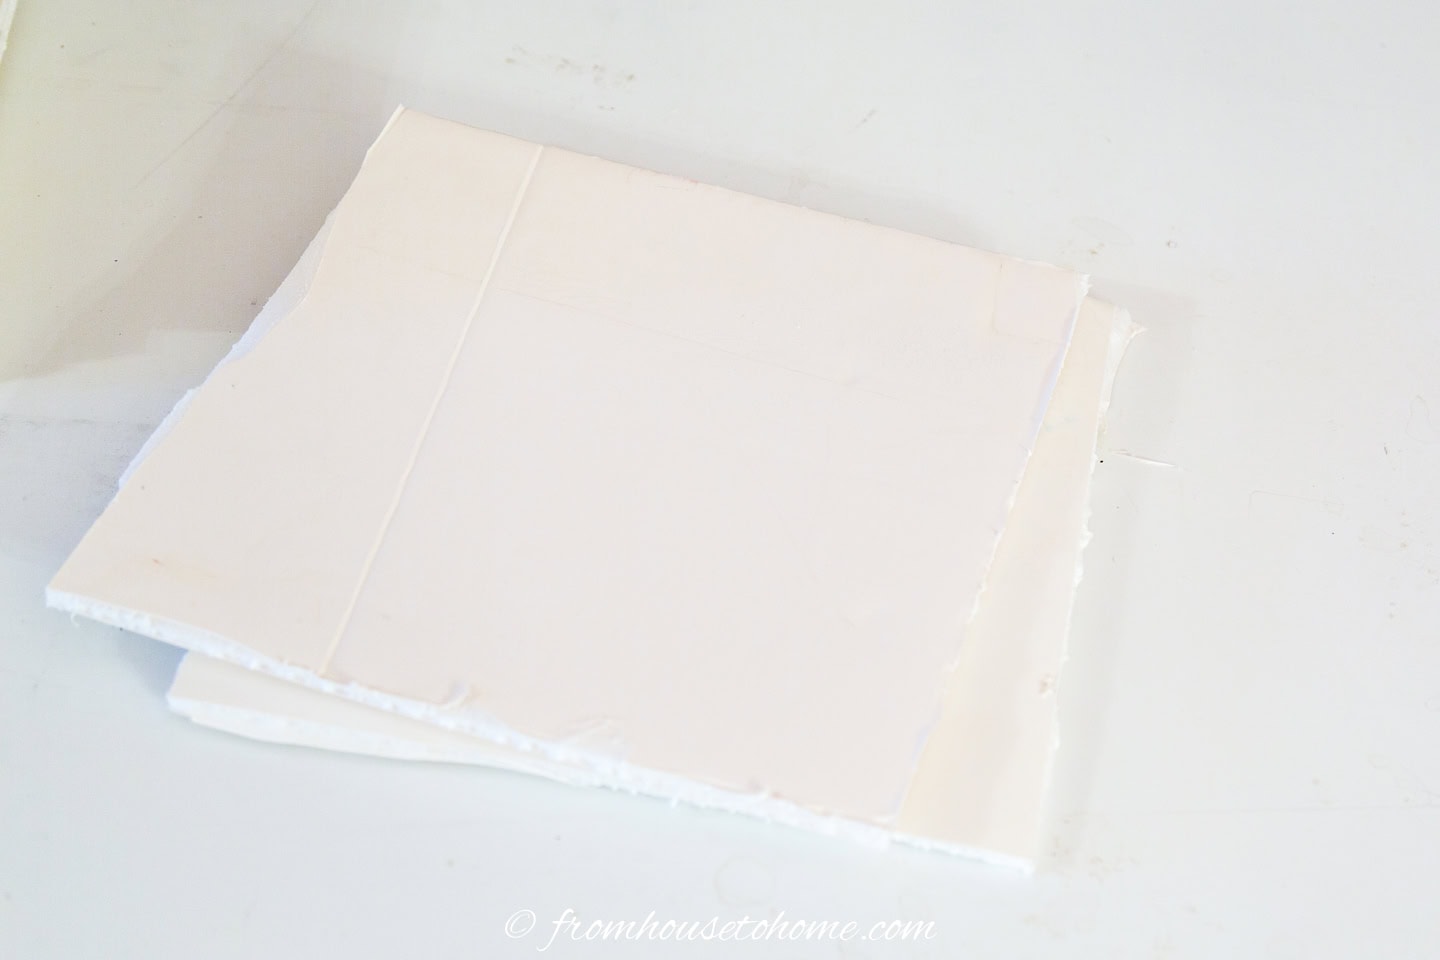
Finally cut the paper on the other side of the board with scissors or the utility knife.
The cards do not have to be perfect since they will be wrapped with fabric.
Now you’re ready to wrap the fabric around the card.
3 | Fold the fabric
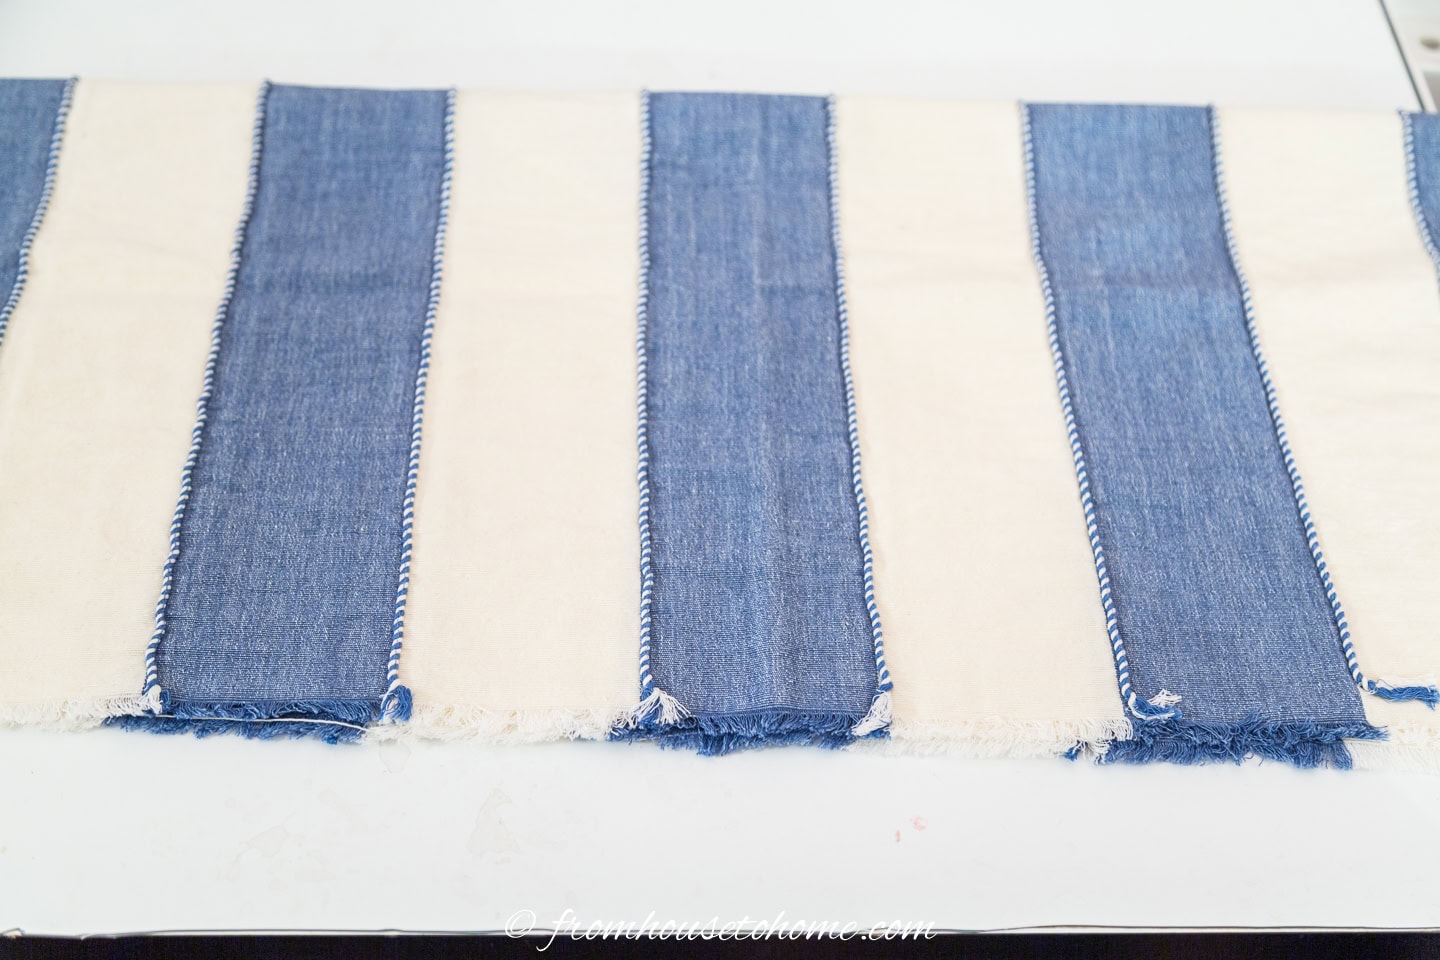
Lay your fabric down on a flat surface.
If it is really wide, fold it over so that it is about 2″ taller than the length of your card.
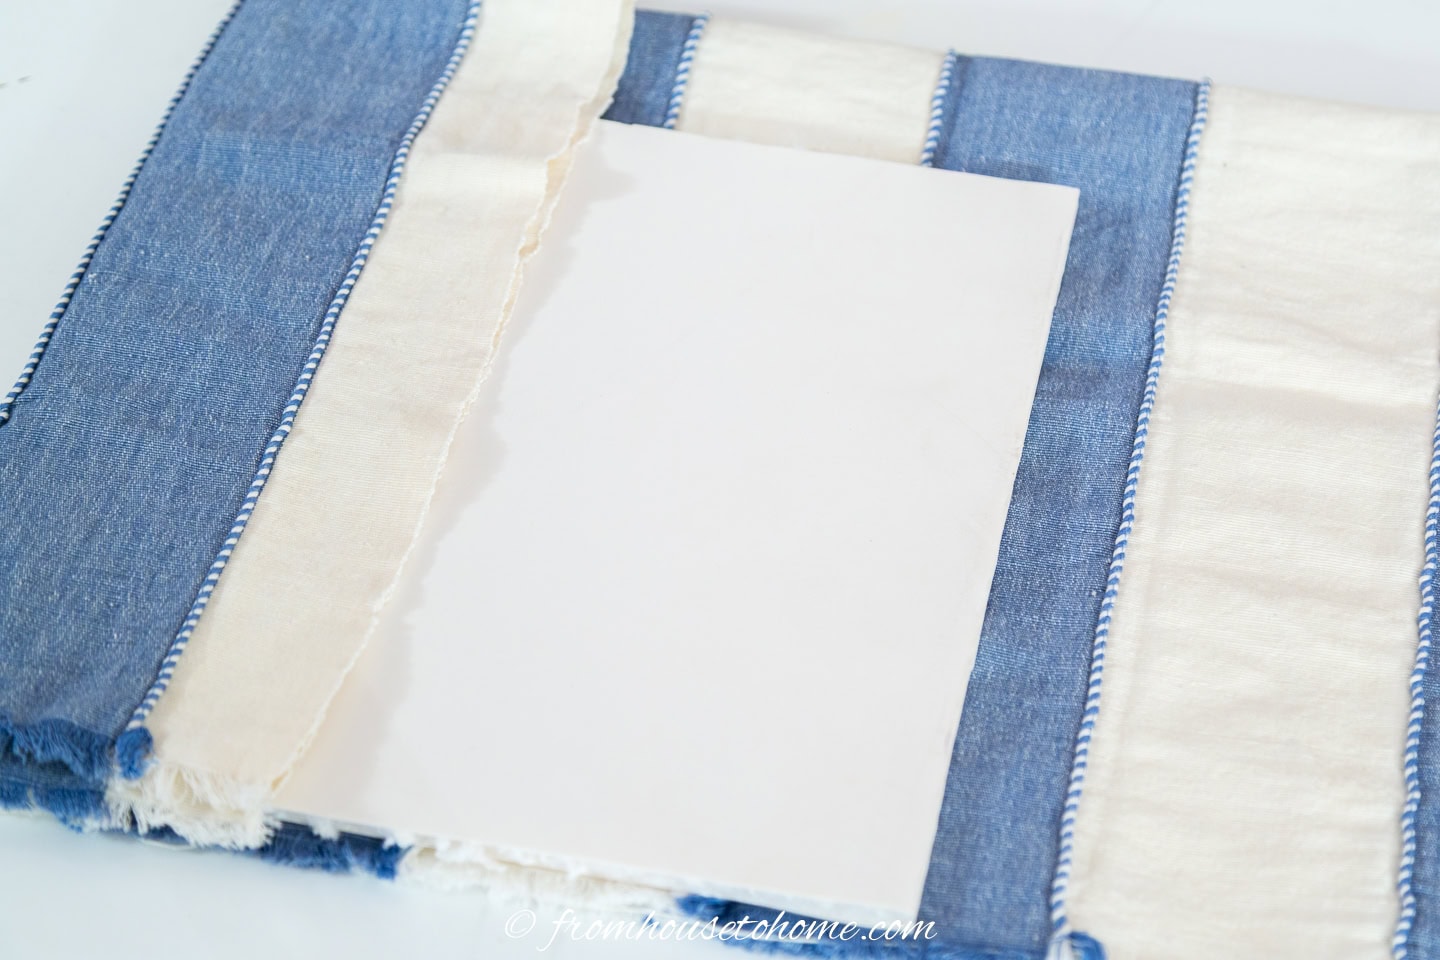
Position the card on the fabric so that the bottom edge of the fabric lines up with the back edge of the card and has 3″ or 4″ overhang on the left side.
This is the edge that will be facing the back of the shelf and will not be visible.
If your cards are not square, this is the edge that goes from top to bottom on your shelf.
Fold the left side of the fabric over the card.
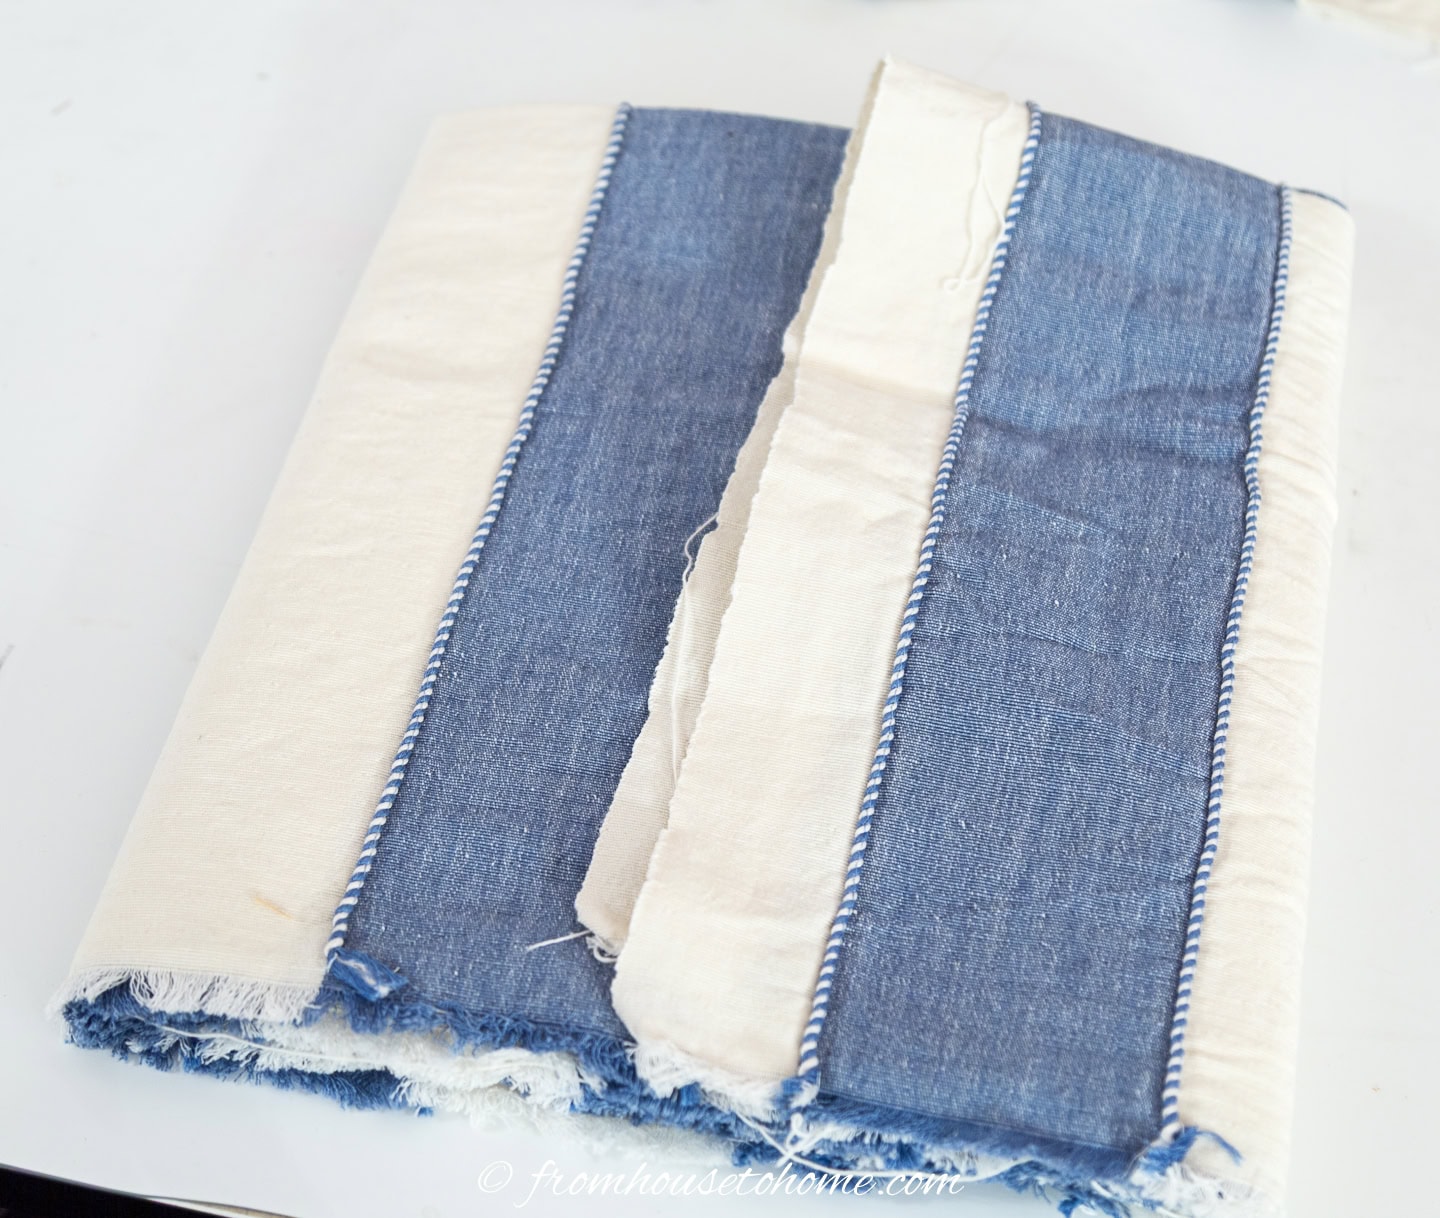
Turn the card end over end to the right so the fabric wraps around it.
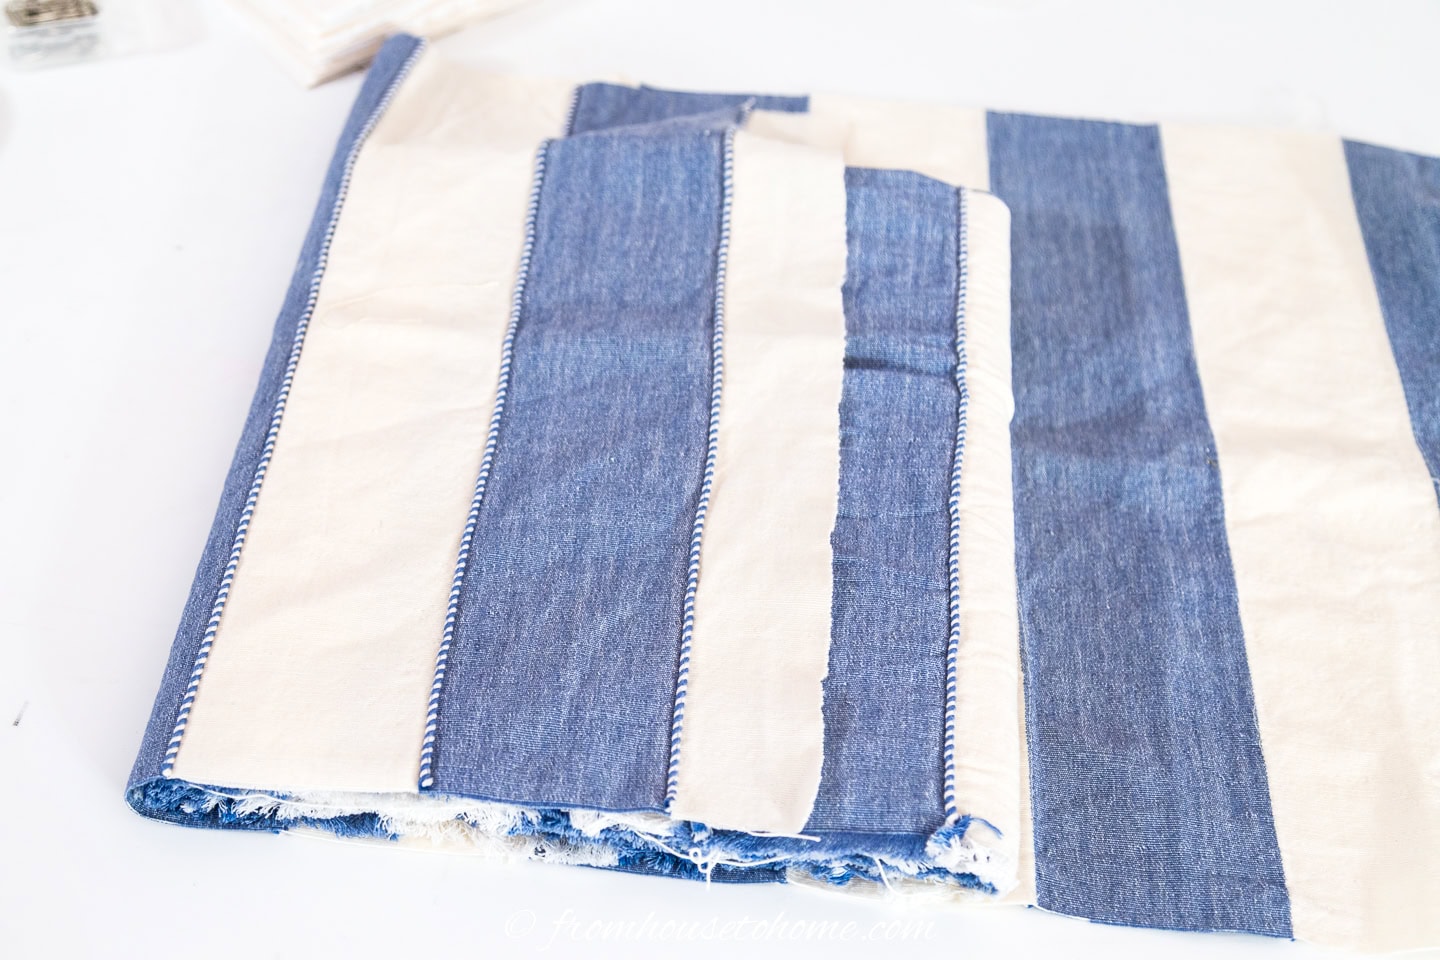
If you have additional pieces of fabric with the same pattern, repeat the same process with each additional piece over the previous ones.
If the pieces you have are different widths, put the widest piece of fabric on last. It will cover the uneven edges of the rest of the pieces and keep them looking neat.
Keep folding until all of the fabric has been wrapped on to the card.
4 | Secure the edges
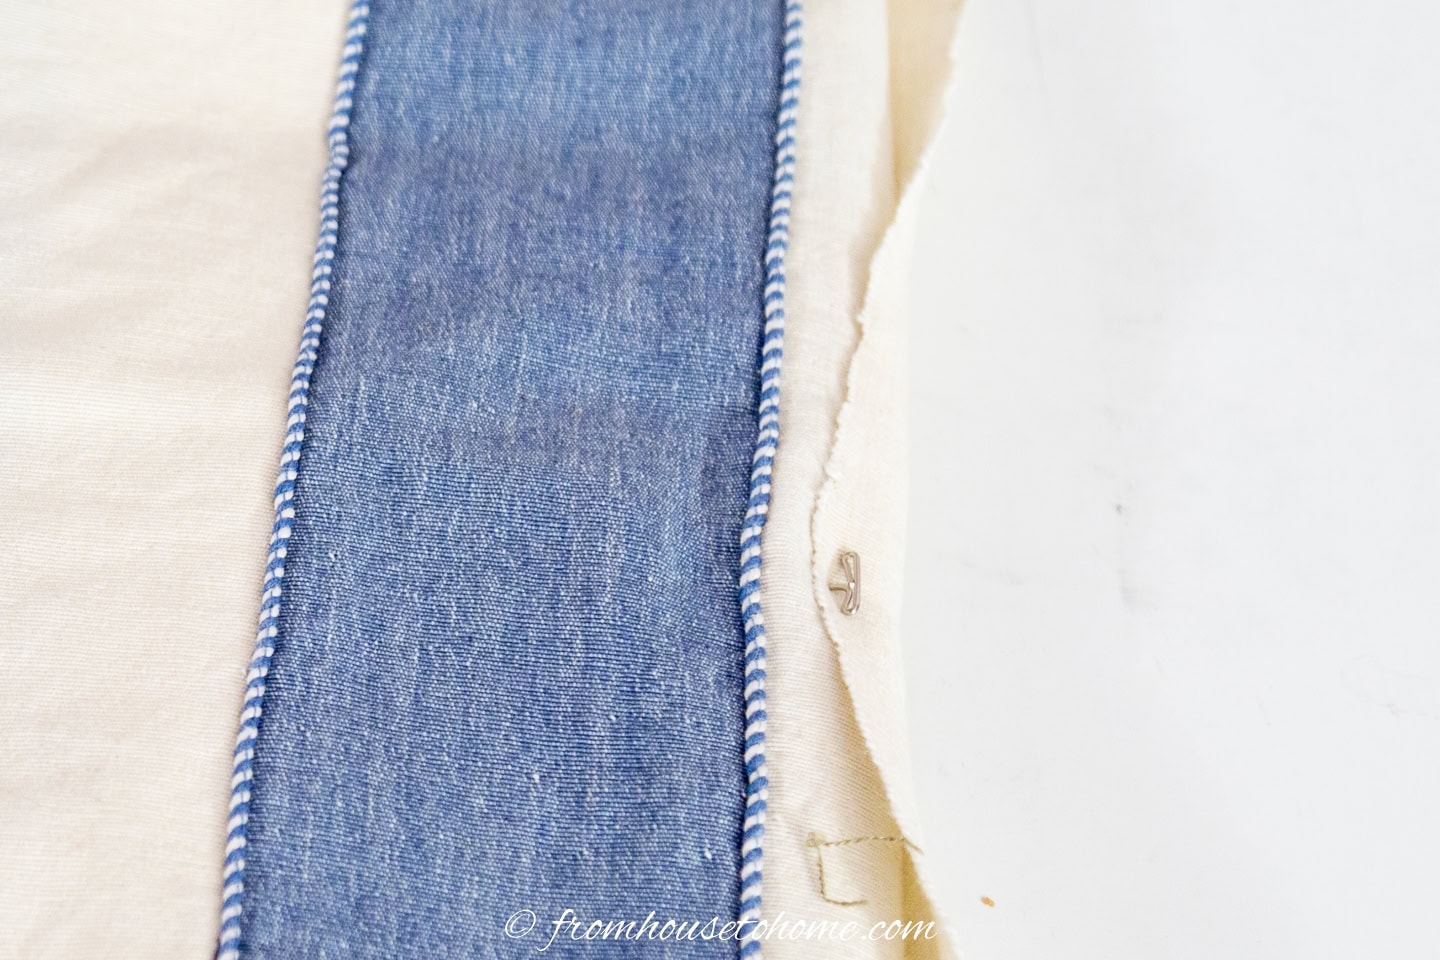
Pin the edge to the card using an upholstery T pin.
If the pin won’t stay, you have too much fabric and may need to split it onto 2 cards or try one of our other fabric storage options.
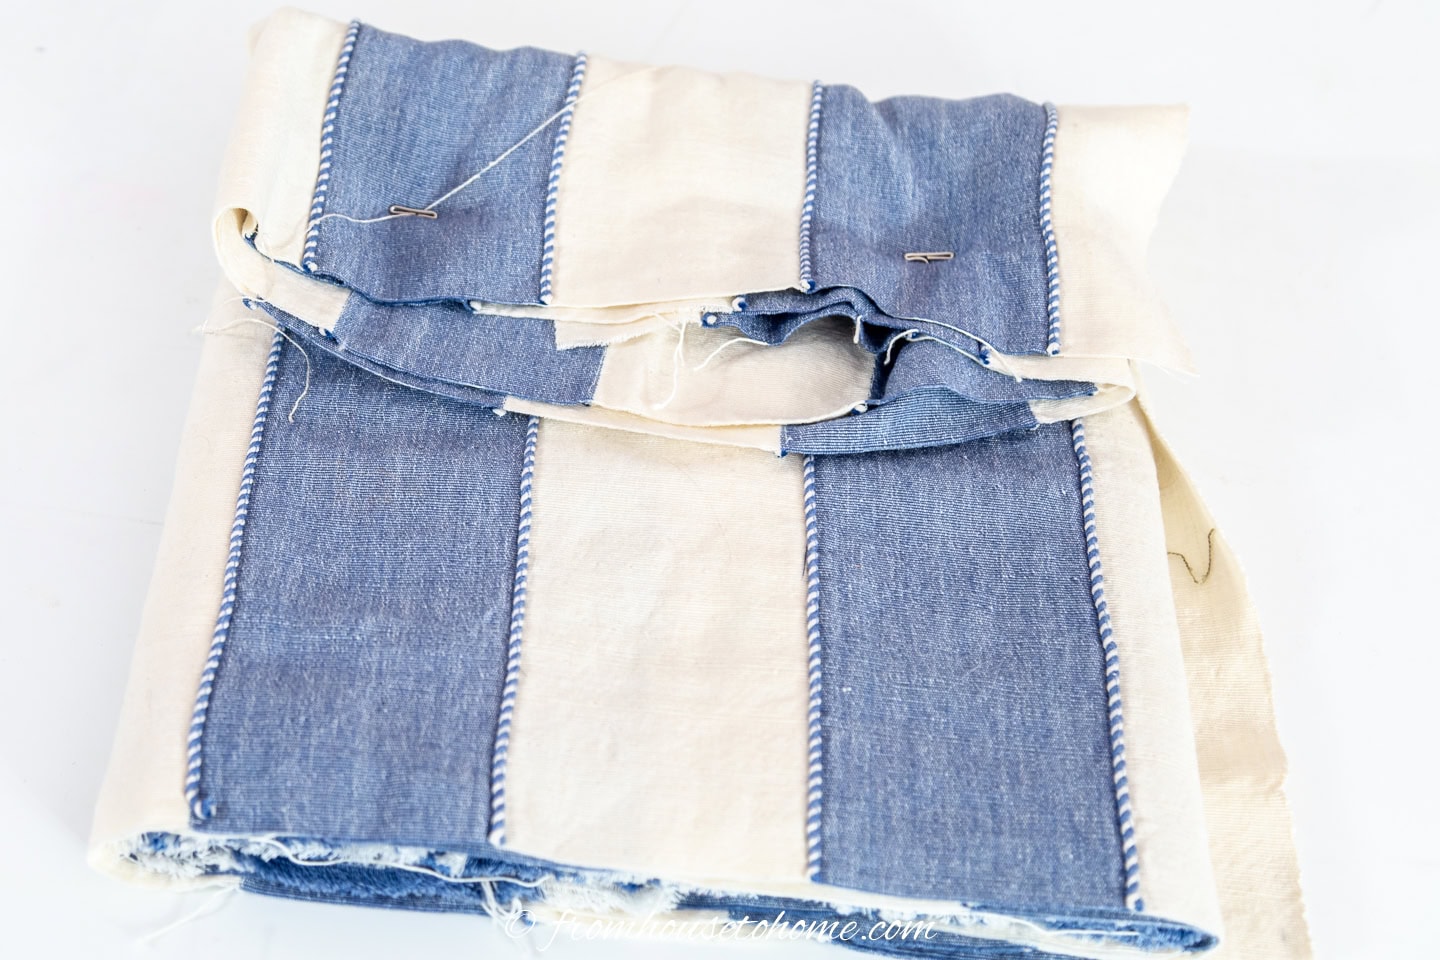
Fold over the top edge and pin it with an upholstery T-pin as well.
If there is a lot of fabric to fold over, you may need to use 2 pins…one at each corner.
The finished folded fabric
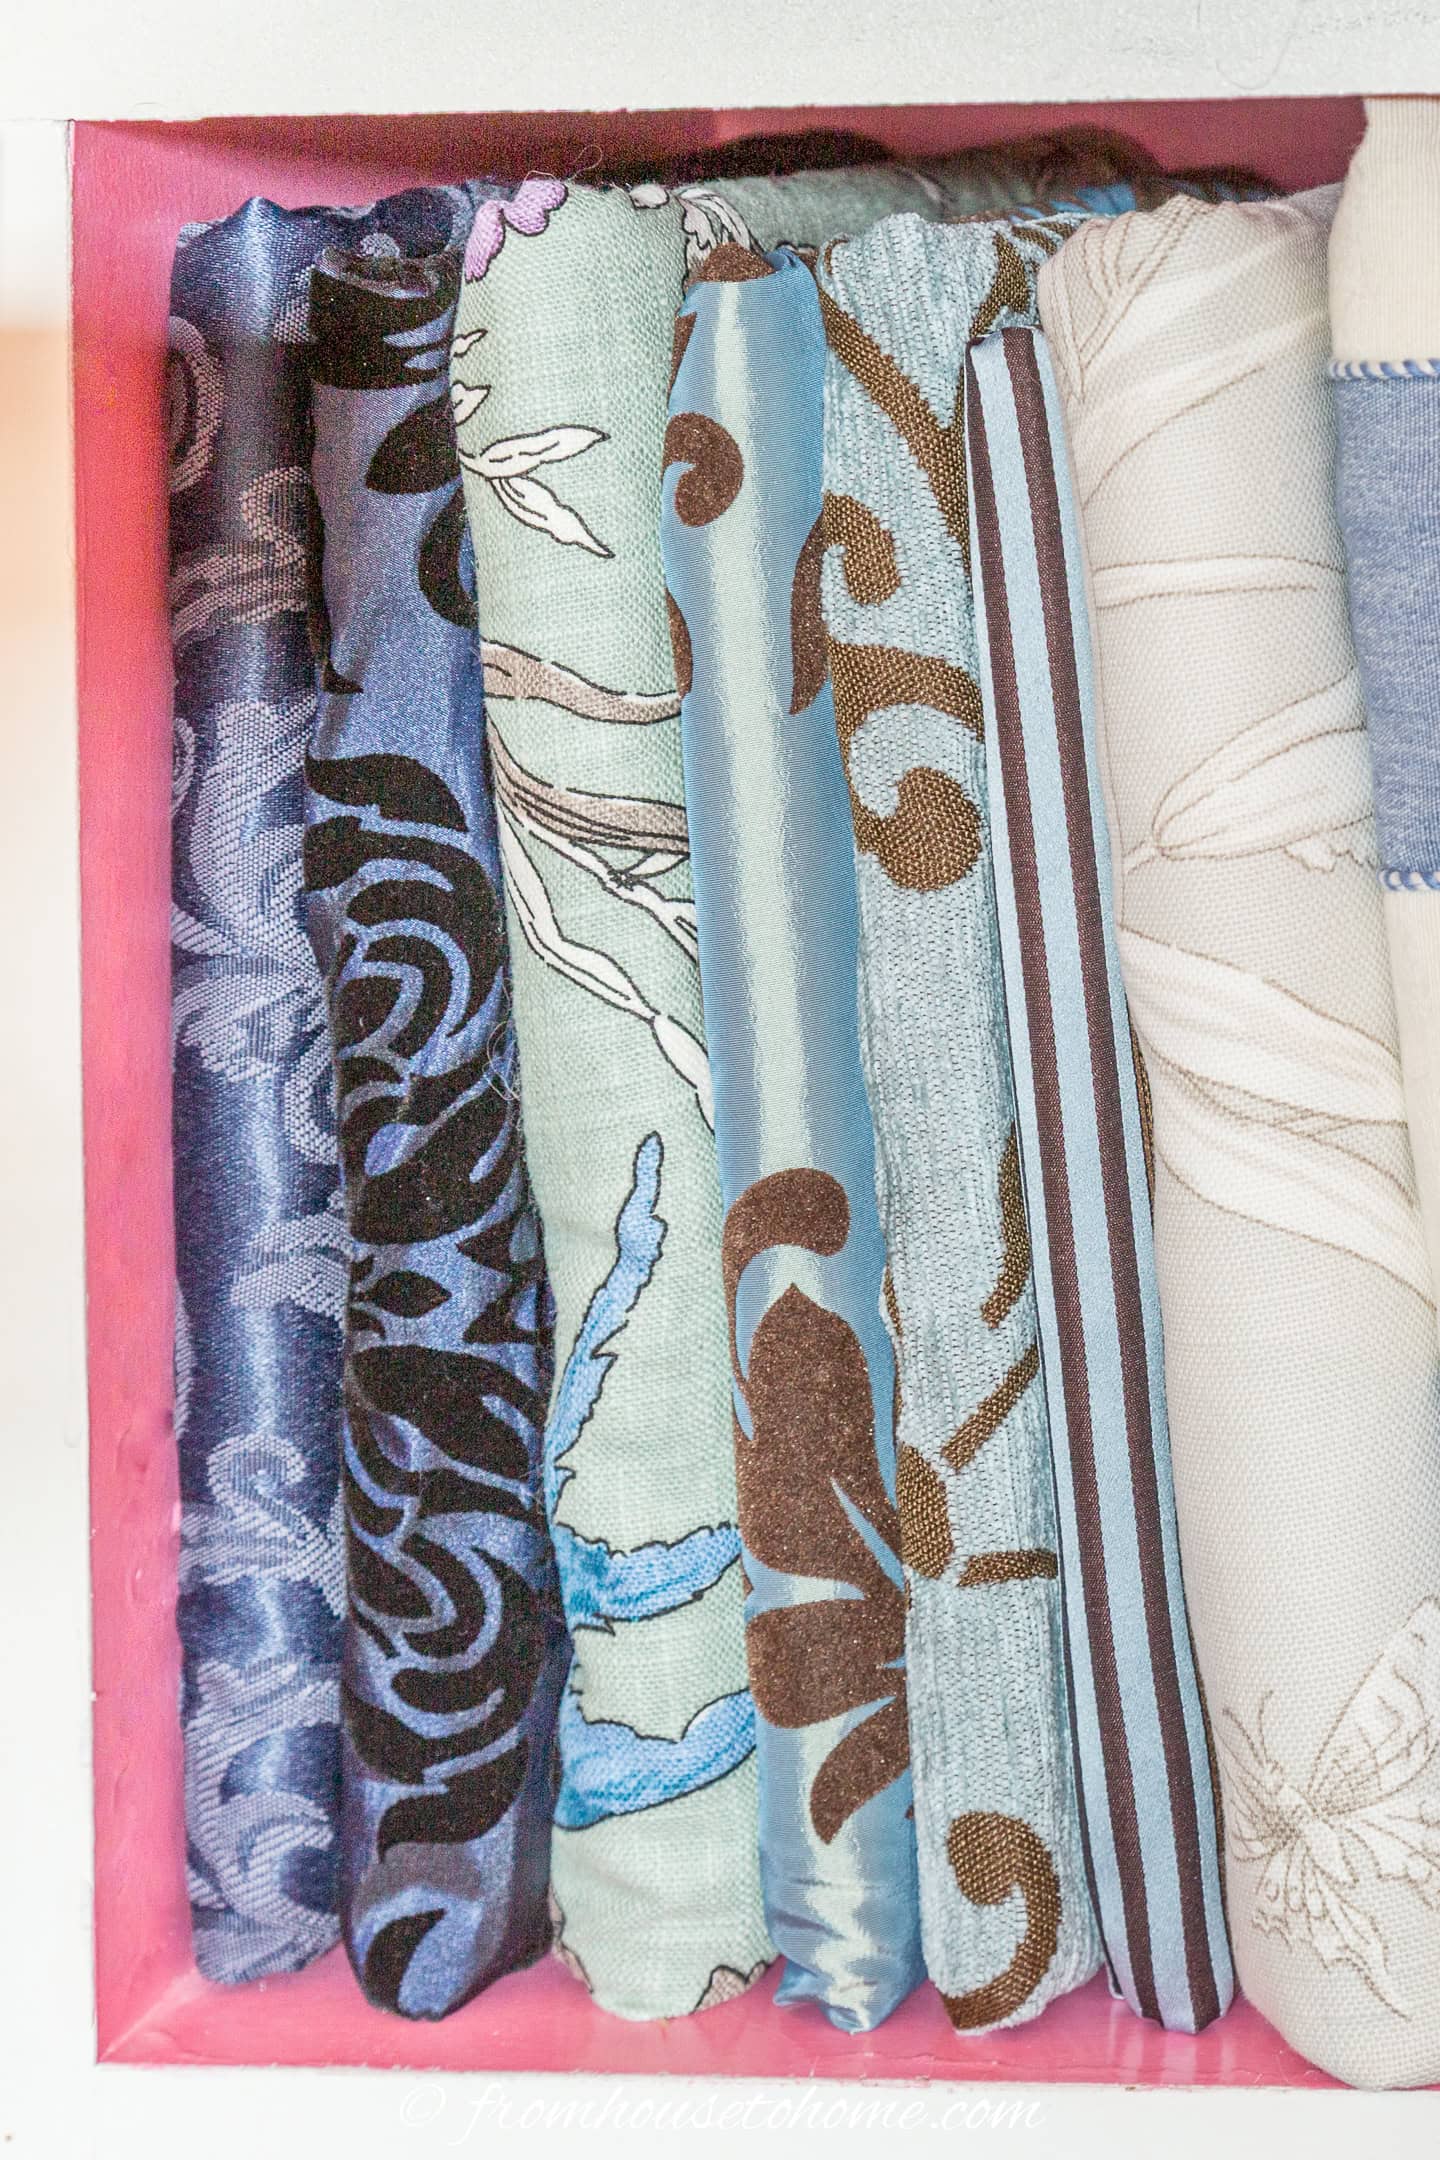
Add your new fabric card to the bookshelf with the folded edge facing out. And you’re read to go on to the next one.
It looks very neat.
And it is so easy find what you’re looking for without digging through a pile.
Have comments or questions about how to store large fabric scraps? Tell us in the section below.