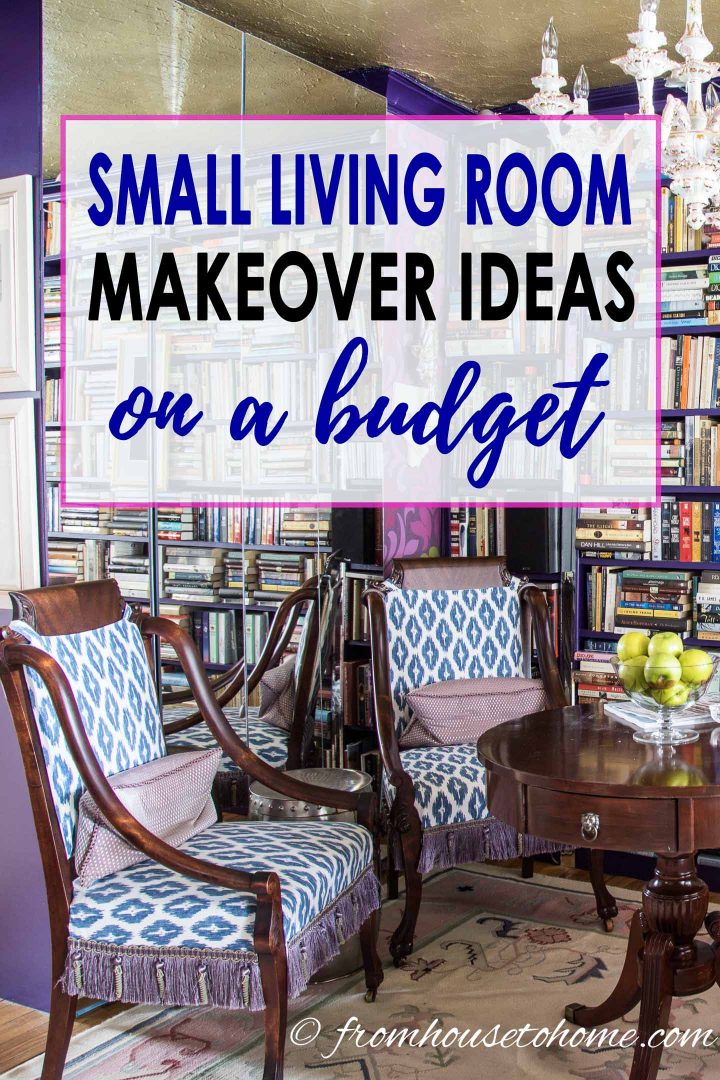
Small Living Room Library Makeover


Winters in Toronto are long, gray, and cold. To help myself get through them, I usually take on “a winter” project.
This year the time has just flown past, because I tackled not one but two rooms — the media room and the living room. I will describe the living room first and write about the media room (which you can see in the background below) HERE.
I always find some kind of inspiration to kick start my decorating project. Sometimes, I fall in love with a rug or some fabric and go from there. Other times I get inspired by a picture. This living room makeover started with my love affair with the HGTV ‘Global Spice’ wallpaper sold by Sherwin Williams.
When I do makeovers, I try to keep as much of the old furniture as possible. This means choosing the pieces that I really like as they are, and figuring out how to change those that it does not make economic sense to get rid of.
My living room is VERY small (10′ x 11′) so space and function are also super important considerations in the planning phase. It is really difficult to find furniture that fits in the room so if the pieces I already have are working, it isn’t worth the effort to replace them. But some of them do need a face lift.
1 | Create A Makeover Plan
The first step to any makeover is to come up with a plan which includes a list of what to keep, what to add and what to change (aka, the To Do list). And since I was doing this makeover on a budget, the DIY portion of the plan was pretty long!
What To Keep As Is
- Chesterfield
- Book case wall
- Chandelier
- Area rug
- Antique round pedestal drum table
That’s a pretty short list…which means the to-do list for my small living room makeover was pretty long!
What to Add
I also had a few things that I wanted to add.
- Wallpaper – HGTV global spice sw pattern #441-5616
- Electric wall fireplace*
- Candice Olson tapered wall sconces*, chrome with small off-white silk shades
- Blue and white table lamp*
- Metal garden stool*
- Eileen Gray glass side table*
- Narrow gate-leg table (found on kijiji.ca)
The To Do List
These are all of the DIY projects that were required.
- Wallpaper the walls with HGTV global spice sw pattern #441-5616
- Build a mirrored storage wall
- Install the fireplace and tile the mantel surround for fireplace (I found the small square glass iridescent purple tiles at Olympia tile on clearance)
- Install the sconces
- Hide the electrical wires from the small spot lights on the books and the Raku lady sculpture
- Paint the ceiling Metaltech Gold Base
- Paint the crown molding, cabinets, woodwork, bookshelves Sherwin Williams ‘dewberry’
- Re-cover the 2 antique hostess chairs in a blue and white with purple cotton Ikat
- Sew new cushions: 2 pink, 2 blue patterned cushions on sofa, 2 small oblong cushions for chairs
- Paint the small round side table (cottage paint — chive)
- Paint the new gate-leg table (table top painted with cottage paint — chive, legs painted with cottage paint — white)
- Make a narrow purple acrylic sofa table
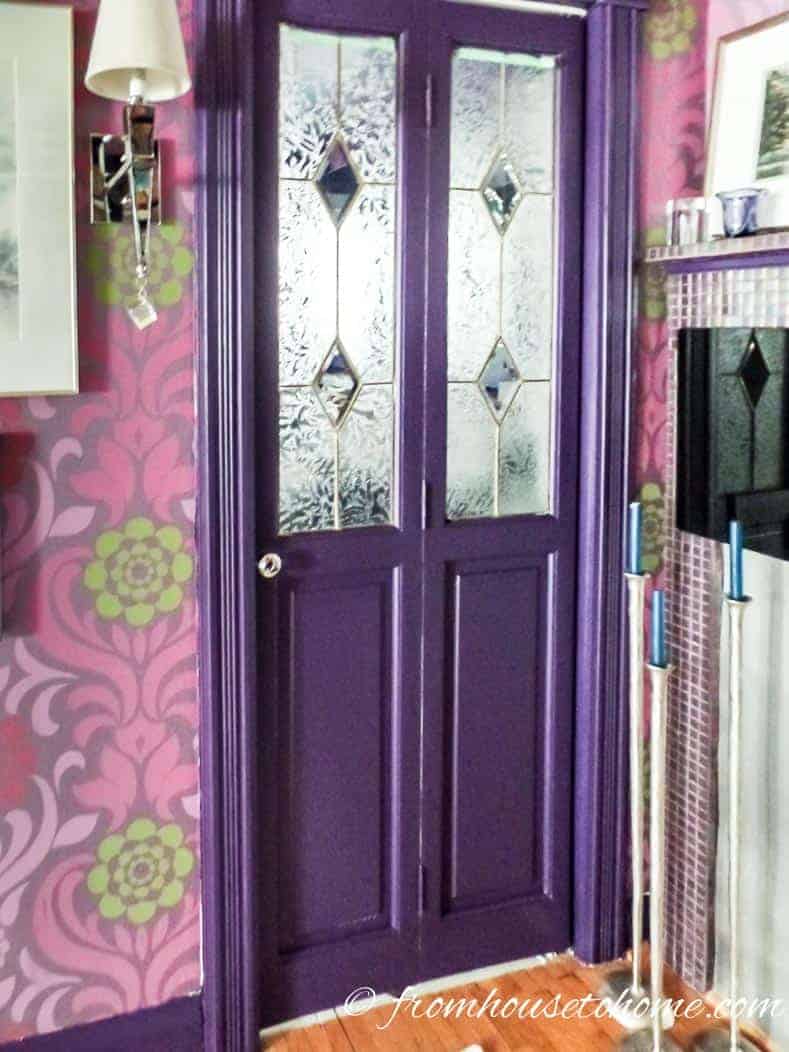
2 | Hang Wallpaper

My jumping off point for the living room came when I was watching an old HGTV rerun featuring their Global Spice wallpaper, pattern #441-5616. I knew instantly that I needed to have it in my home! It is boldly unique and yet sophisticated.
Bold wallpaper also just happens to be one of the 2019 Home Decor Trends…so I’m style without even trying to be!
The wallpaper looks wonderful with all of the things I want to keep in the room:
- my pink and white striped sofa which is still in good shape.
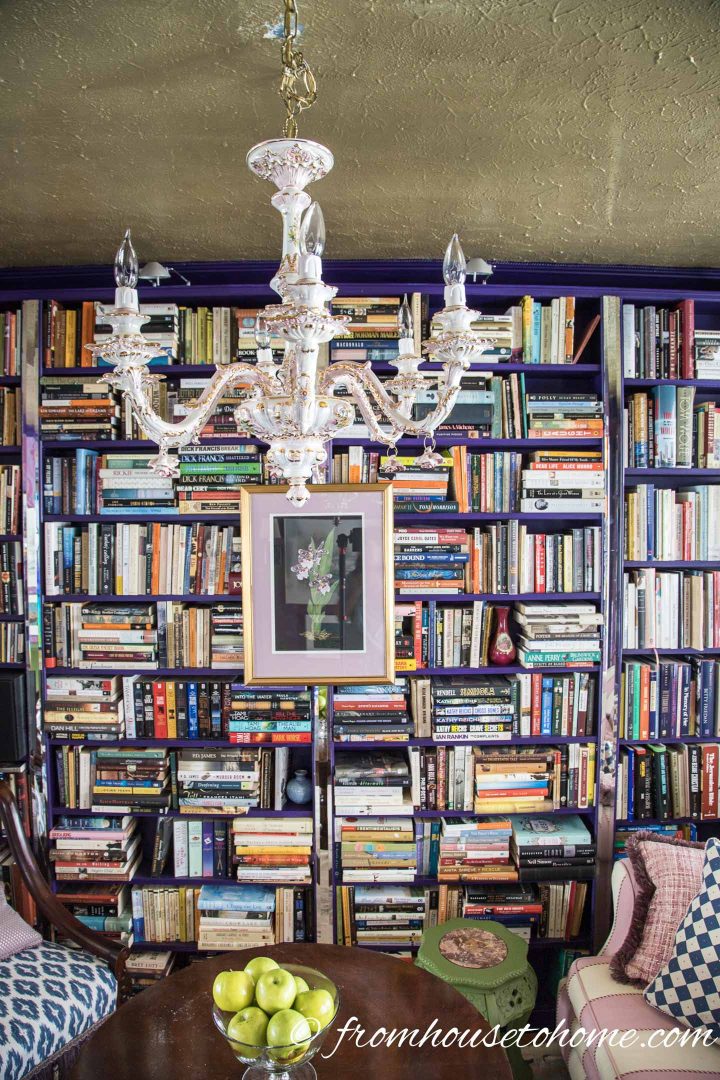
- the pink, white and gold Capodimonte chandelier.
- my domestic cotton rug, purchased eons ago from Ikea which is quietly effective with the sofa, the chandelier, and the wallpaper because it has small bits of all of the colors in its design.
Fortunately since this room isn’t very big, hanging the wallpaper wasn’t a huge expense or effort.
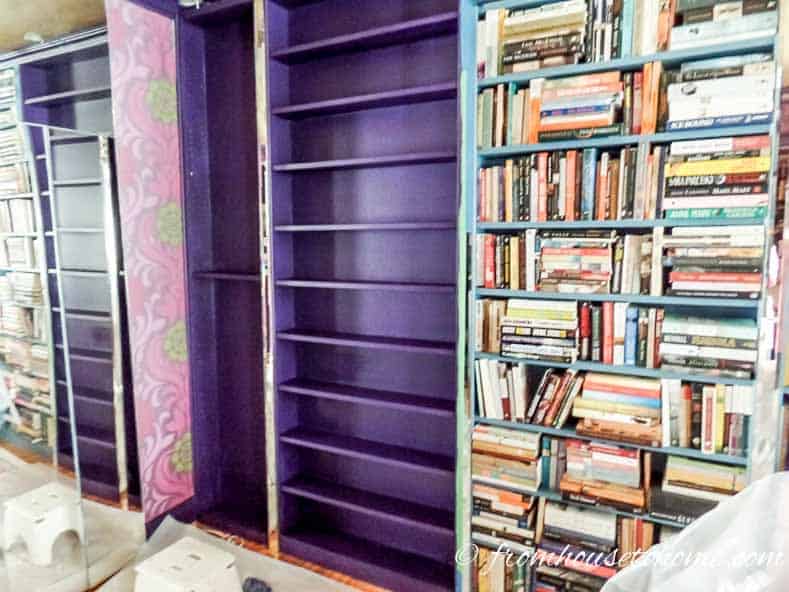
3 | Add Storage
One of the problems in my old house is that it has no built-in storage spaces. Closets were just not a “thing” when this house was built.
I really needed a place to put things like my vacuum cleaner that would be easy to access but out of sight when I wasn’t using them.
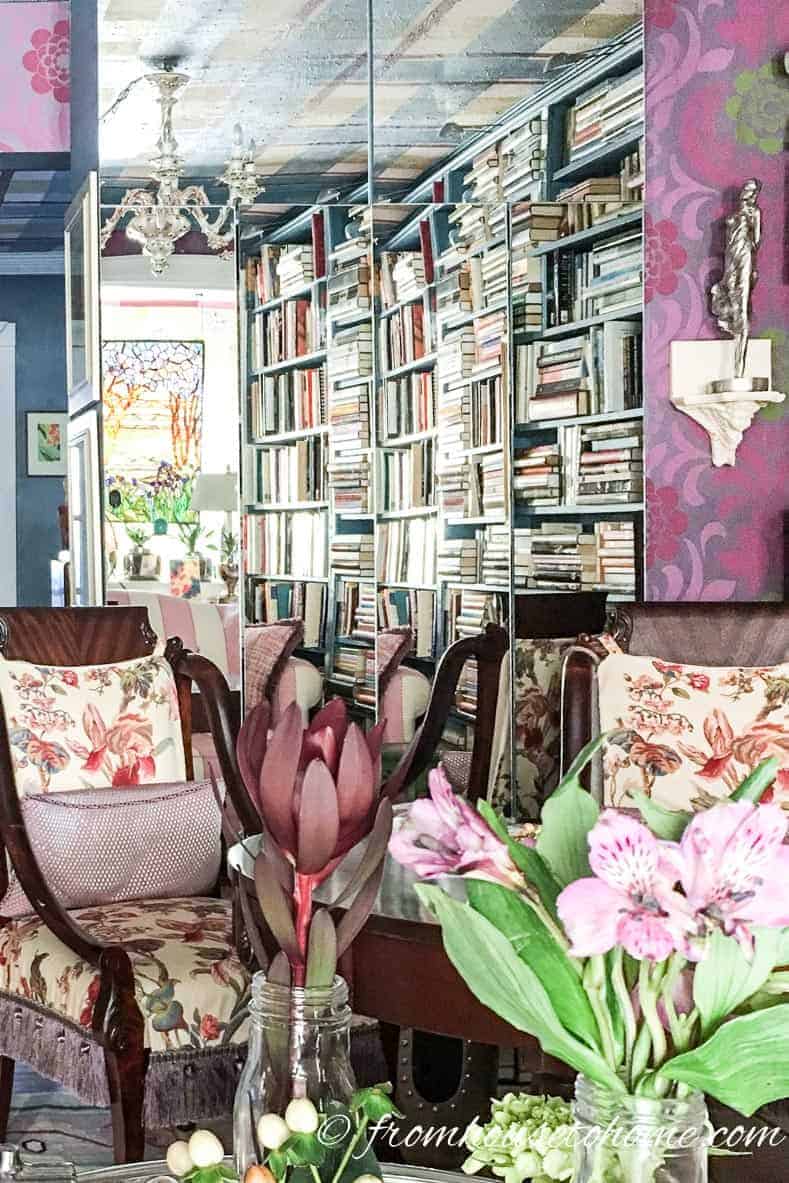
Which is where the mirrored storage wall came from. It’s basically 18″ deep floor to ceiling shelves that cover the whole wall. To hide what’s on the shelves, we installed mirror doors. Now there’s lots of out-of-sight storage space that still looks good.
As an added bonus, the mirror reflects light from the kitchen windows back into the living room…which is definitely helpful since there are no windows in this room.
4 | Install A Fireplace And Mantel
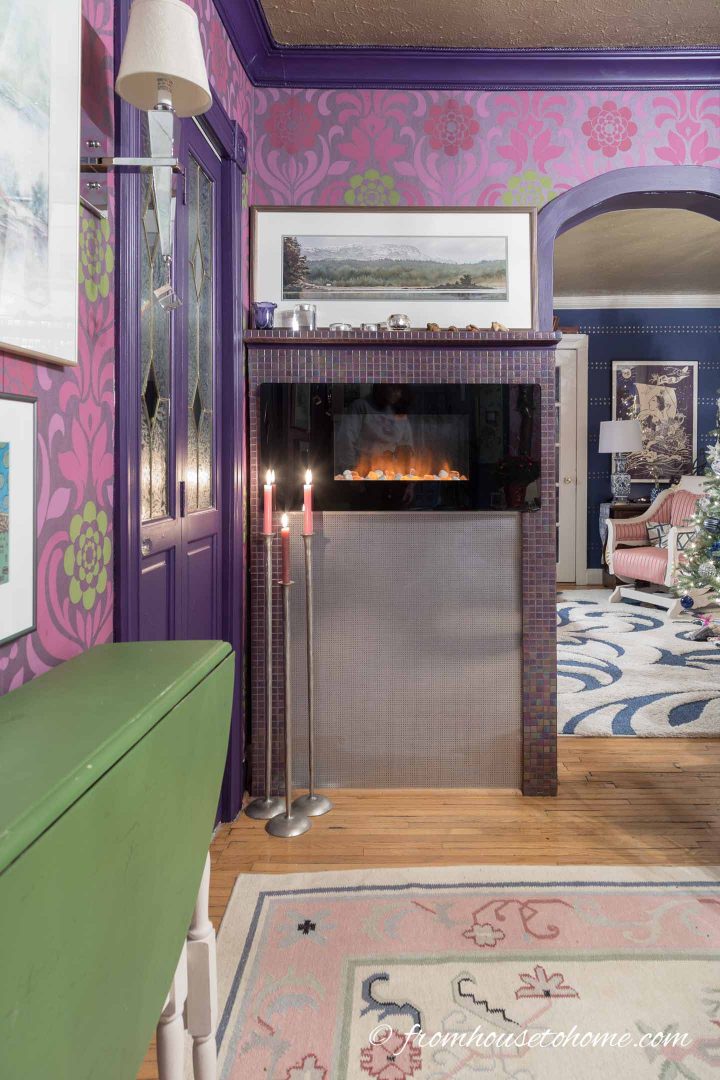
I think a fireplace adds a cozy ambiance to any room so I wanted one for my living room. Since the room is so small, installing a gas fireplace was out of the question so I went with an electric one instead.
This electric fireplace* has the option of having a heater switch if one feels a little chilly.
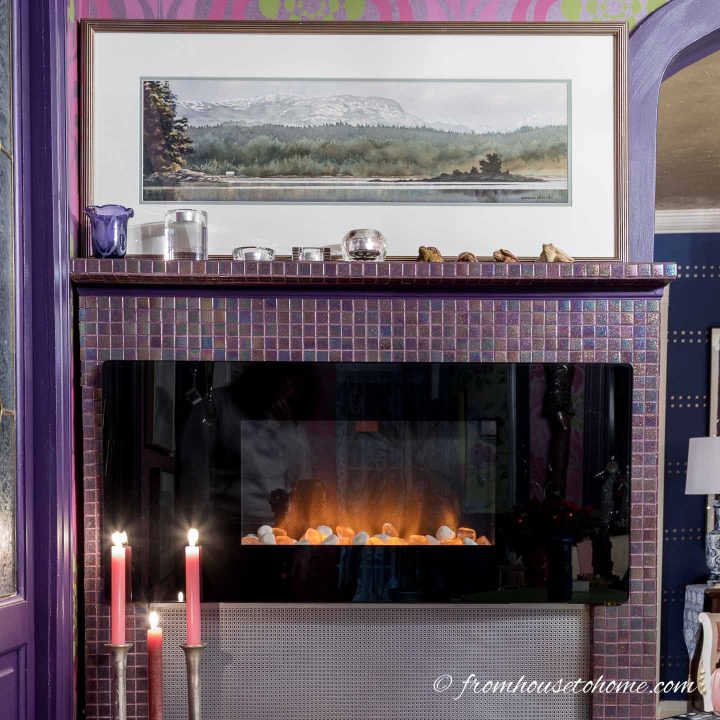
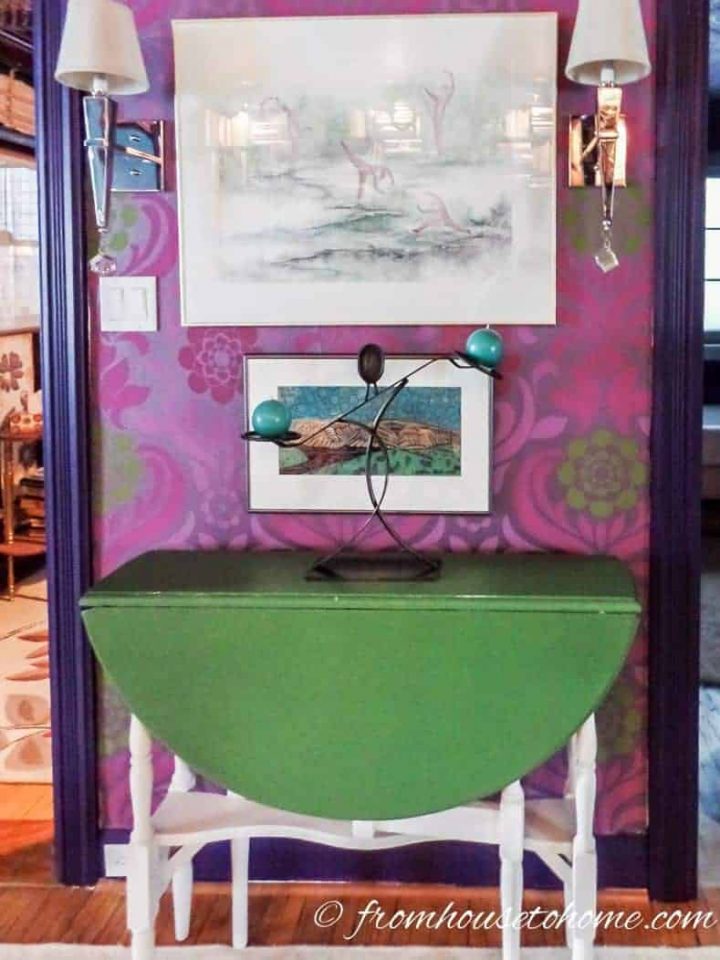
However the fireplace looked a little stark mounted on the wall like a picture. So, with some help from my sister, we built a mantel around it and tiled it with small iridescent glass purple tiles found on clearance for a very good price.
I now have a surface for tea lights and a place to prop one of my favorite watercolor paintings, “April – Rupert Arm” by Gordon Henschel.
5 | Update The Lighting
One thing that helps to save space in a small room is to get most of the lights off of the surfaces. That means installing more sconces and hanging lights than you might otherwise do.

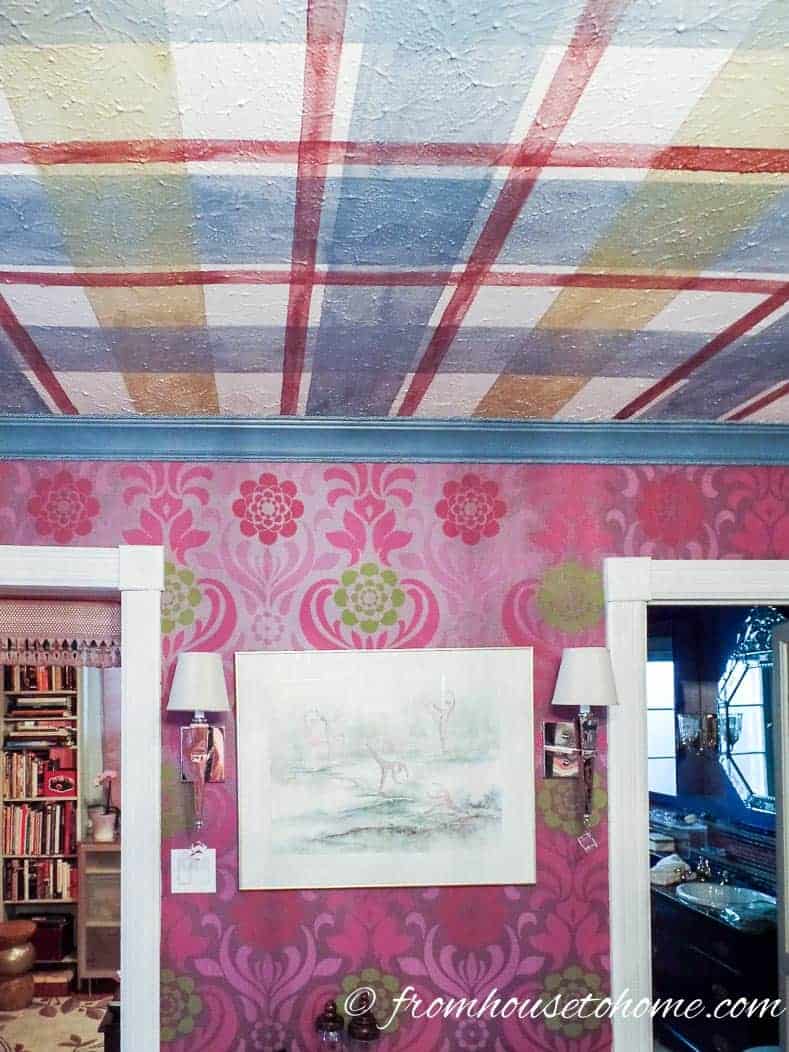
I chose Candice Olson’s beautiful chrome, tapered wall sconces* and had an electrician install them on either side of the “Happy People” watercolor. He put them and the chandelier on dimmer switches, which gives me nice lighting intensity options. These sconces have small silk ecru shades and some bling in the form of a dangling crystal cube. Love them!
One of the most convenient and aesthetically pleasing electrical improvements happened at the conclusion of the makeover.
My smart engineer brother was visiting and offered to put all the bookshelf lights and the spotlight over my Raku “Blanket Lady” sculpture (by Hock Wee) on the same switch as the sconces.
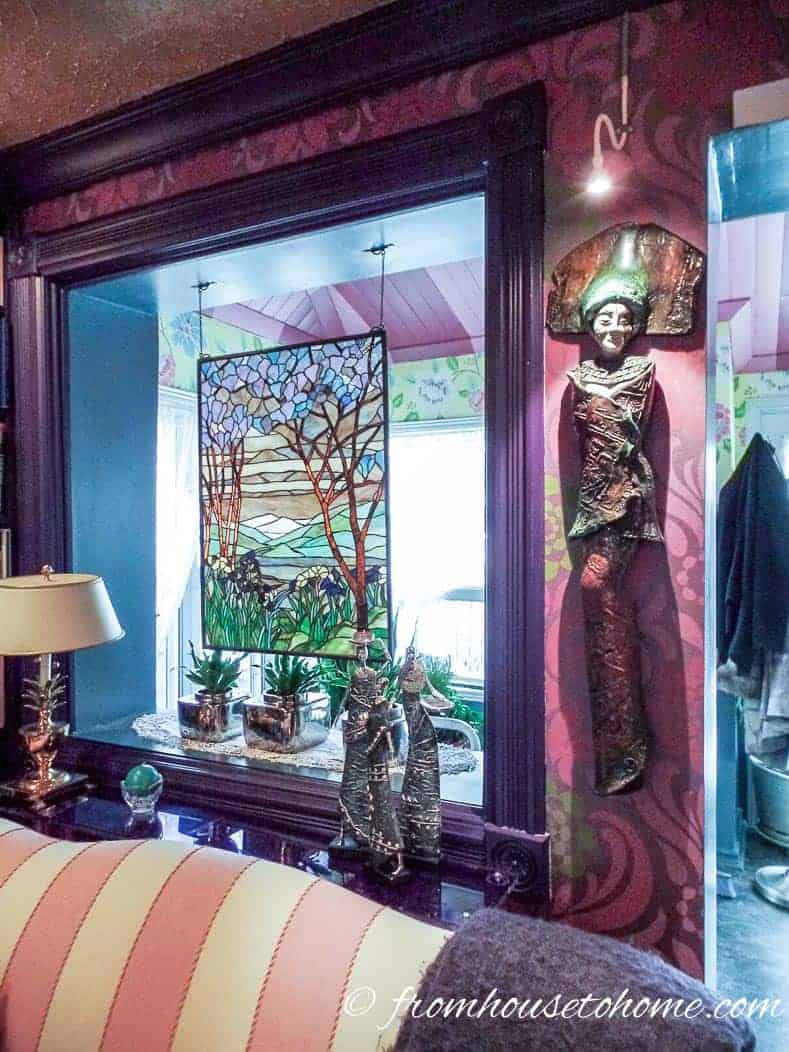
He hid all of the ugly dangling cords and made it possible to turn the lights on so easily. This room needs artificial light because it has no outside window. Having the ability to now light up the periphery with the flick of a switch is an unplanned luxury! Thank you Tom!
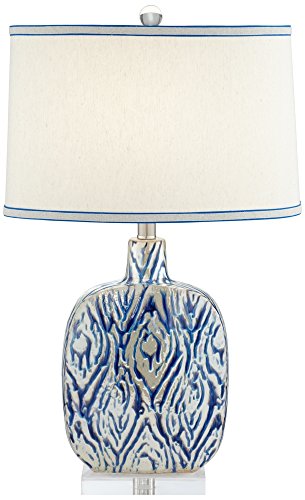
The other light in the room will be a blue and white ceramic table lamp set on the table behind the sofa. I like how the blue diamond-like pattern nods to the other similar shapes in the room. Once it is delivered, I will update with a picture!
6 | Paint The Ceiling
As with most makeovers on a budget, this living room redo required a lot of painting!
After much deliberation, I decided that the plaid ceiling had done its due diligence.
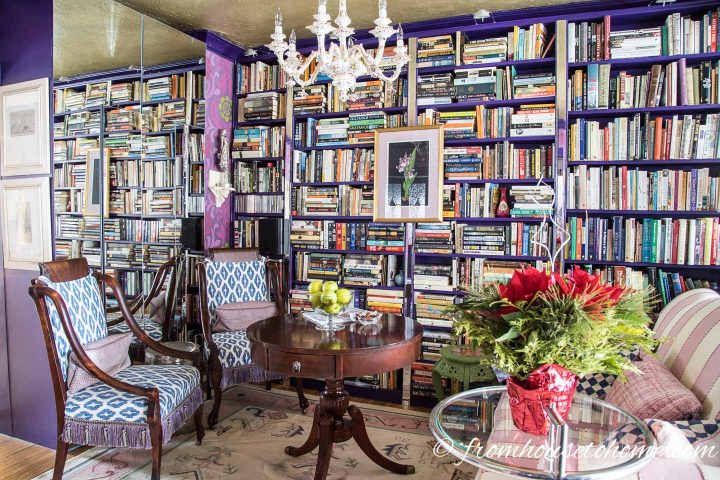
Gold paint enhances the gold of the chandelier and makes it stand out in the room.
Because metallic paint does not cover well, I primed the ceiling with Kilz Primer* and followed with two coats of metallic gold manufactured by Protek (Metaltech gold base). It applied well with a roller.
Hint: When applying metallic paint, roll it on in roller width strips overlapping each strip by 2 inches. Then go over the painted area in one direction so that the gloss dries evenly.
Hint #2: It’s much easier to paint the ceiling before you do the walls since you don’t have to worry about drips. But the ceiling update was a late addition to my project which is why it’s a little out of order.
7 | Paint The Woodwork
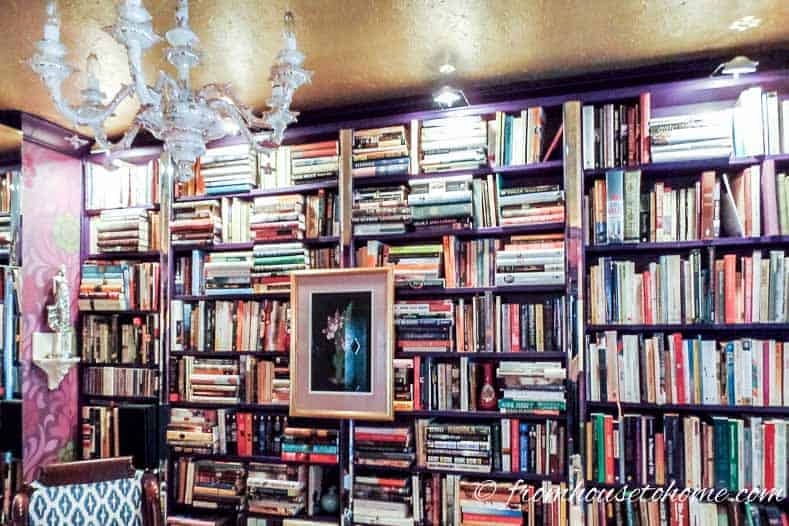
Next, I decided to paint all the woodwork, moldings, shelving and cupboards Sherwin Williams’ “Dewberry”.
It’s a very dark purple color that I used in my bedroom makeover and I love it! I think I can even say I’m on trend for 2018…my paint color is similar to Pantone’s color of the year.
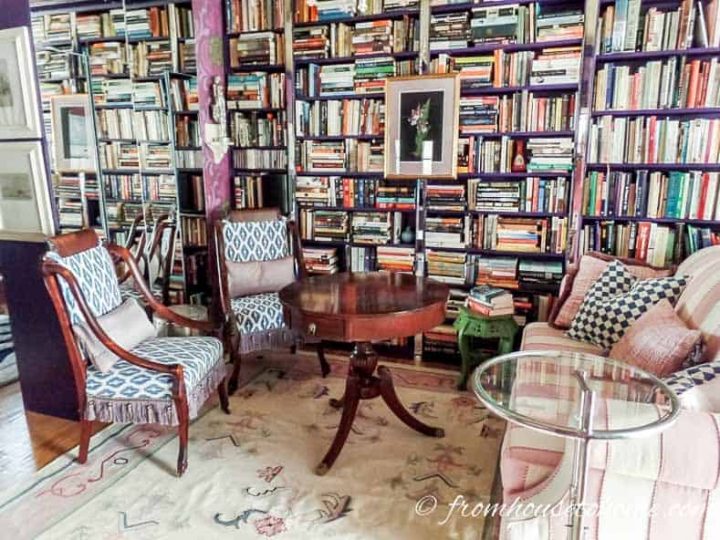
It was an arduous task to remove all the books from the shelves, then give every surface from two to four coats of paint to insure good coverage. I had books piled all over the floor. And when everything was dry, they all had to be dusted and put back.
For extra interest and a repeat of the dewberry color, I hung Sheila Siegerman’s gouache orchid painting on the bookshelf.
8 | Recover The Chairs
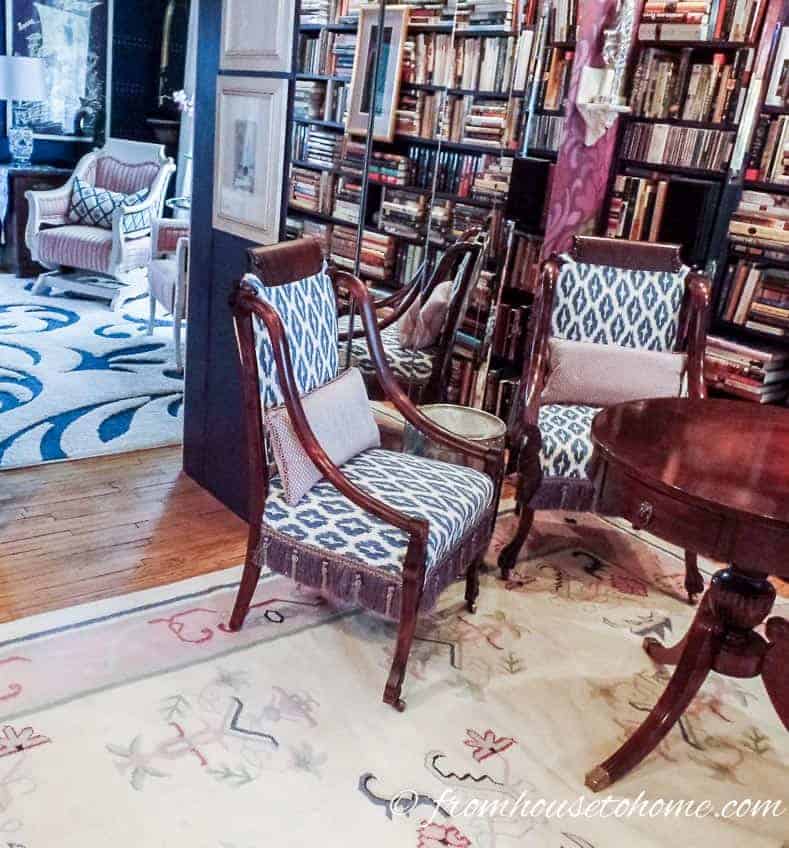
I wanted to introduce blue into the room to create continuity with the newly decorated media room that leads off of the living room. (I’m excited to share that transformation soon, but you can get a sneak peak in the background of this picture). Besides which, blue is my favorite color and makes me happy.
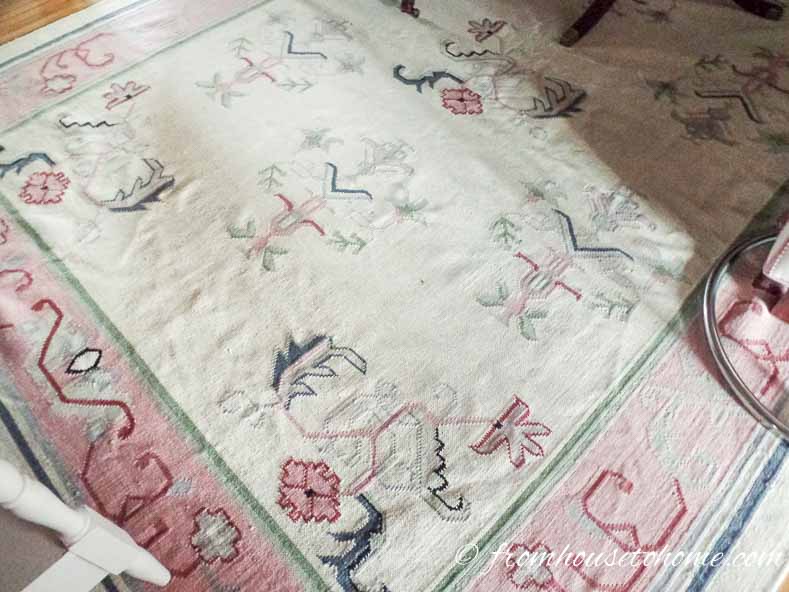
Luckily, the rug in this room has some navy blue in the pattern.
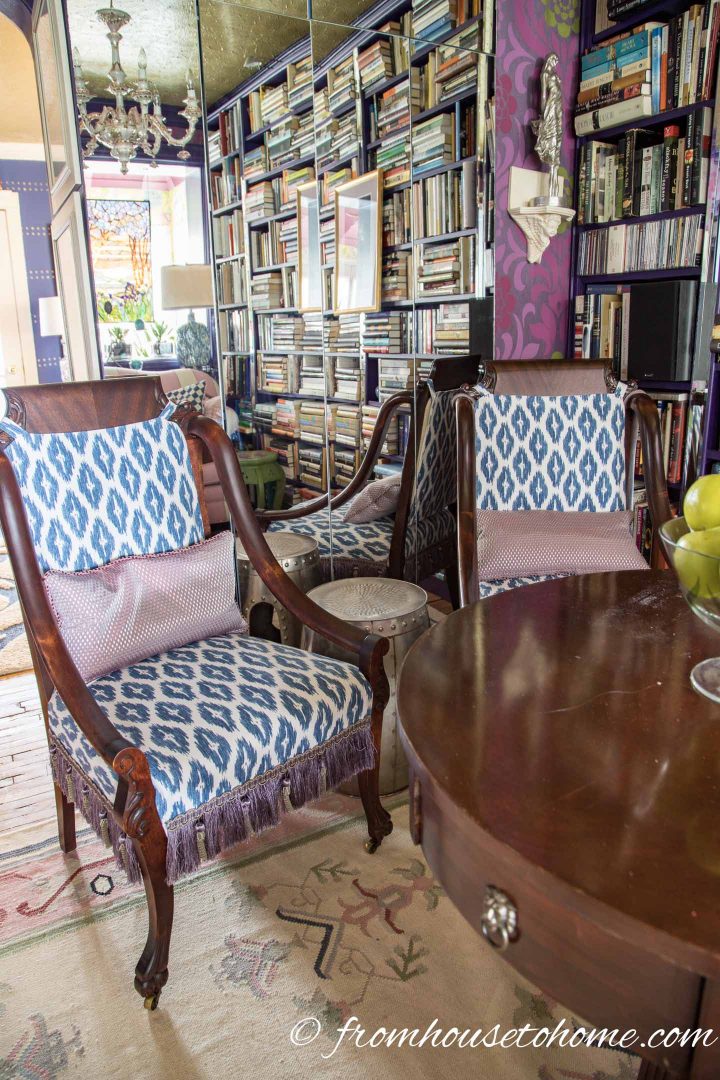
So I went with that color to cover the two antique hostess chairs.
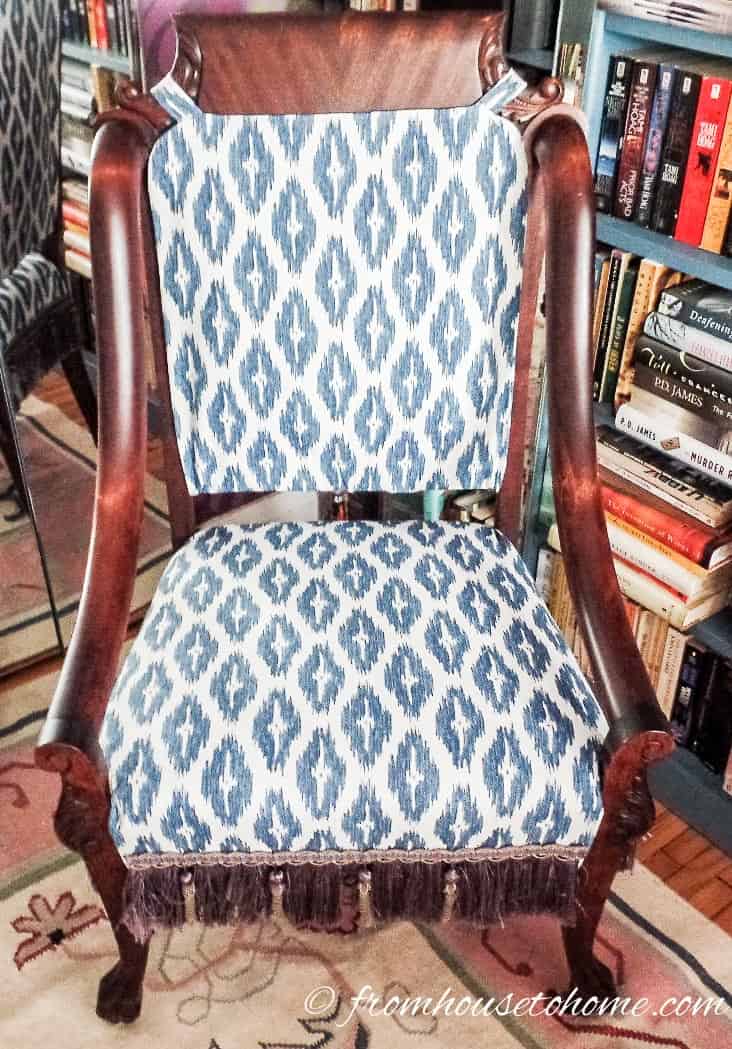
I chose a blue and white cotton Ikat fabric that has a purple dot in the center of the ‘diamonds’.
The 4 1/2 ” fancy purple fringe on the slip covers was carefully salvaged from the previous chair covers and reused on the new ones. I saved money by sewing the new covers myself, using the old covers as a pattern and attaching them to the chairs with velcro.
9 | Sew Cushions
I also made some cushions (you can find the tutorial HERE).
The small oblong purple lumbar cushions for the side chairs are self piped . The fabric is shiny and has a pattern of tiny diamonds.
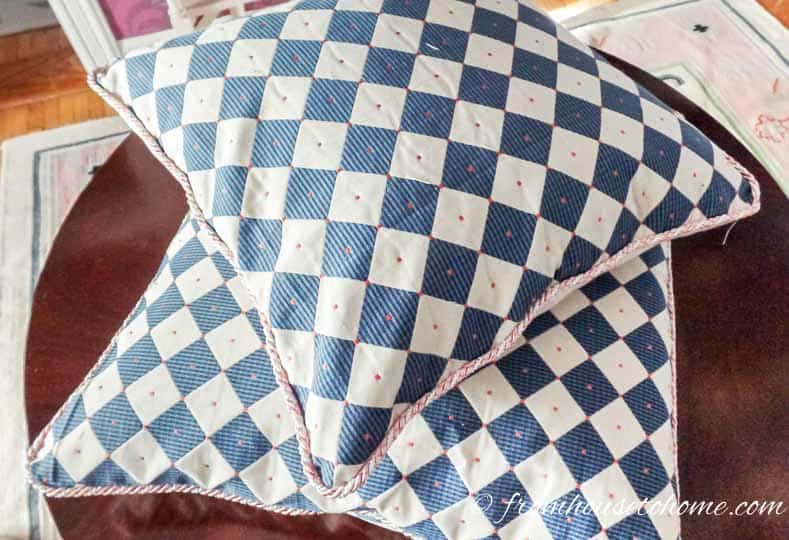
The 2 blue and white diamond pattern cushions have a delicate pink and white piping.
I particularly like that they echo the diamond shape of the chair covers and small pillows on them.
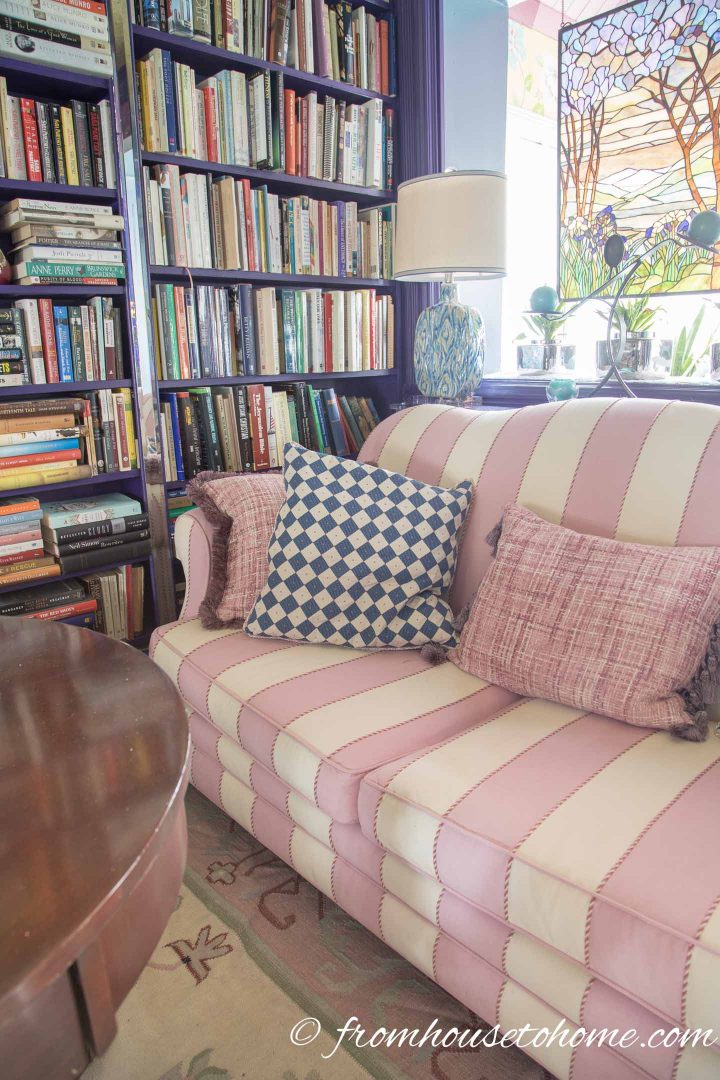
A lumbar pillow and a large square pillow in pink raw silk tweed with fringe detail complete the cushion accents and give textural interest.
Hint: I prefer feather pillows because they hold their shape better than other stuffing types. I buy the feather cushion forms* and then sew the covers. However you can also replace the forms on many store-bought cushions for an easy inexpensive cushion upgrade.
10 | Add Tables
I believe in order to make a living room comfortable, it is important to have handy surfaces to put down a cup of tea or a book.
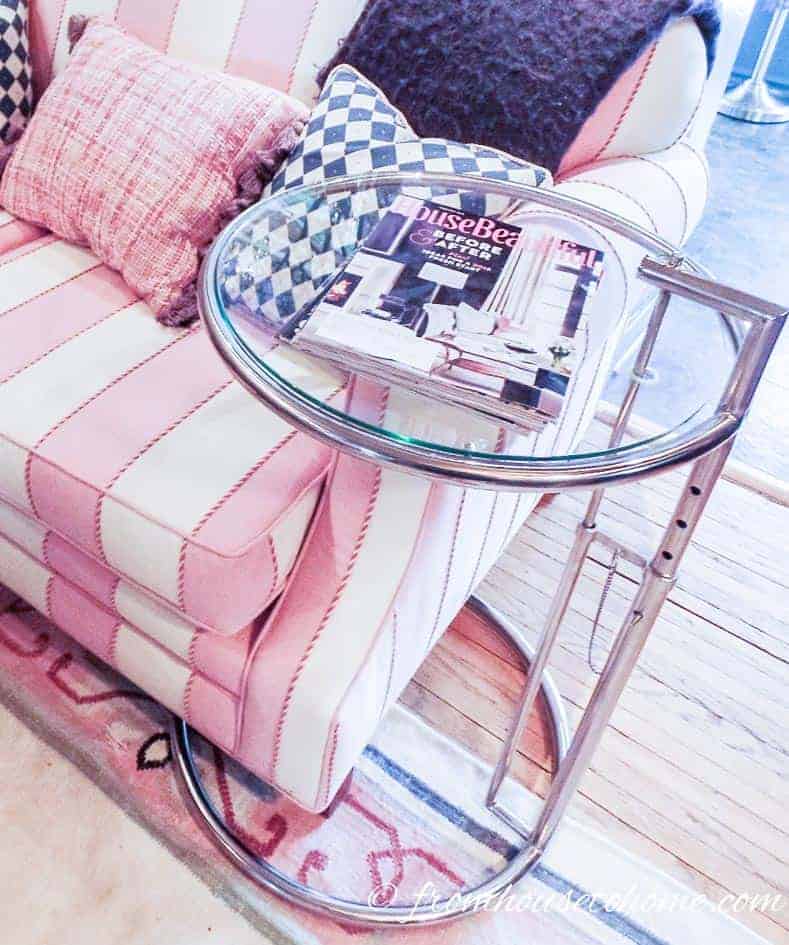
The Eileen Gray glass end table* is adjustable in height, so slides perfectly over one arm of the sofa.
Thus it conserves space, is visually unobtrusive and very functional.
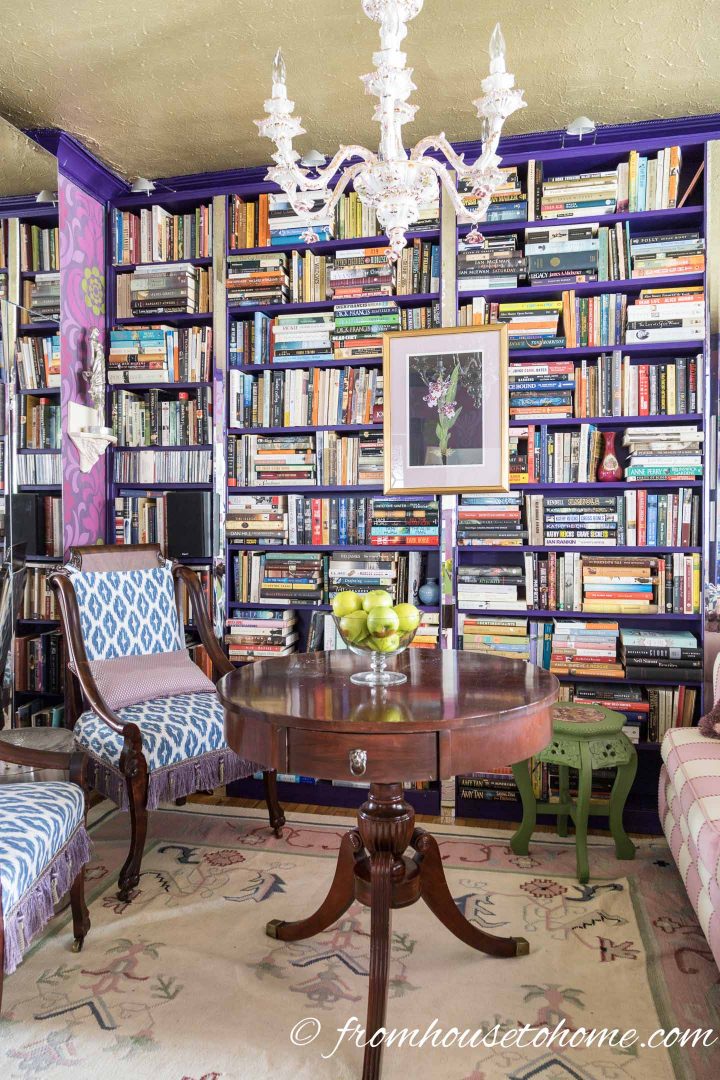
The antique pedestal drum table sits in the middle of the room under the chandelier and can be easily reached from all seats. It has a small drawer where I keep tea-sized serviettes and coasters handy.
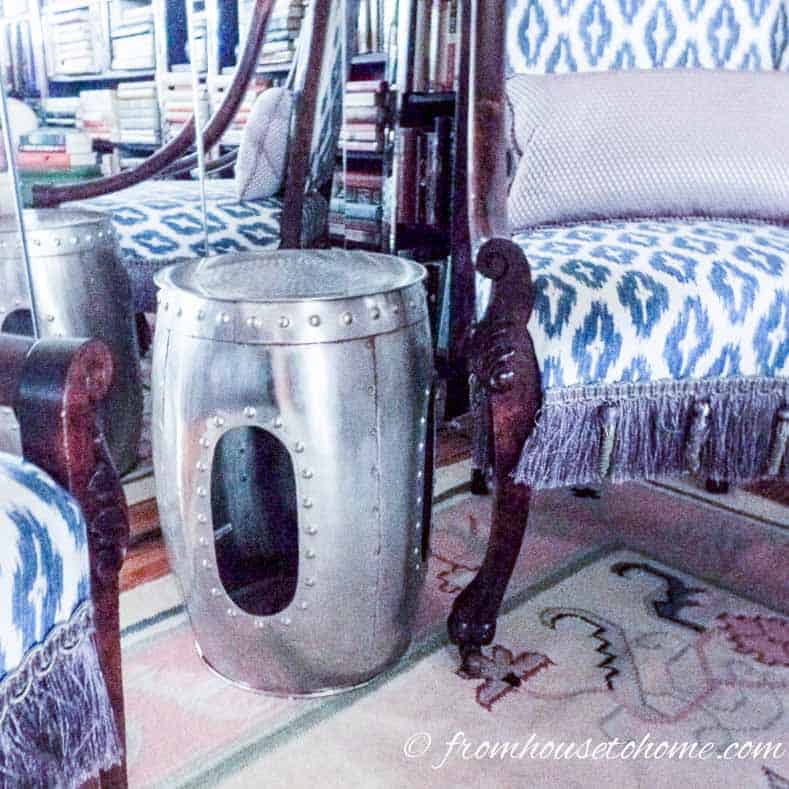
The metal garden stool between the hostess chairs is also very convenient, adds some textured bling, and has the important small footprint.
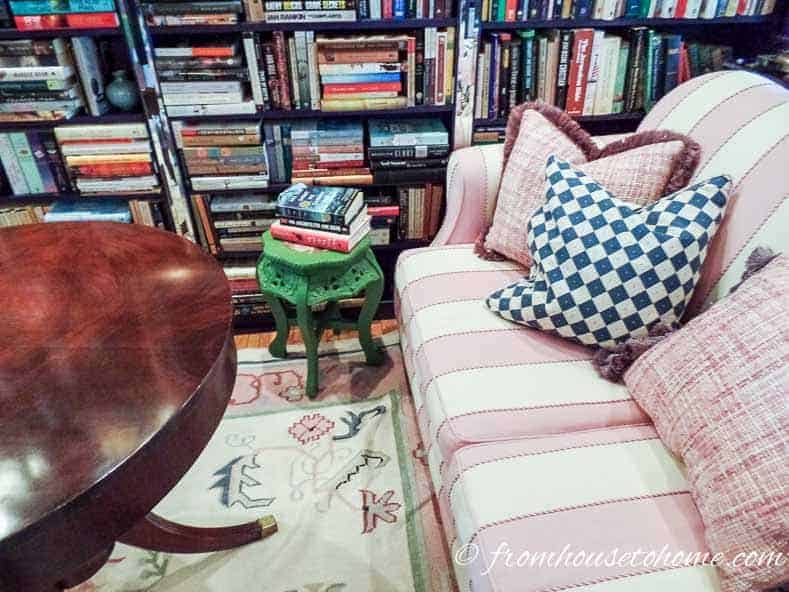
Since a lot of the elements in the room have a green detail, like the flower in the wallpaper, the green stripe in the rug and the trim on the sofa, I painted the small round side table chive green. It is the perfect size for setting down a drink when you are sitting on the sofa.
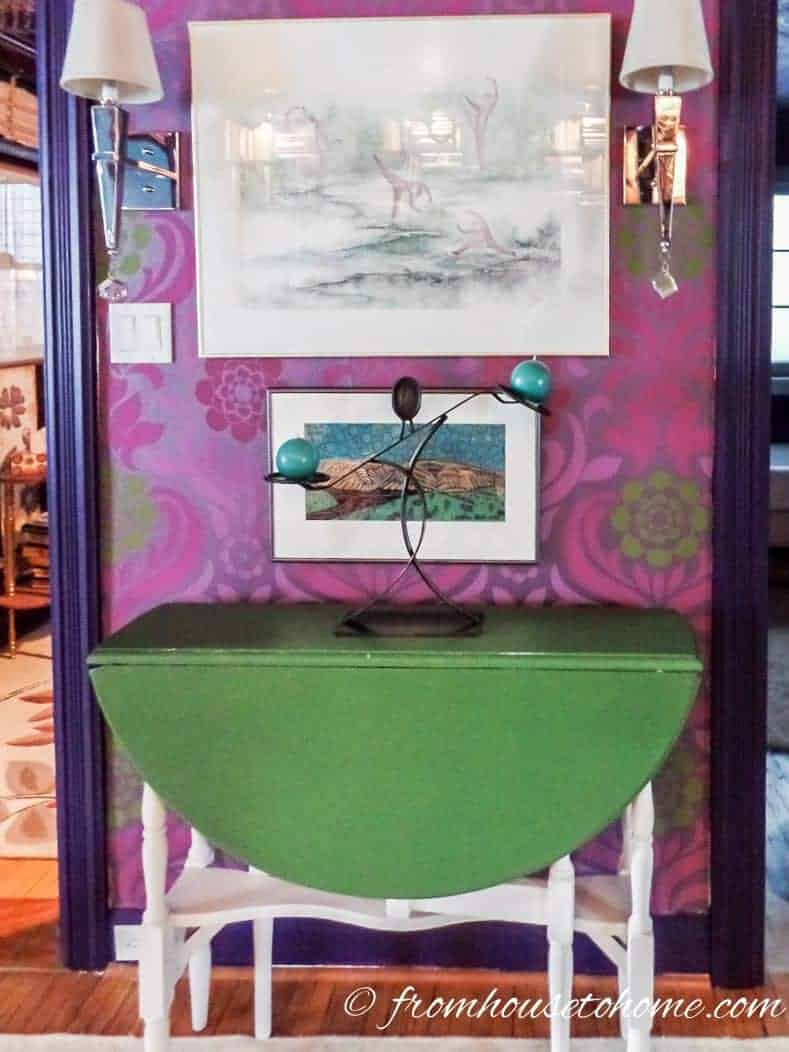
The narrow 10″ gate leg table that sits under paintings by Sibylle Rett, “Happy People” and Christine Koch, “Tablelands with Mackerel Sky” was a second hand find.
Gate leg tables are great for small rooms since they don’t take up much room when they are folded down. But open up to a full size table if you want to use it for dining, doing a puzzle or playing a game.
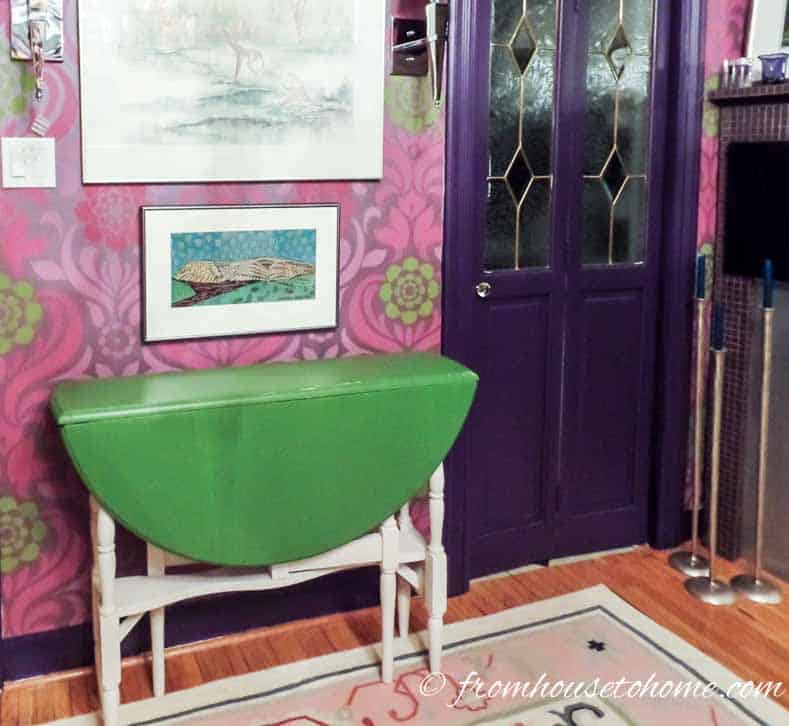
Repeating the same color throughout the room pulls your eye in and helps the flow of the room. So I painted the top of the gate leg table green to match the smaller table on the other side of the room. (I told you there was a lot of painting in this room!)
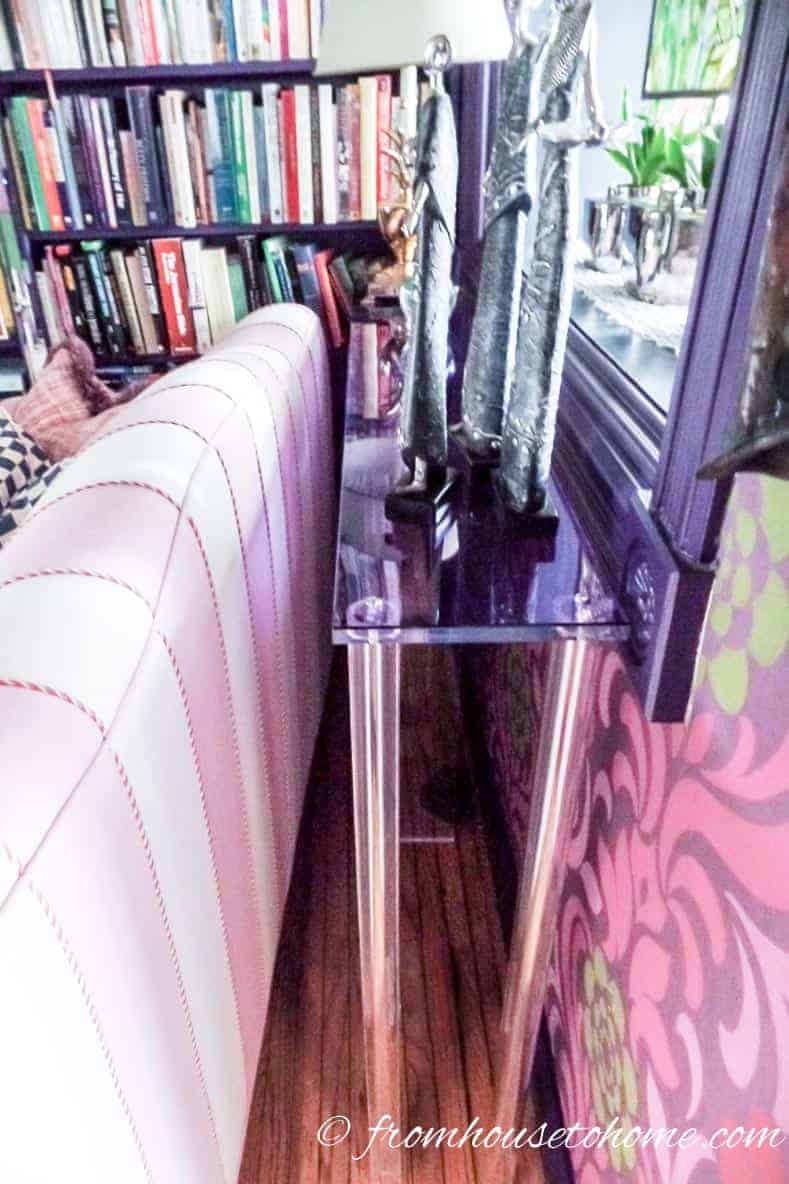
Behind the sofa, I wanted a narrow table that would hold a lamp and a grouping of lady figurines, and I had a notion of something purple. I couldn’t find exactly what I was looking for at a reasonable price so I made one using acrylic tubes for legs and a 1/2″ purple acrylic slab for the top. While this table looks okay, it is not very sturdy. If I were doing it again I would use a thicker piece of acrylic for the top and put 6 legs on it instead of 4. Perhaps a project for next winter???
In spite of the fact that there are many bold things in this living room, I love the room and find it a relaxing serene place to be. It just makes my heart sing. After all is said and done, that was the main objective!
I hope I have been able to provide you with some insight into the makeover process and the confidence to follow your own instincts.
Have comments or questions on how to rock a small living room makeover on a budget? Tell us in the section below.
This post was originally published on February 20, 2018 but was updated with new content on November 27, 2023.
I agree with “make the room comfortable” I have a table between chairs in my living room and a “decorator” told me it was too high. He thought it should be lower. It is also useful for coasters, and books and reading glasses.
I totally agree, Peggy! If having a higher table makes it easier to put things down while you are sitting there, then that’s what you should go with. It’s easy for a decorator to say that the lower table is better…he doesn’t have to live with it 🙂
Hi. I’m curious, did you make the mirrored storage doors or buy them? They look like they are 12″ x 24″ pieces rather than one solid mirror. It might just be deceiving but that what it looks like on my monitor. I like the idea that it brings light into the room as that is what I need to do.
Hello Cleo, We built the storage cupboard and siliconed mirror to the doors. I had the mirror custom cut to the size I needed — in my case 4 pieces 69″ long by 10 1/2″ wide for the bottom and 2 pieces 22″ x 21″ for the two top doors. The doors are on hinges for opening, with magnet closures. I used another option in my bedroom. There I had mirror doors made to fit floor to ceiling that extend across the entire width of the wall. They were installed with a track on the ceiling and one on the floor so that they slide past each other. I hope this helps. Good luck!