
How To Apply Gold Leaf To Furniture
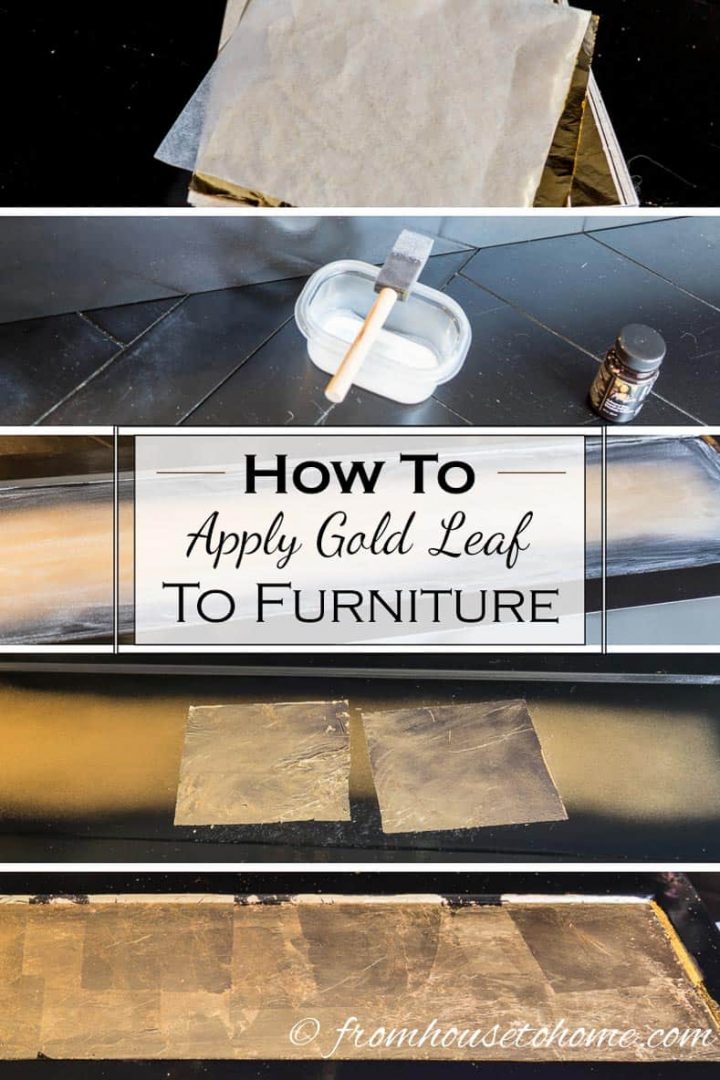
Gold leafing might look like an advanced DIY technique, but it’s actually much easier than it seems once you know the steps. In this tutorial, I’ll walk you through exactly how to apply gold leaf to furniture so you can confidently add a touch of glam without feeling intimidated.
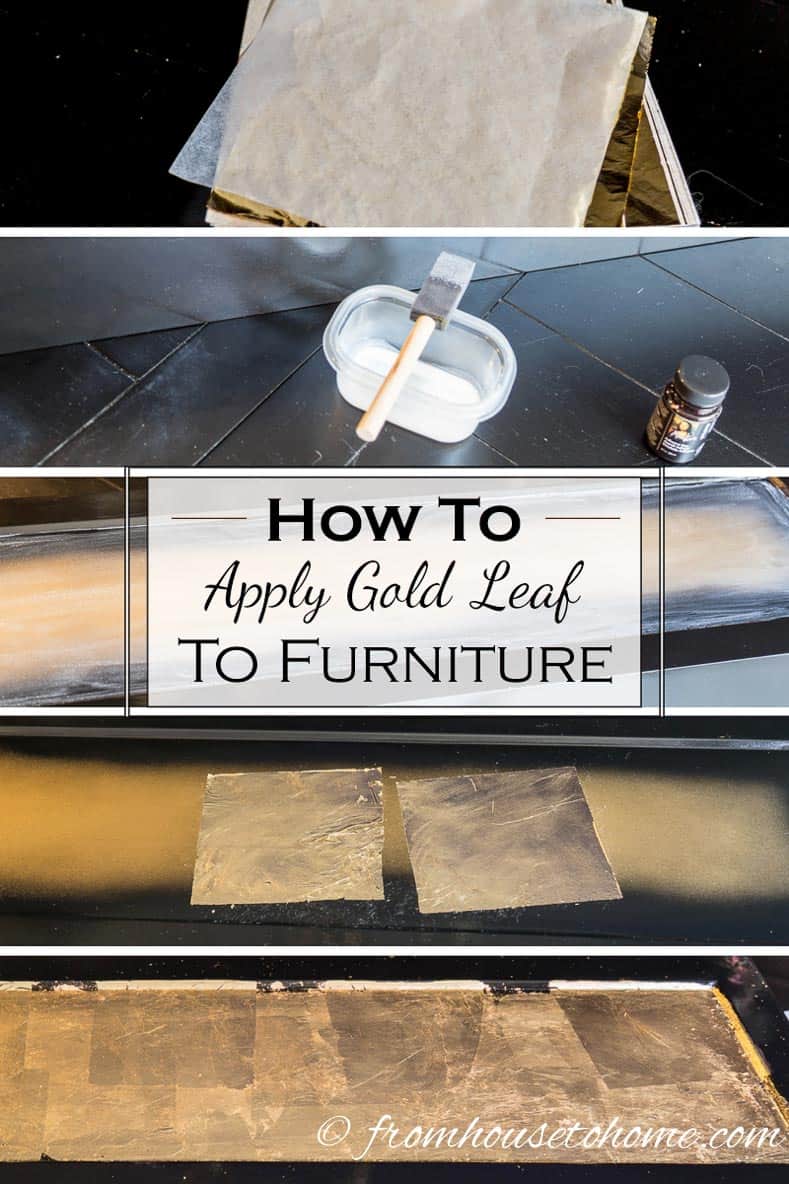
When I decided to give my old bar a makeover, I loved the idea of applying gold leaf to the front of it. (Okay, artificial gold leaf…I didn’t want to spend the money for the real thing).
But since it was my first time applying gold leaf sheets, I was pretty nervous about how it was going to turn out.
It seems like such a complicated process. But it really ended up being much easier than I thought!
Yes, the gold sheets are very delicate (they tear and wrinkle very easily!), but since I wasn’t looking for a perfectly smooth gold finish, I think that actually added to the look.
So here’s how to apply gold leaf to furniture.
Get a FREE Room Makeover Workbook by signing up for our newsletter
You’ll also get access to our members-only resource library with all of our other printables.
We won’t send you spam. Unsubscribe at any time.
Supplies
Materials
- imitation gold leaf*
- metal leaf adhesive*
- paper towel
- metal leaf sealer* – This is optional if you want to keep stains off your gold leaf. However, it can make the surface look a little duller.
Supplies
- painter’s tape
- foam brush
- small disposable plastic container – this will be used to hold the adhesive so you’ll probably want to throw it away after.
How To Gold Leaf Furniture
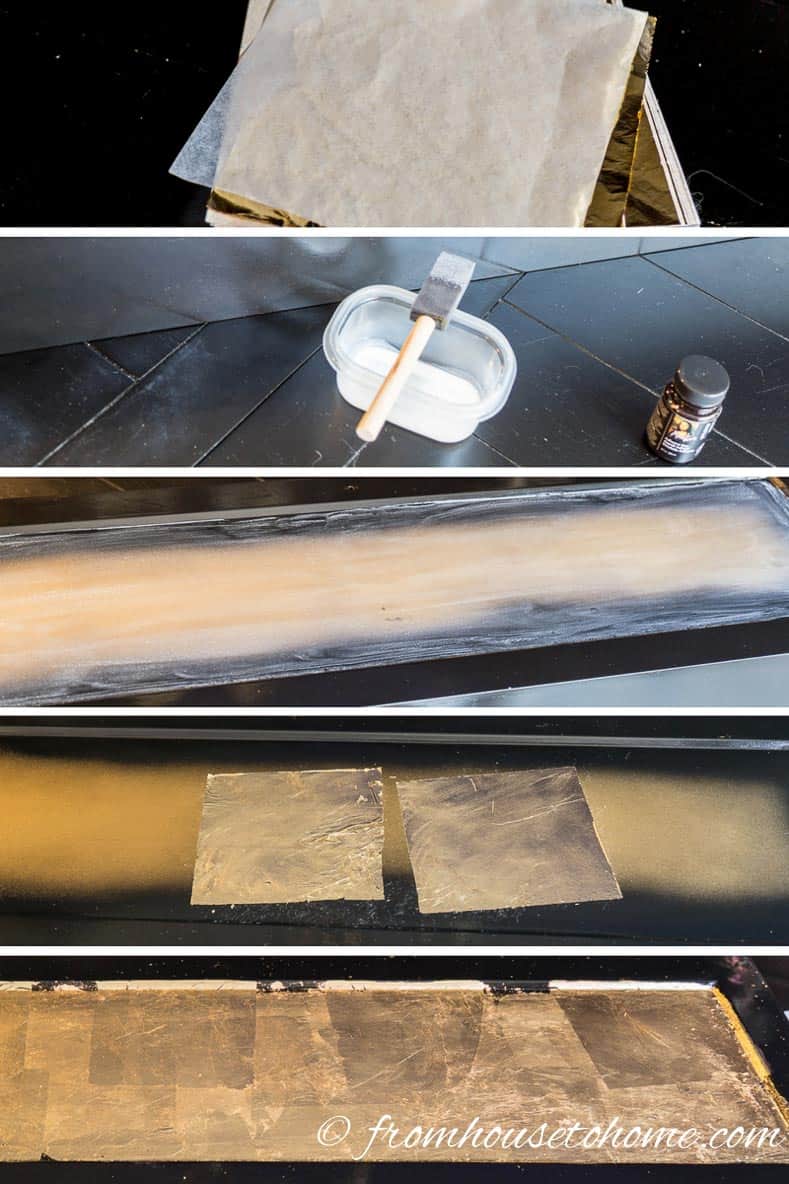
Now we’re ready to actually start applying the gold leaf to the furniture.
Step 1 | Apply a Thin Layer of Adhesive
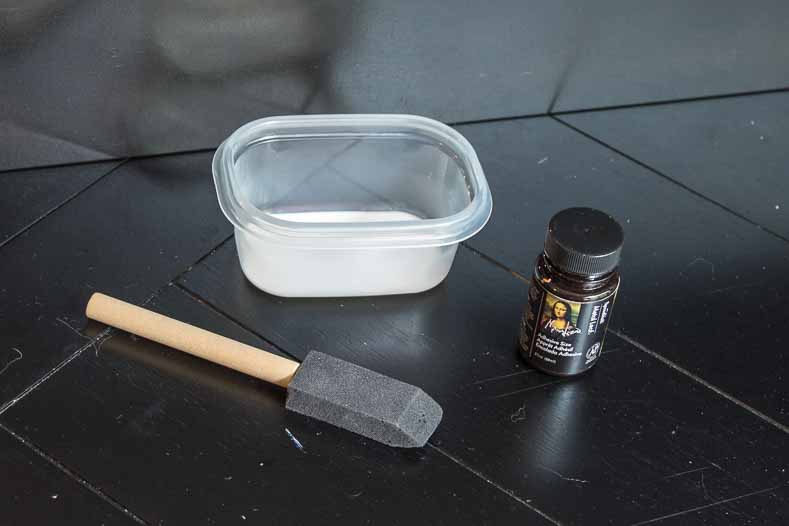
Use painter’s tape to tape off the area that the foil is being applied to. I didn’t do this step, but it would have made the job a lot easier.
Pour a little bit of the adhesive into a container that is large enough for the brush to fit in. You don’t need very much.
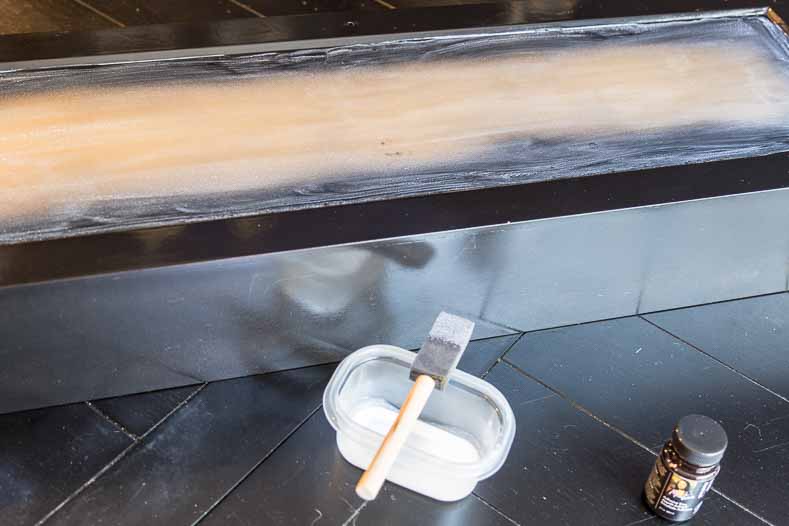
Cover the entire area with a thin layer of adhesive. Try to get it as thin and as evenly distributed as you can.
Let the adhesive sit for 20 or 30 minutes until it has turned clear but is still sticky.
You’ll be surprised at how easy it is to make the gold foil stick, so don’t worry if you think it’s too dry. It’s likely still sticky enough.
Step 2 | Glue On the Gold Foil Sheets
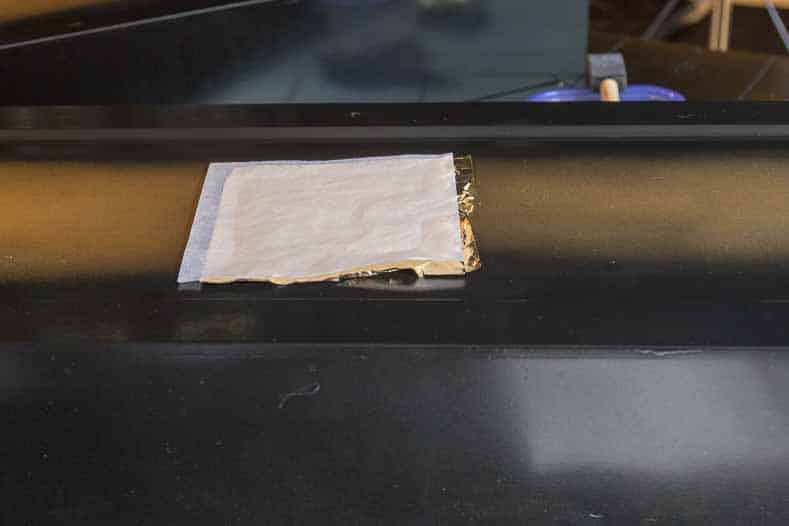
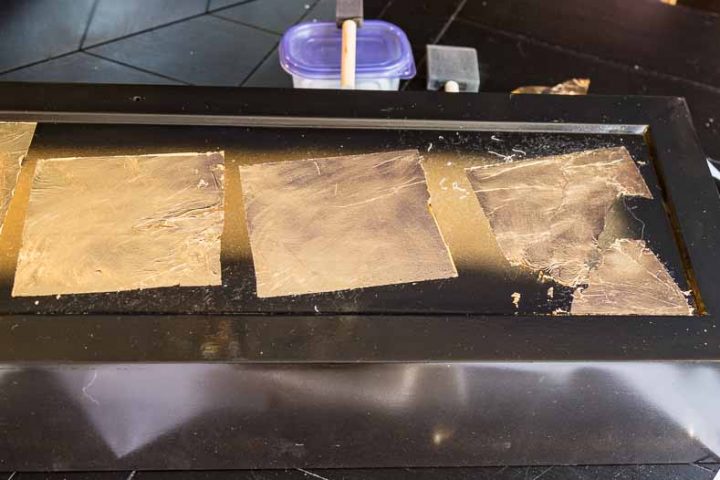
Use the tissue paper that comes with the gold sheets to lift one sheet on to the sticky adhesive.
I found that using the tissue paper helped to keep the foil from tearing too much.
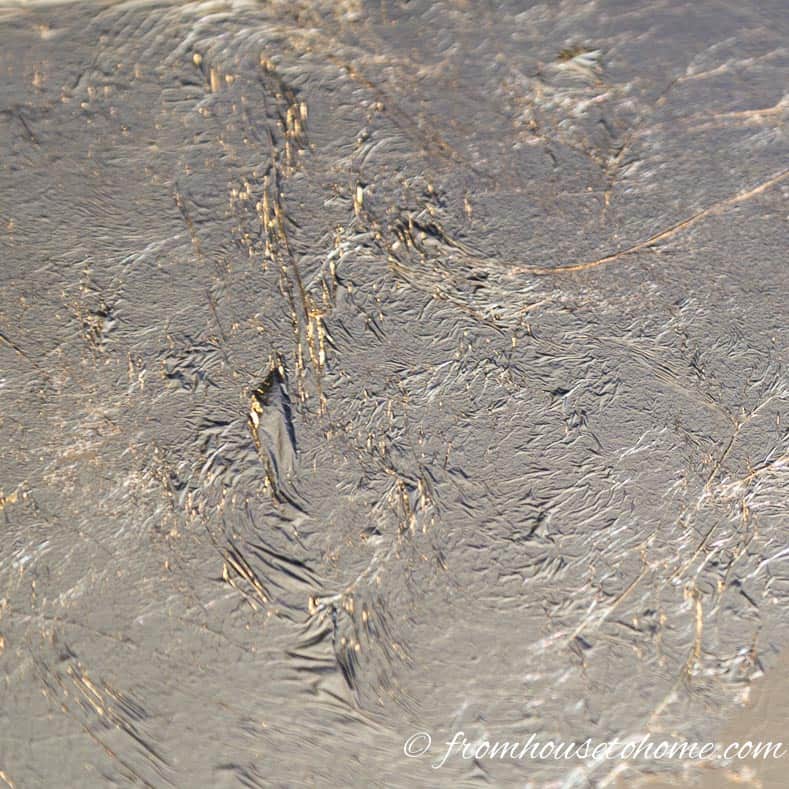
Pat the top of the tissue paper to make the gold foil stick to the glue.
Don’t worry too much if there are wrinkles at this point…this step is just to get the gold foil to stick.
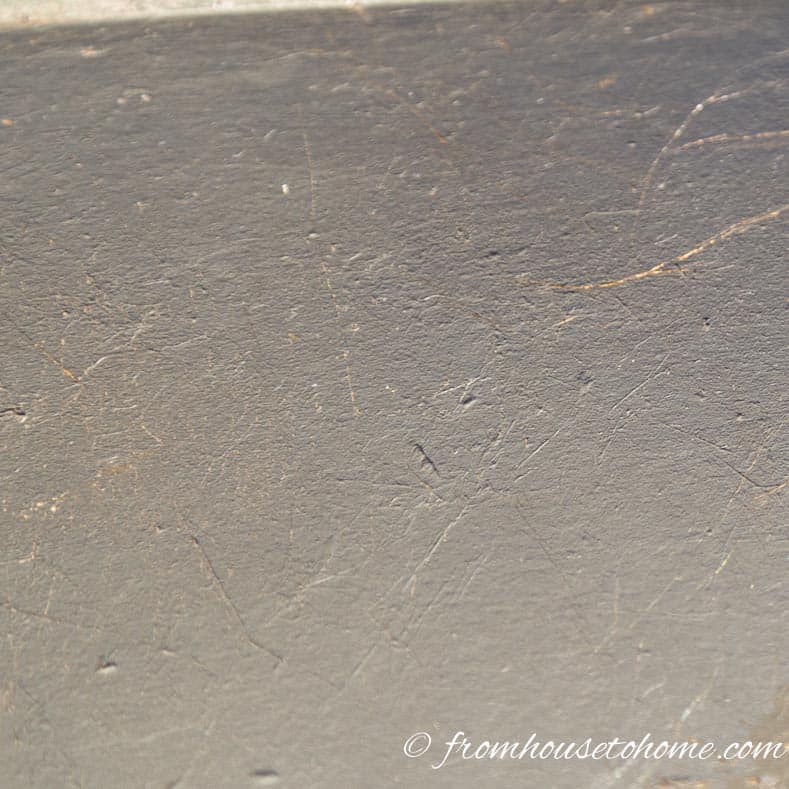
Remove the tissue paper.
Then use a piece of paper towel to gently rub across the top of the gold foil to smooth it out. This should remove any rough spots.
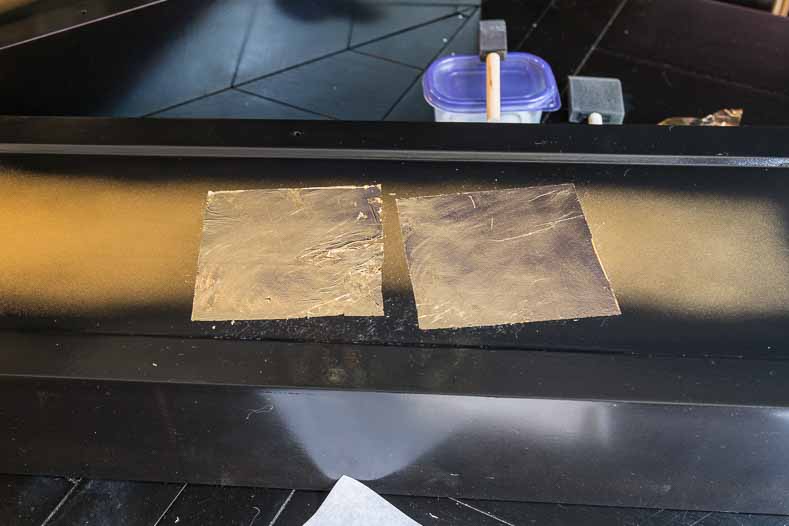
Repeat with more pieces of foil.
Make sure they are not overlapping the first one (they won’t stick to the top of the other gold foil sheets).
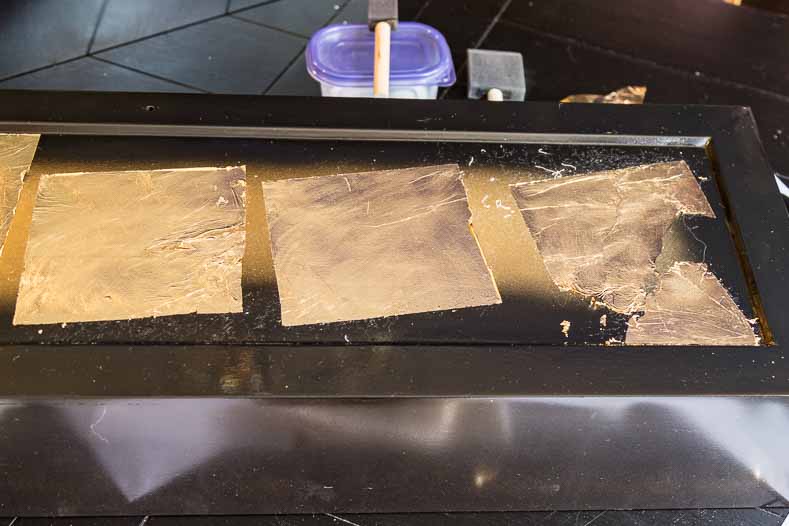
Don’t worry if some of the gold leaf comes off or rips in the process. You can cover any holes with the next layers.
Step 3 | Add Some More Gold Leaf Layers
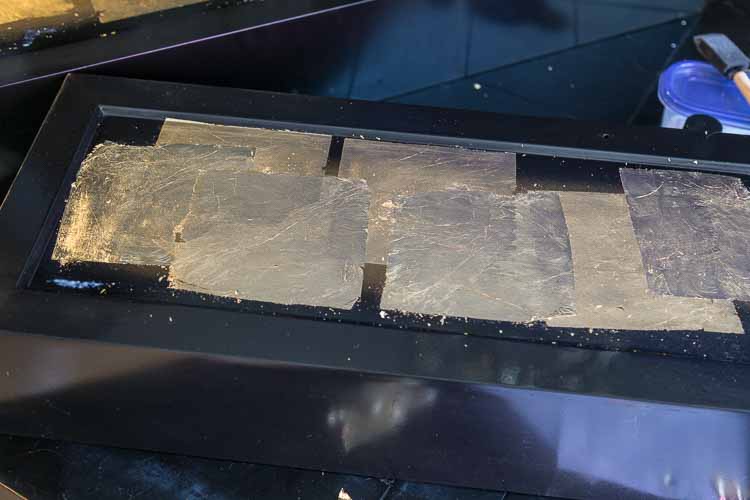
Now we’re going to apply more layers of gold foil to fill in the holes left by the previous layer.
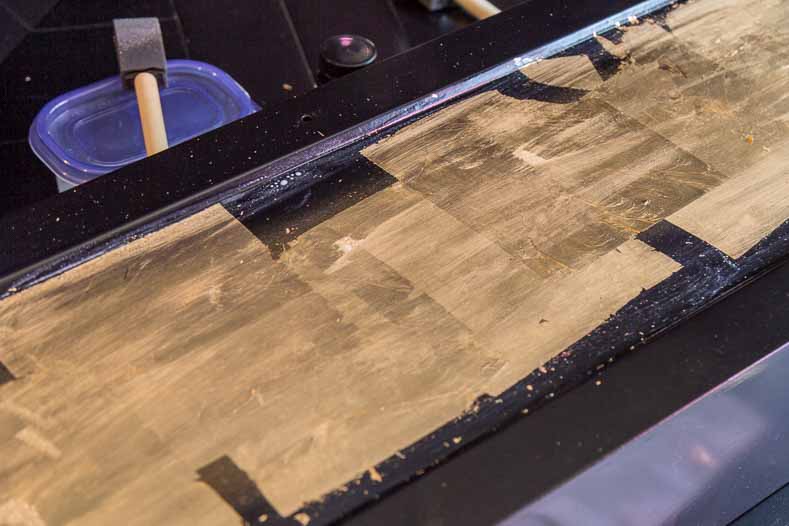
To do this add another thin layer of adhesive over both the the gold foil and the blank spots.
As before, wait for it dry until it is clear and then apply more gold sheets to fill in the spaces.
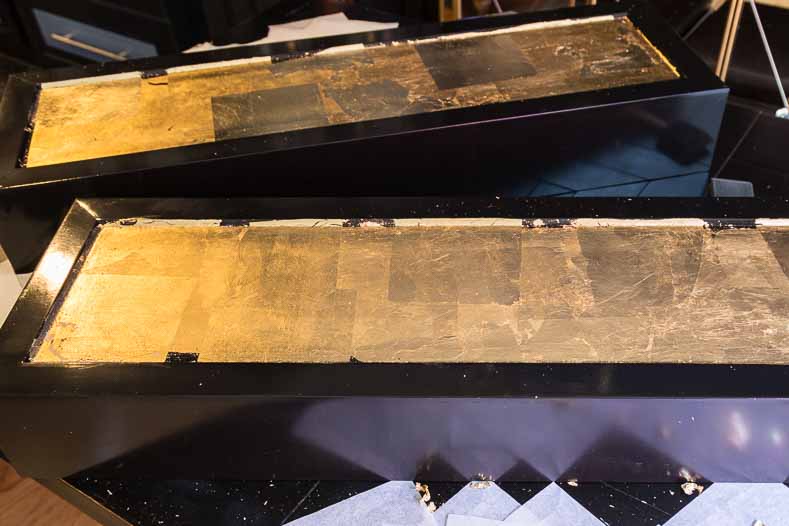
Repeat this process until the entire surface is covered.
It will take a few layers to completely cover the area, but all those layers add depth to the finish.
Step 4 | Finish the Gold Foil Surface
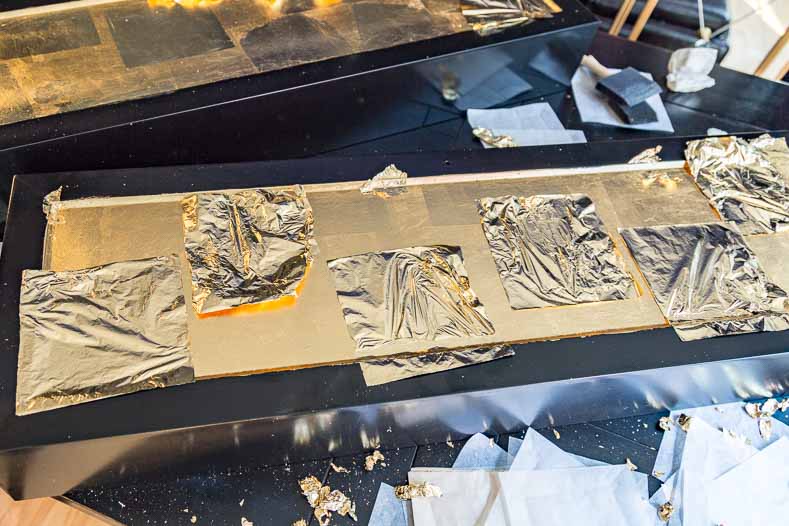
For the last layer, use extra pieces of foil to cover all of the adhesive areas.
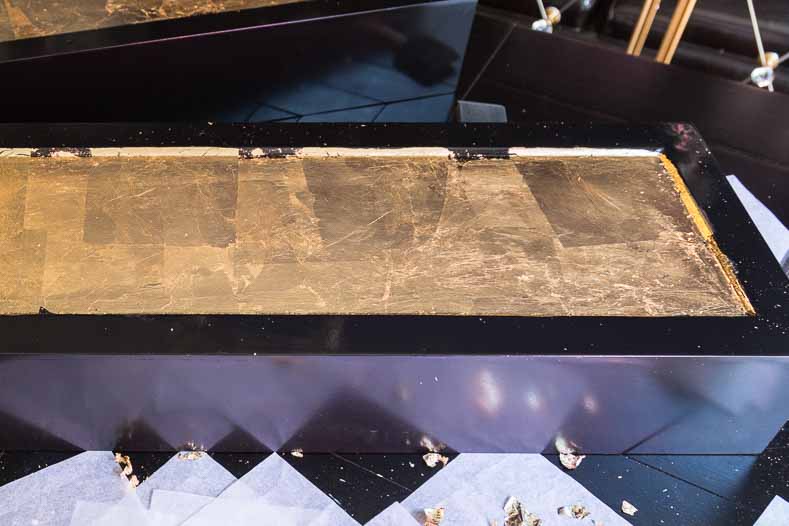
After you have stuck everything down, remove the excess foil and use your paper towel to smooth everything out.
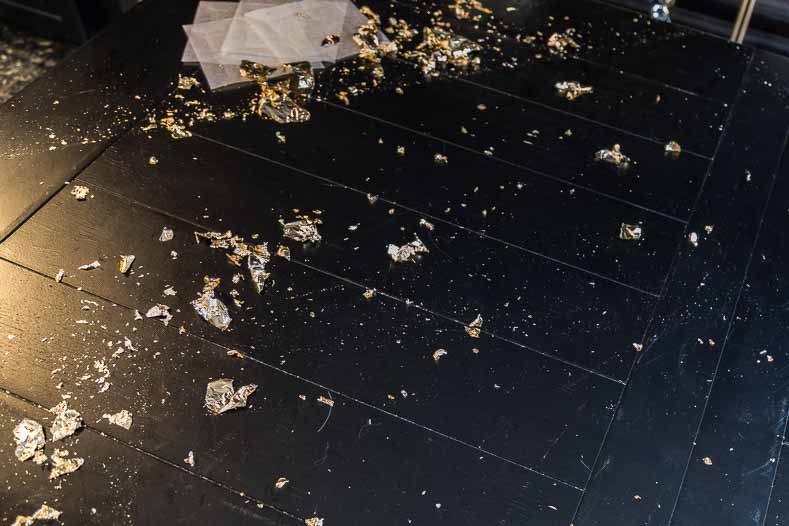
Clean up all of the little bits of gold foil. I think this was the worst part of the whole process!
Step 5 | Apply sealer
The last step is to spray on the foil leaf sealer.
This protects the leaf from being chipped off but does dull the surface a bit.
If your surface isn’t going to be touched very often, you may not want to use it. (I didn’t for the front of my cabinet).
If you are using it, wait until the adhesive has dried completely before doing this step.
Enjoy the Finished Gold Leaf Furniture
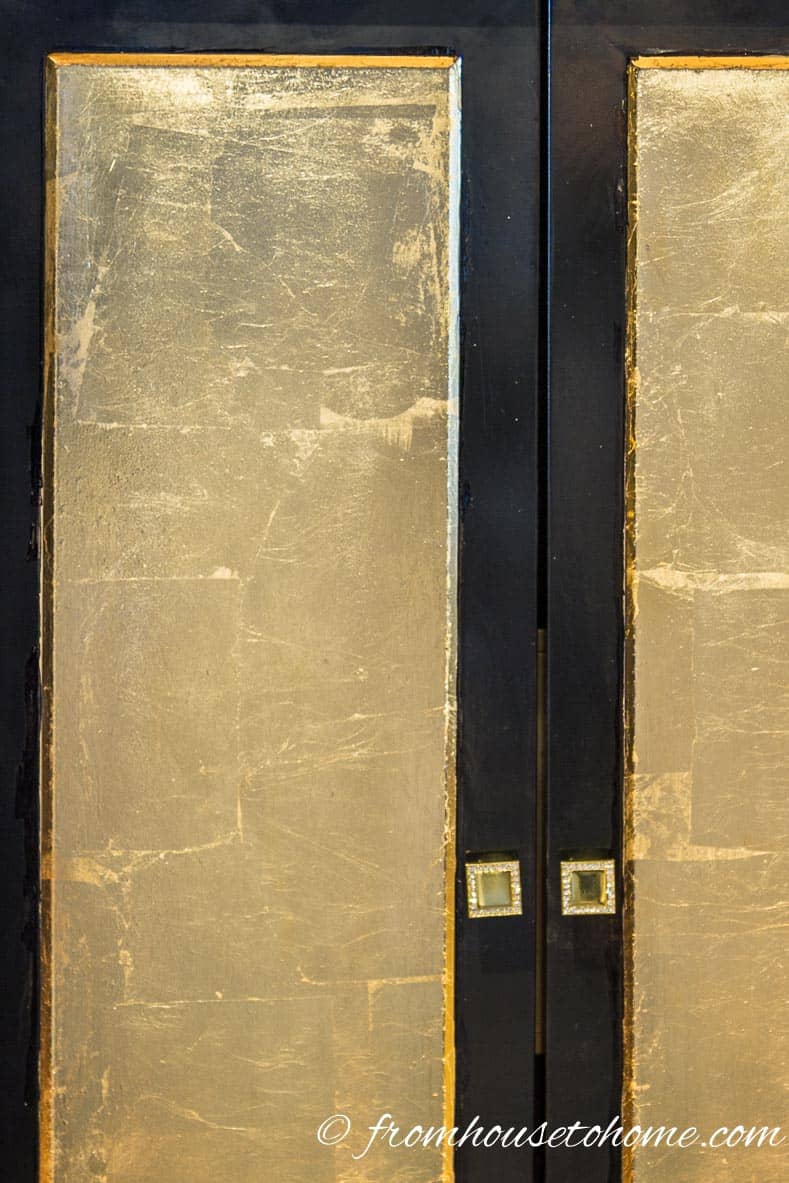
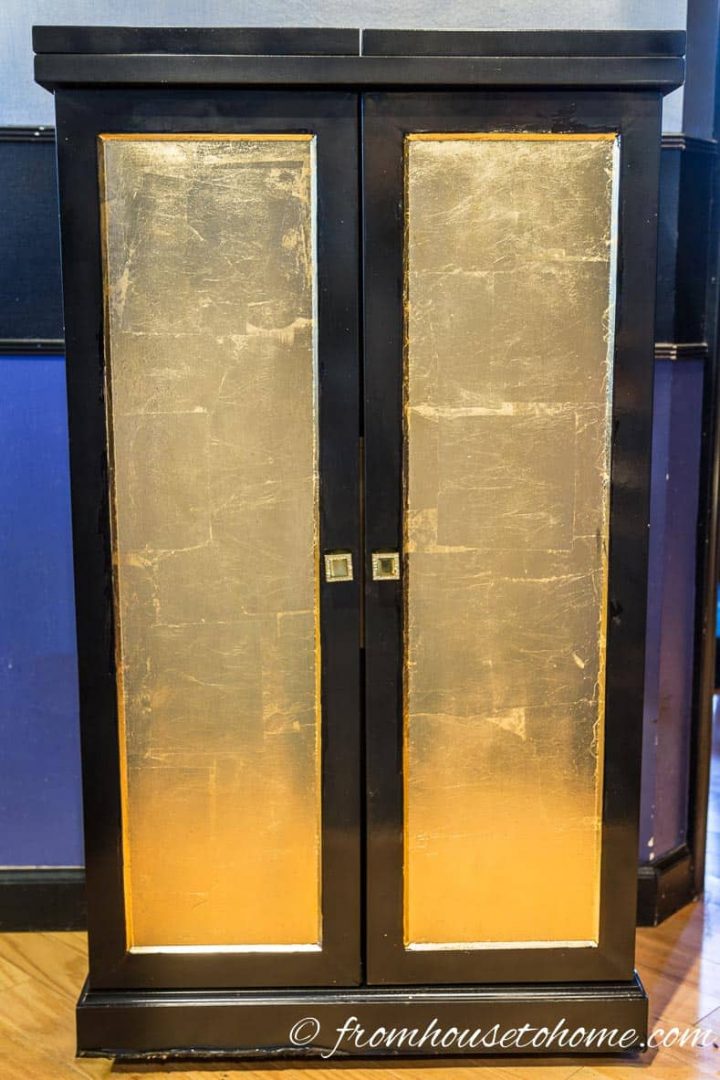
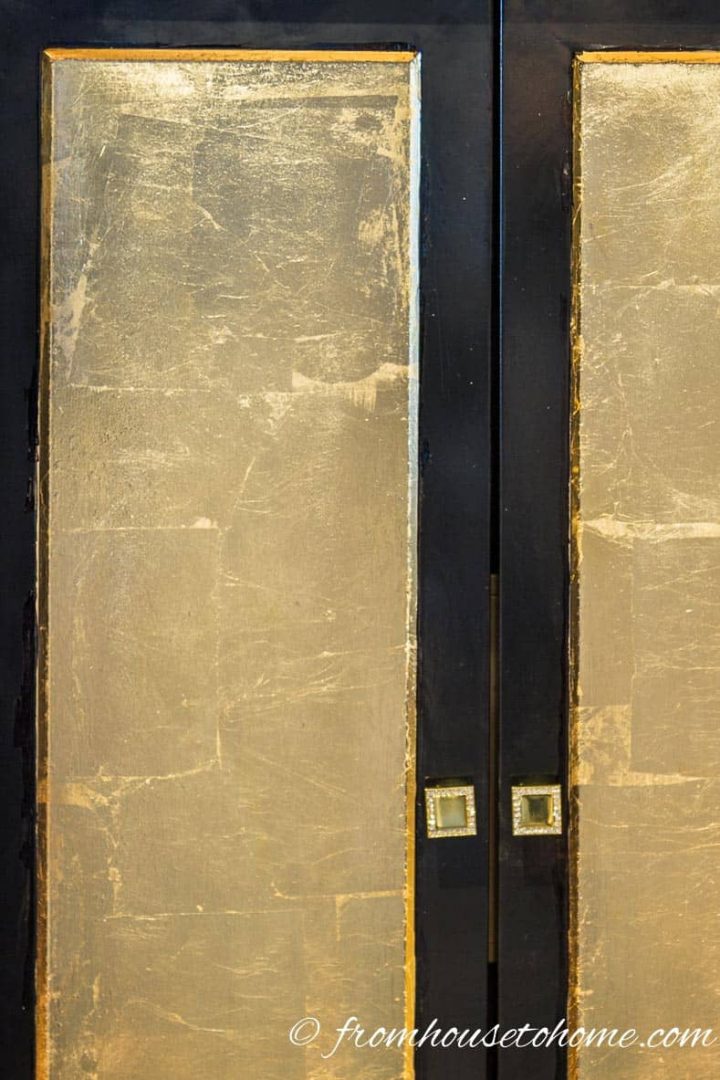
The finished doors have a rich gold finish to them.
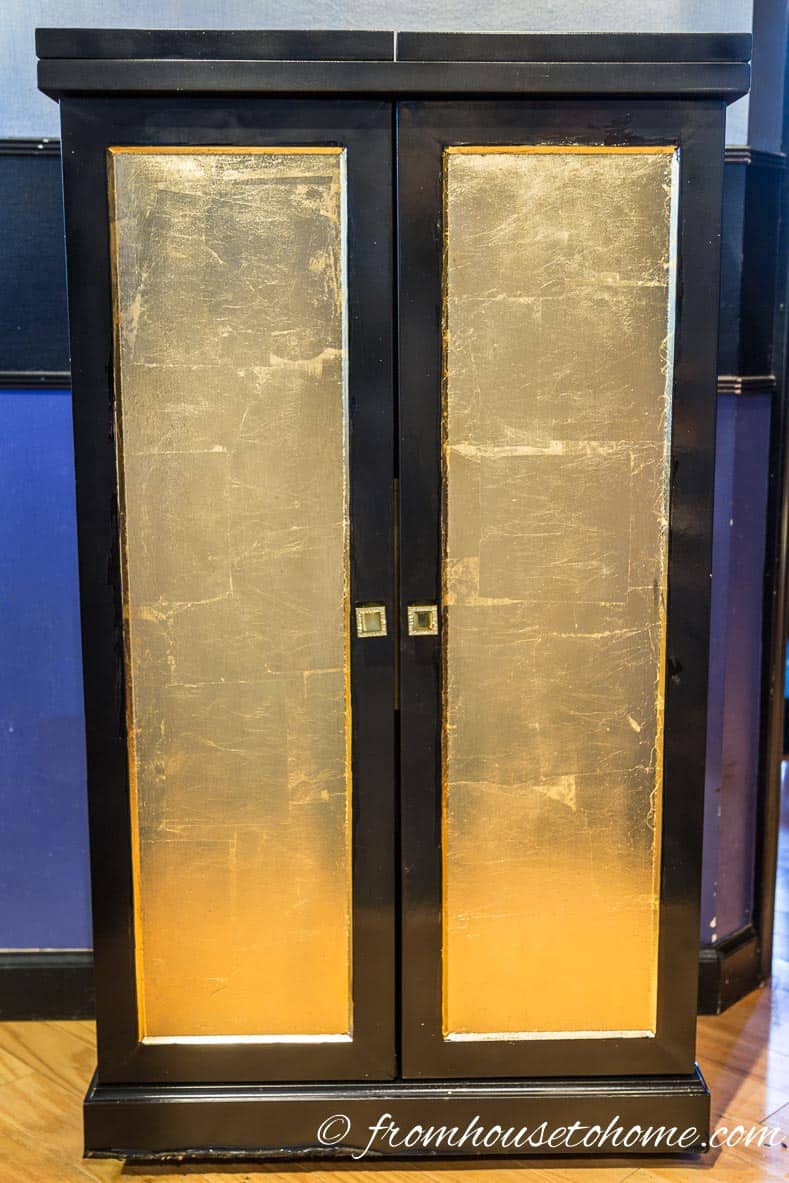
The whole piece of furniture looks much more expensive than it actually was. (You can see the whole bar makeover project HERE.)
And the whole process only took an afternoon to complete!
And since I figured out how easy it is to do, I’ve used this technique a lot.
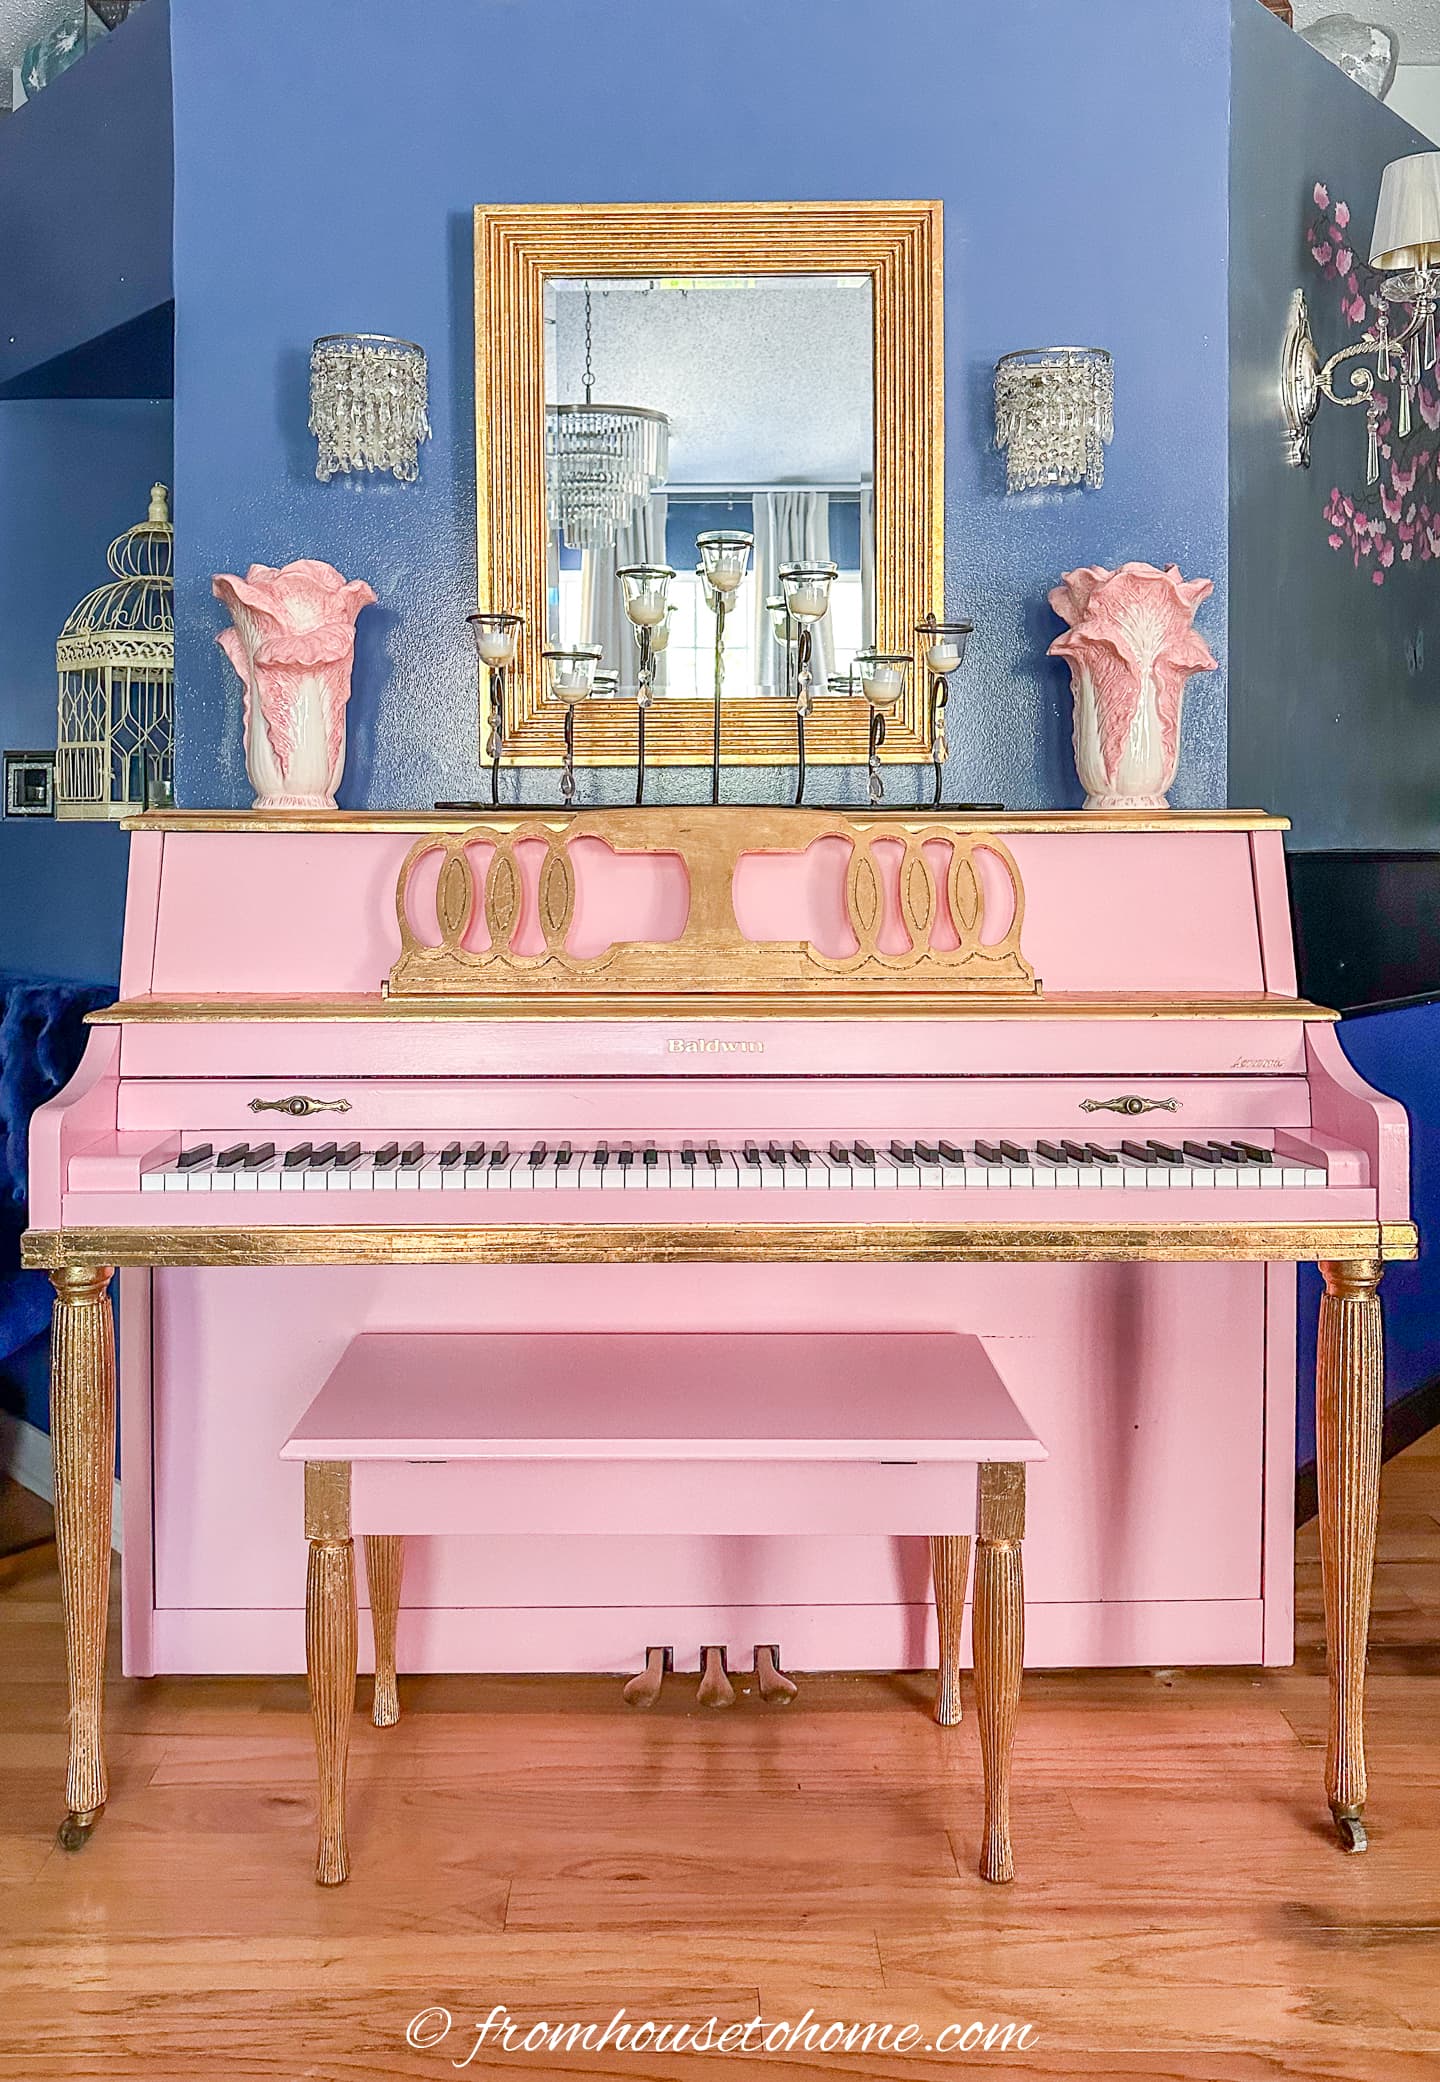
Like for my pink and gold piano makeover, as well as the mirror above it.
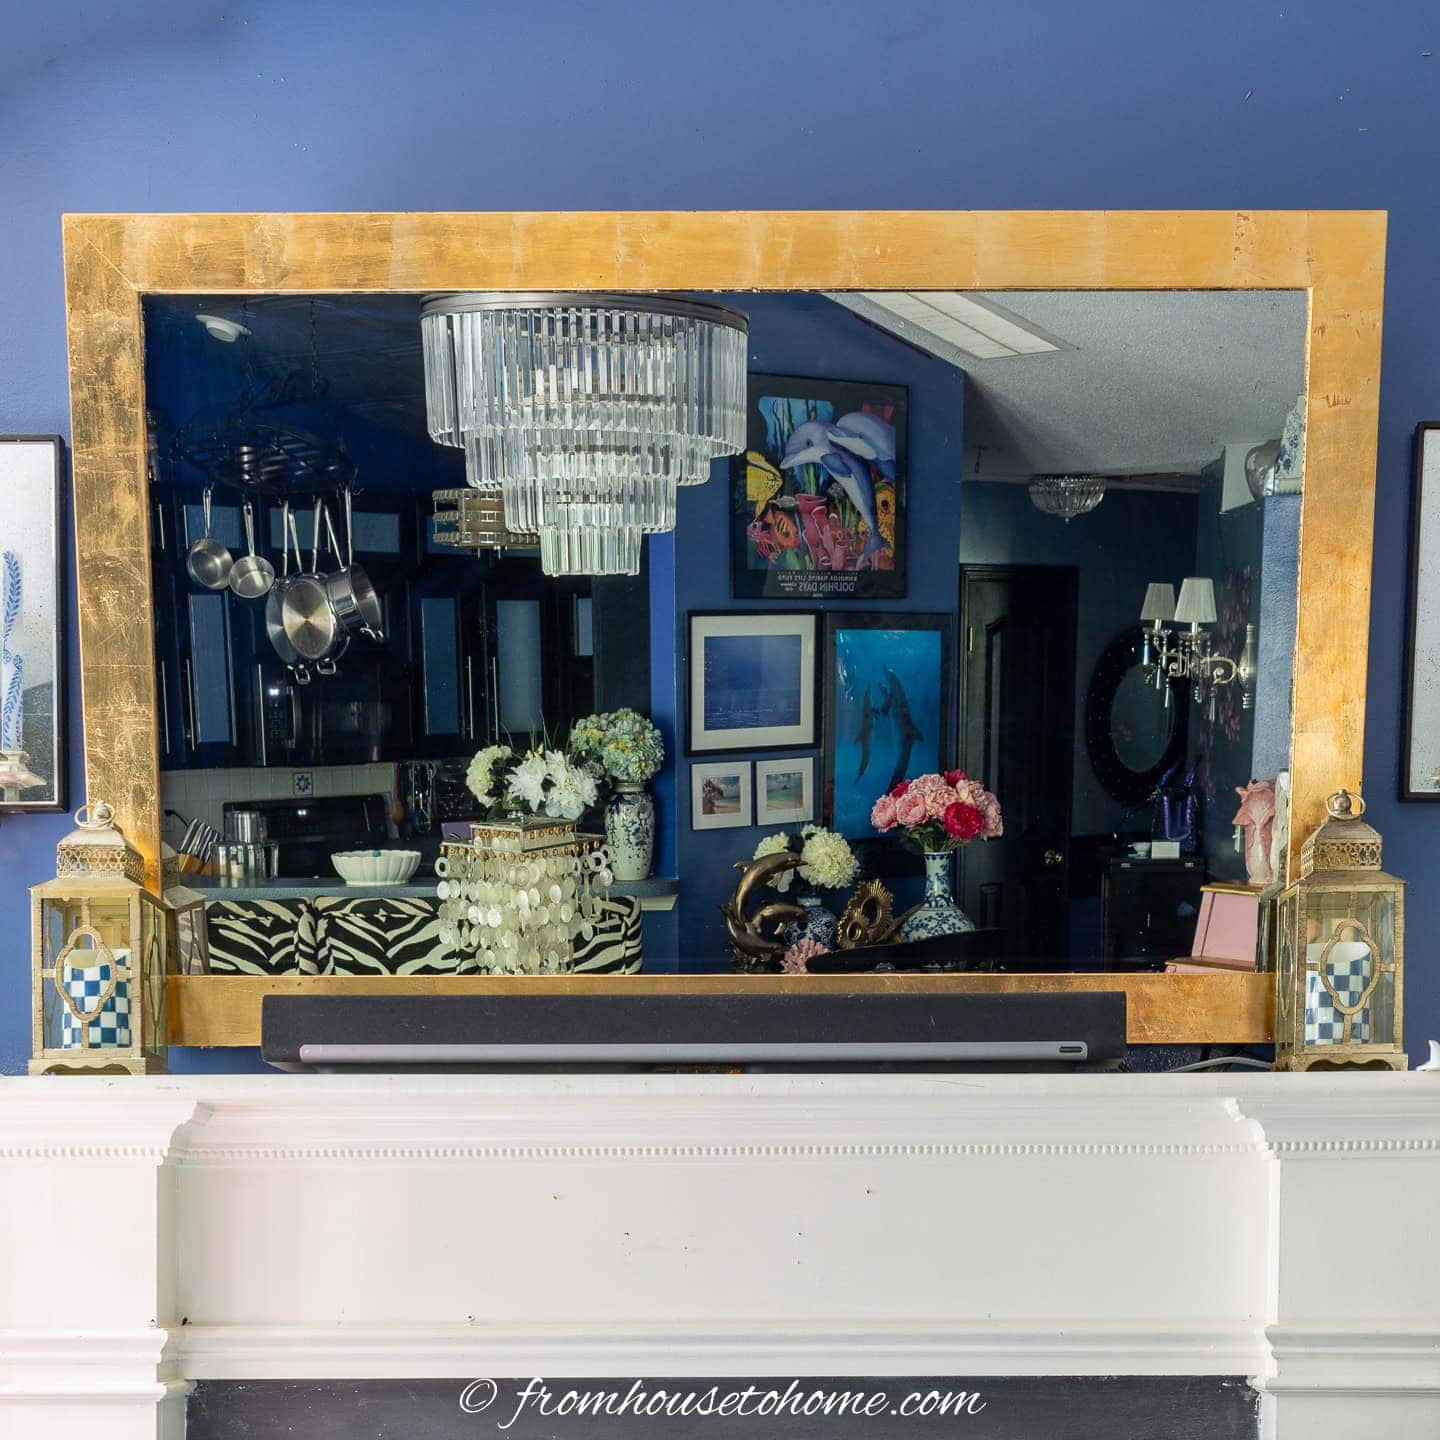
And the frame around the mirror TV* in my living room.
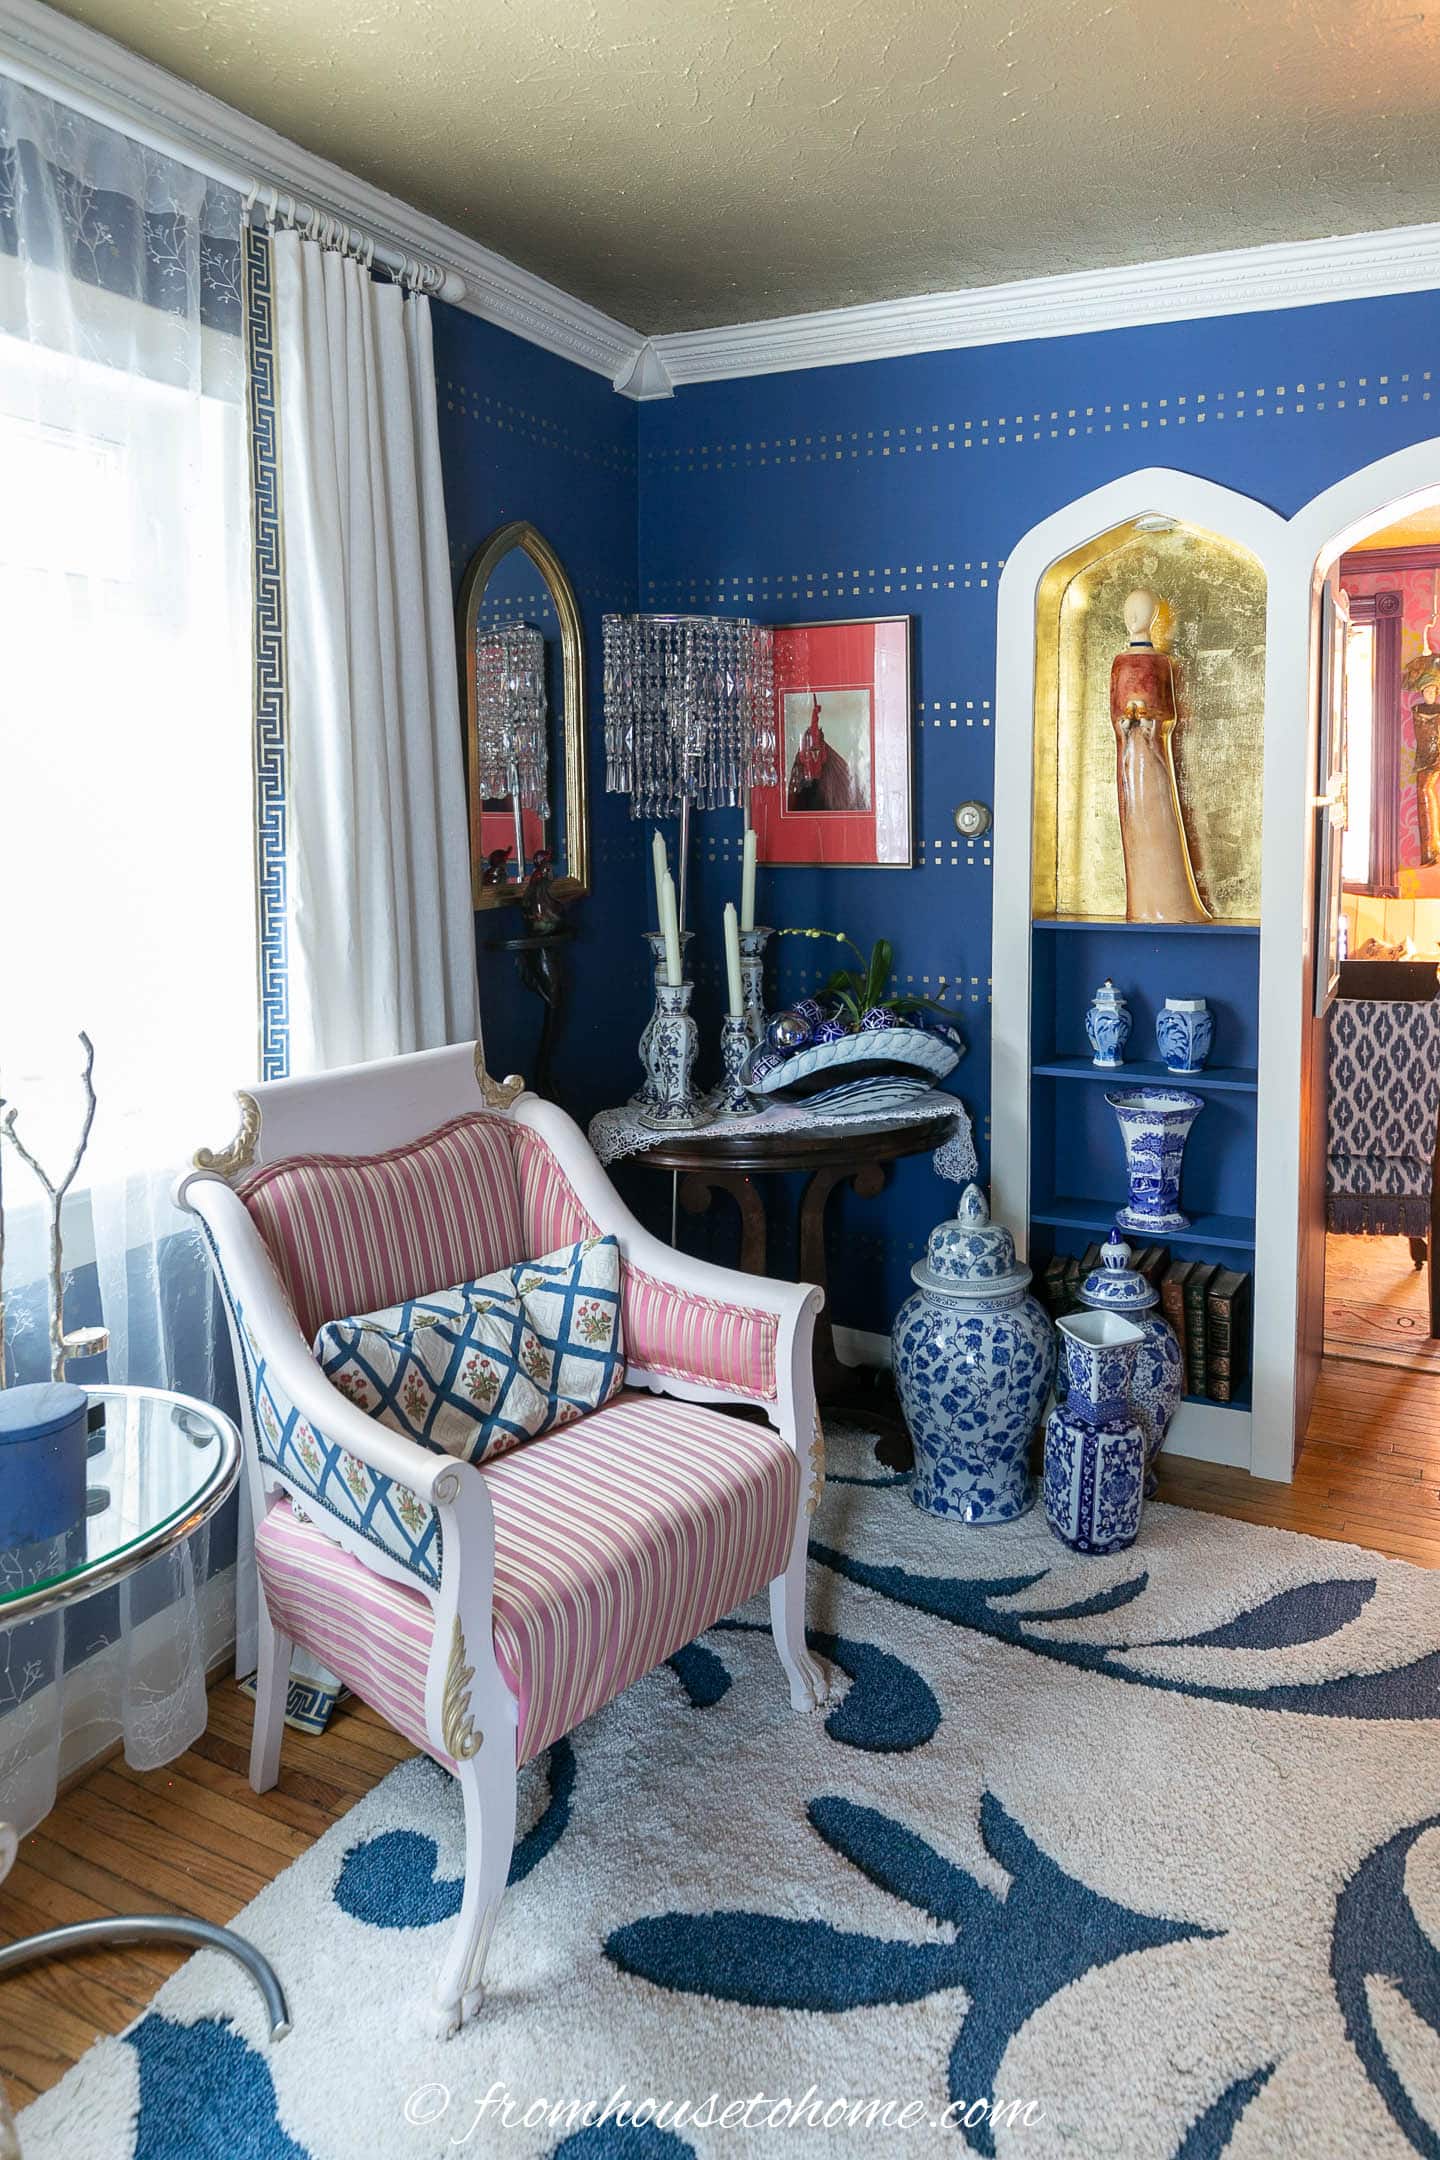
And my mother used it to glam up the inset in her living room.
Other Glam Decor Ideas
- DIY Copper Leaf Christmas Ornaments
- Glam DIY Fringe Patio Umbrella
- 15 Easy Ways To Add Glamour To Your Home
Have comments or questions on how to apply gold leaf to furniture? Tell us in the section below.
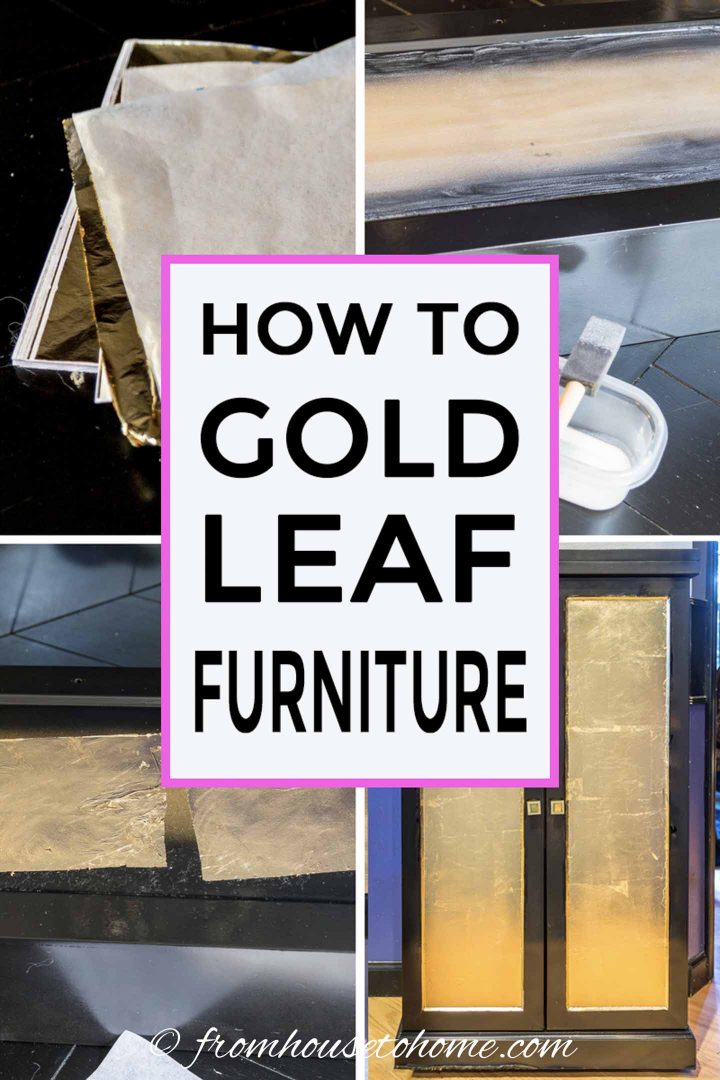
Pin It So You Don't Forget It!
This post was originally published on September 5, 2016 but was updated with new content on January 19, 2026.
What kind of sealer I need to use to protect the gold leaf on my furniture to chipped off? I used Mod Podge clear acrylic sealer but the gold leaf on the arm rest get chipped off.
Hi Gilbert…You can buy sealers that are meant for gold leaf (search for gold leaf sealer and you’ll see some come up). However, if the gold leaf is chipping, it sounds like it didn’t adhere very well to the furniture (which a sealer probably won’t fix). You might need to re-apply the gold leaf with a different glue.
I just wrote you a whole email and it DISSAPEARED suddenly! How annoying! I’ll try to write it again……..???
Very pretty! Did you know you can do this using aluminum foil? Cut into squares and apply with an adhesive.Then burnish and seal.Years ago, I did bathroom walls this way using rubber cement for adhesive. There may be a better adhesive nowadays for this.( mod podge?) You can put the dull or the shiny side out, or you can alternate them.
Thanks, Julie! I had not thought of using aluminum foil, but that’s a great idea! I’ll have to come up with a project to try that out 🙂
Hiya Julie,
I have done the aluminum foil paper on an old malamite book shelf in My Daughters room when She was ready to update Her room from a Princess theme to Teen chic!!
She loved it so much She carted it off to College earlier this Fall!!
With the thicker foil it was much easier to use than the tissue paper thin Metallic craft foils and was a stunning piece……
I have used the craft foils many times on cards, small canvases, upcycling older vases, etc. The trick is to have a tray under everything to contain the mess!!
Blessings from the North,
xo Michelle
PS Remember creating feeds YOUR SOUL!!
Michelle,
I was referring to regular old grocery store aluminum foil in rolls. You don’t need to use the “extra heavy duty either.” Much less expensive than craft foils. The extra heavy duty Grocery store foil might be embossable too, for more possibilities!
The trick is to cut it into “ tile” squares that overlap somewhat, for more interest and texture.