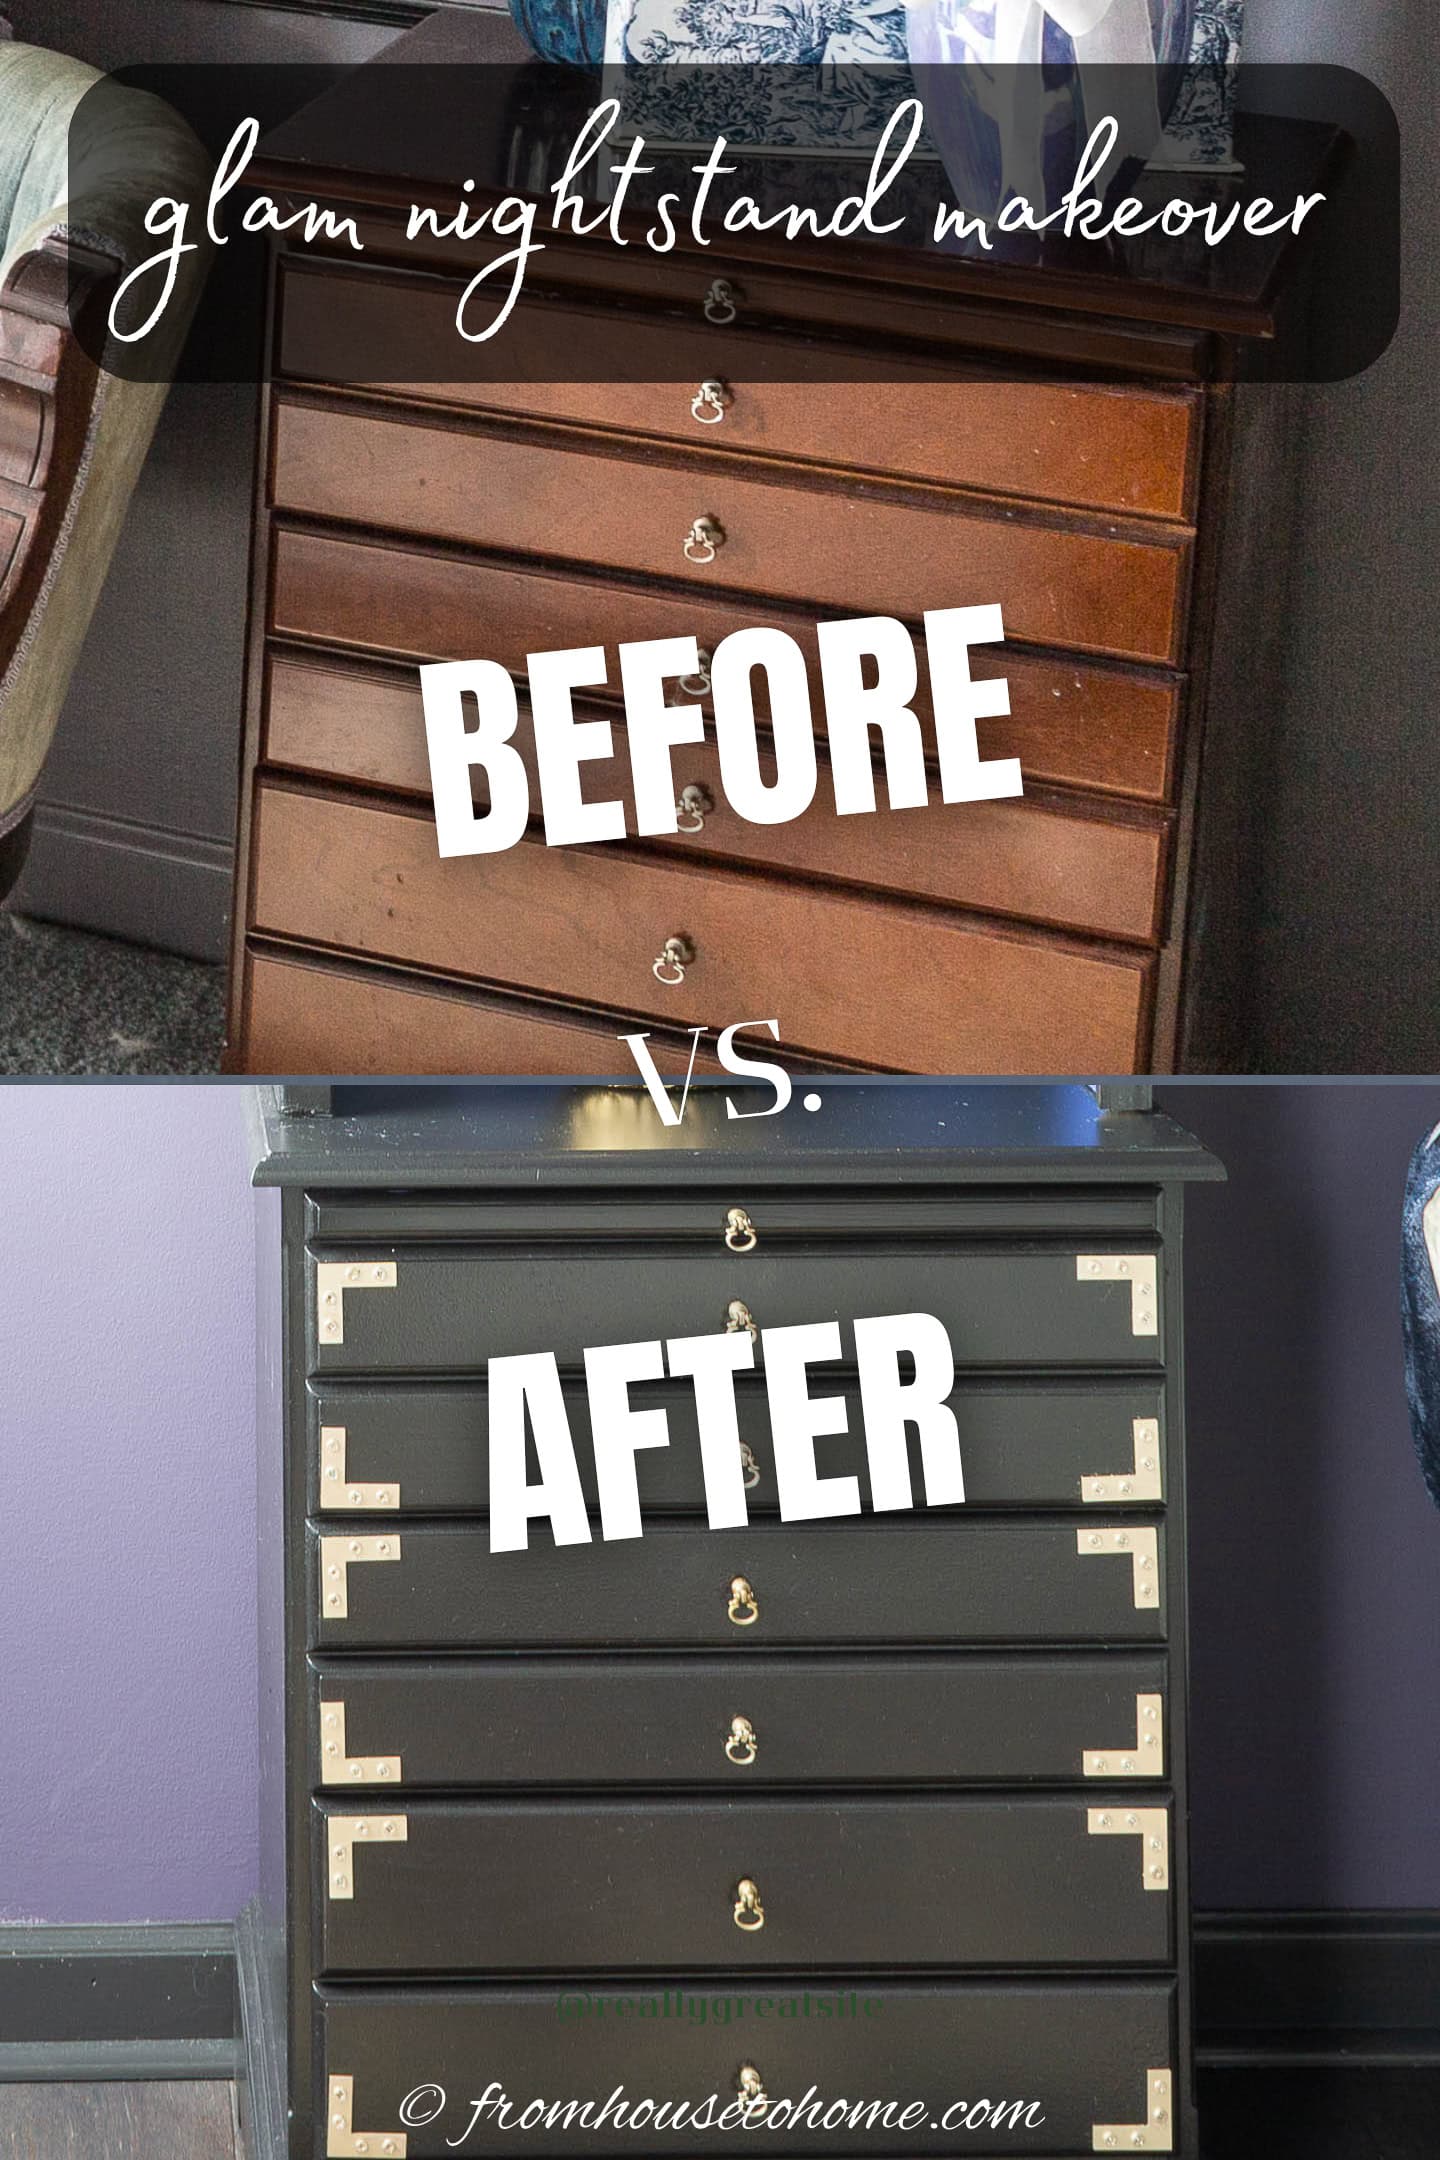
Glam DIY Painted Nightstand Makeover
Transform an old dated bedside table into a chic and stylish piece with this DIY painted nightstand makeover tutorial. Learn step-by-step techniques to achieve a stunning, high-end look for your bedroom furniture.

It’s week 3 of my One Room Challenge master bedroom makeover and this week was all about painting furniture.
As I mentioned in my master bedroom design plan, I’m saving some money on this remodel by reusing the bedside tables.
They’re still in good shape and have lots of drawers for storage. So I couldn’t justify buying new ones.
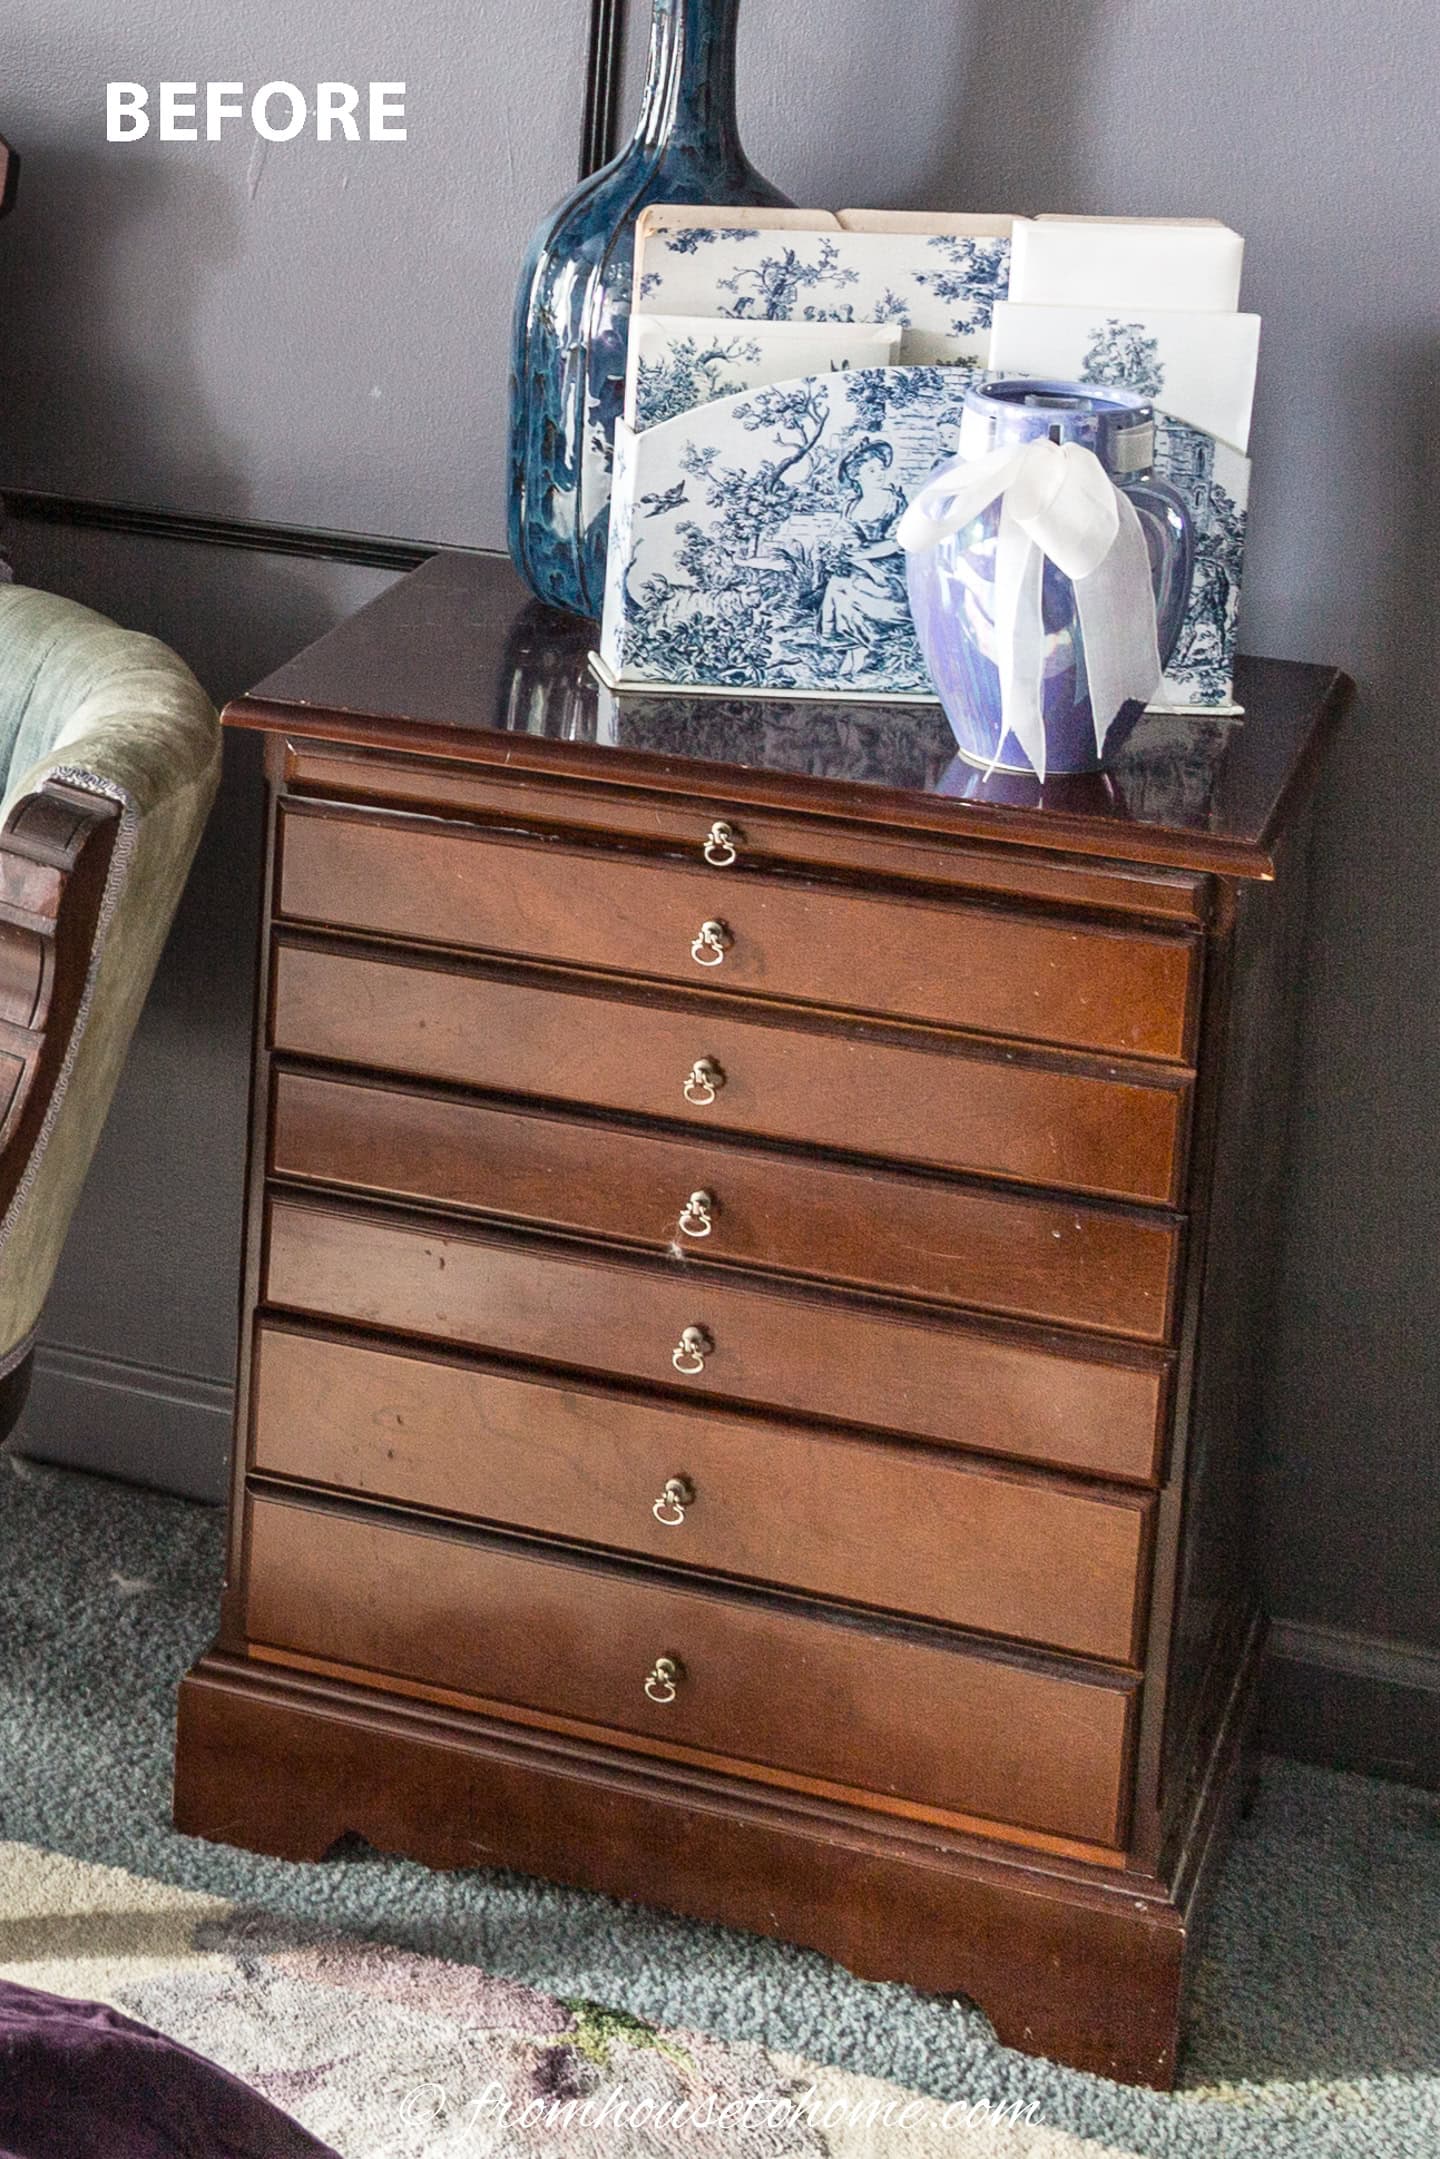
However, they really needed an upgrade! The dark wood veneer is really dated.
So that means a painting project.
To go with the rest of bedroom decor, I decided to paint them black and give them a bit of an upgrade with some gold trim.
I’m also probably the only person in the world who isn’t a fan of chalk paint, so I went with some latex gloss black paint (Valspar Dark Kettle Black) that was left over from my den makeover.
And I love the way they turned out! Keep reading to get the step-by-step tutorial on painting nightstands.
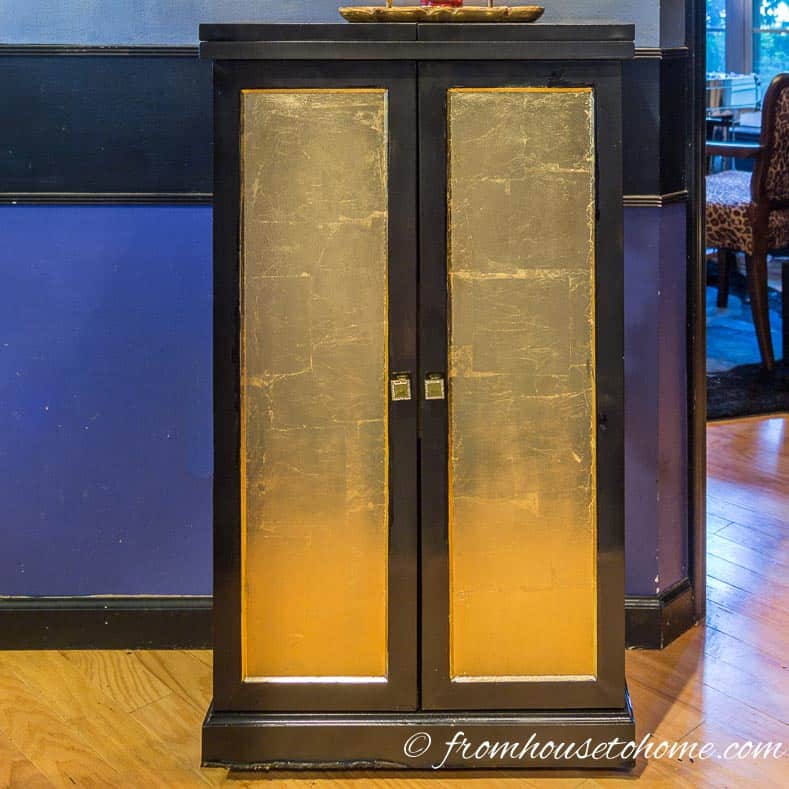
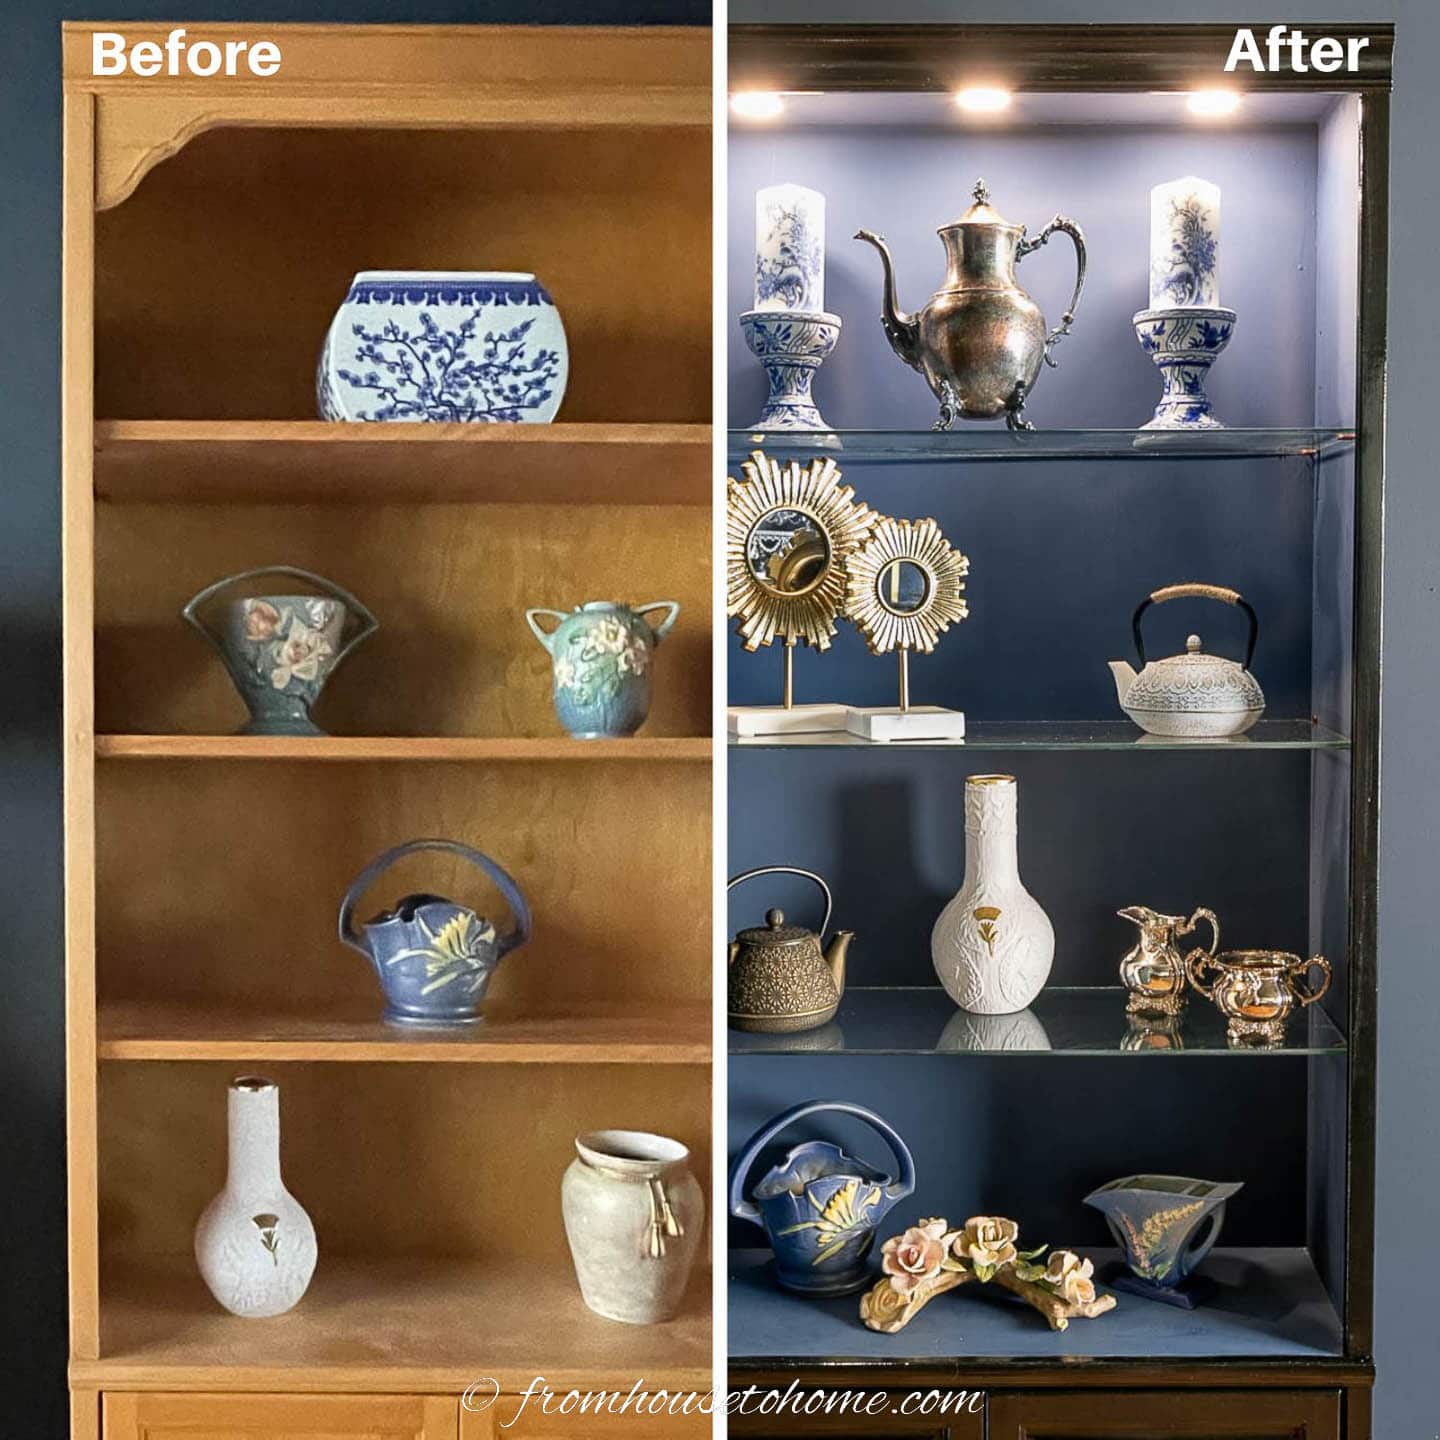
More glam furniture makeovers
Supplies
Materials:
- fine grain sanding block or 220 grit sandpaper – We’ll use this to sand any grooves or rounded bits. This should be a fine grit sanding block. Or you can use a sheet of 220-grit sandpaper.
- degreaser such as Krud Kutter
- primer – If you are painting a dark color, like black, it’s a good idea to use a tinted primer. Otherwise you may need to do more coats to cover it completely.
- semi-gloss or gloss latex paint
- 2″ corner braces
- gold spray paint
- small screws
Tools:
- random orbit electric sander with at least 180 grit sand paper – A random orbit sander makes quick work of sanding flat surfaces without creating marks in the wood.
- dust collector (optional) – If you do a lot of sanding indoors, this dust collector is awesome! It hooks up to your electric sander and sucks up the dust before it can get into the air. Much better than a shop vac!
- paint sprayer or brushes and a roller – I like to use a handheld paint sprayer for painting furniture because it gets the paint into the cracks easily and you get a really smooth finish. But you can also use a brush and a foam roller to do the same.
- paint tent (optional) – If you are going to be using a paint sprayer, one of these paint tents is a good idea. It keeps the paint from going everywhere, and prevents dust and bugs from landing on your wet paint.
- tarp, cardboard or plastic sheet – This is to cover the floor so you don’t get paint on it.
- drill
- screwdriver
How to paint a nightstand
1 | Before you start
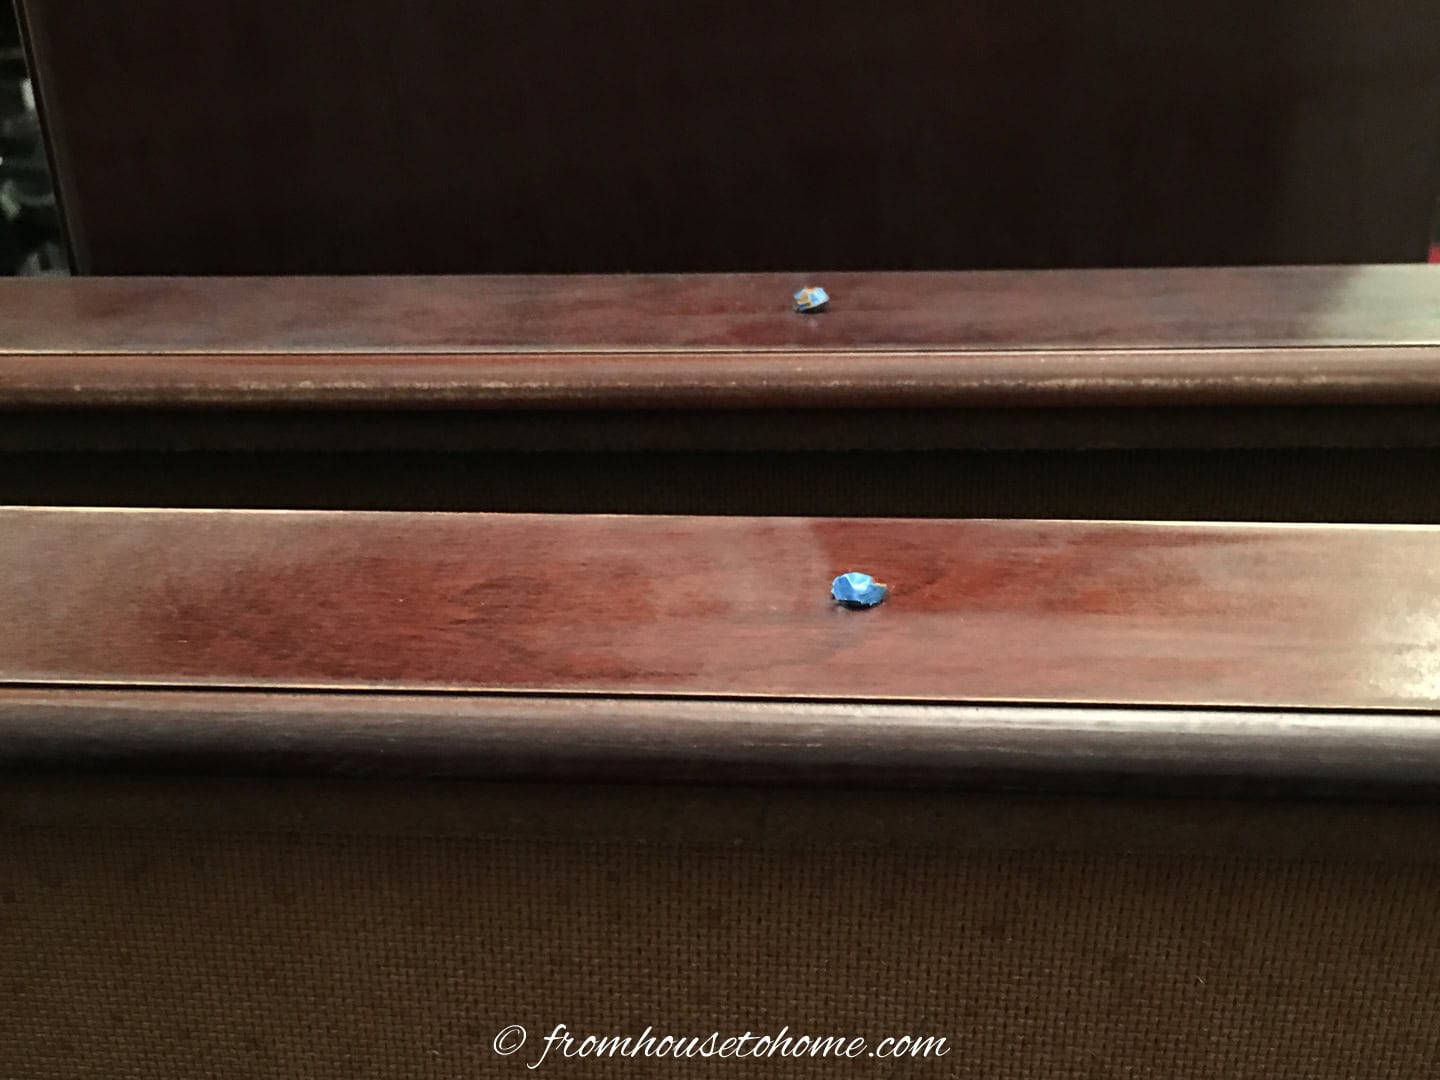
Before you start, remove any drawers and knobs from the nightstand.
If there are any parts or details that you cannot remove and do not want to paint, use painter’s tape to cover them. (I had to do this with the little knobs on the front of my drawers).
Make sure the edges are sealed well to prevent any paint from seeping through. This will ensure a clean, professional finish.
2 | Sand off the finish
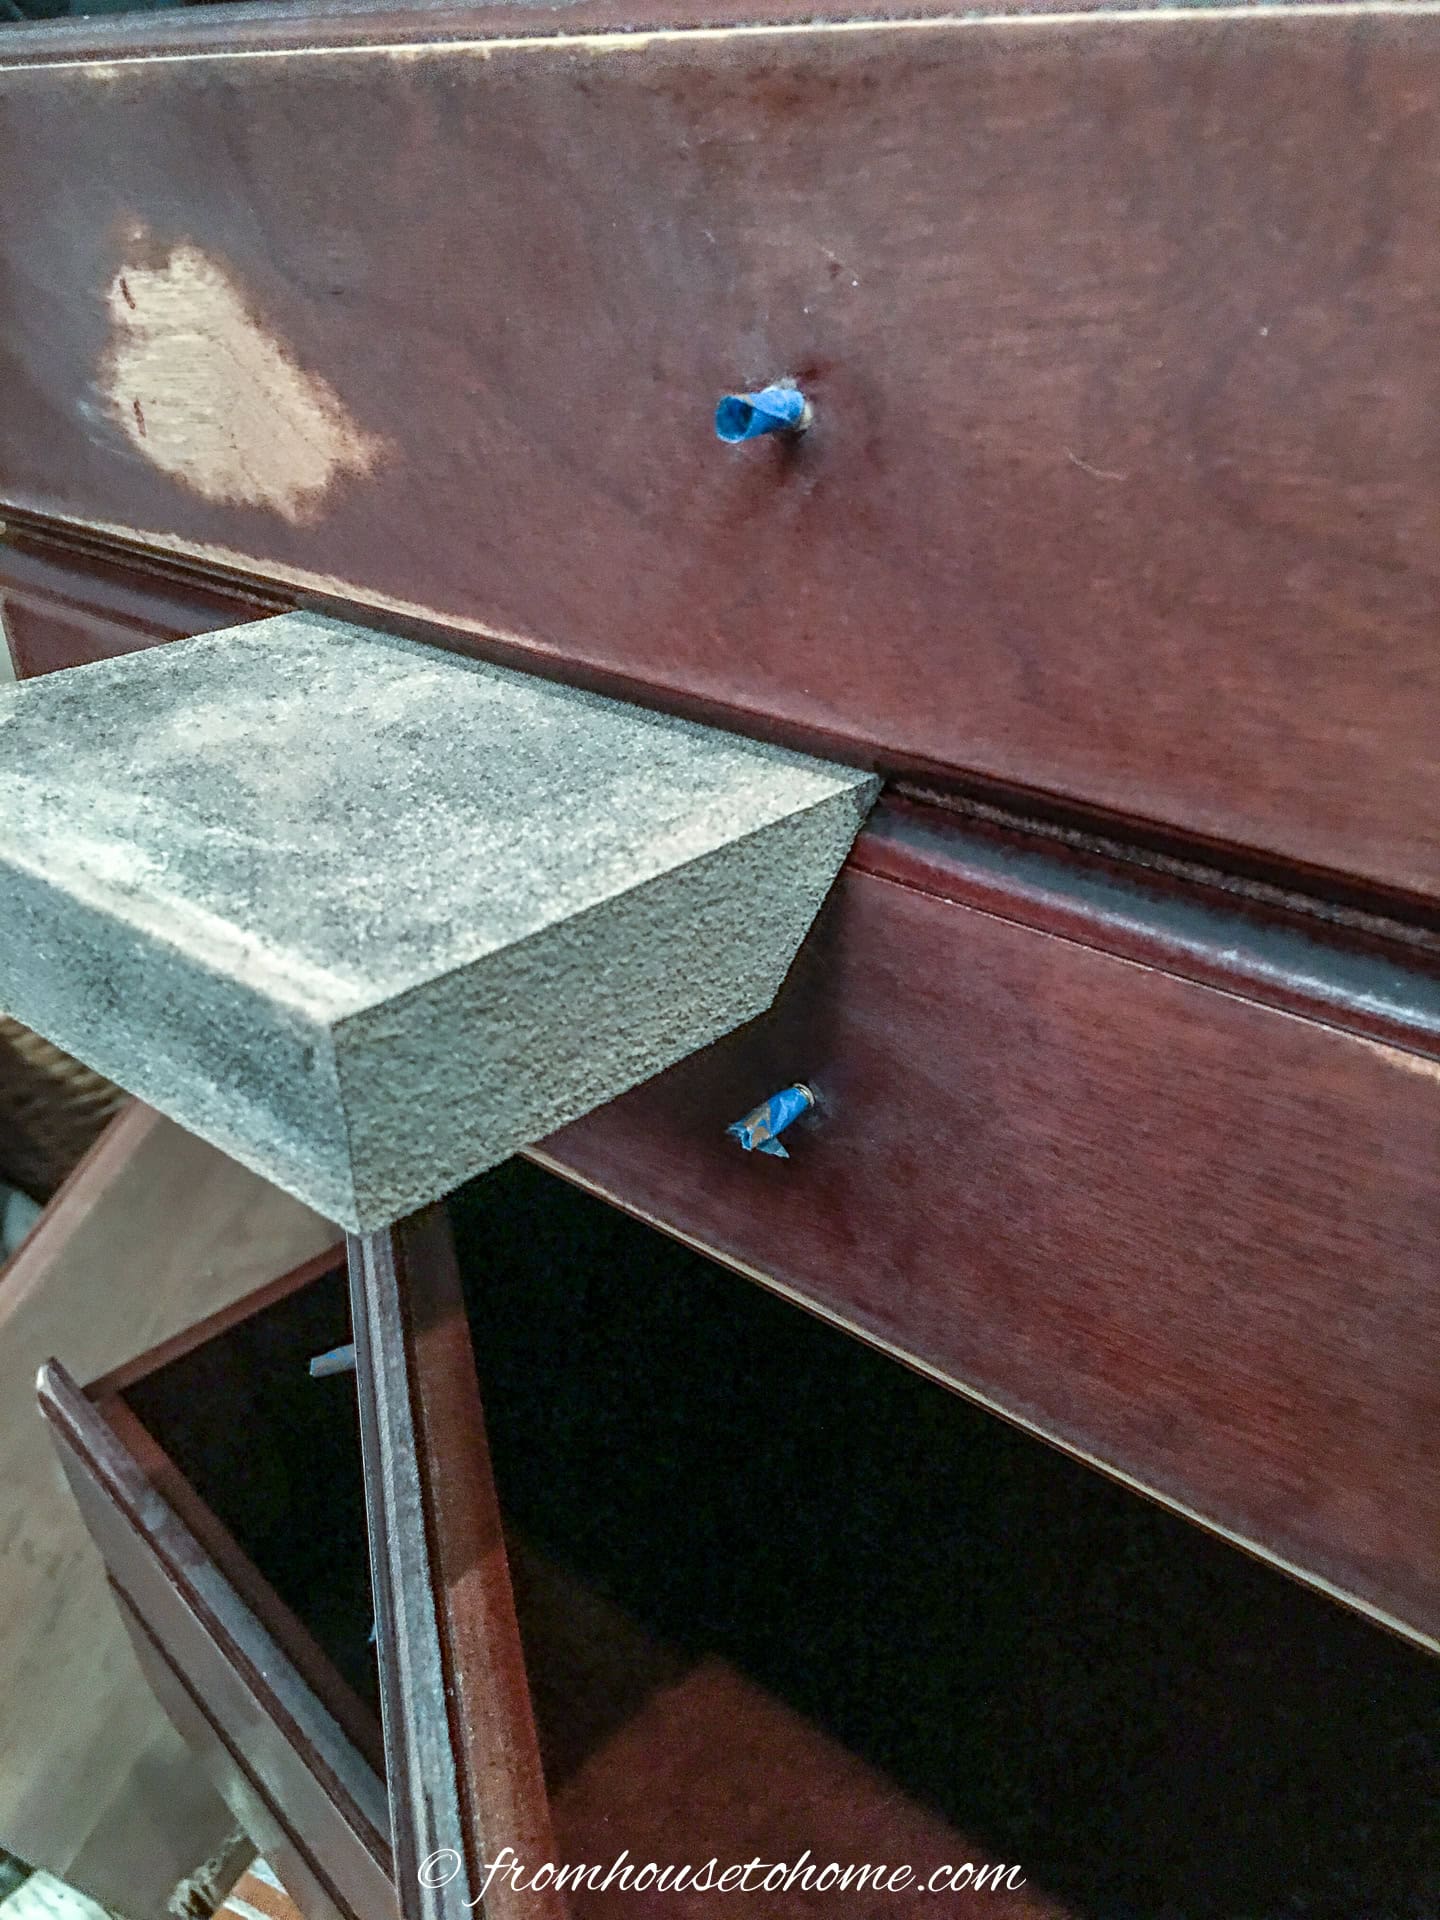
The trick to getting a good paint finish is a good start. The prep work is everything!
So we’ll start by sanding to remove the top of the old finish.
For any grooves or rounded details on your nightstand, use a sanding block or sandpaper. Hold the sanding block firmly and move it back and forth over the detailed areas until the finish is removed.
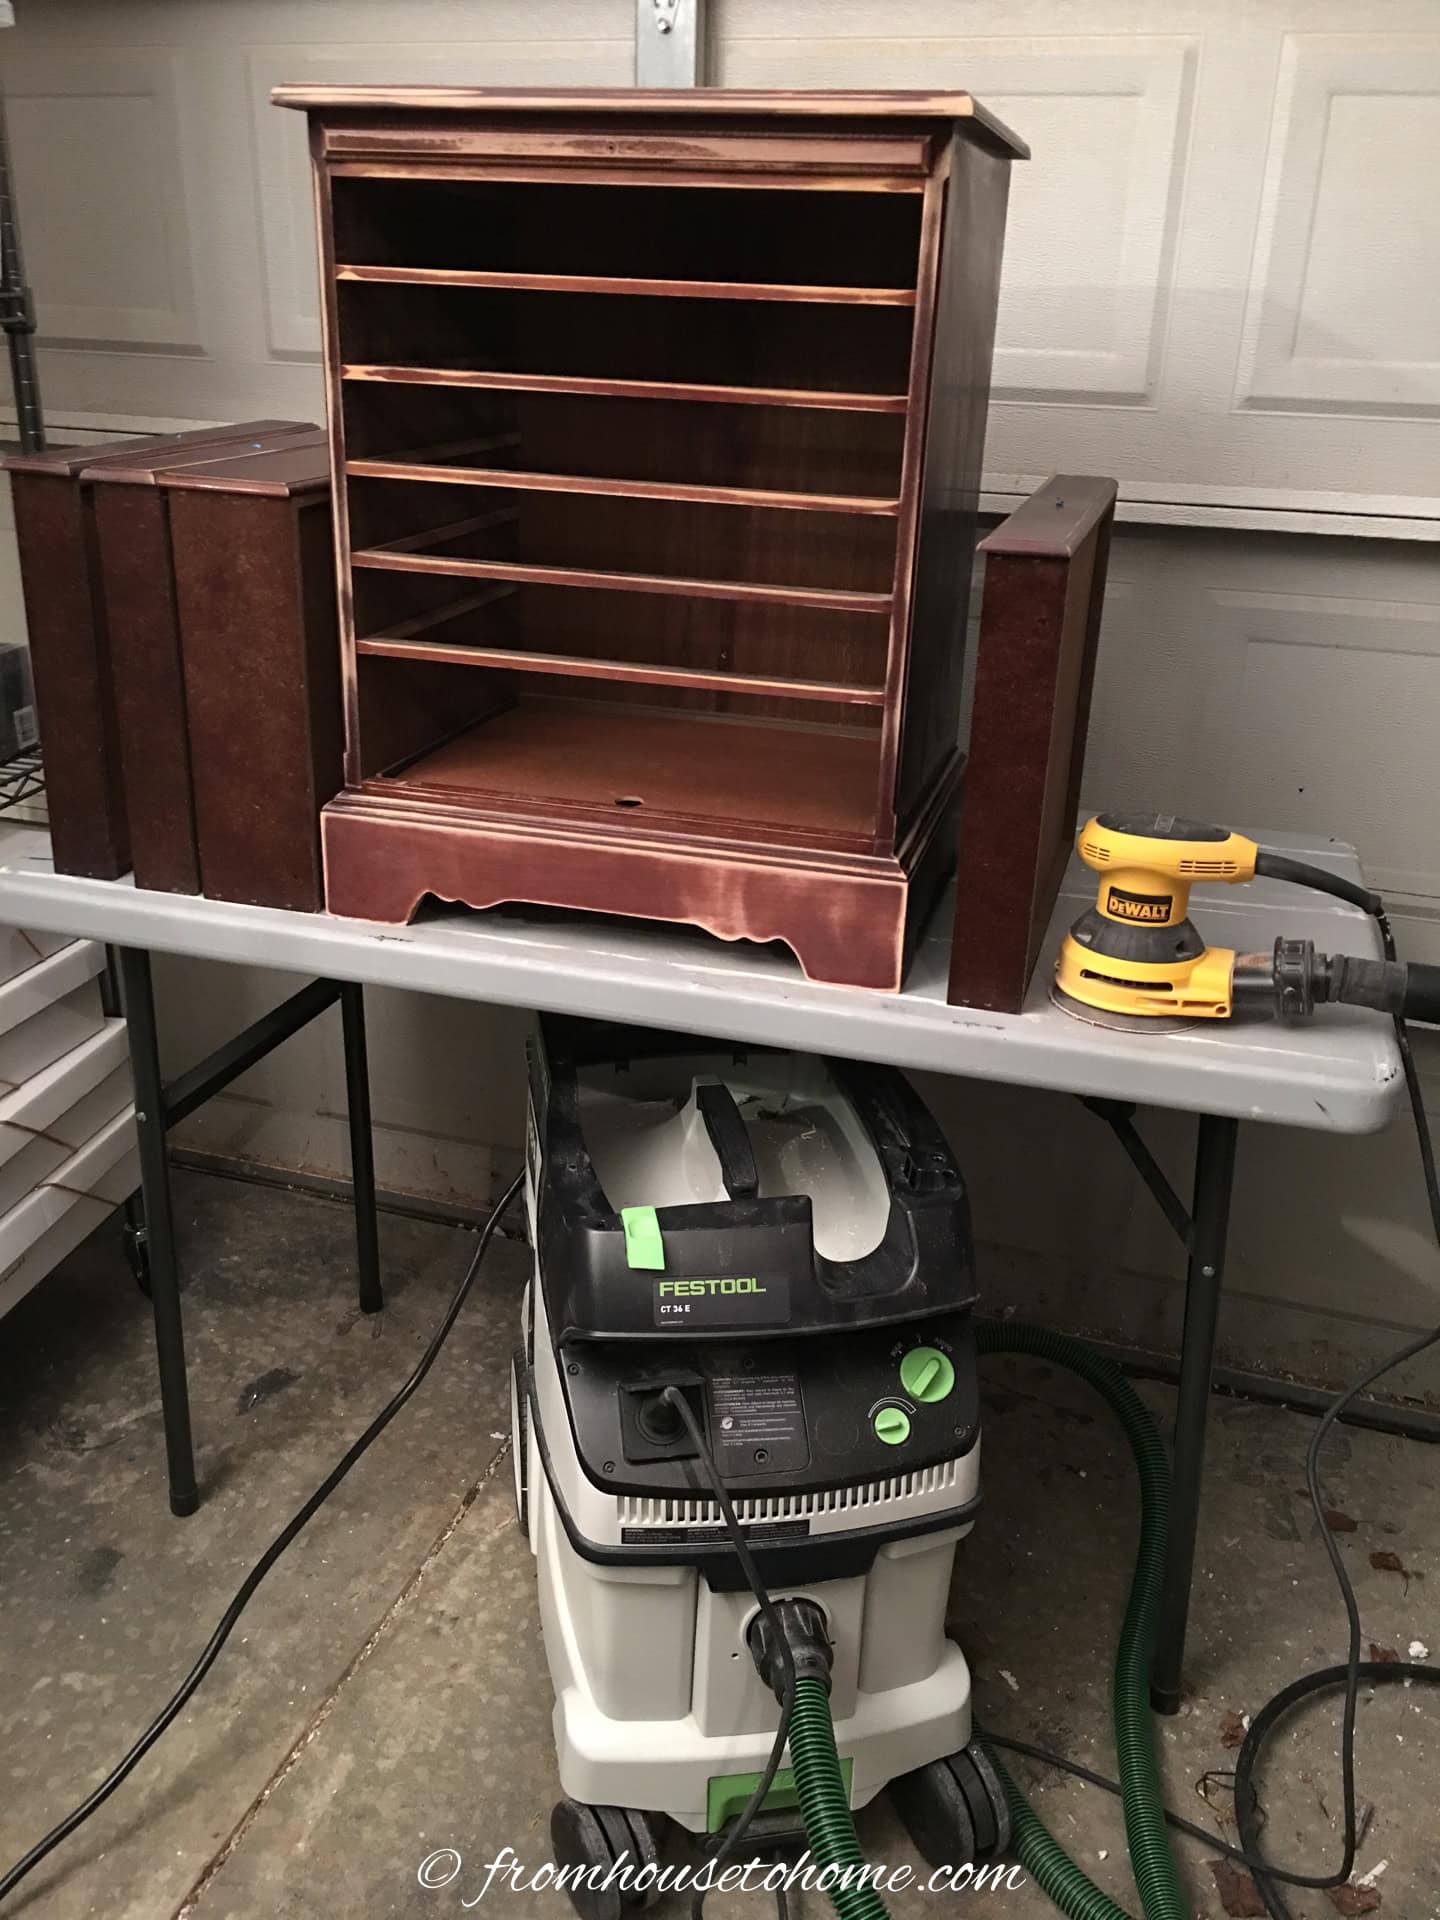
For the flat parts of the nightstand, use an orbital sander.
Turn on the sander and gently run it against the surface, moving it in circular motions to evenly remove the finish.
Don’t press down on it as this can cause grooves in the surface that are very difficult to remove.
While you can use the sanding block for the entire nightstand, keep in mind that it will take much longer to remove all the finish this way.
3 | Remove extra residue
Ensure the nightstand is completely clean by using a degreaser like Krud Kutter.
Spray or apply the degreaser evenly across the entire surface. Use a scrub brush or sponge to work it into the wood, removing any leftover finish and grime.
After scrubbing, take a damp cloth and wipe down the nightstand thoroughly to remove any residue from the degreaser. Make sure the cloth is just wet enough to clean without soaking the wood.
Allow the nightstand to dry completely before moving on to the next step. This will help the paint adhere better and give you a smoother finish.
4 | Prime
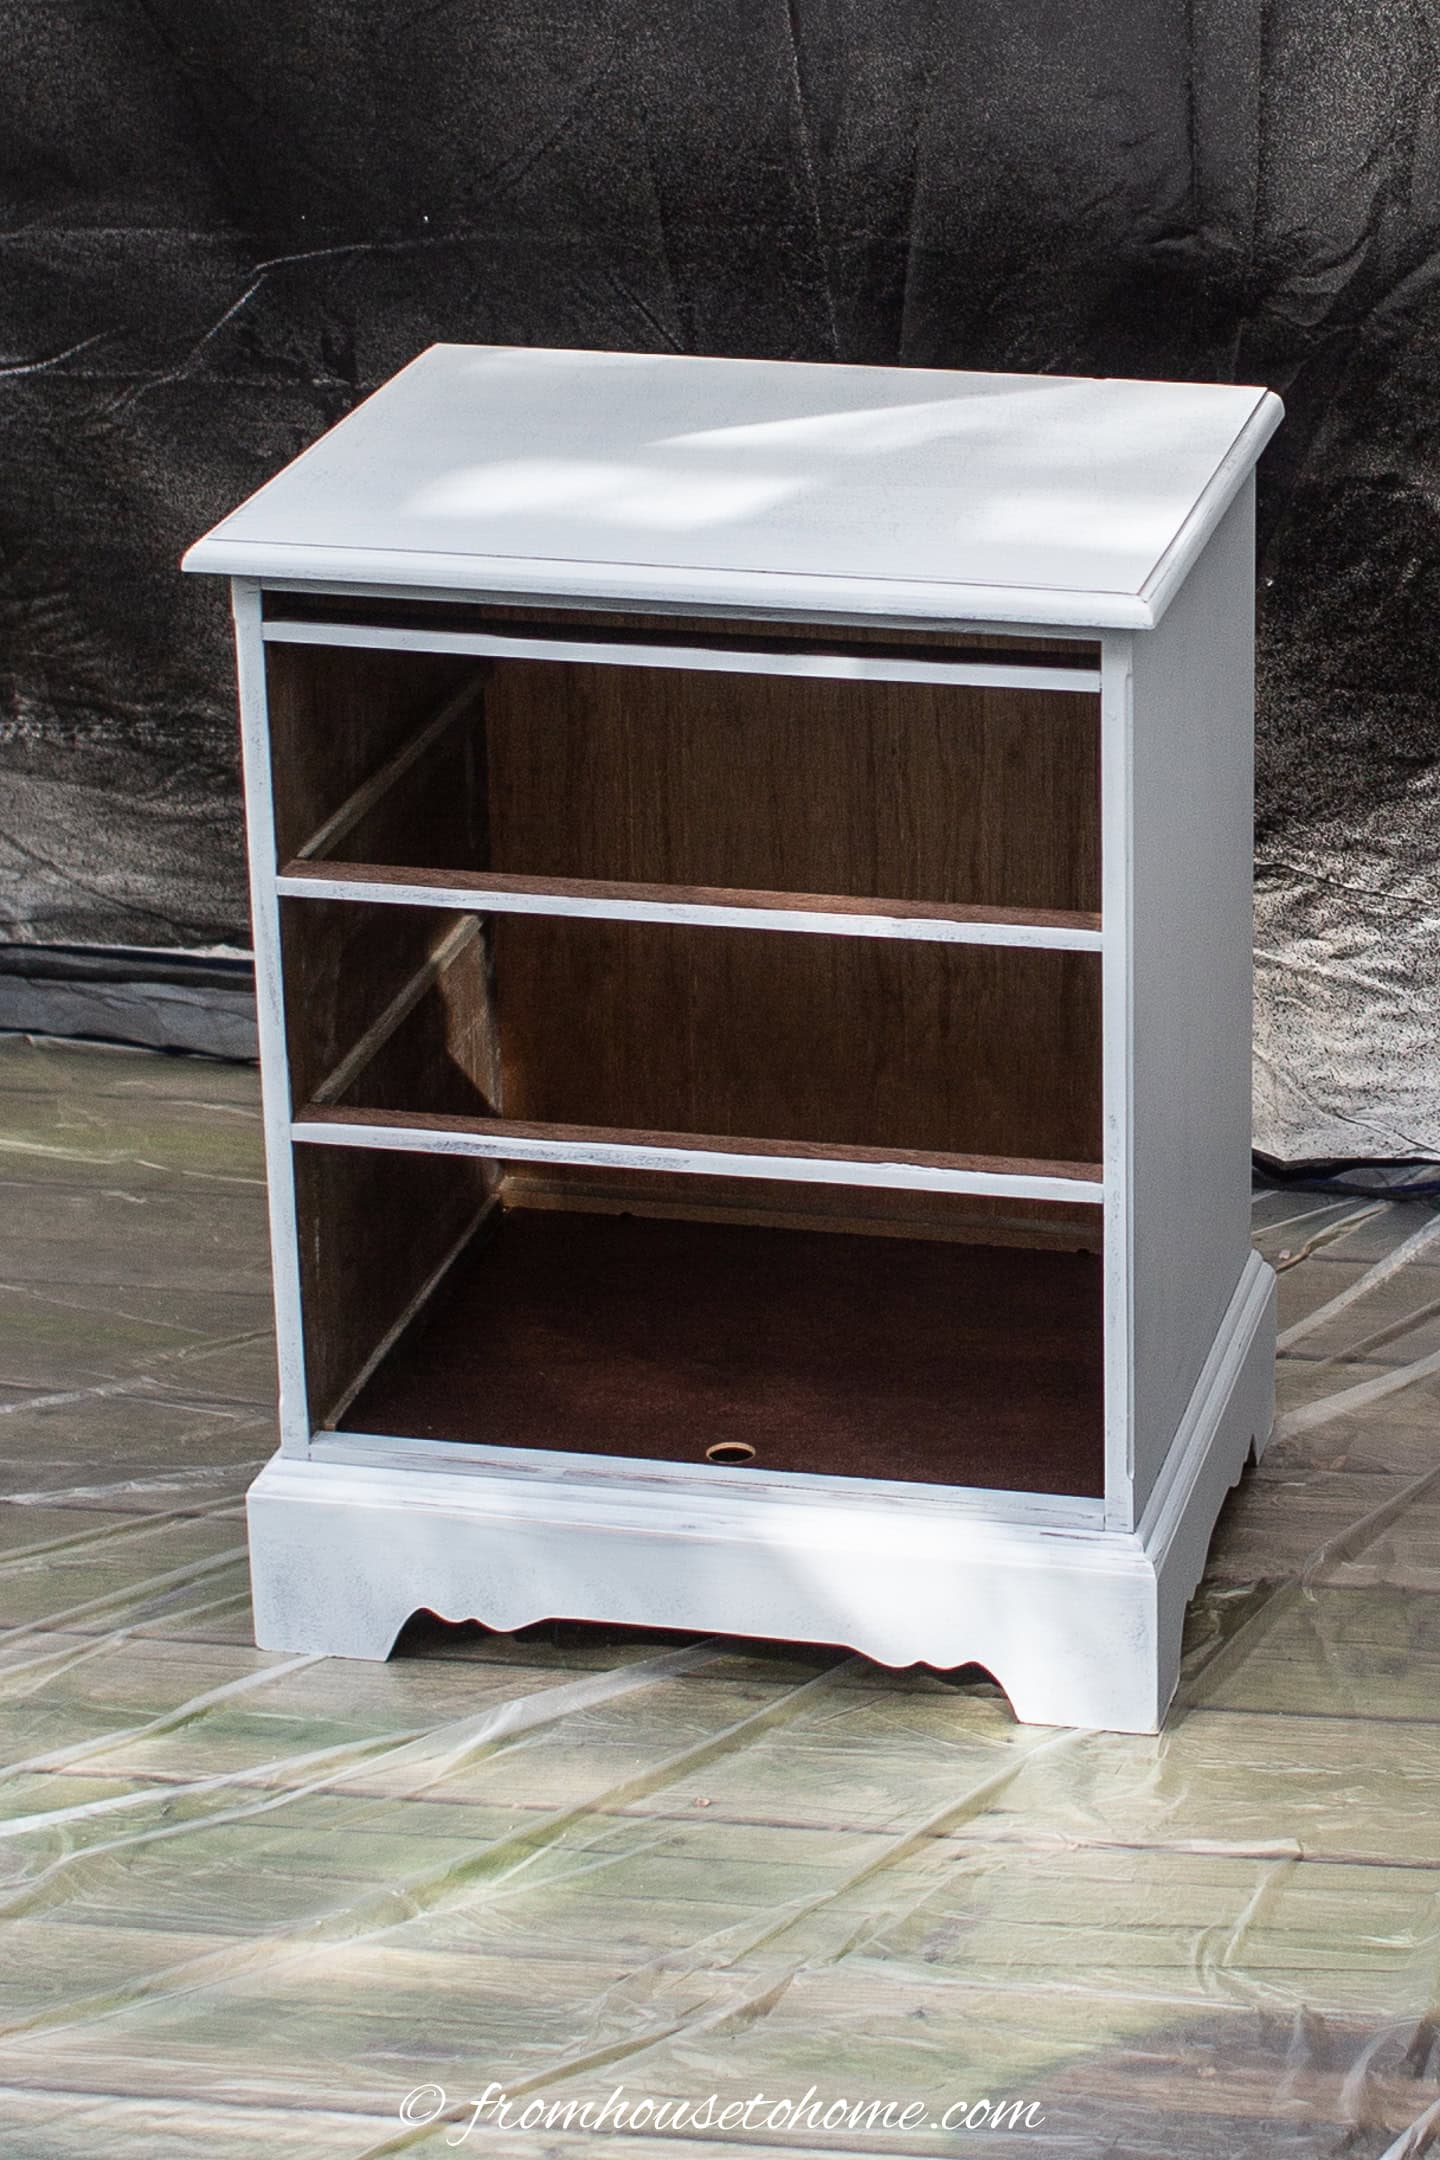
Cover the entire surface of the nightstand and drawer fronts with primer.
For wood that has been finished before, I like to use Kilz latex primer*. It is water based which makes it fairly easy to clean up.
I like to use a hand-held HVLP paint sprayer for this. It will give you an even coat quickly and makes sure that the paint gets into all of the crevices.
For more details, read our detailed tutorial on how to paint furniture with a paint sprayer.
However, you can use a brush and a foam roller if that’s what you have:
- First, use the brush to paint any nooks and crannies.
- Then for the flat surfaces, use a foam roller to apply the primer smoothly and avoid brush marks.
After applying the primer, let it dry completely before moving on to the next step. This might take a few hours, so be patient and check the primer can to see how long you are supposed to let it dry before painting over it.
Related: How to choose the best paint primer for your project
5 | Paint the nightstand
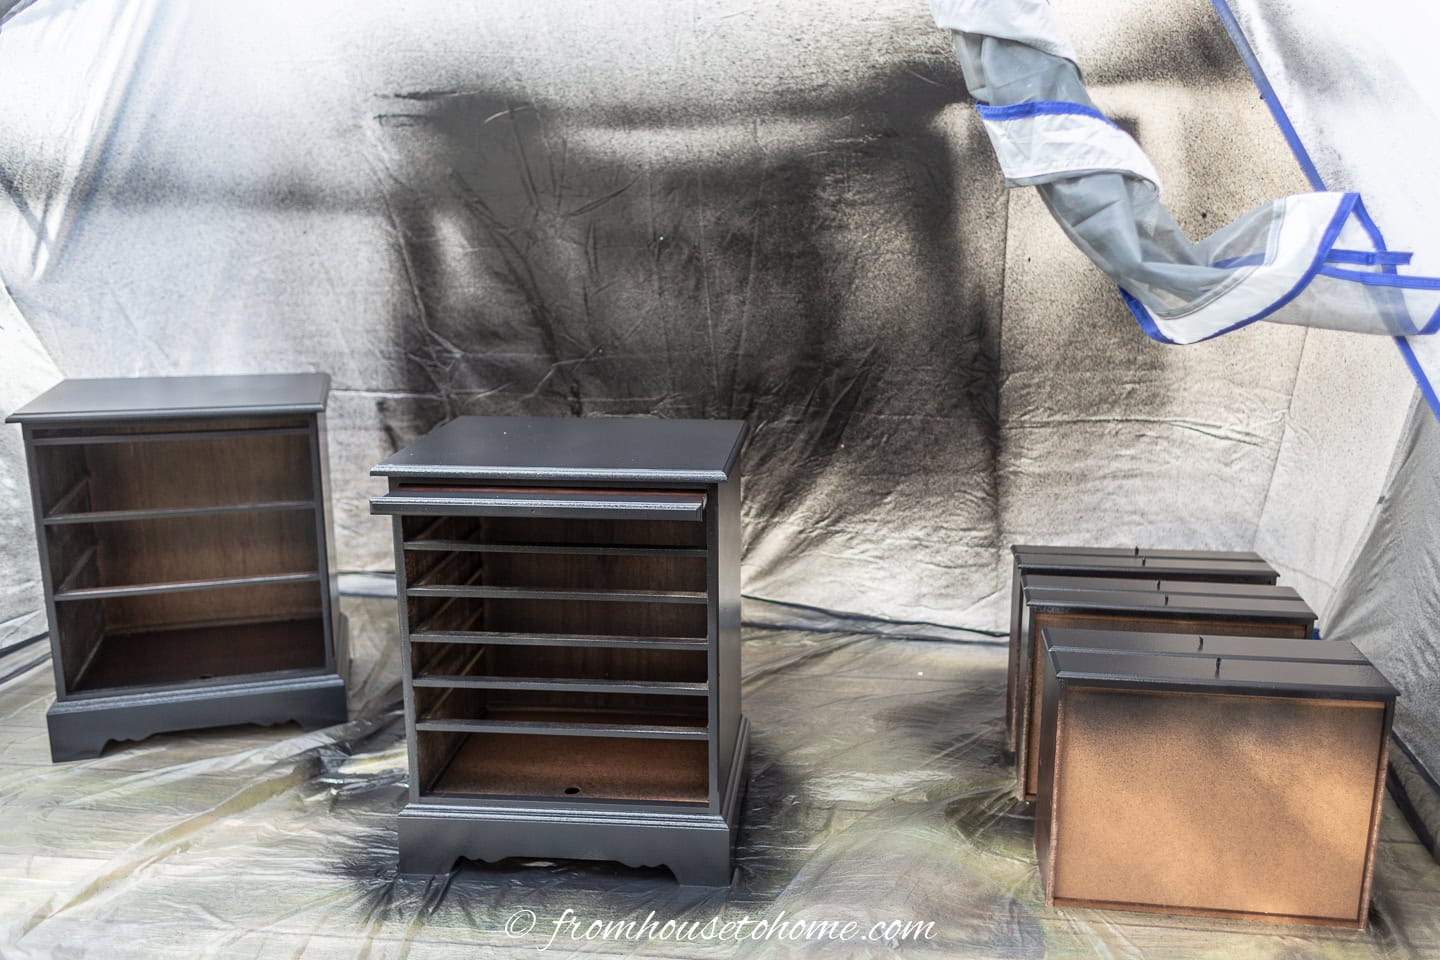
Lightly sand the surface with 220 grit sandpaper or a sanding block to remove any small bumps. This step ensures a smooth base without stripping off the paint.
Apply your first coat of paint evenly across the nightstand and drawer fronts, using the same method (paint sprayer, or brush and foam roller) as you did for the primer.
Allow the paint to dry completely before moving on. Check your paint can to find out how long you need to leave it (at a minimum) between coats.
Once dry, lightly sand the surface again to maintain smoothness, then apply the second coat of paint.
After the second coat has dried, inspect the finish to ensure it is smooth and fully covers the primer. If the coverage is not complete, apply a third coat of paint.
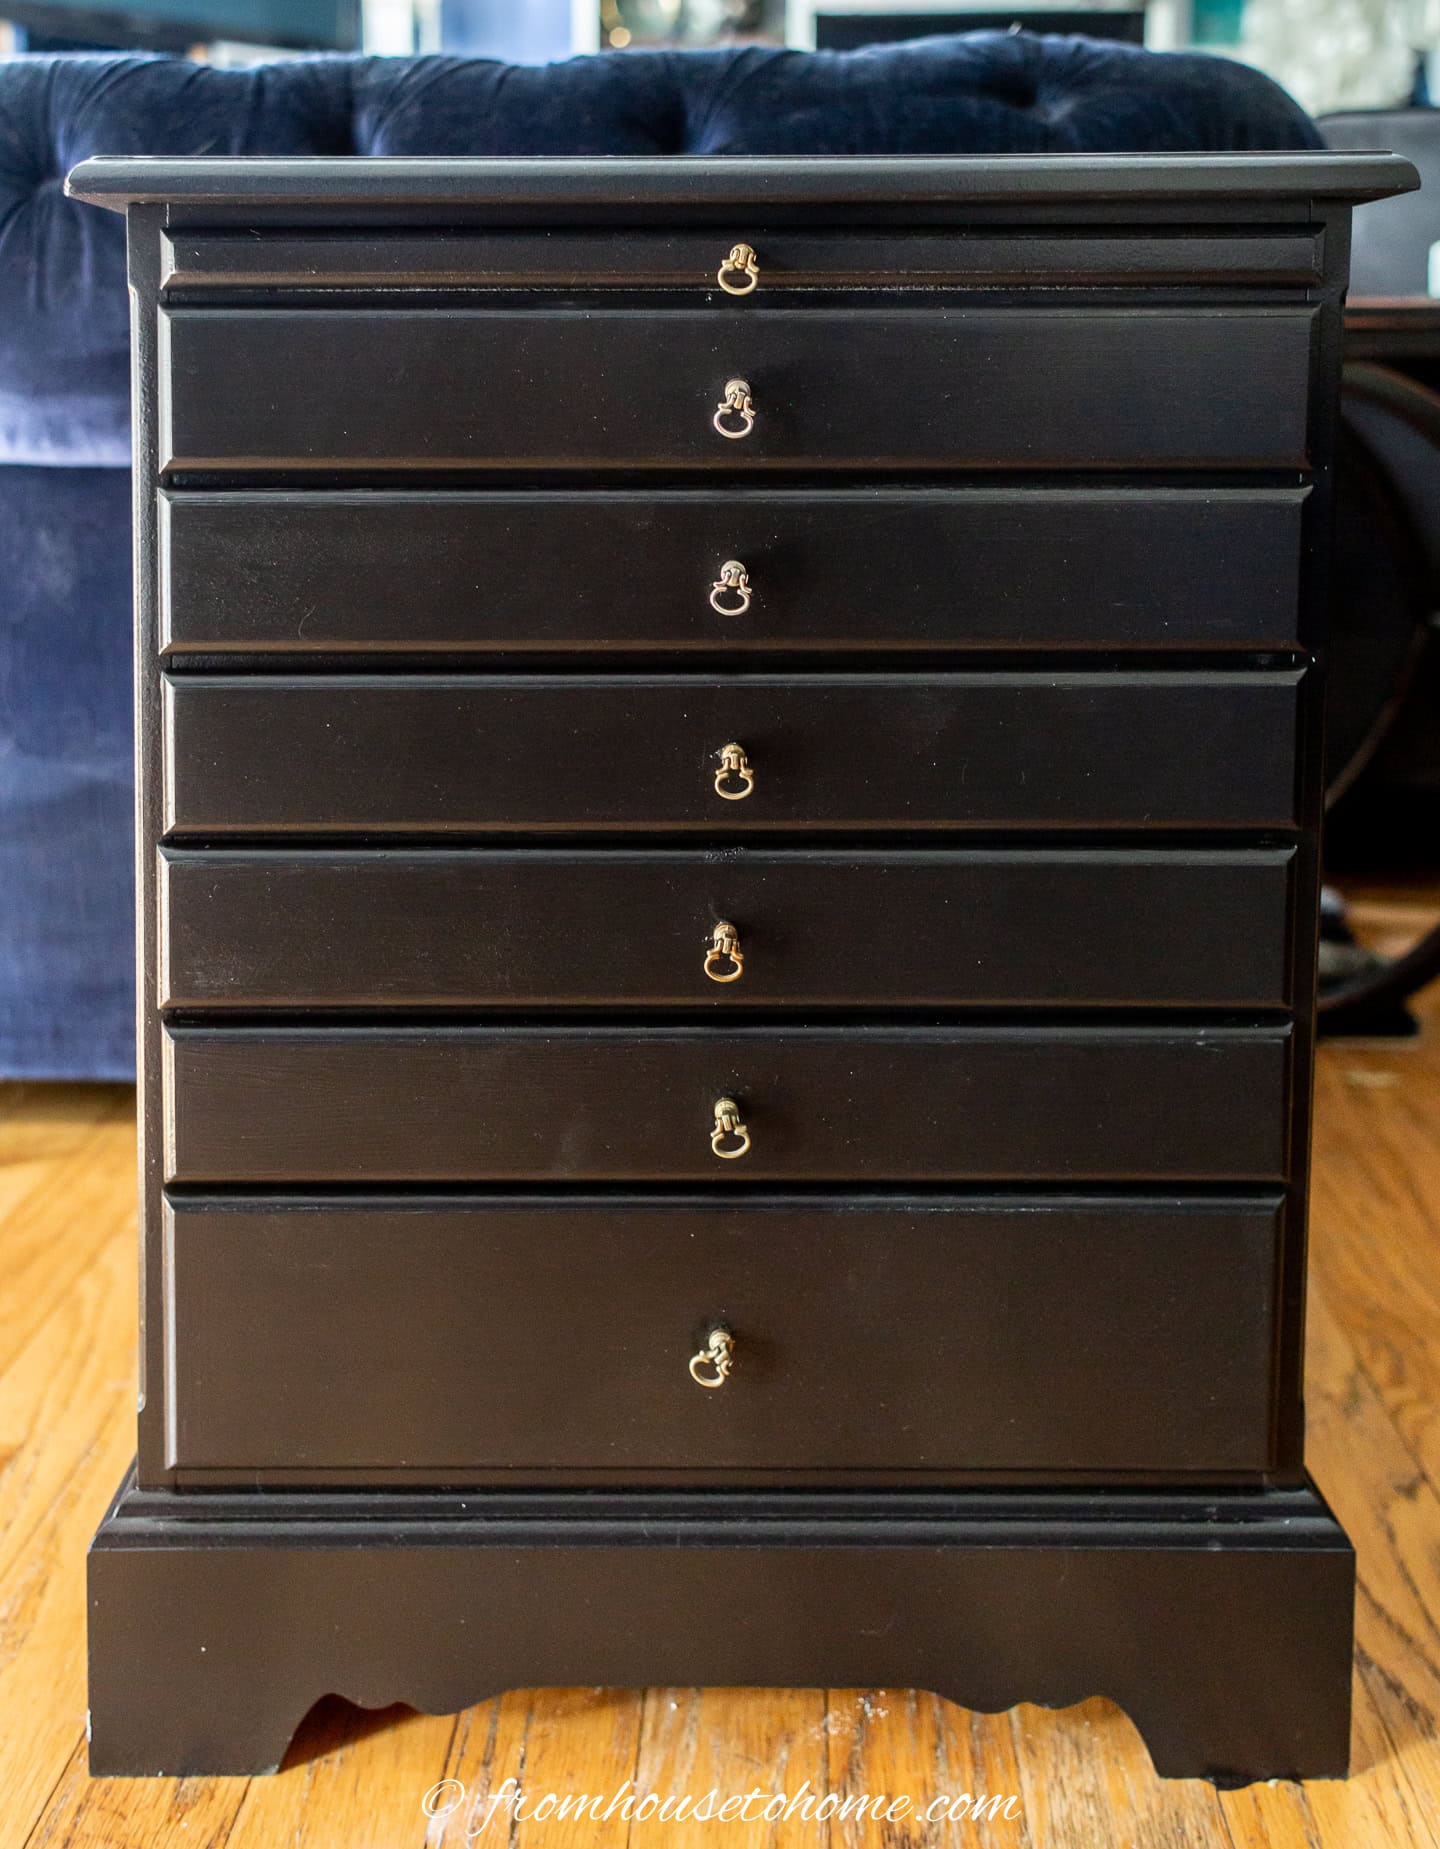
Once it is completely dry, you can put the drawers back and re-attach the knobs.
Add the gold details
1 | Spray paint the corner braces
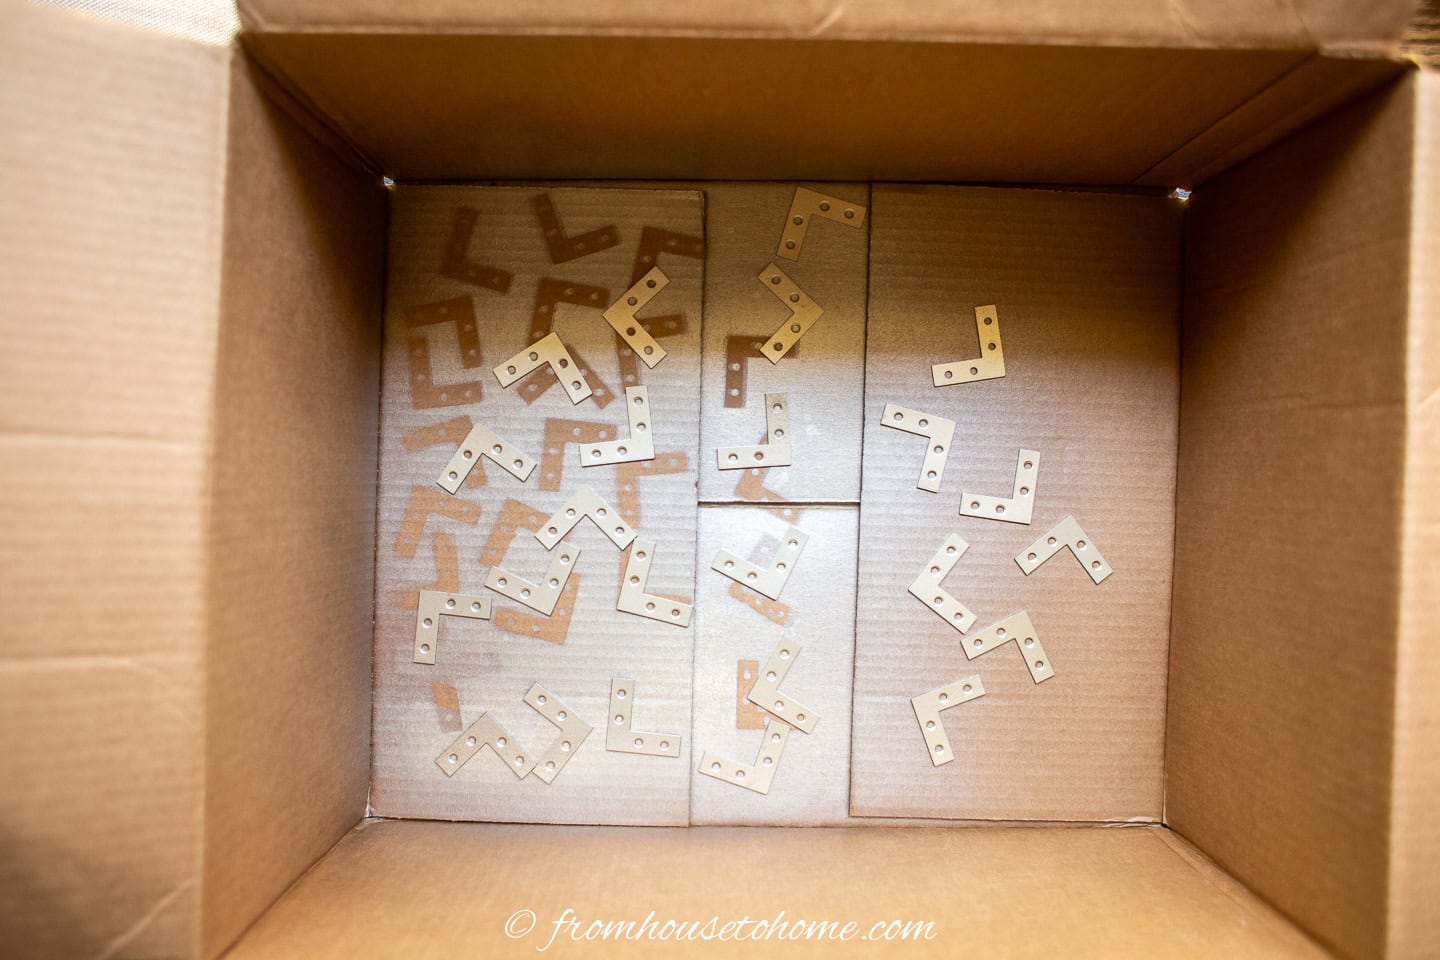
To add some extra pizzazz, I attached angle braces to the corners of the drawers.
These braces usually come in a flat silver color, which isn’t very appealing. So I spray painted them gold.
Start by setting up a well-ventilated area, preferably outside or in a garage with the door open.
Place the braces flat on the surface, ensuring the side you want to paint is facing up.
Shake the spray paint can vigorously for about a minute to mix the paint thoroughly. Hold the can about 8-12 inches away from the braces and spray in a steady, sweeping motion.
Apply a light, even coat to avoid drips and runs. Since you only need to paint one side, focus on getting an even coverage on that side.
Unlike latex paint, spray paint should be re-coated before it dries completely, which is usually within an hour of the previous coat.
This allows for a smoother finish and better adhesion. After the first coat, wait about 10-15 minutes, and then apply a second coat in the same manner.
You may need to do a third coat the same way to get complete coverage.
Allow the braces to dry thoroughly according to the spray paint manufacturer’s instructions before handling them. This will ensure a durable and professional-looking finish.
2 | Attach the braces

Now we’re going to attach the braces to your nightstand so they line up with the corners.
You can do this on the drawers like I did. Or on the frame of the nightstand if that works better for your bedside table.
Hold the brackets up where you want them to go and mark the holes with a pencil.
Then use a drill to create small pilot holes where you marked the spots for the screws. This makes it easier to screw in the brackets and prevents the wood from splitting.
Place the bracket back in position and use screws to secure it to the nightstand.
The finished painted nightstand
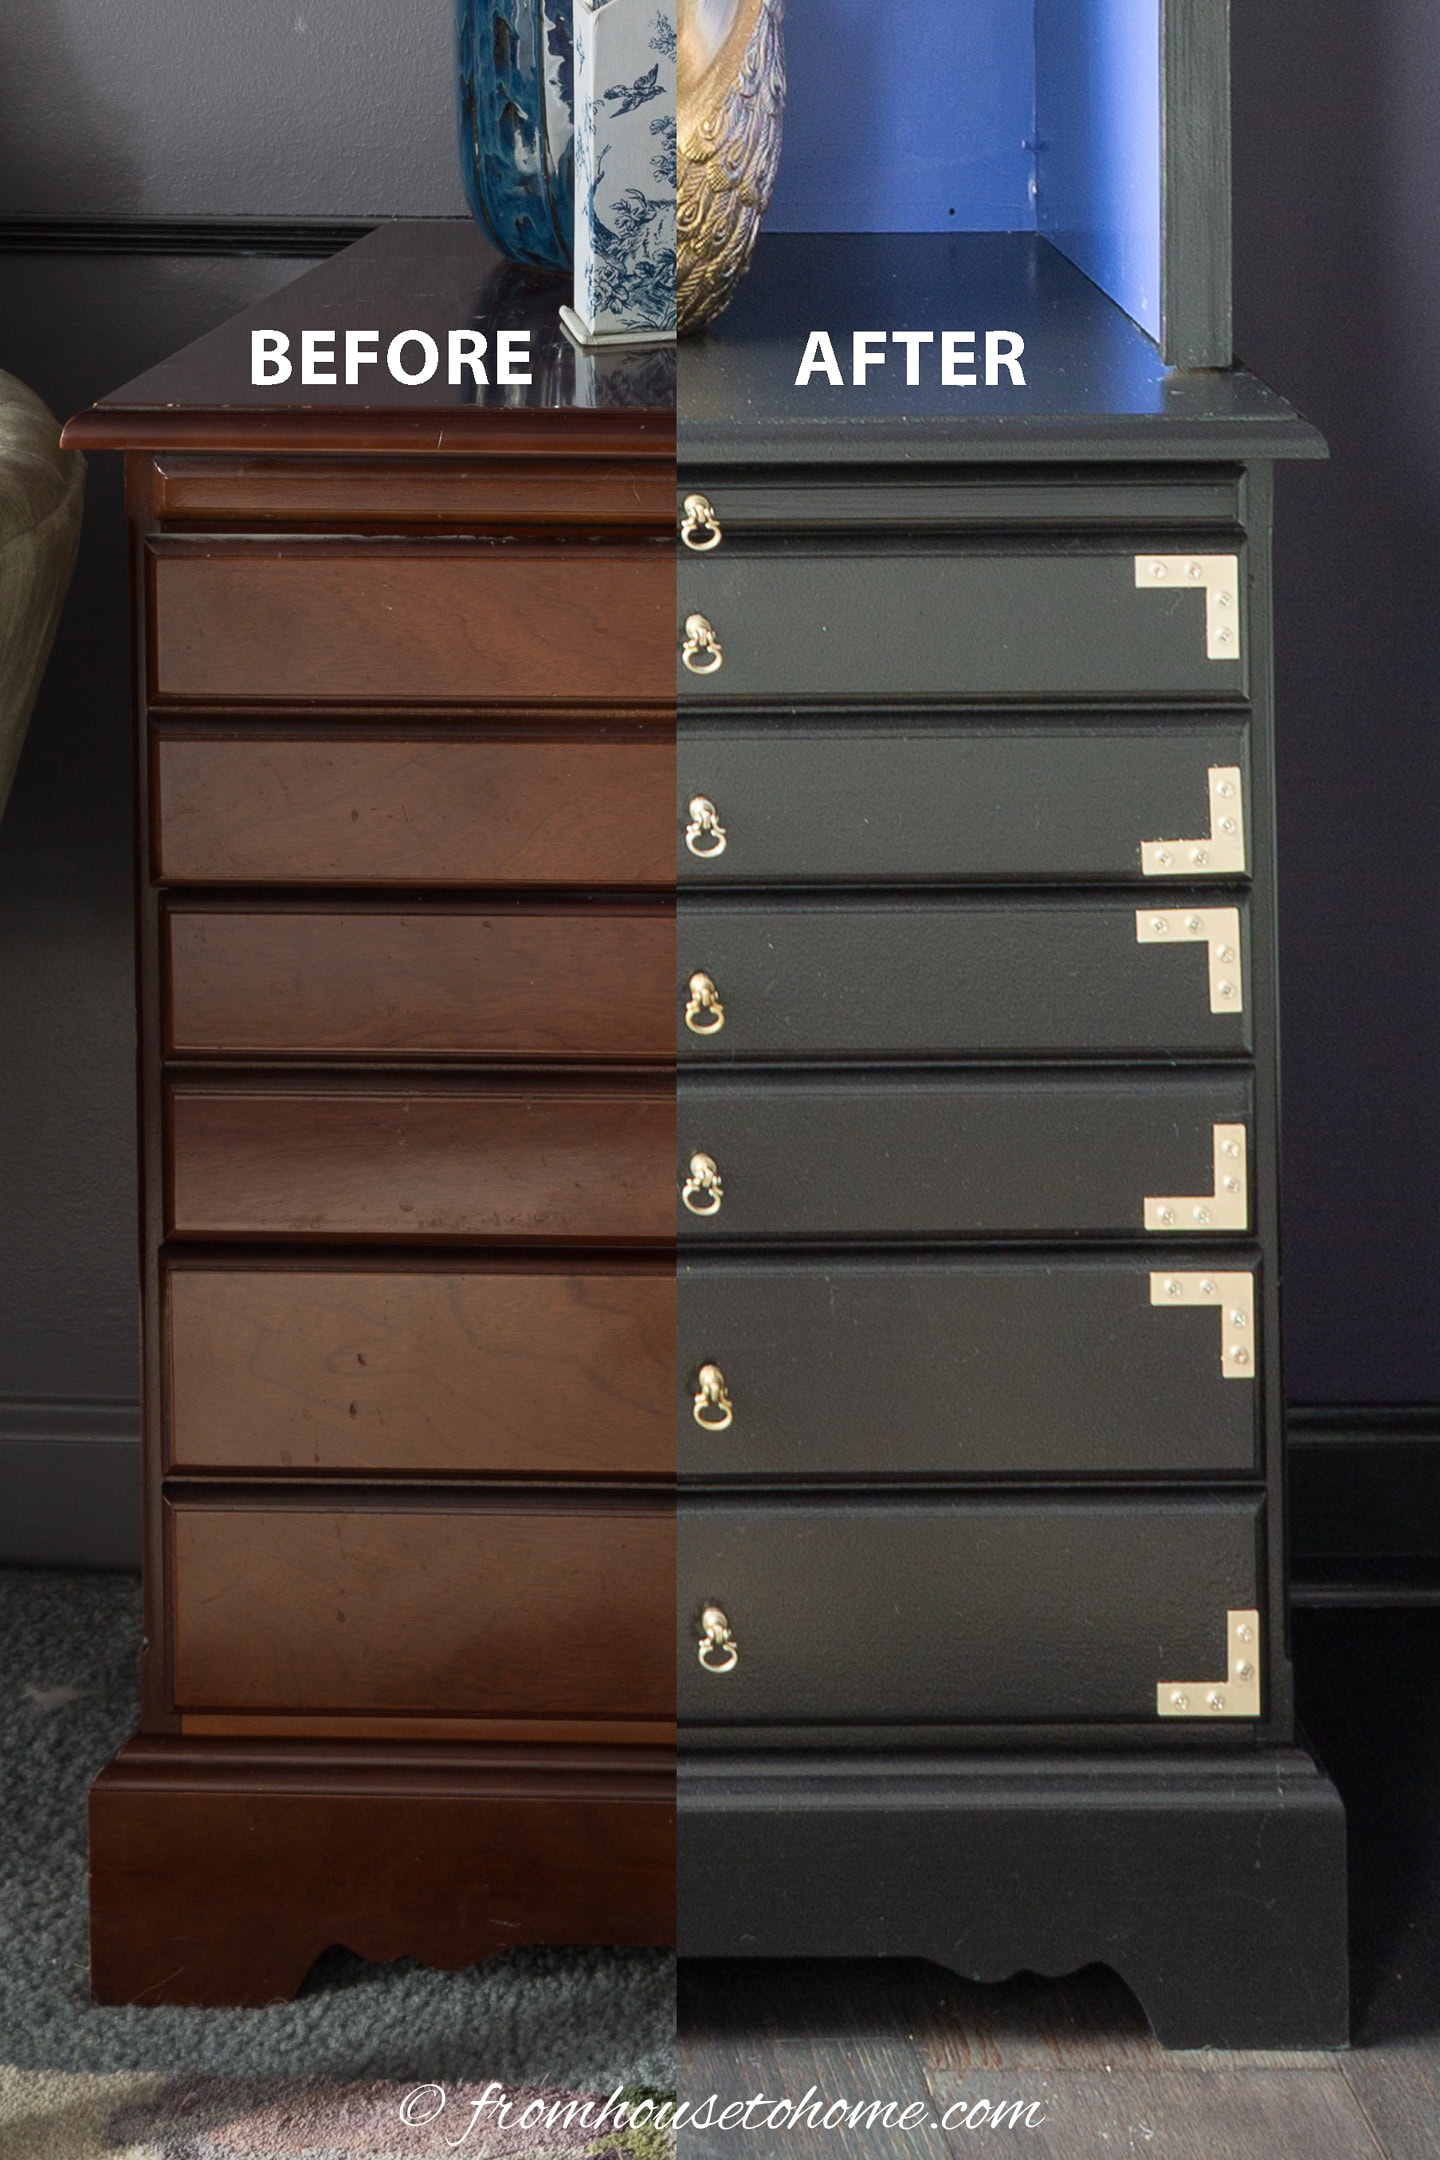
I love my new painted nightstand!
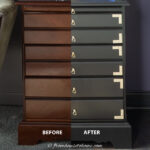
It definitely doesn’t look like the same old dated bedside table that I started with.
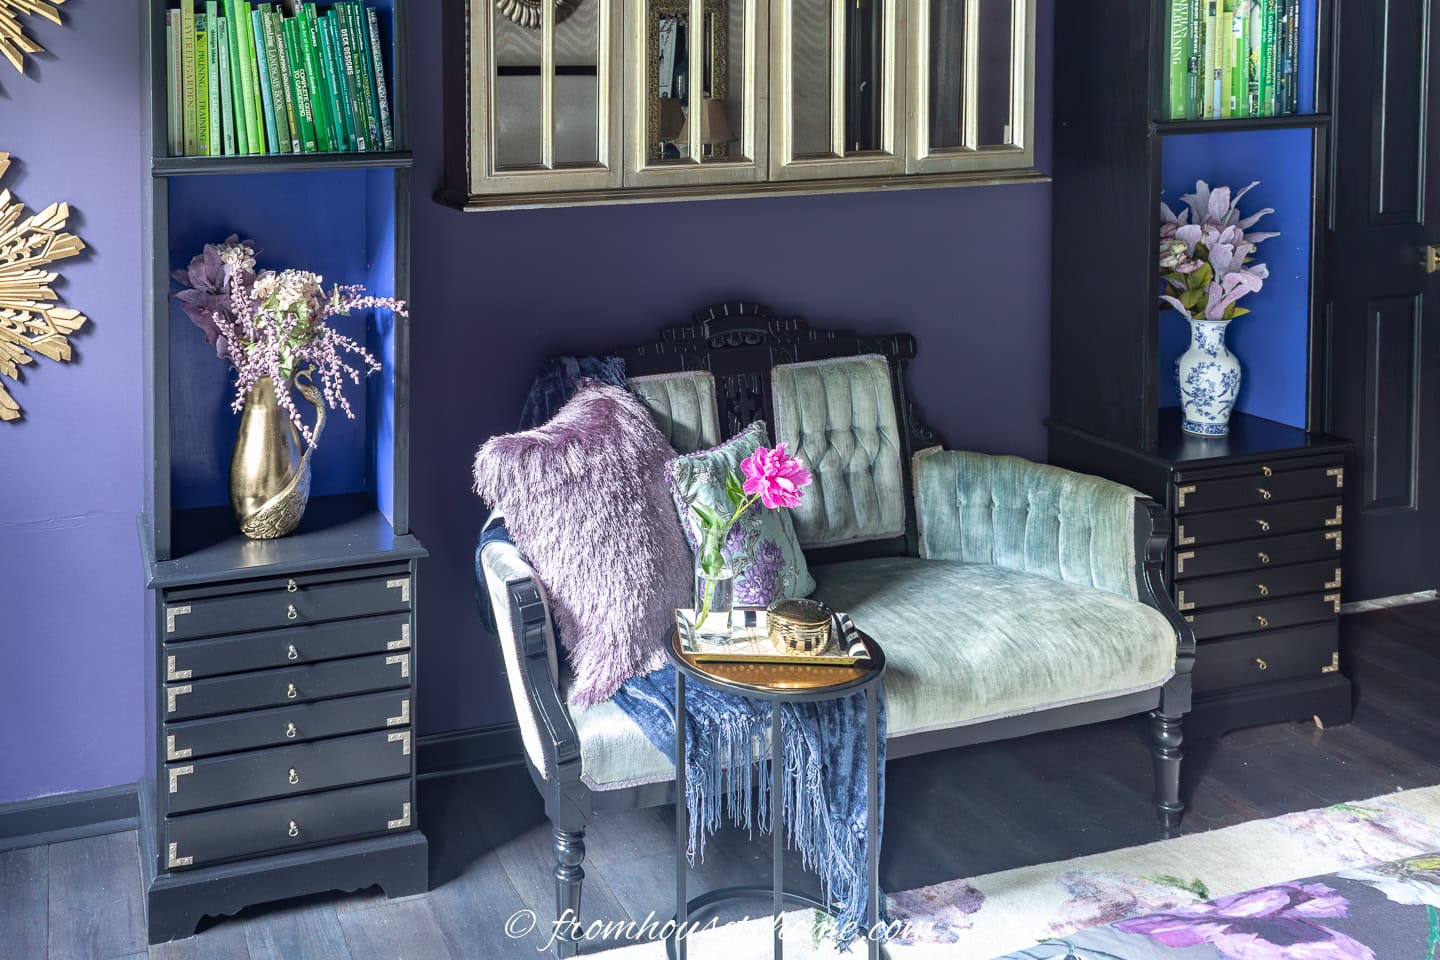
I liked them so much, I ended up using them as the base for the shelf on the wall opposite my bed. And painted the settee the same color.

This makeover was done as part of the One Room Challenge.
In case you want to see the step by step progress, you can find the other weeks here:
- Week 1: Black bedroom design inspiration
- Week 2: Bedroom design plan
- Week 3: DIY painted nightstand makeover
- Week 4: How to remove wall to wall carpet from concrete
- Week 5: How to install floating engineered wood flooring
- Week 6: The finished primary bedroom
Or browse all of my challenge makeovers.

Frequently asked questions
DIY Painted Nightstand Makeover
Print PinMaterials
- fine grain sanding block or 220 grit sandpaper
- degreaser such as Krud Kutter
- primer
- semi-gloss or gloss latex paint
- corner braces
- gold spray paint
- small screws
Tools
- random orbit electric sander with at least 180 grit sand paper
- dust collector (optional)
- paint sprayer or brushes and a roller
- paint tent (optional)
- tarp, cardboard or plastic sheet
- drill
- screwdriver
Instructions
- Before you start, remove any drawers and knobs. Cover any details you can’t remove and don’t want to paint with painter’s tape.
- Start by using a sanding block or sandpaper to sand off the finish in grooves or rounded details. Then, use an orbital sander to remove the finish from the flat parts.
- Go over the entire nightstand with a degreaser like Krud Kutter. Wipe it off with a damp cloth and wait for the wood to dry.
- Cover the entire surface with primer using a paint sprayer, or brush and foam roller. Wait until it has dried completely.
- Lightly sand the surface with 220 grit sandpaper or a sanding block. Apply the first coat of paint. Wait until it has completely dried. Lightly sand again and apply the next coat. After the second coat has dried, check for a smooth finish and complete coverage. Apply a third coat if necessary.
- Spray paint the angle brackets gold. Paint only one side. Apply a second coat within an hour of the first.
- Attach the brackets to the front corners of your nightstands, and the drawer fronts, if possible.
Have comments or questions about our DIY painted nightstand makeover? Tell us in the section below.
Pin It So You Don't Forget It!