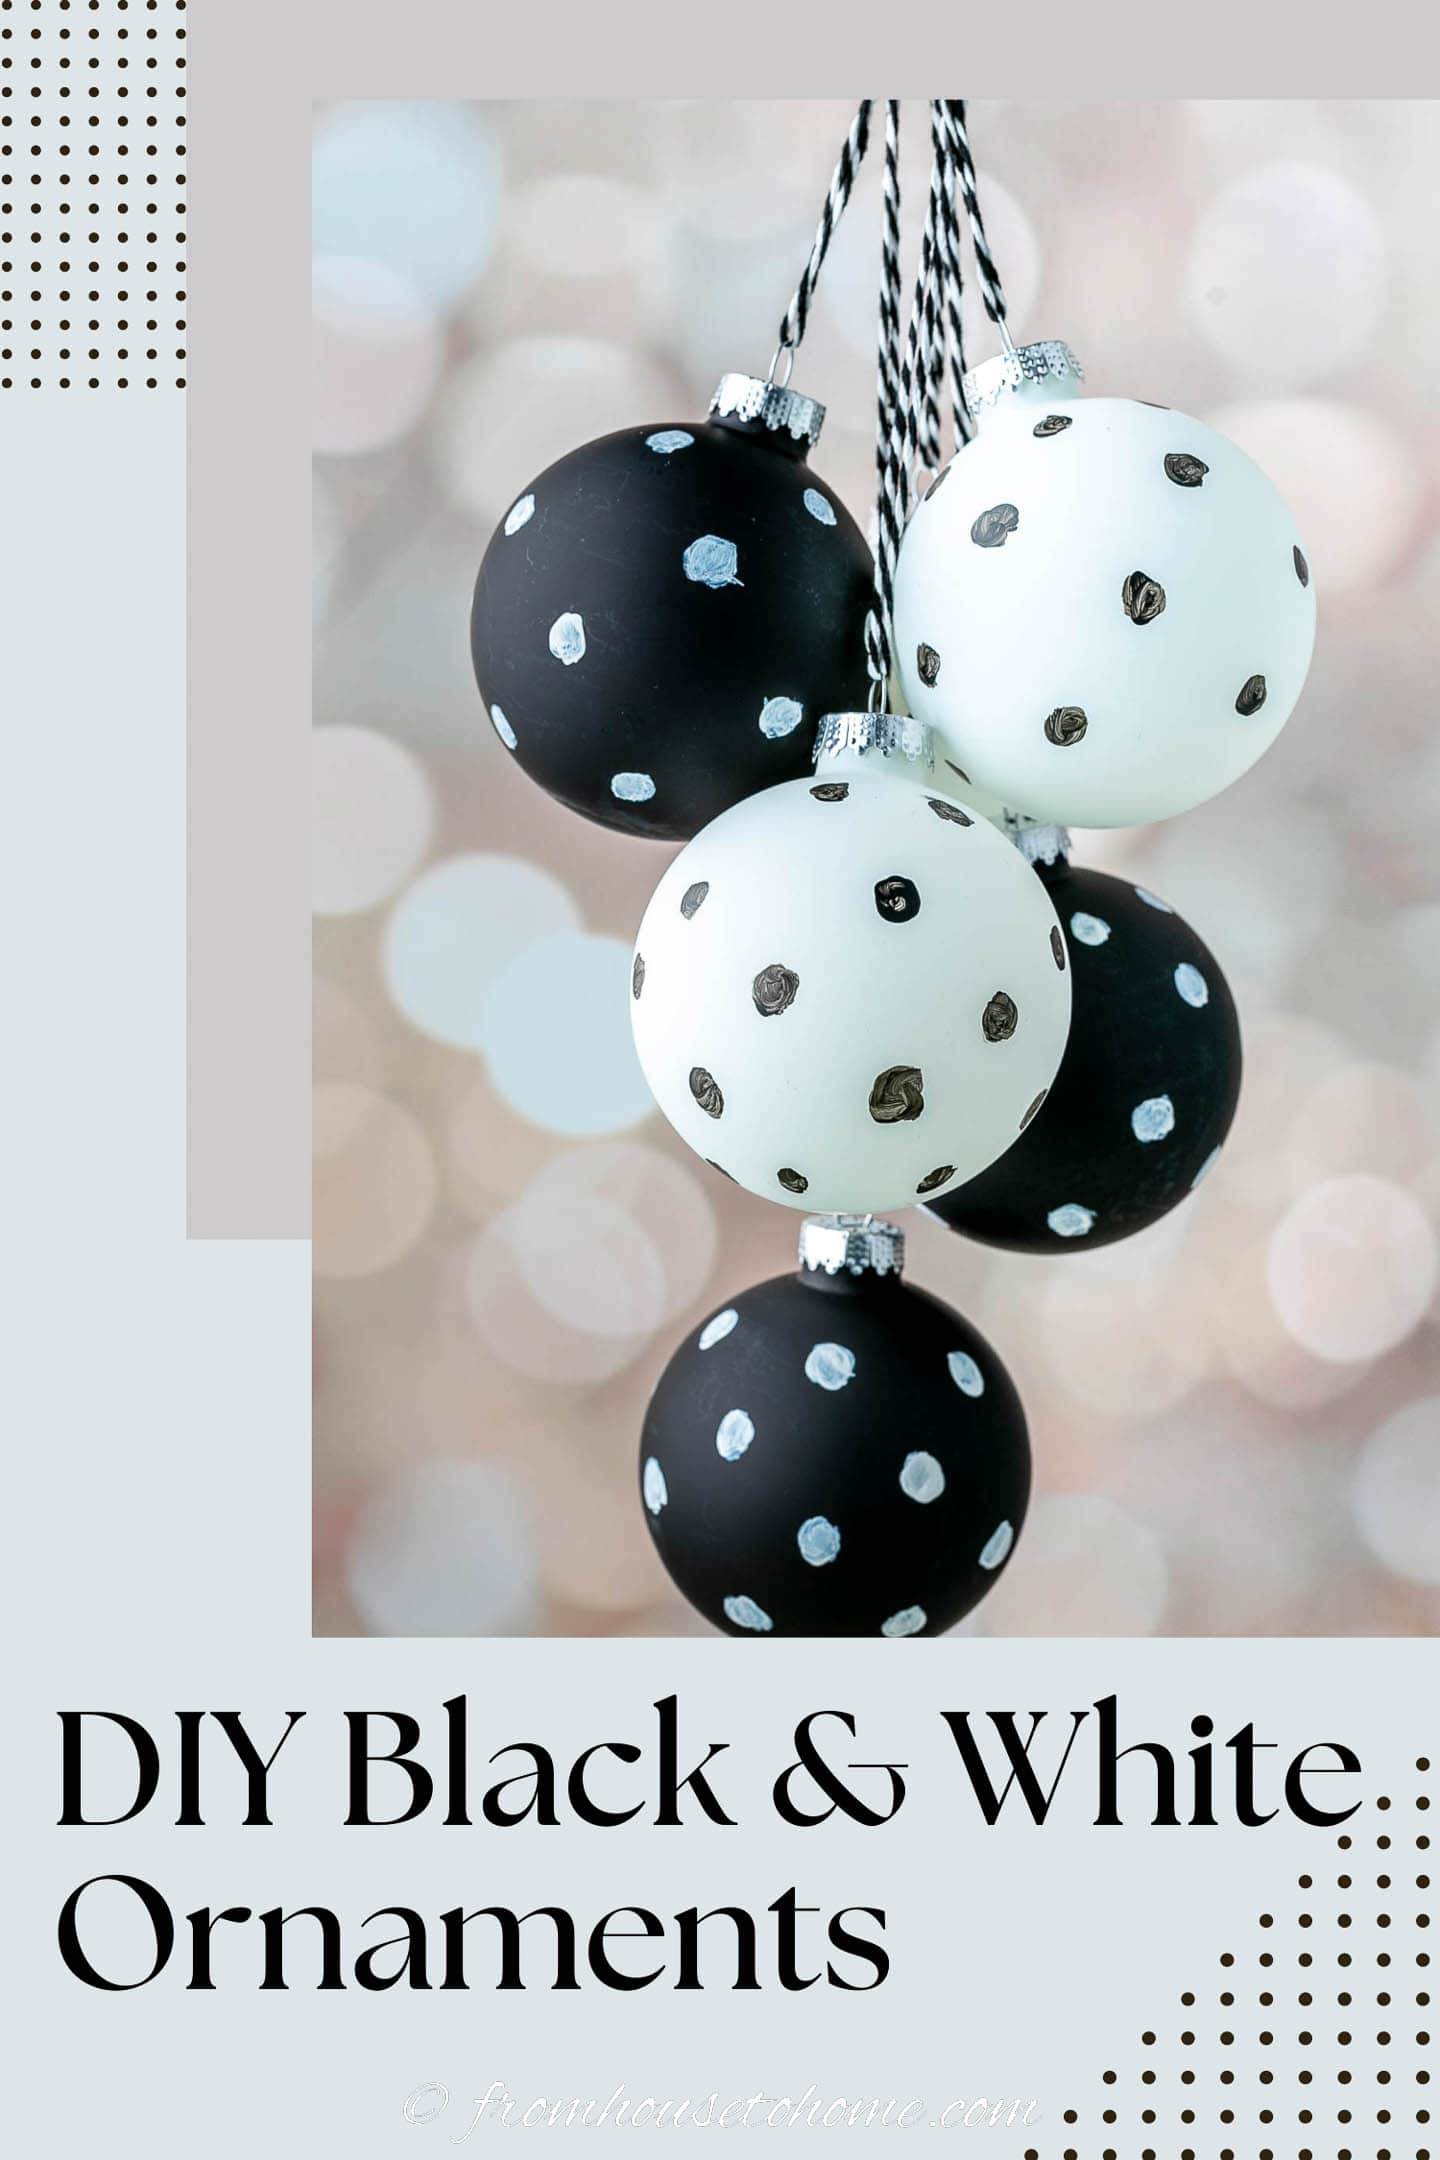
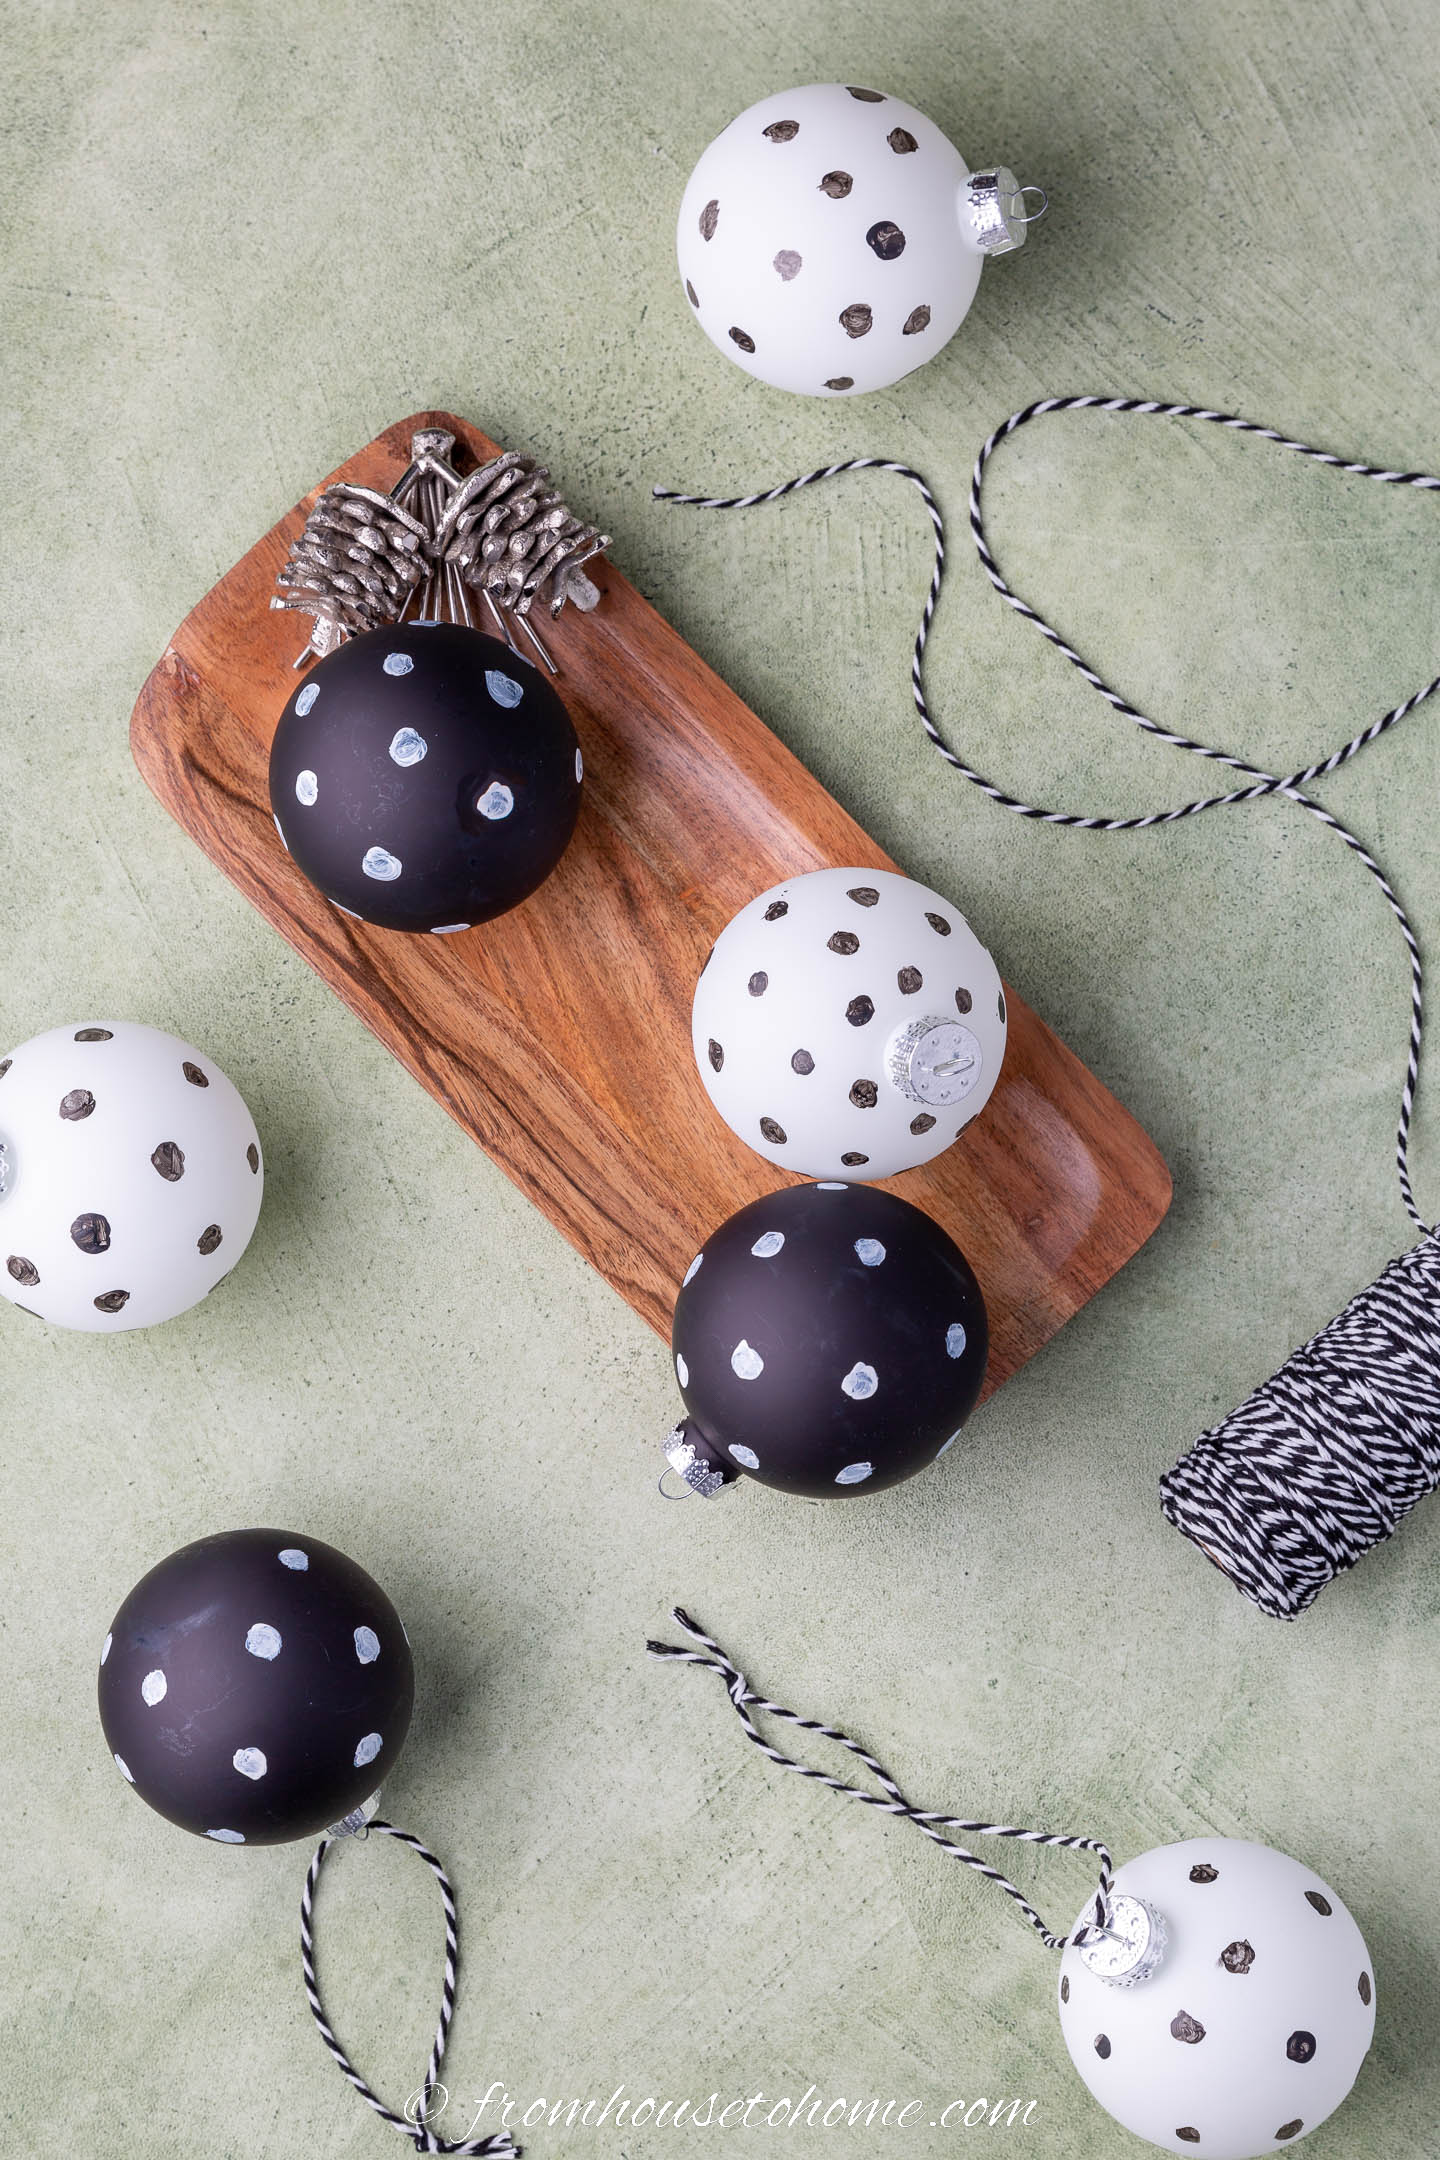
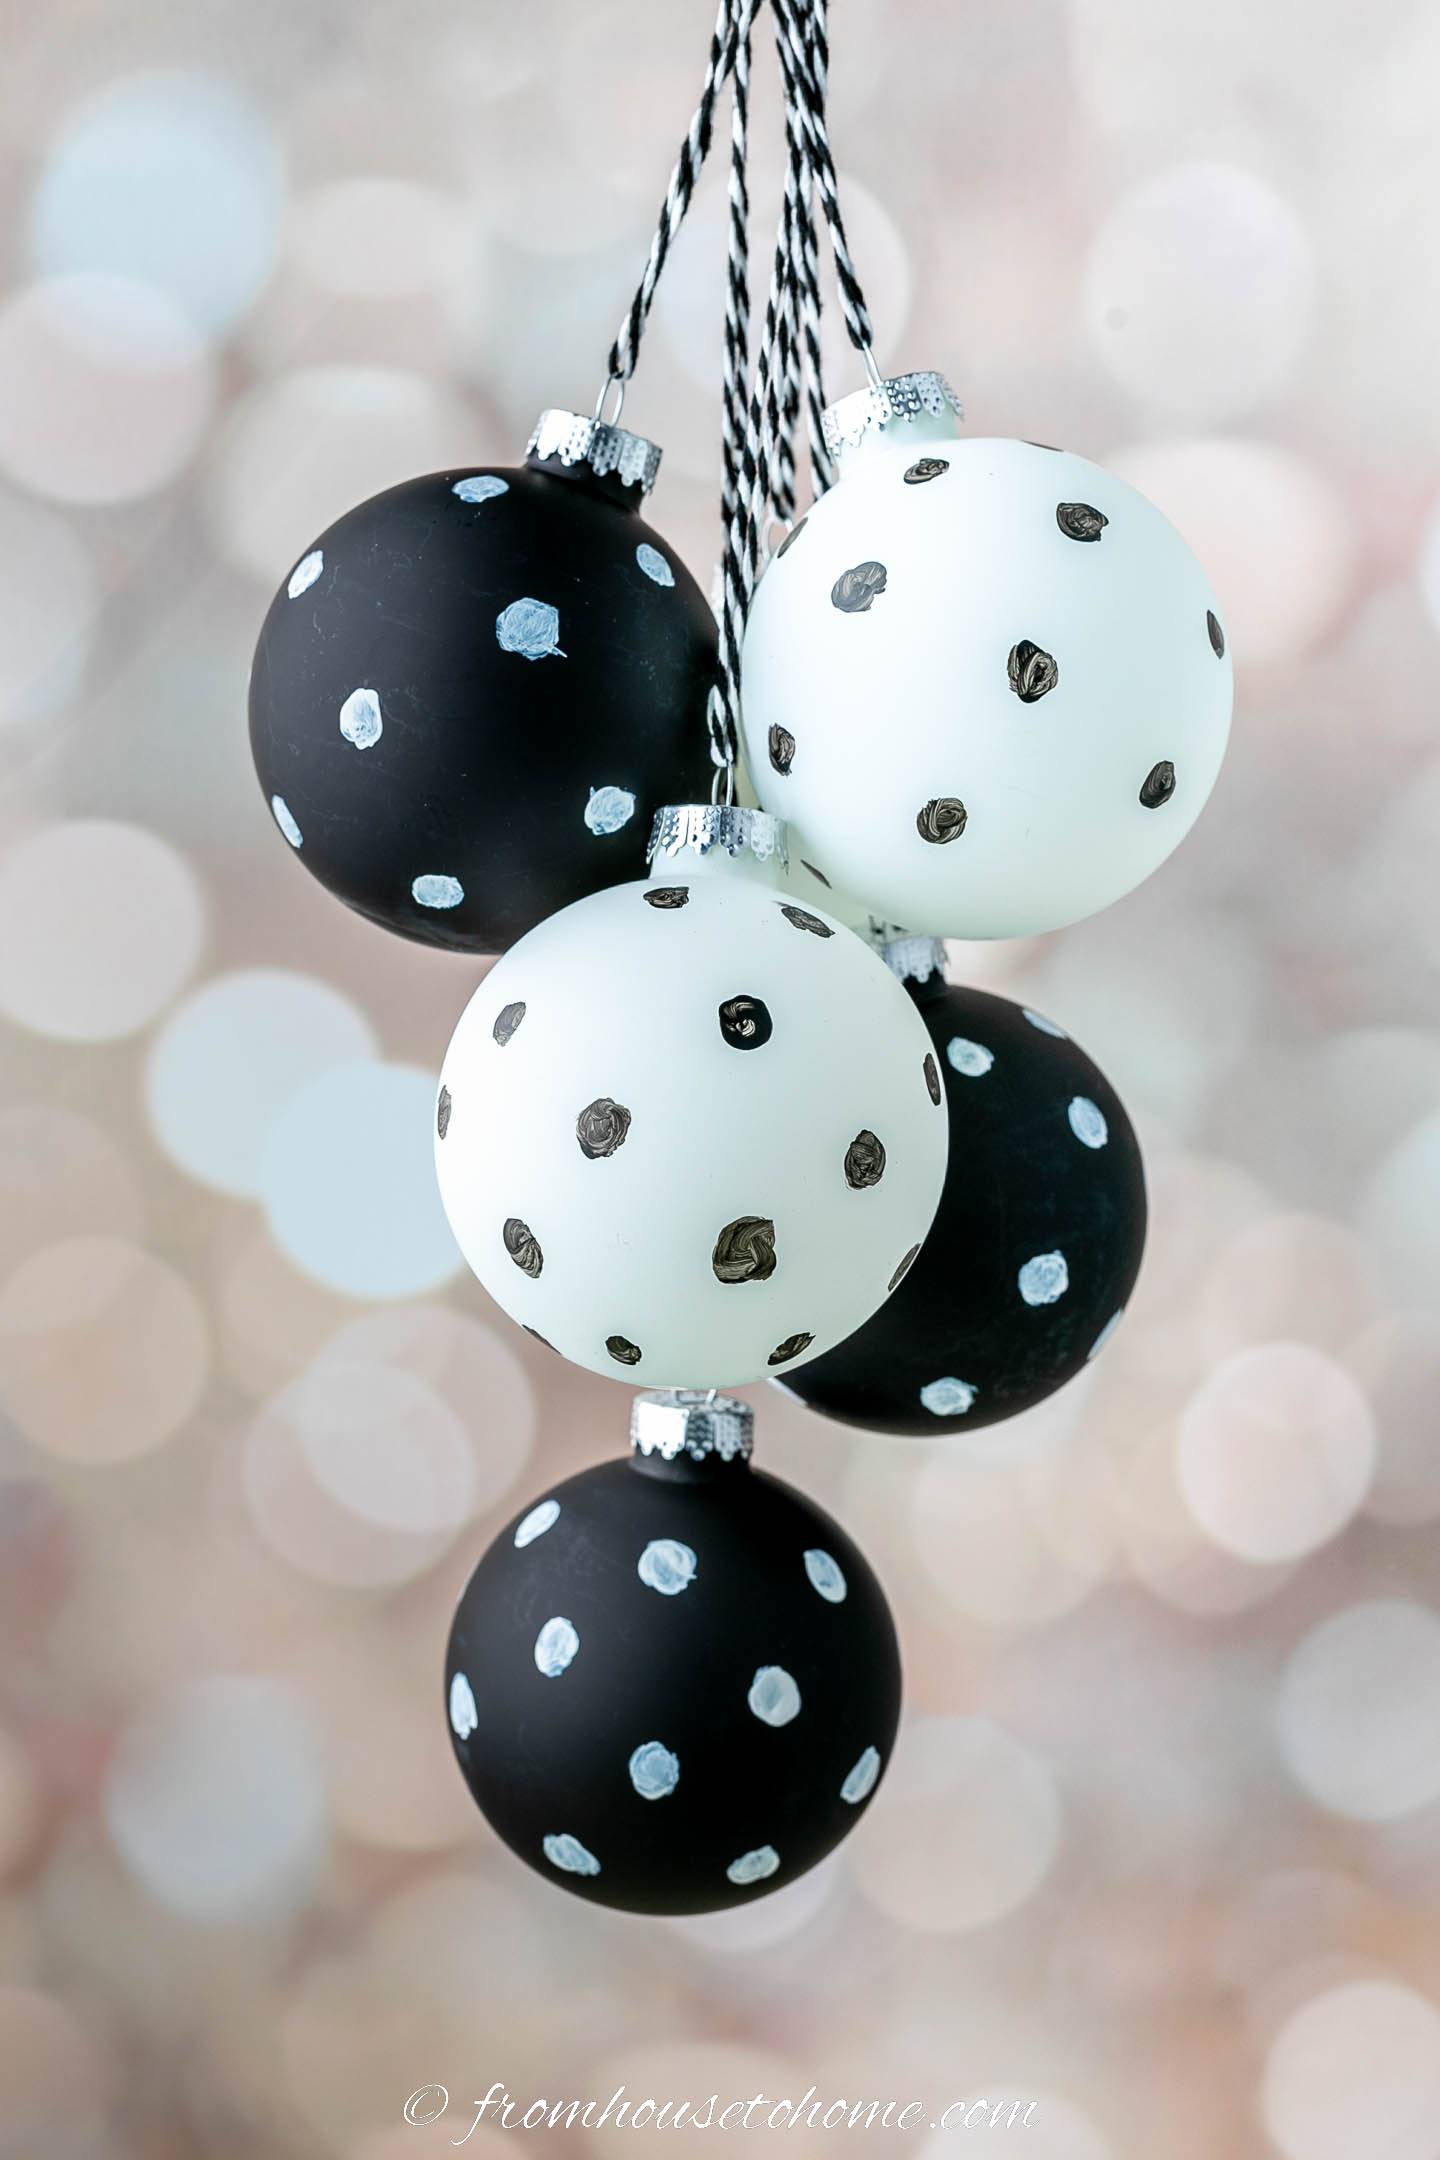
DIY Black And White Polka Dot Christmas Ornaments
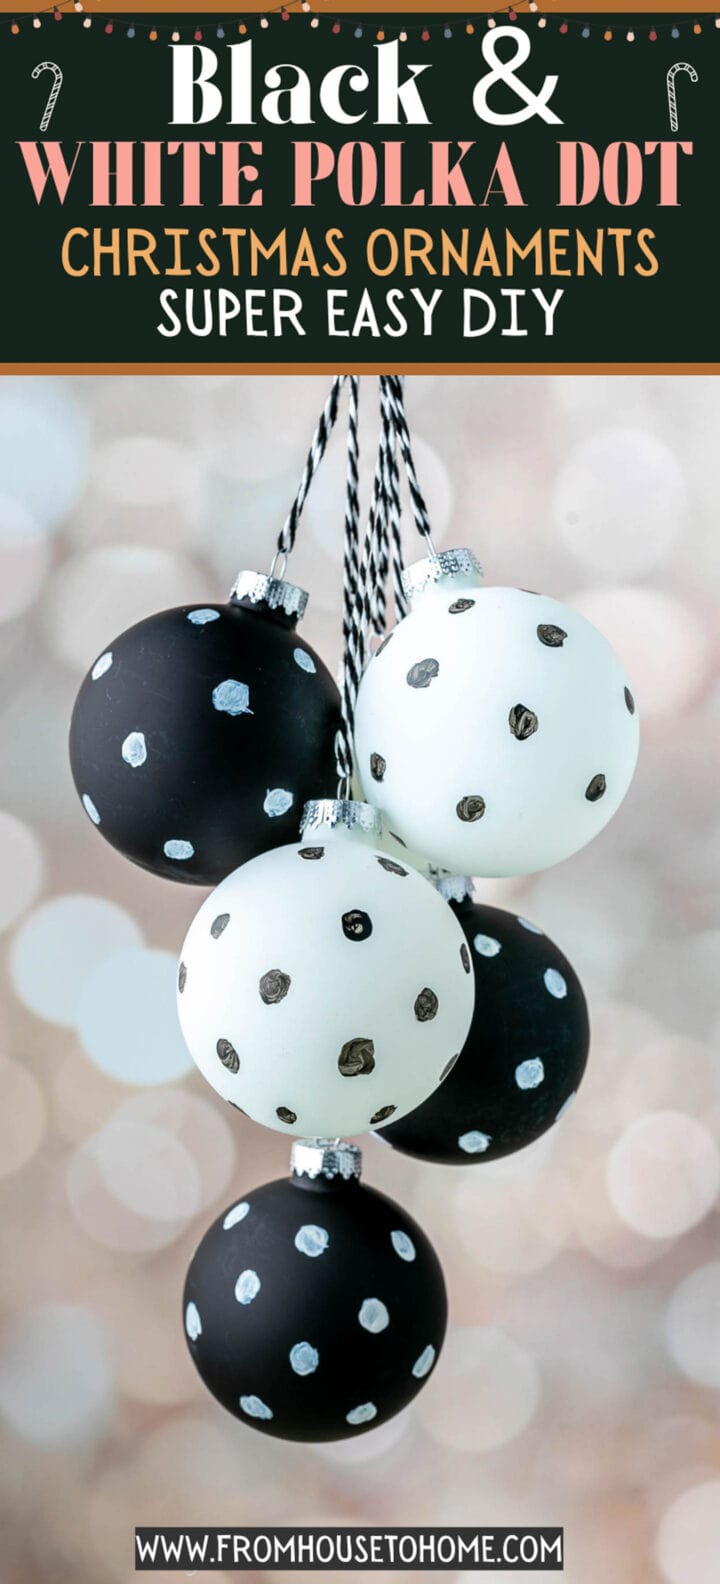
Looking for a quick and easy way to add some fun personality to your Christmas tree this year? These DIY black and white polka dot Christmas ornaments are perfect! They’re super simple and inexpensive to make.
I’m a pretty big fan of using black and white in home decor.
So this year, I decided to use that color scheme for my Christmas decorations.
And quickly realized that finding inexpensive black and white ornaments isn’t that easy to do.
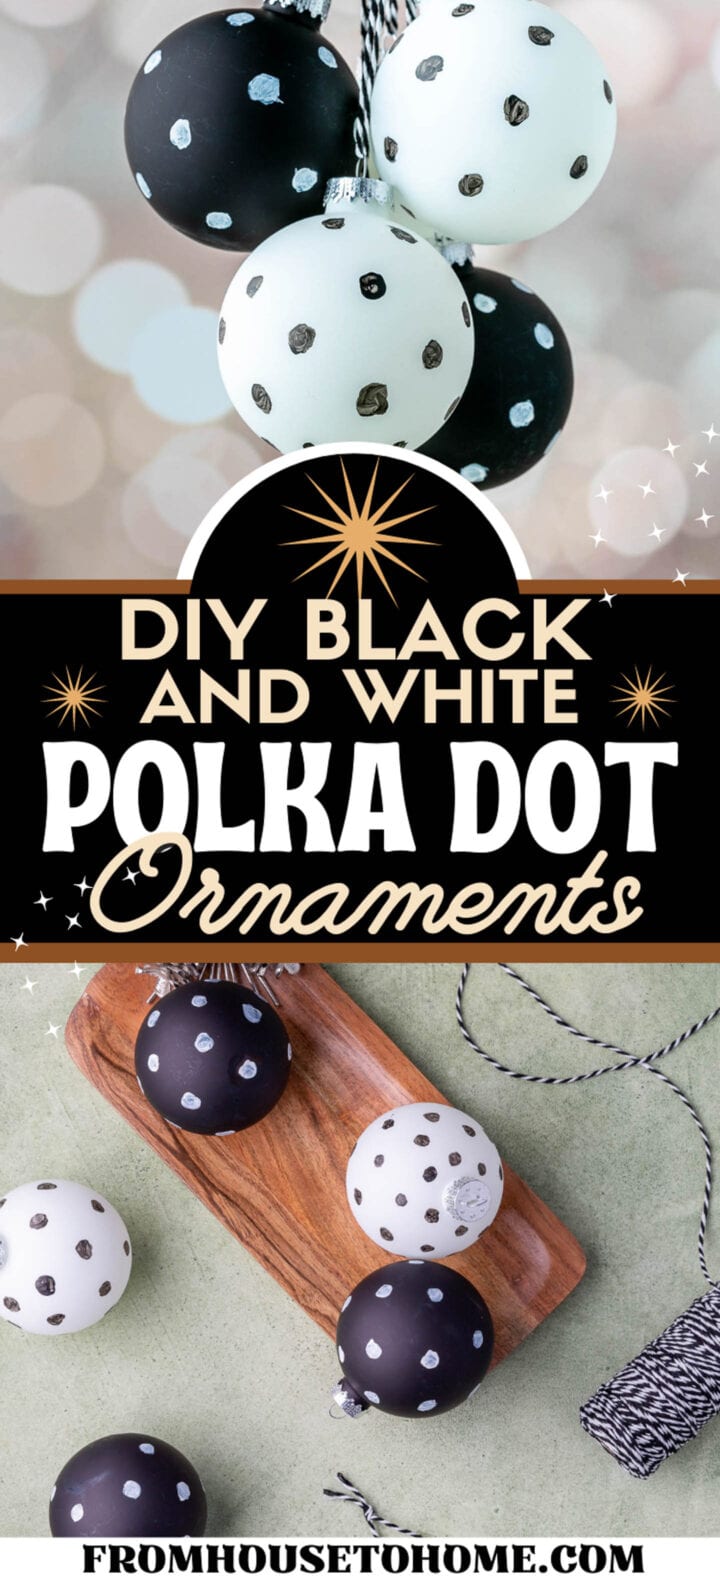
So I decided to make my own using spray paint to create black and white ball ornaments from clear glass ones.
And glass paint to add a simple polka dot design.
If you have a steady hand you could also add stripes or lettering. But I can never get the lines to be straight so I stuck to dots. They’re easier.
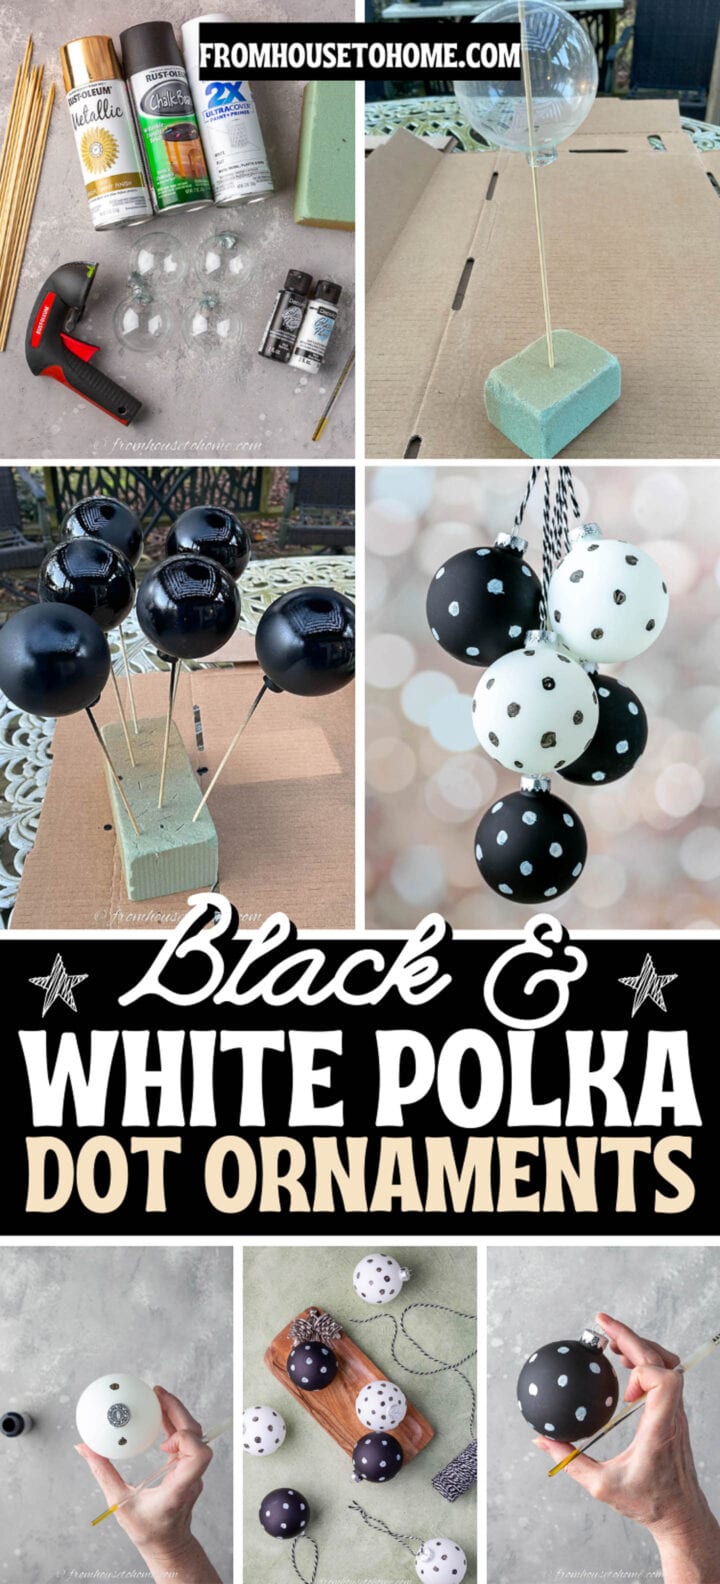
Here’s what you need to make your own DIY black and white Christmas ornaments.
Supplies
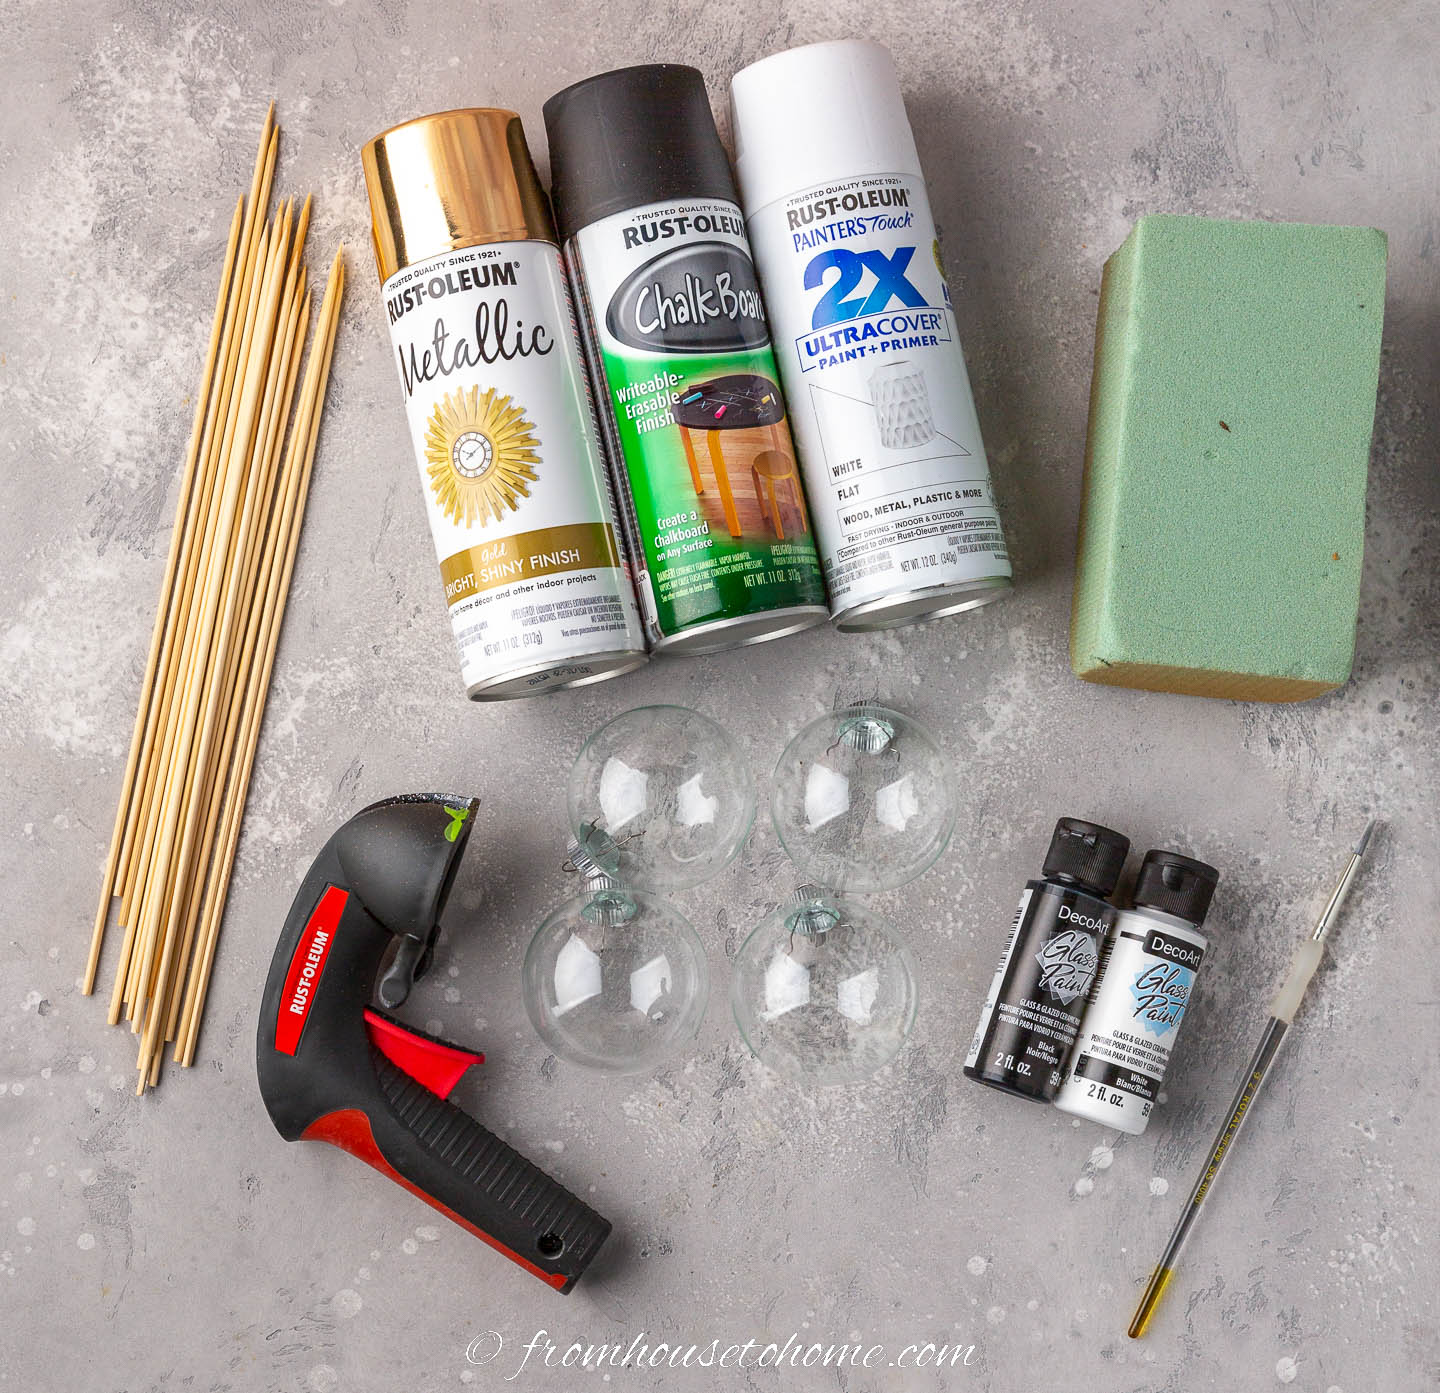
Materials
- 12 3″ plain glass Christmas ornaments – I used these inexpensive clear ones*. But you can use any plain glass ornaments you have hanging around. The ornaments could be bigger than this, but I wouldn’t go much smaller because the dots start to look too crowded. And of course, you can do more than 12 if you want to (there’s more than enough paint in 1 can to do many more than that).
- 12 bamboo skewers or thin round dowels – These hold the ornaments up while you are spray painting them so you will need the same number of these as you have ornaments.
- 2 or 3 pieces floral foam, styrofoam or a box – We’ll use these to hold the ornaments in place while they are being spray painted and drying. You will need enough to hold all of your ornaments, plus a small piece to use while painting.
- 1 can black matte spray paint* – Chalkboard spray paint would also work. Unless you are painting a huge number of ornaments, 1 can of spray paint should be enough.
- 1 can white matte spray paint*
- 1 can gold spray paint* (optional) – I used this to paint the tops of the ornaments since my Christmas tree color scheme is using gold instead of silver.
- 1 bottle black glass paint* – This is to draw on the polka dots. I found glass paint works better than markers because it dries really fast and doesn’t smudge or rub off.
- 1 bottle white glass paint*
- hooks for hanging the ornaments to dry
Tools
- spray paint trigger* (optional) – This is not absolutely necessary but makes spray painting much easier on your hands.
- small round paint brush – You want this to be as small as possible to give you the best control over your paint designs.
How to make DIY black and white Christmas ornaments
1 | Spray paint the ornaments
Remove the tops of the ornaments. (They should pull right out). Put them somewhere that they aren’t going to get lost.
Attach the spray paint trigger to the black spray paint can (if you are using one).
Shake the can for at least a minute. This is very important for getting the paint to come out evenly. (Find more spray painting tips HERE).
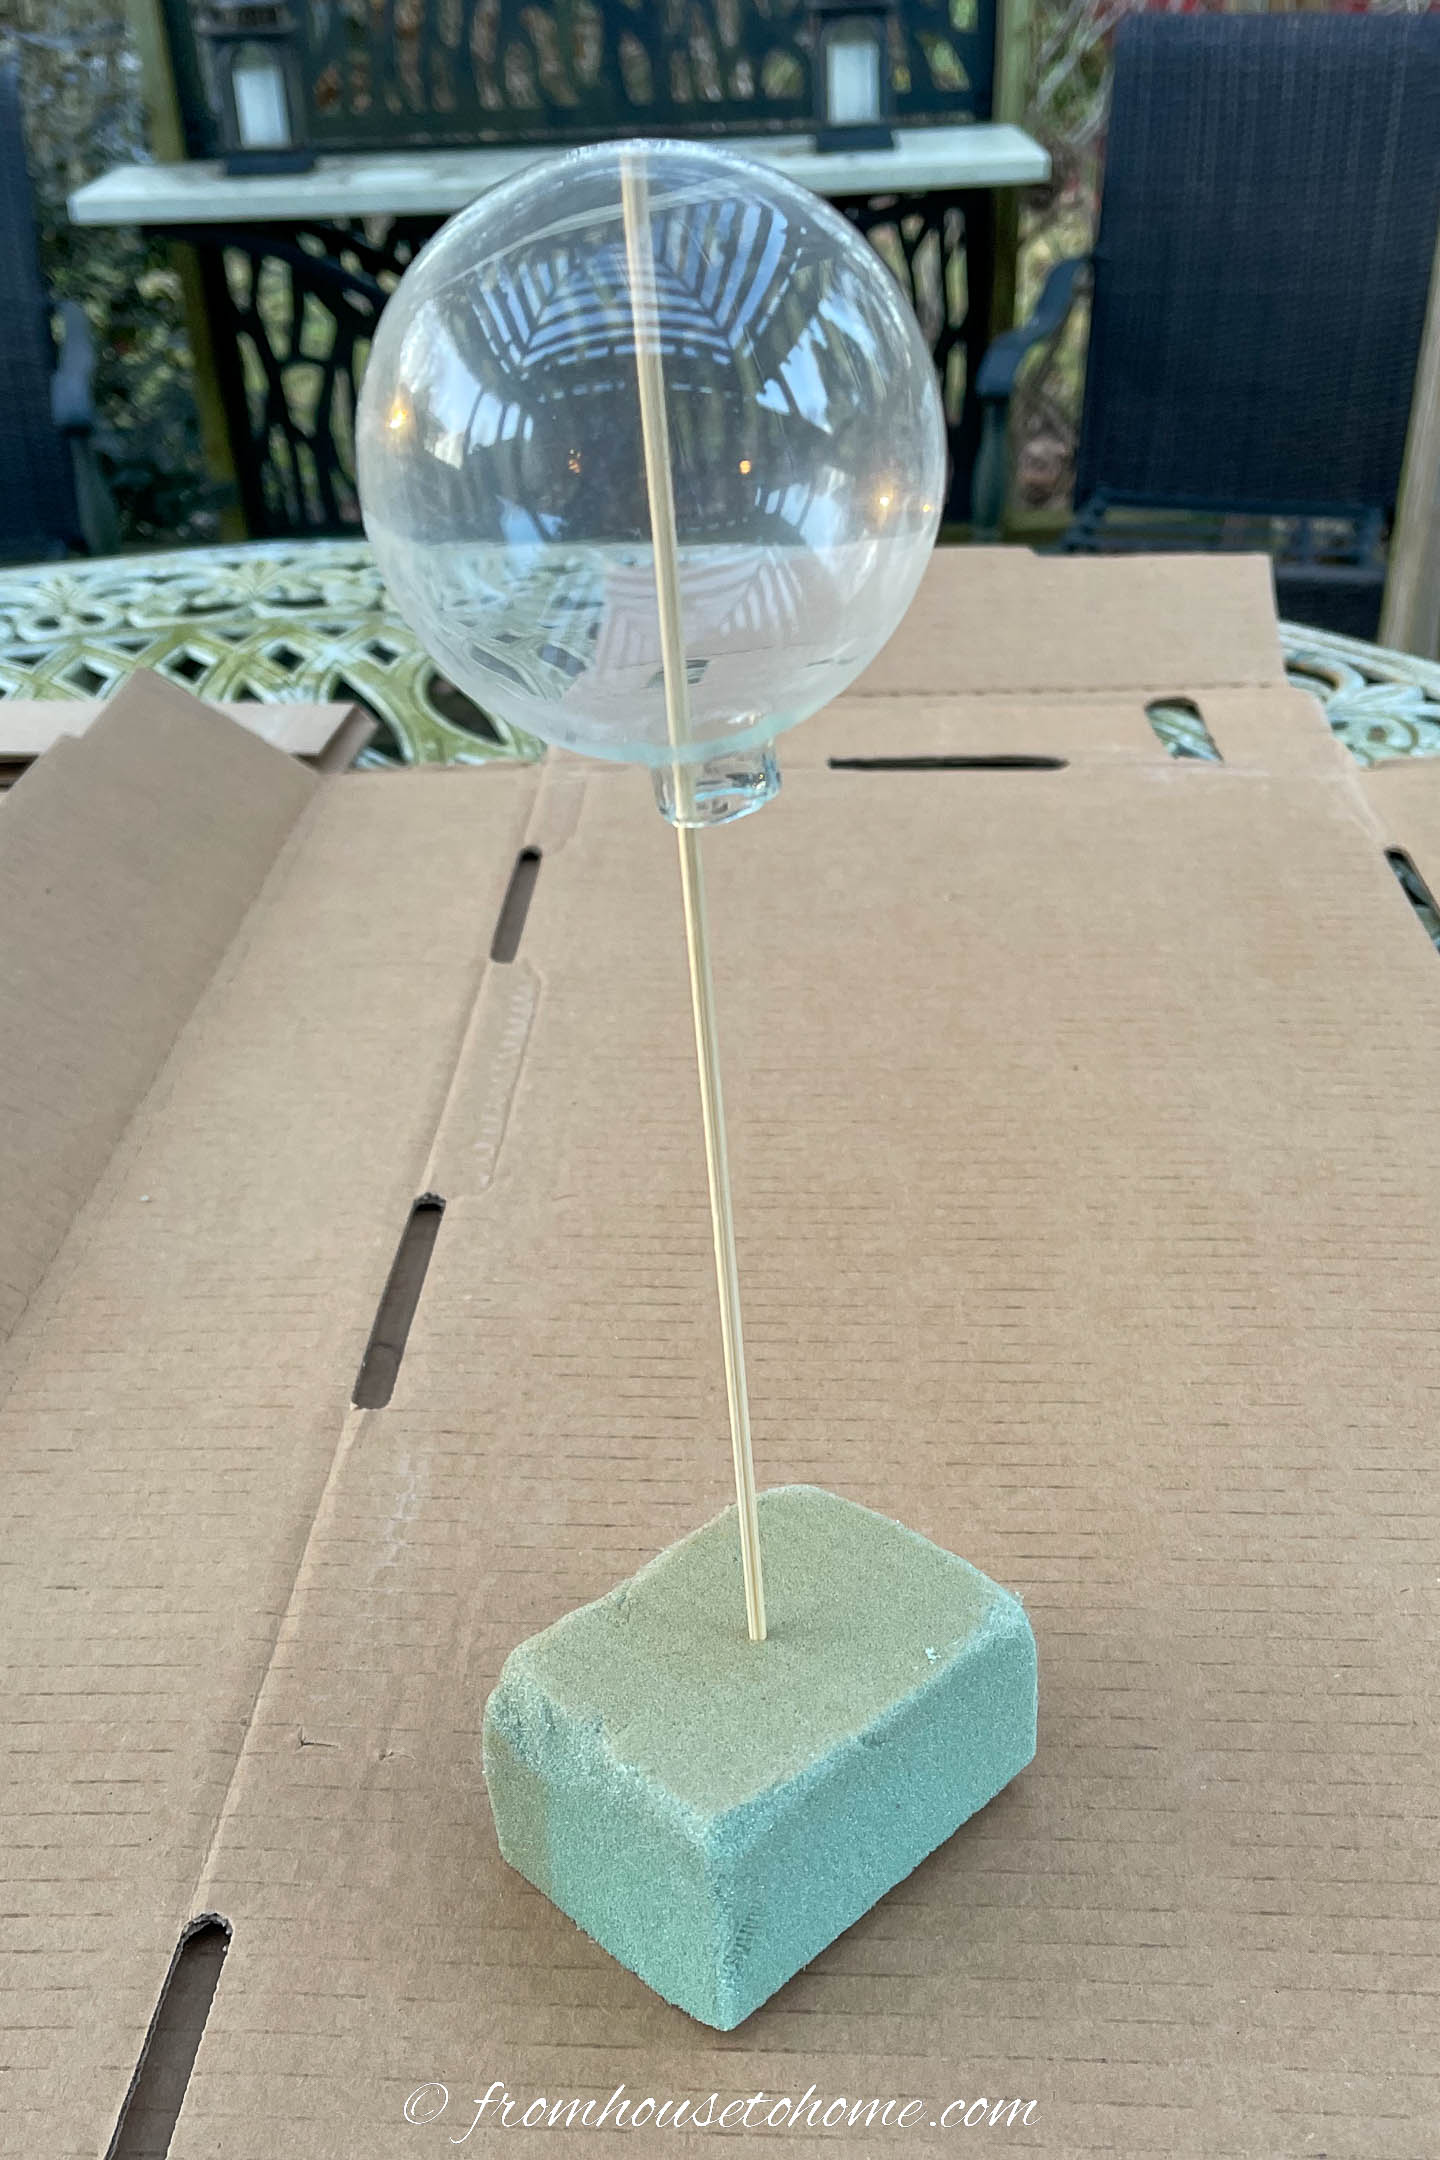
Insert a skewer into a small piece of floral foam.
Use the other end of the skewer to hold up an ornament by putting it through the hole in the top.
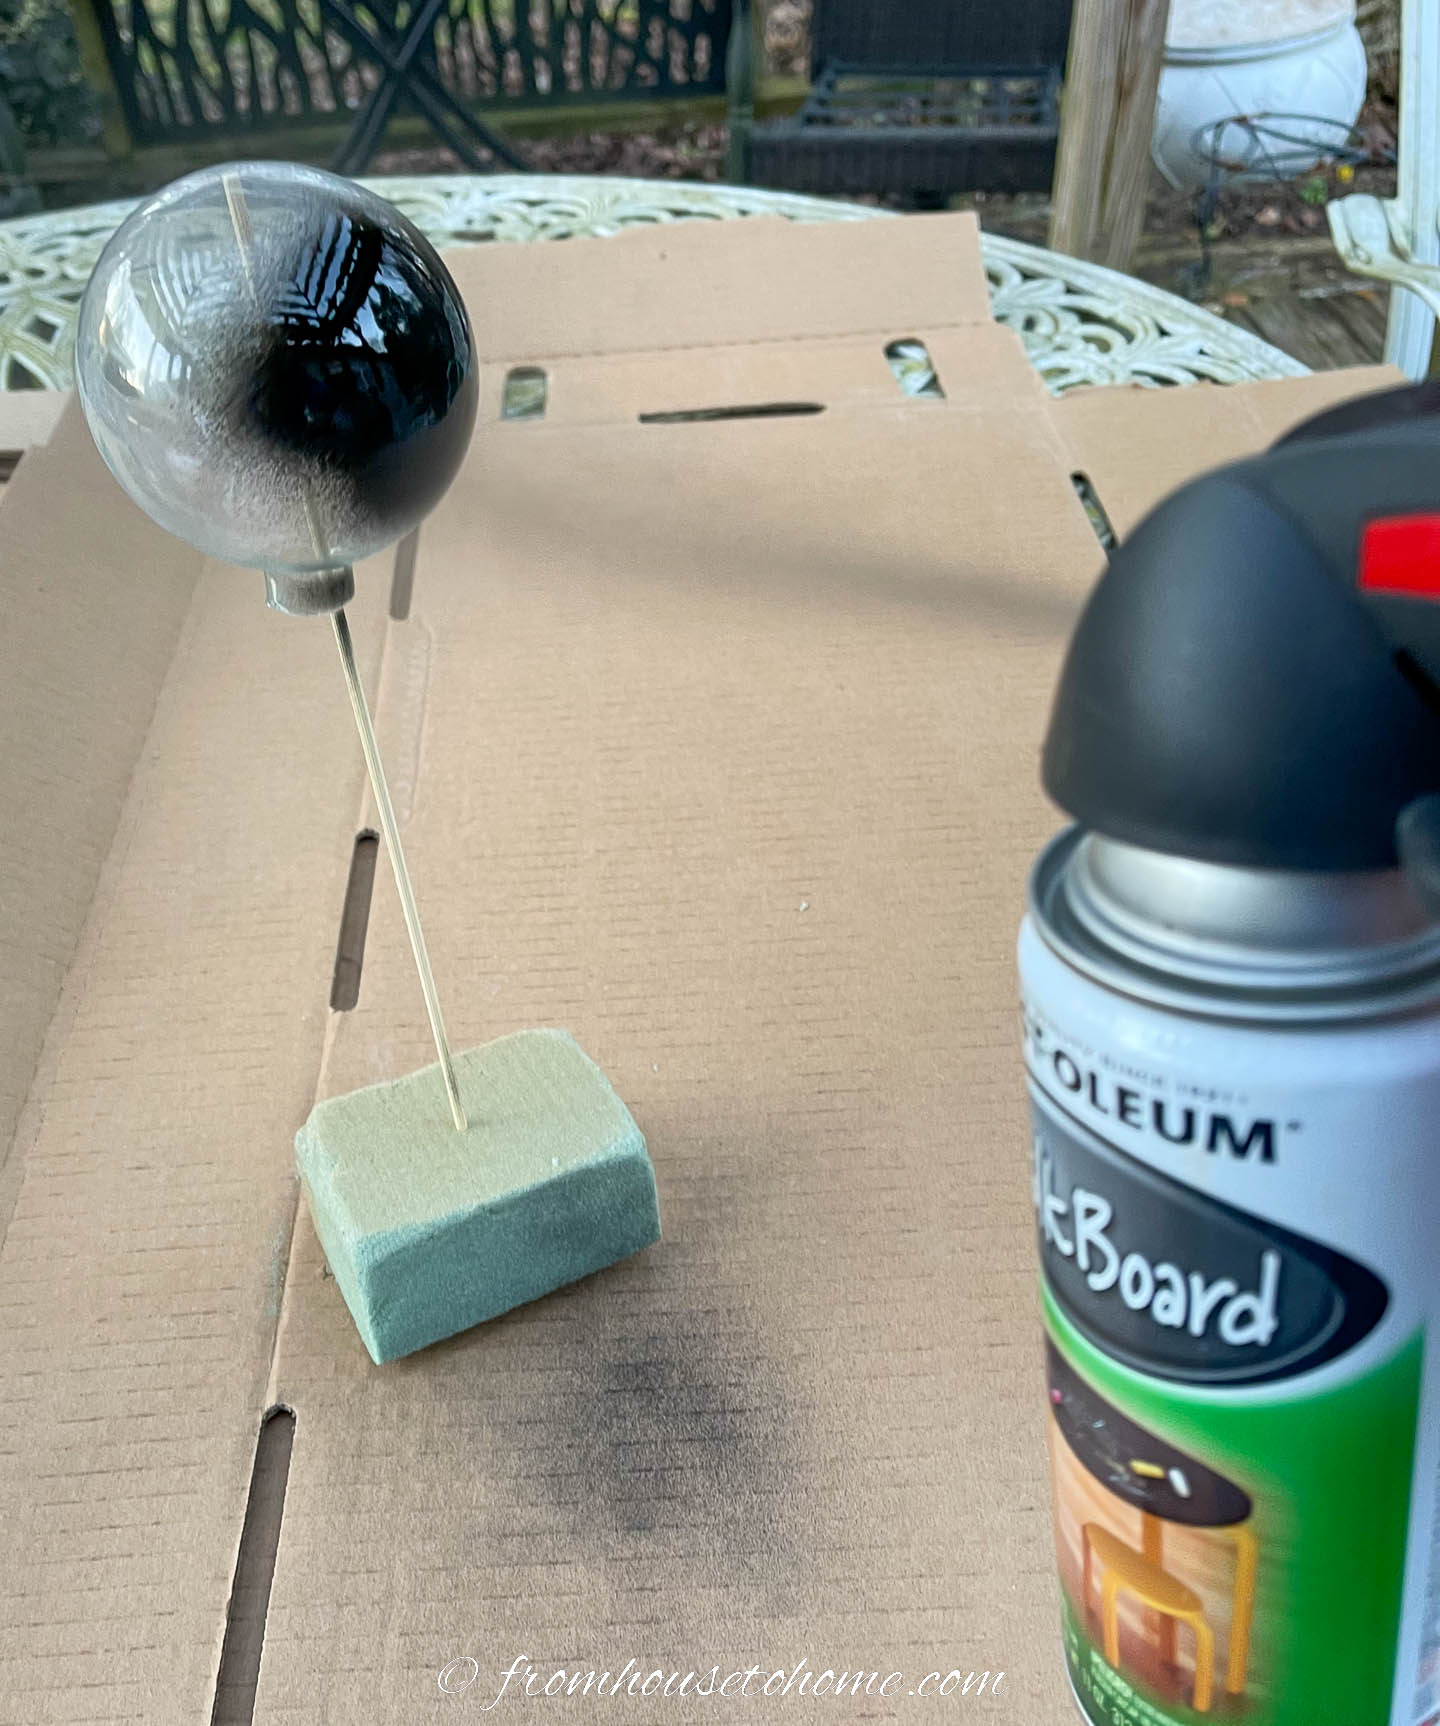
Then spray paint the ornament.
Make sure to cover the top and bottom. And rotate the ornament on the stick to get the other side.
If you use a small piece of foam like I did, you may need to hold it to keep it steady.
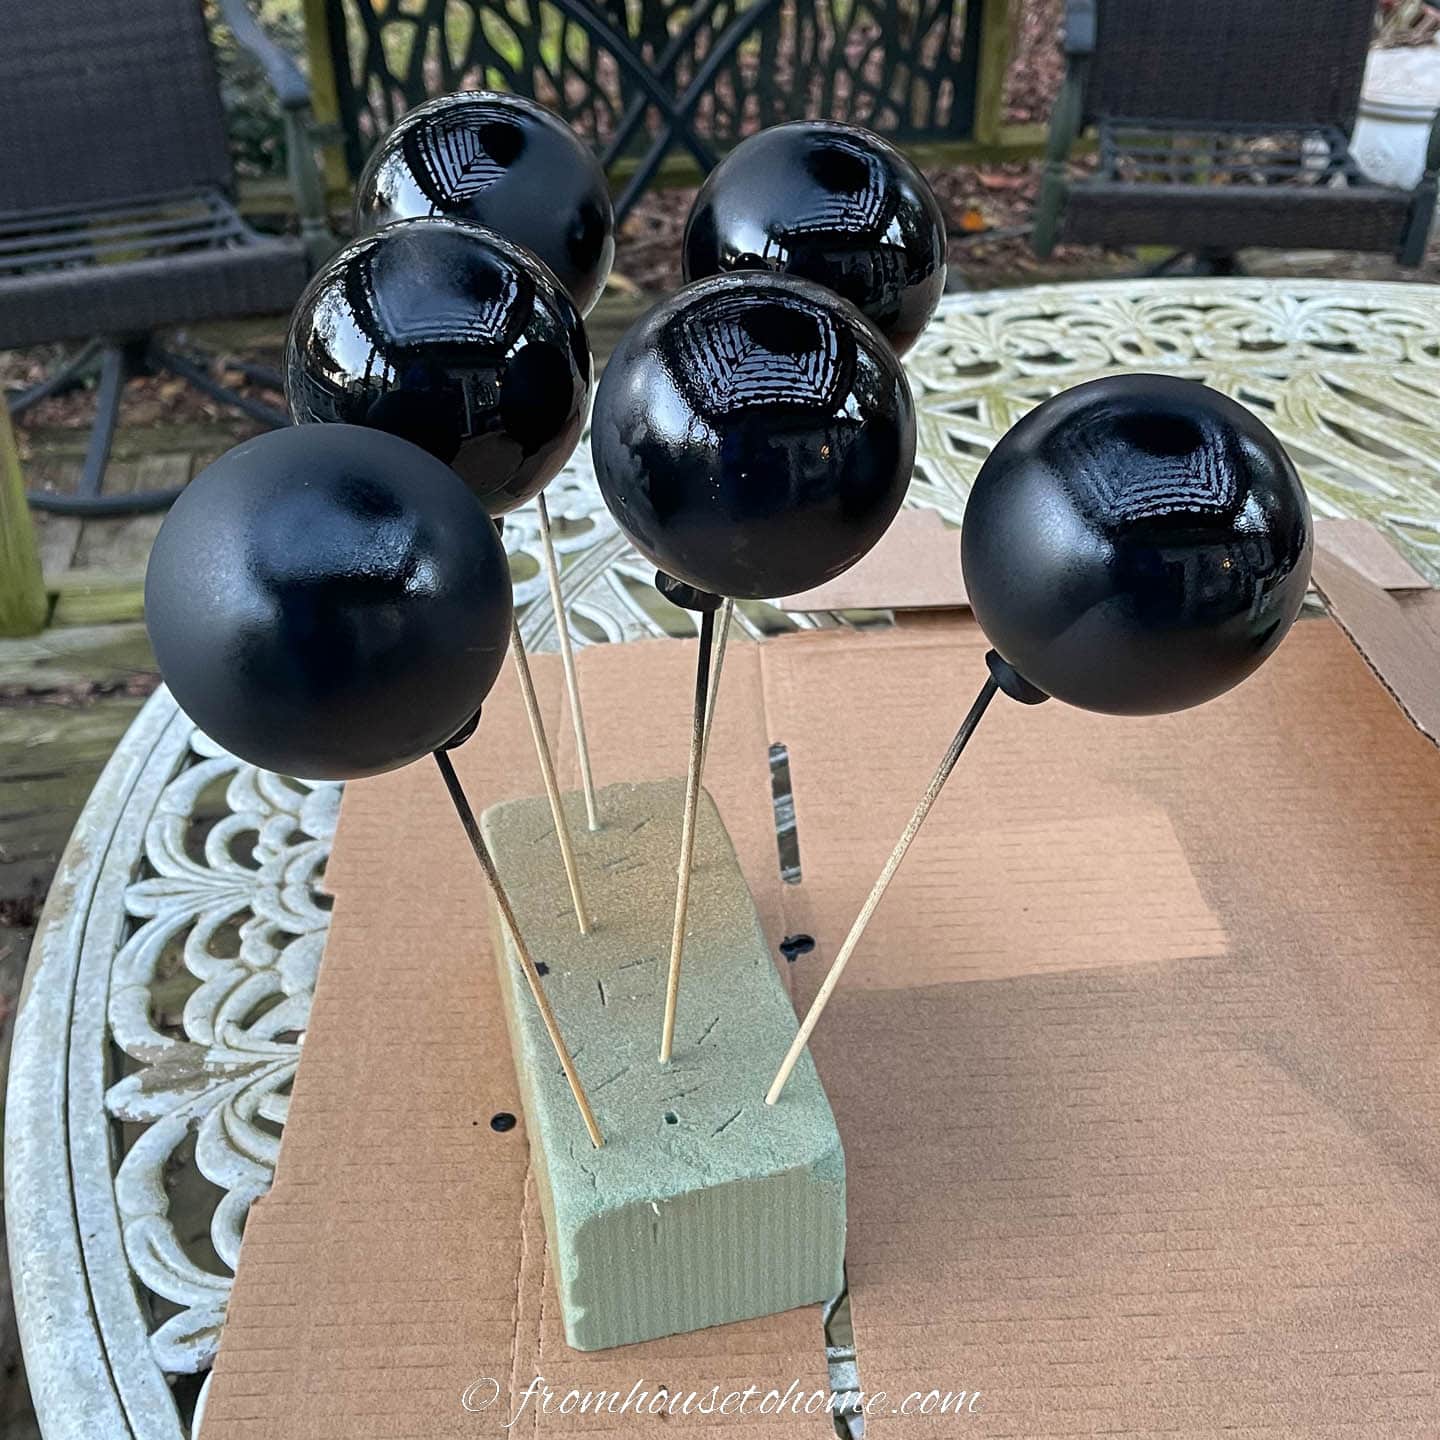
When you are finished, put the skewer into a larger piece of foam and repeat the painting process with the next ornament.
Make sure the ornaments don’t touch each other while they are drying.
When you have painted half of them, switch the paint gun over to the white spray paint and finish the rest of them.
Make sure that the floral foam with the black ornaments is located away from the painting area so they don’t get white paint on them.
2 | Paint the ornament tops (optional)
If you want the ornament tops to be a different color than they were originally, you can spray paint them, too.
I didn’t end up using these (mostly because I didn’t feel like painting them all). But they would look quite nice on the ornaments.
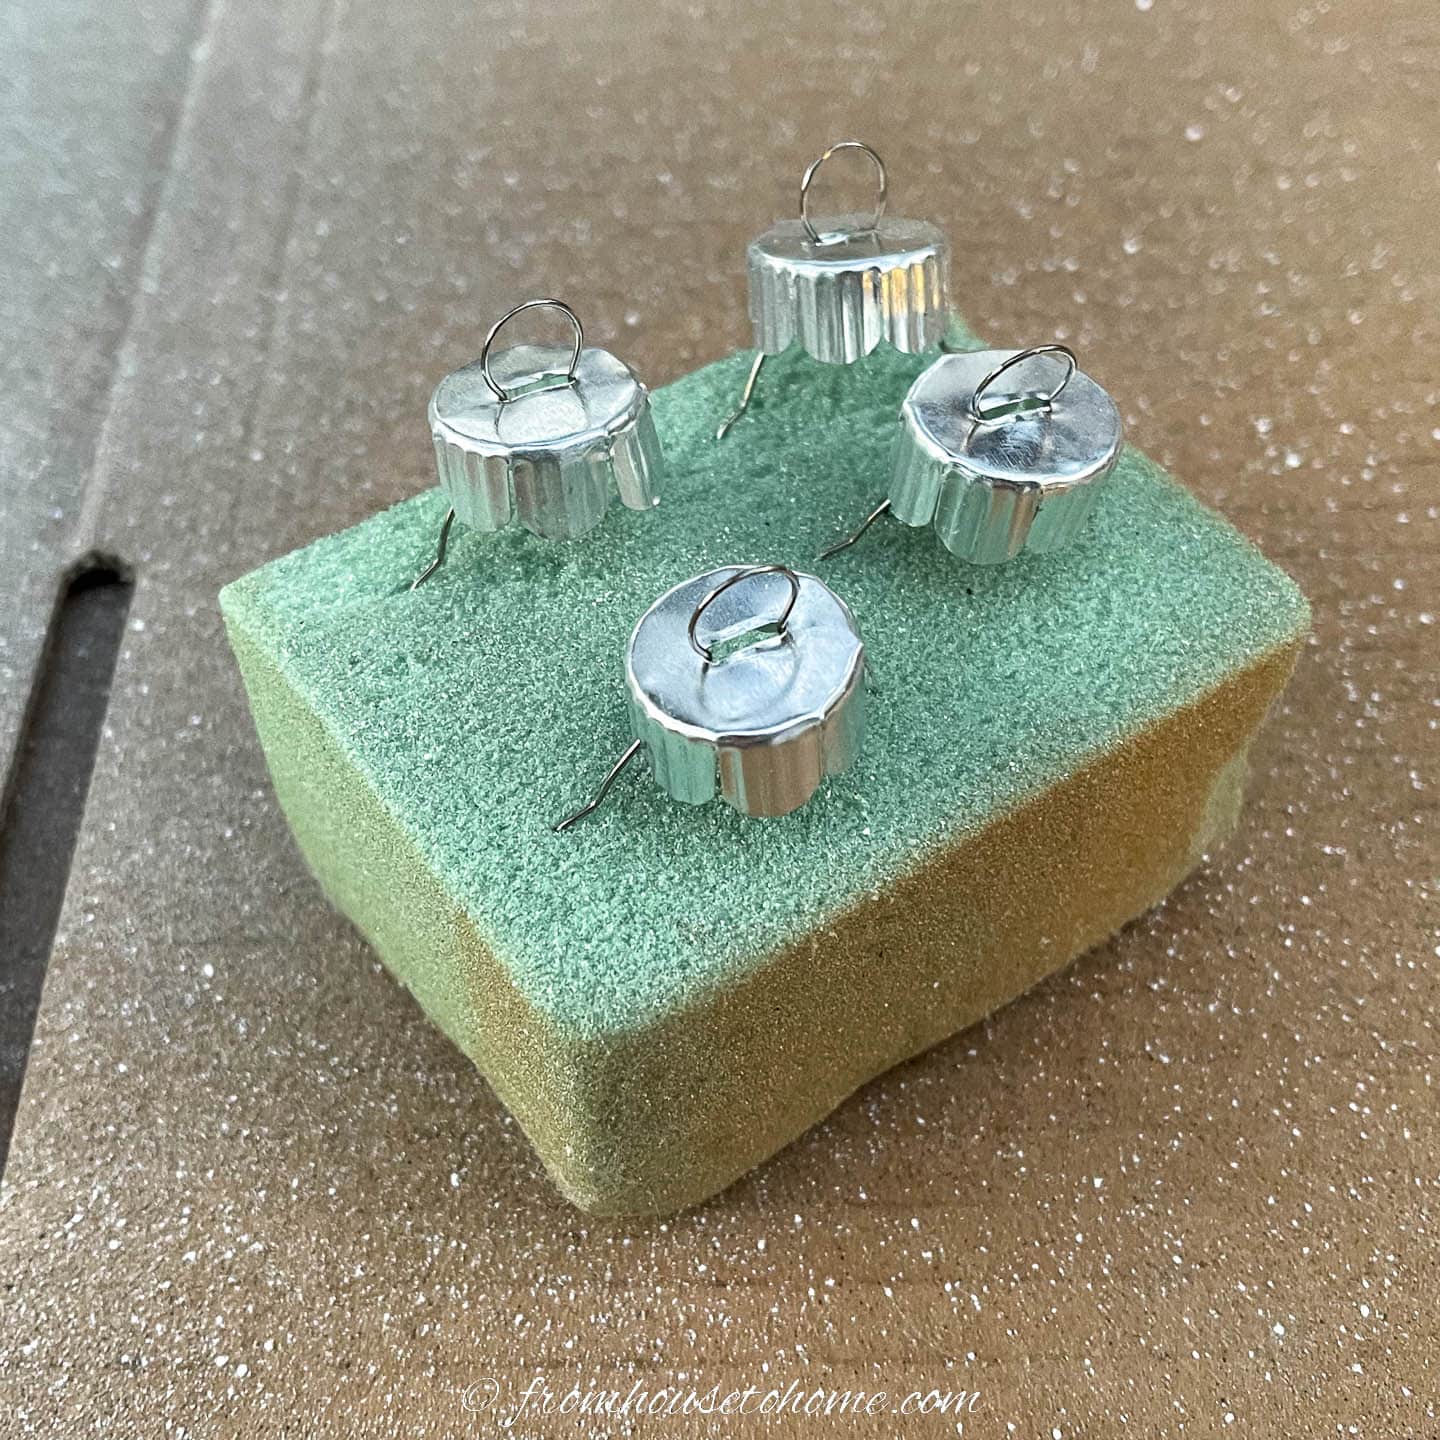
Stick the ends of the tops into a piece of floral foam.
Then spray them with gold (or whatever other color you want them to be).
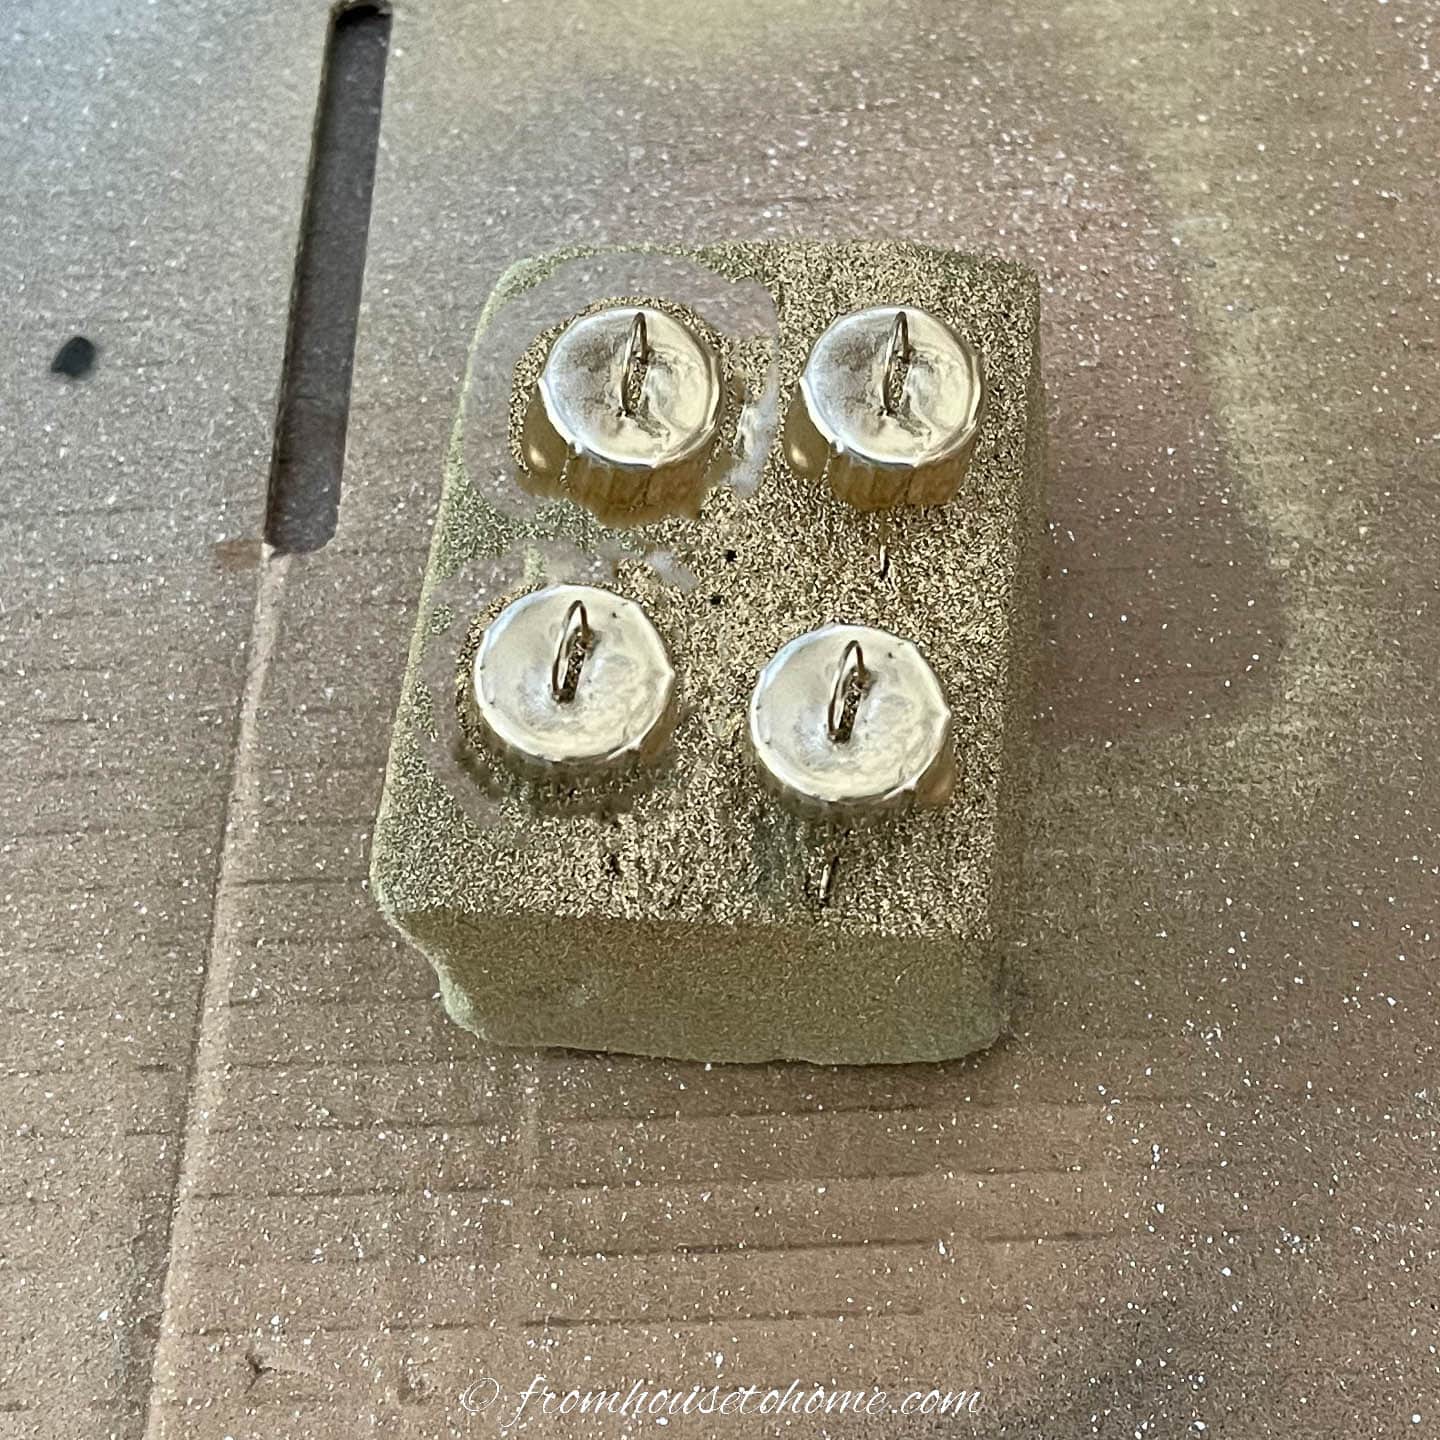
Let them dry before removing them from the foam.
3 | Paint the first row of polka dots
Make sure that the spray paint has dried on the ornaments before starting this step. This usually takes about an hour but could be longer depending on the temperature and humidity in your area.
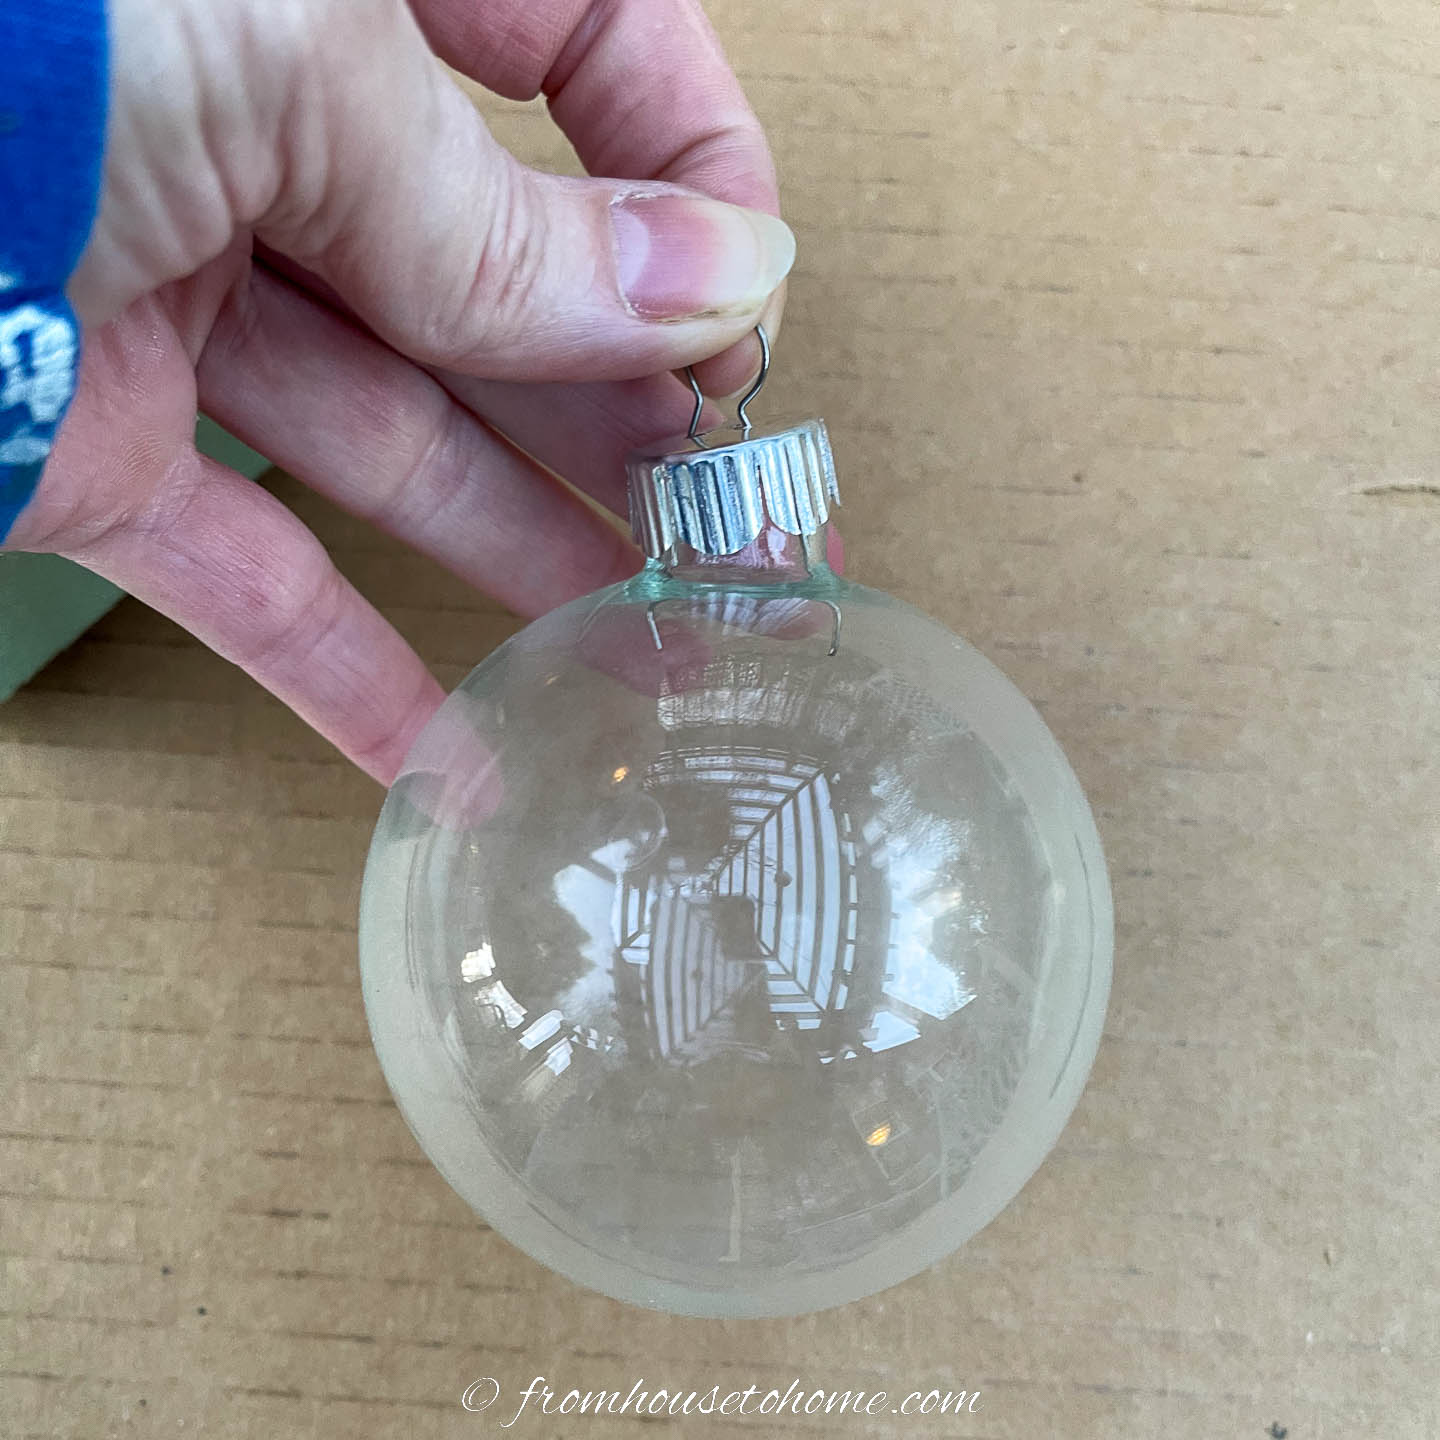
Put the tops back on your ornaments.
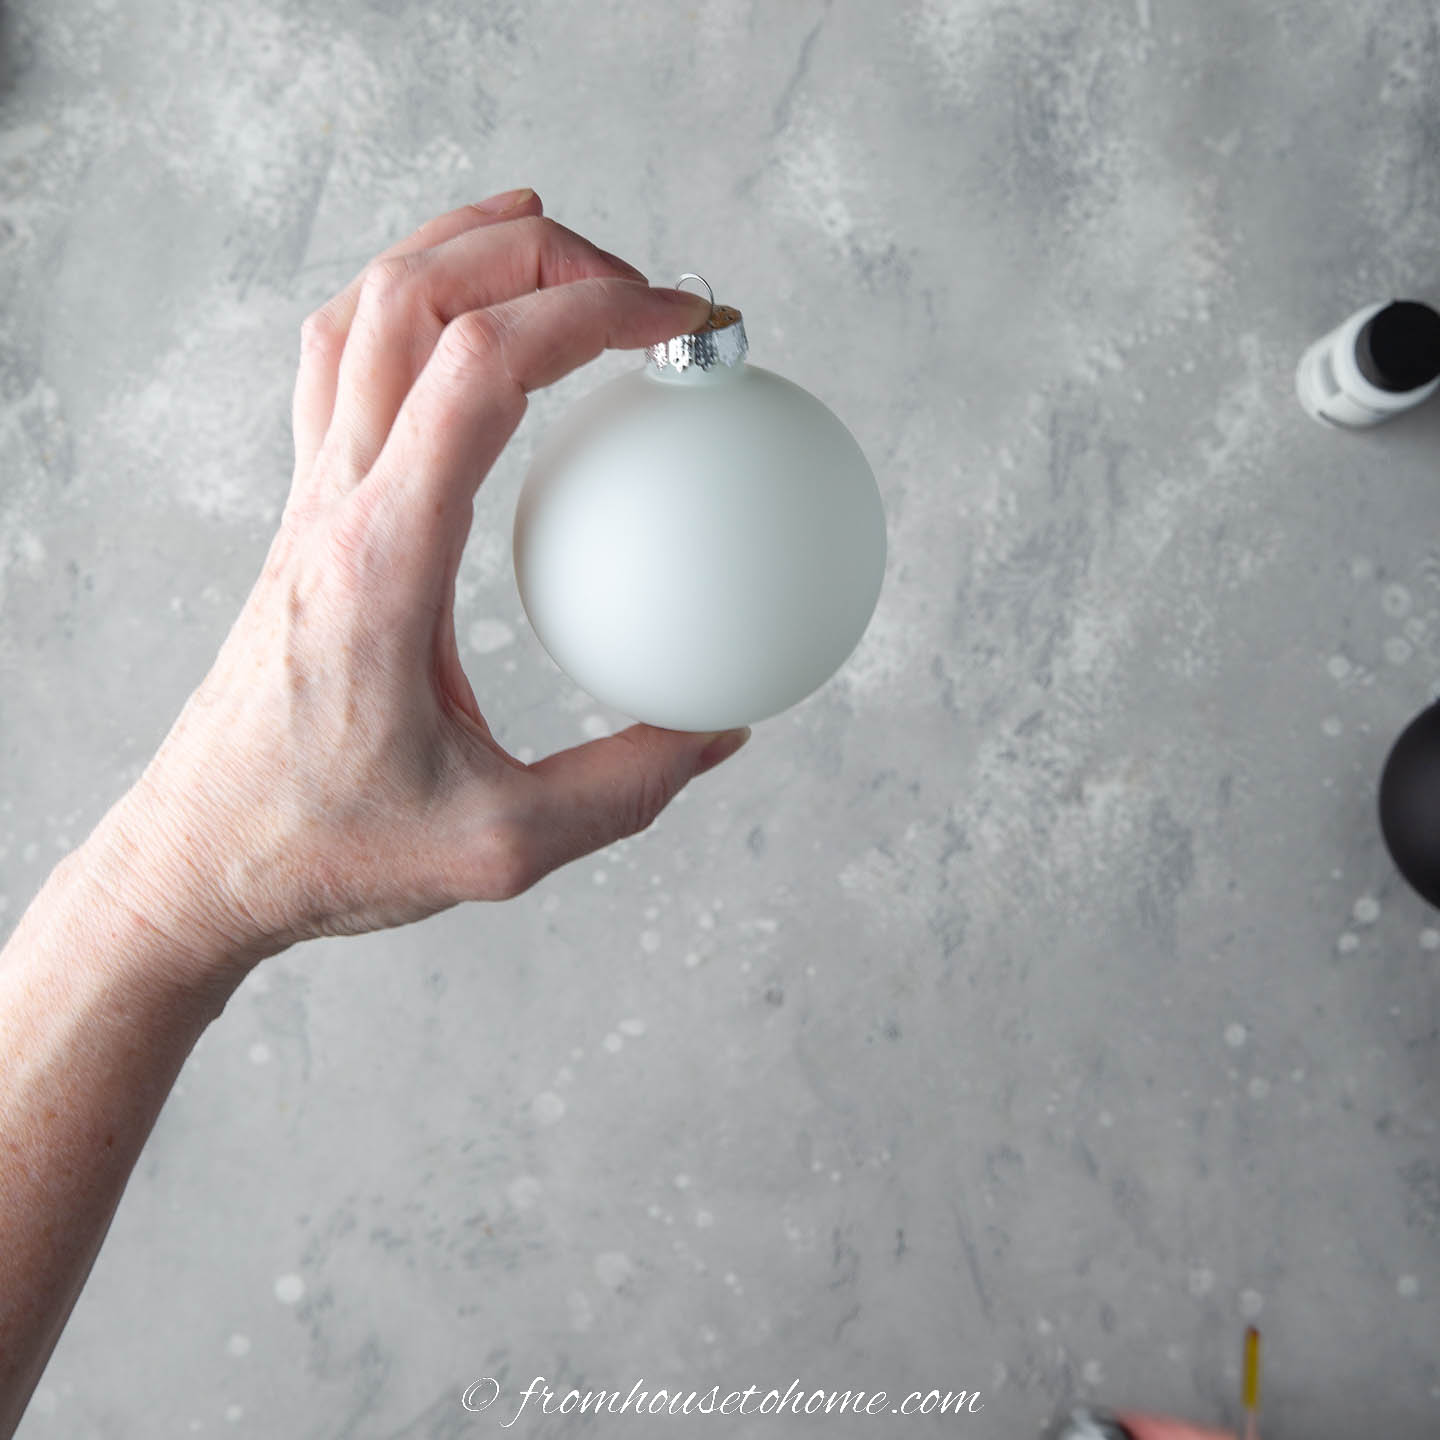
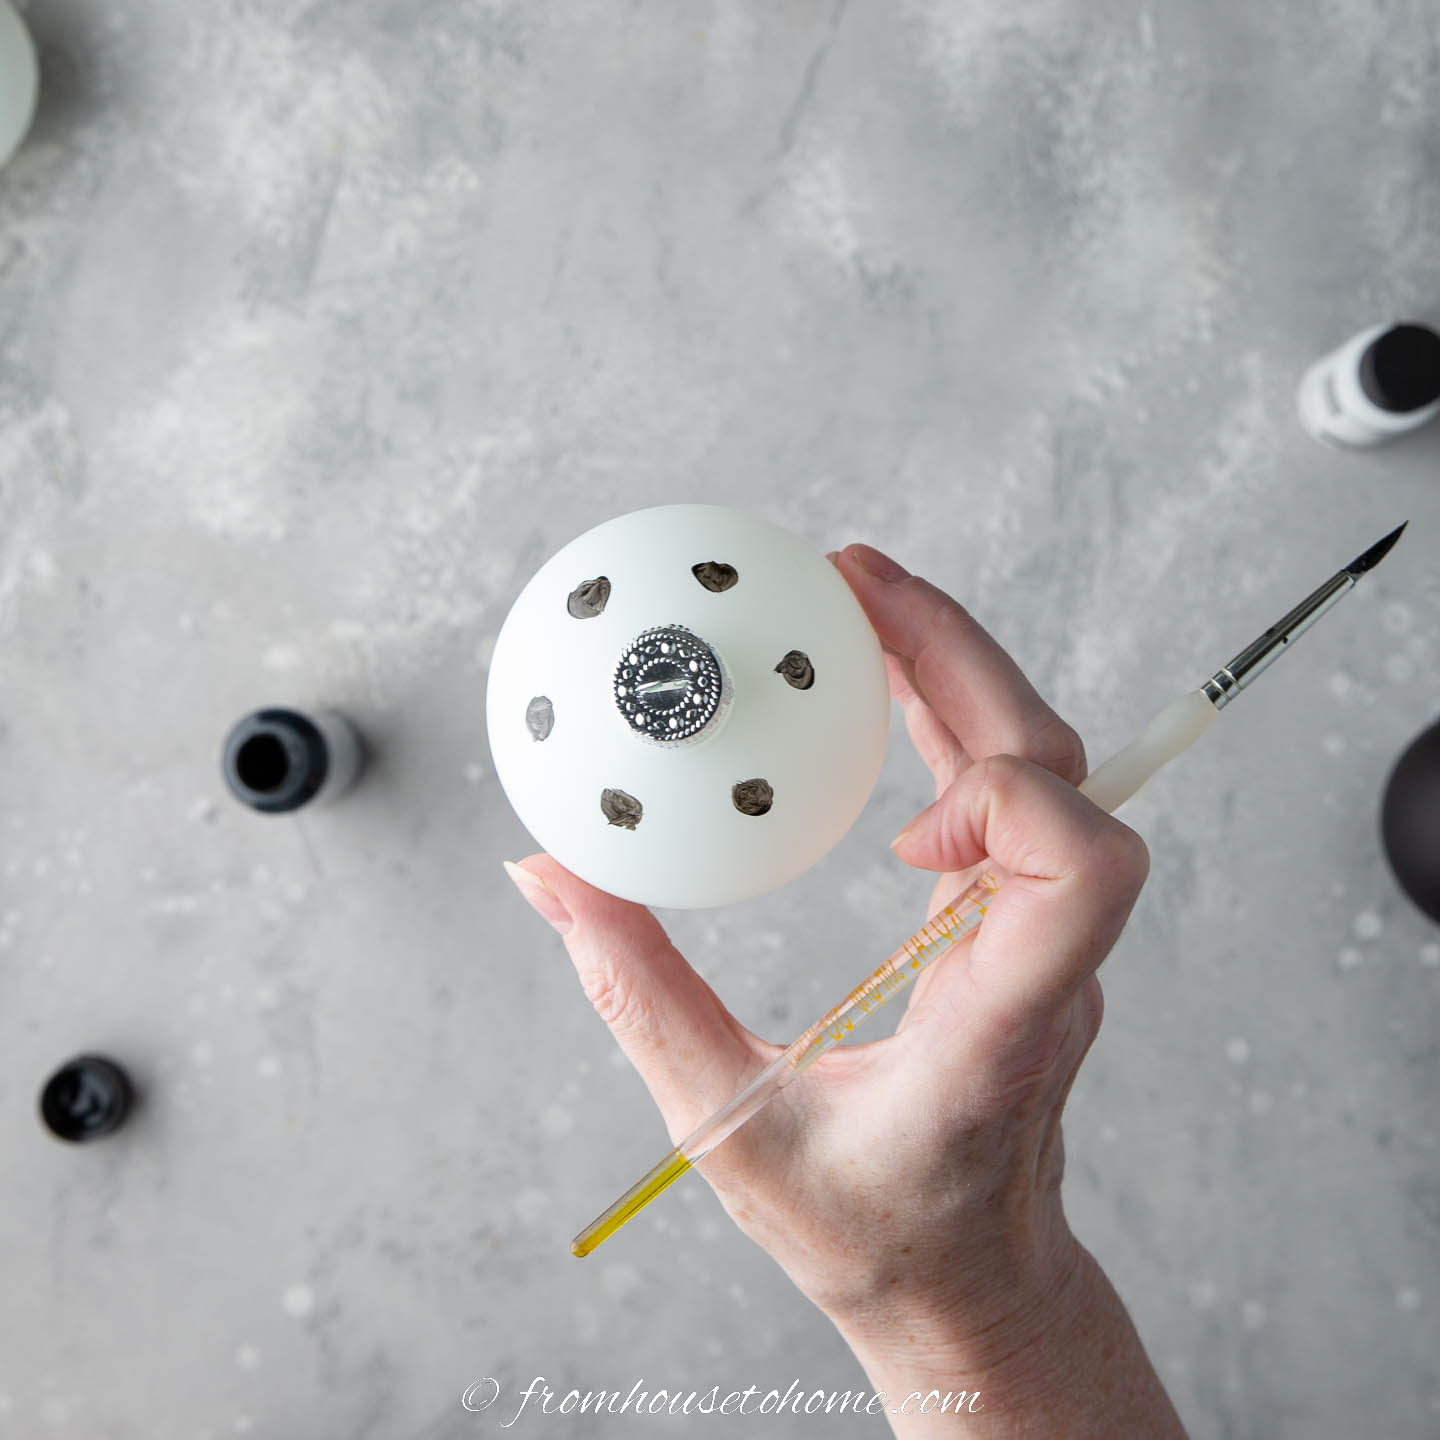
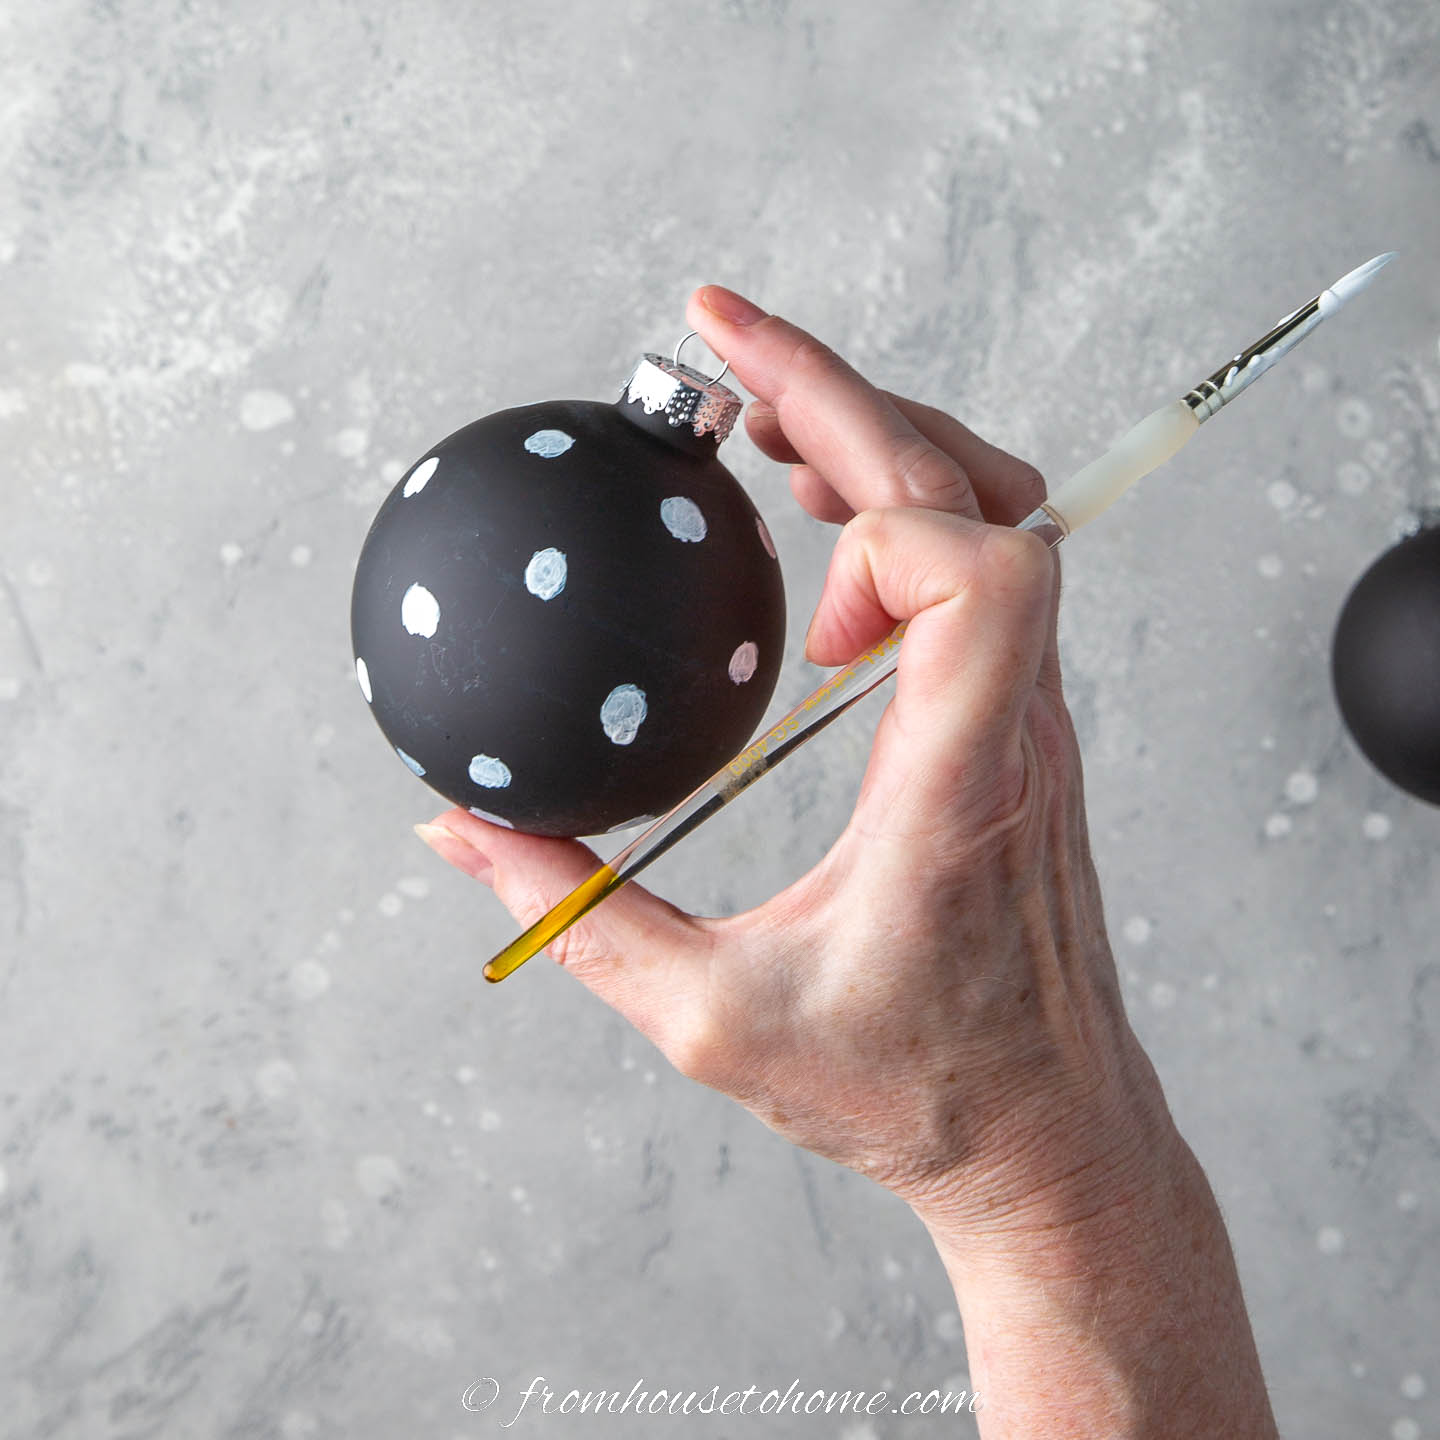
Then with your non-painting hand, hold the ornament with your index finger on the top and your thumb on the bottom.
This way you don’t have to worry about messing up the painted dots.
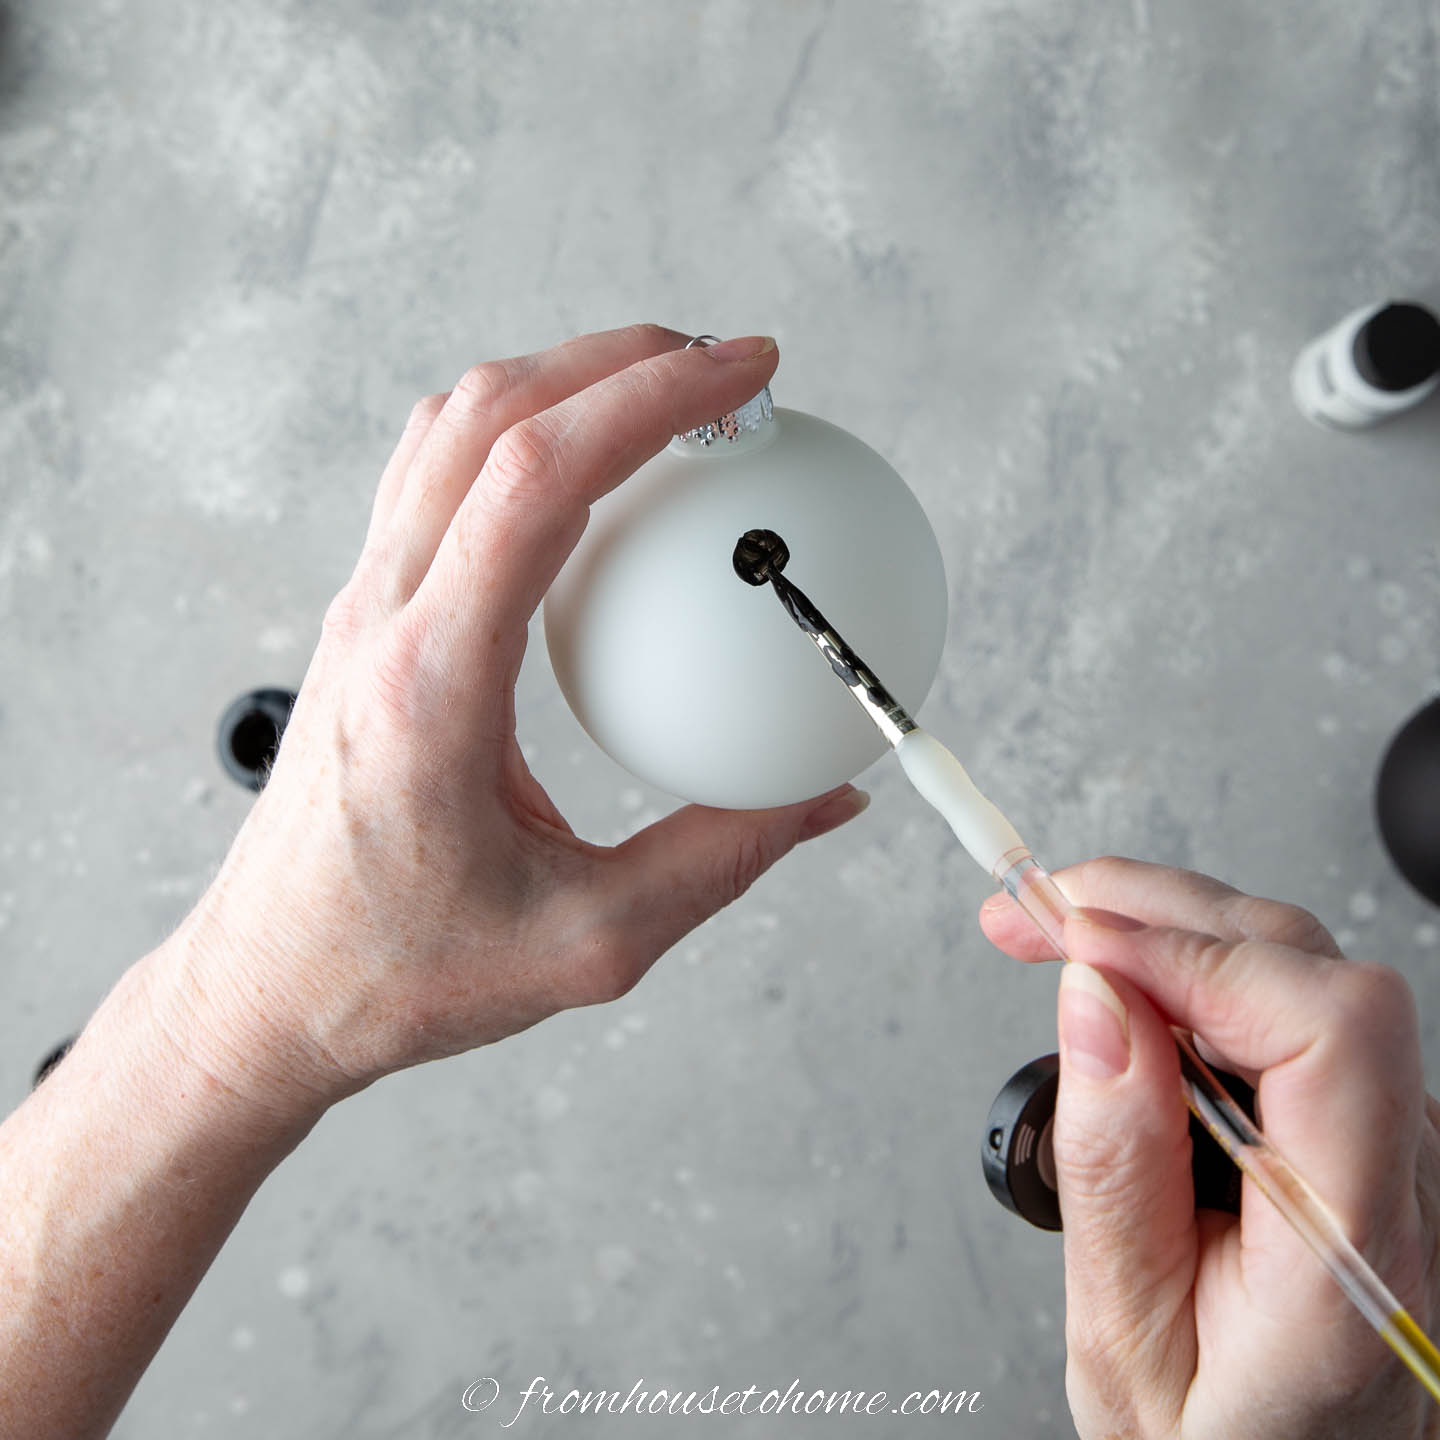
Starting with the white glass paint and a black ornament, paint a dot about half an inch from the top of the ornament.
The dots should be about 1/4″ across. They don’t have to be exactly that size, but you want them to be big enough that they look in scale with the size of your ornament.
Don’t worry if the dot isn’t perfectly round. When they are all on there, the pattern will still look like polka dots.
If the paint doesn’t cover as well as you would like it, you can go back over it with a second coat after you have finished painting all of the dots on that ornament.
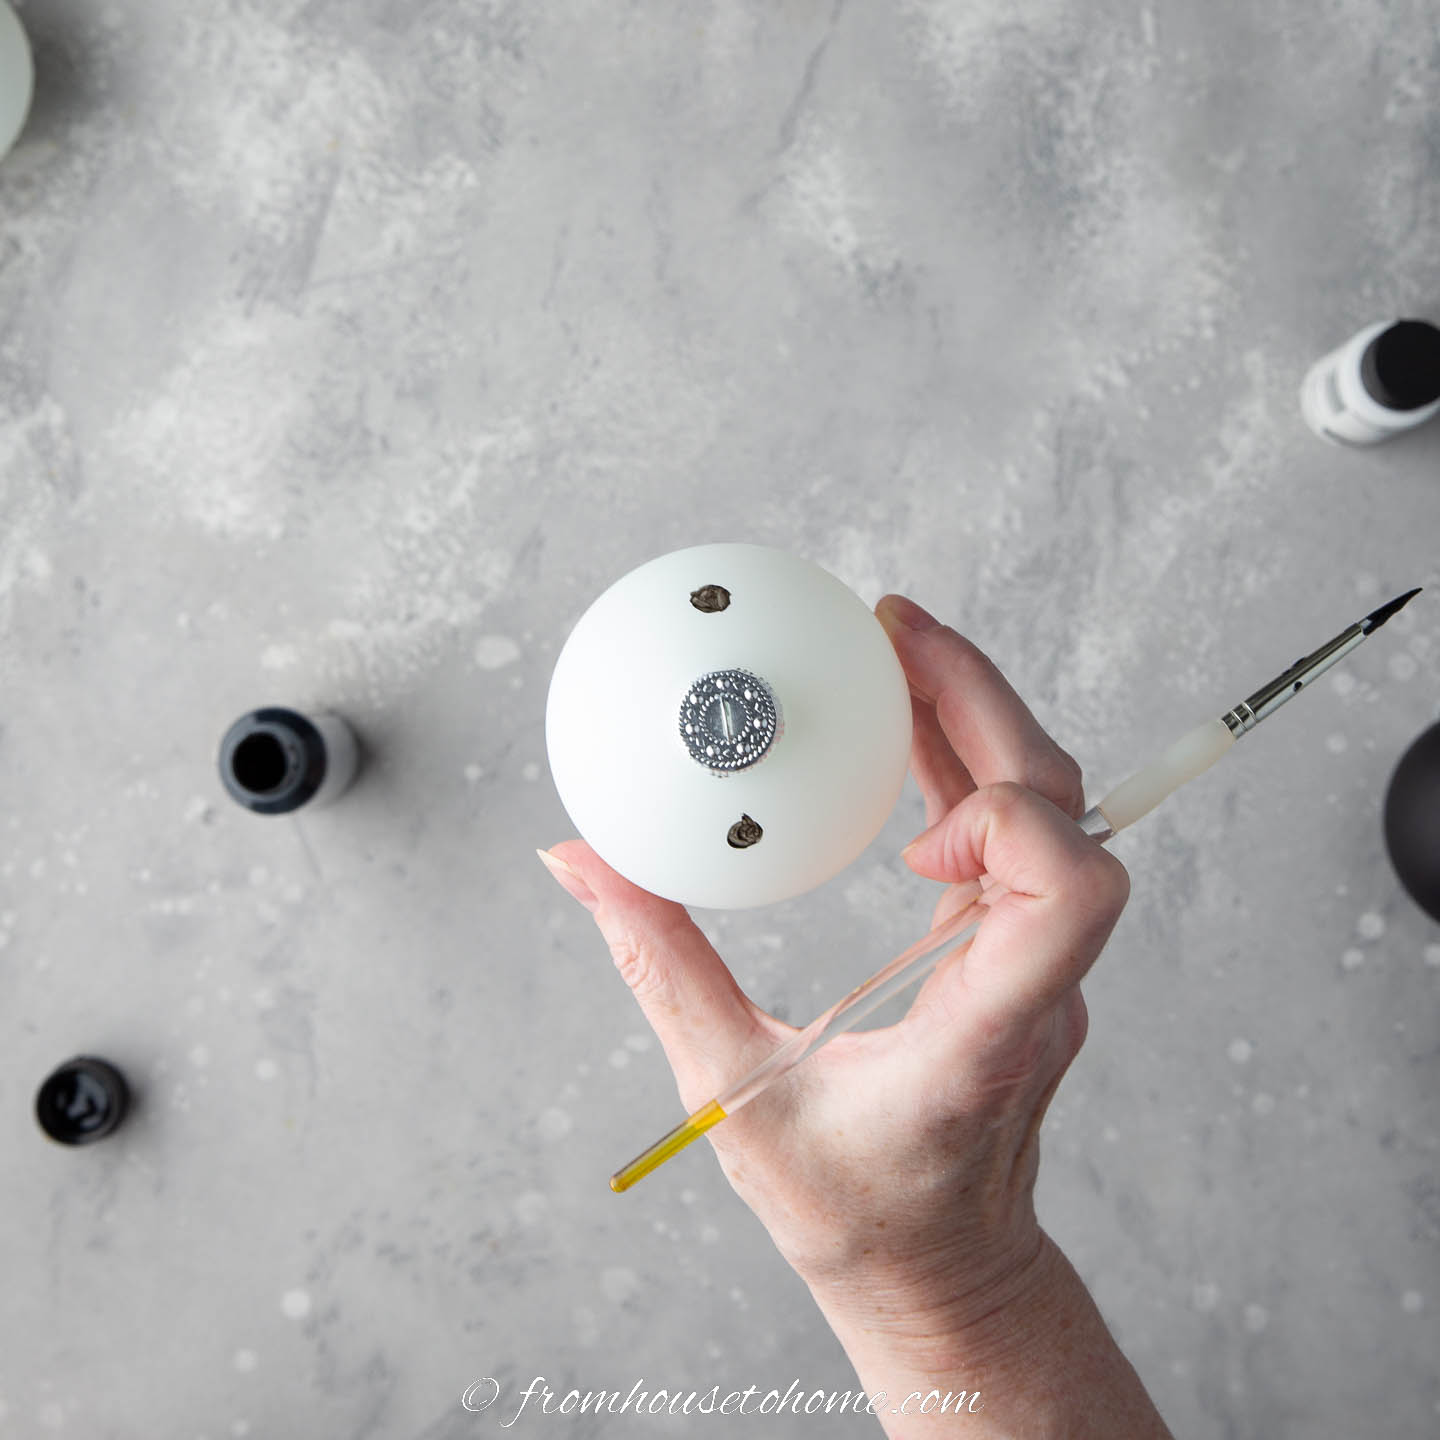
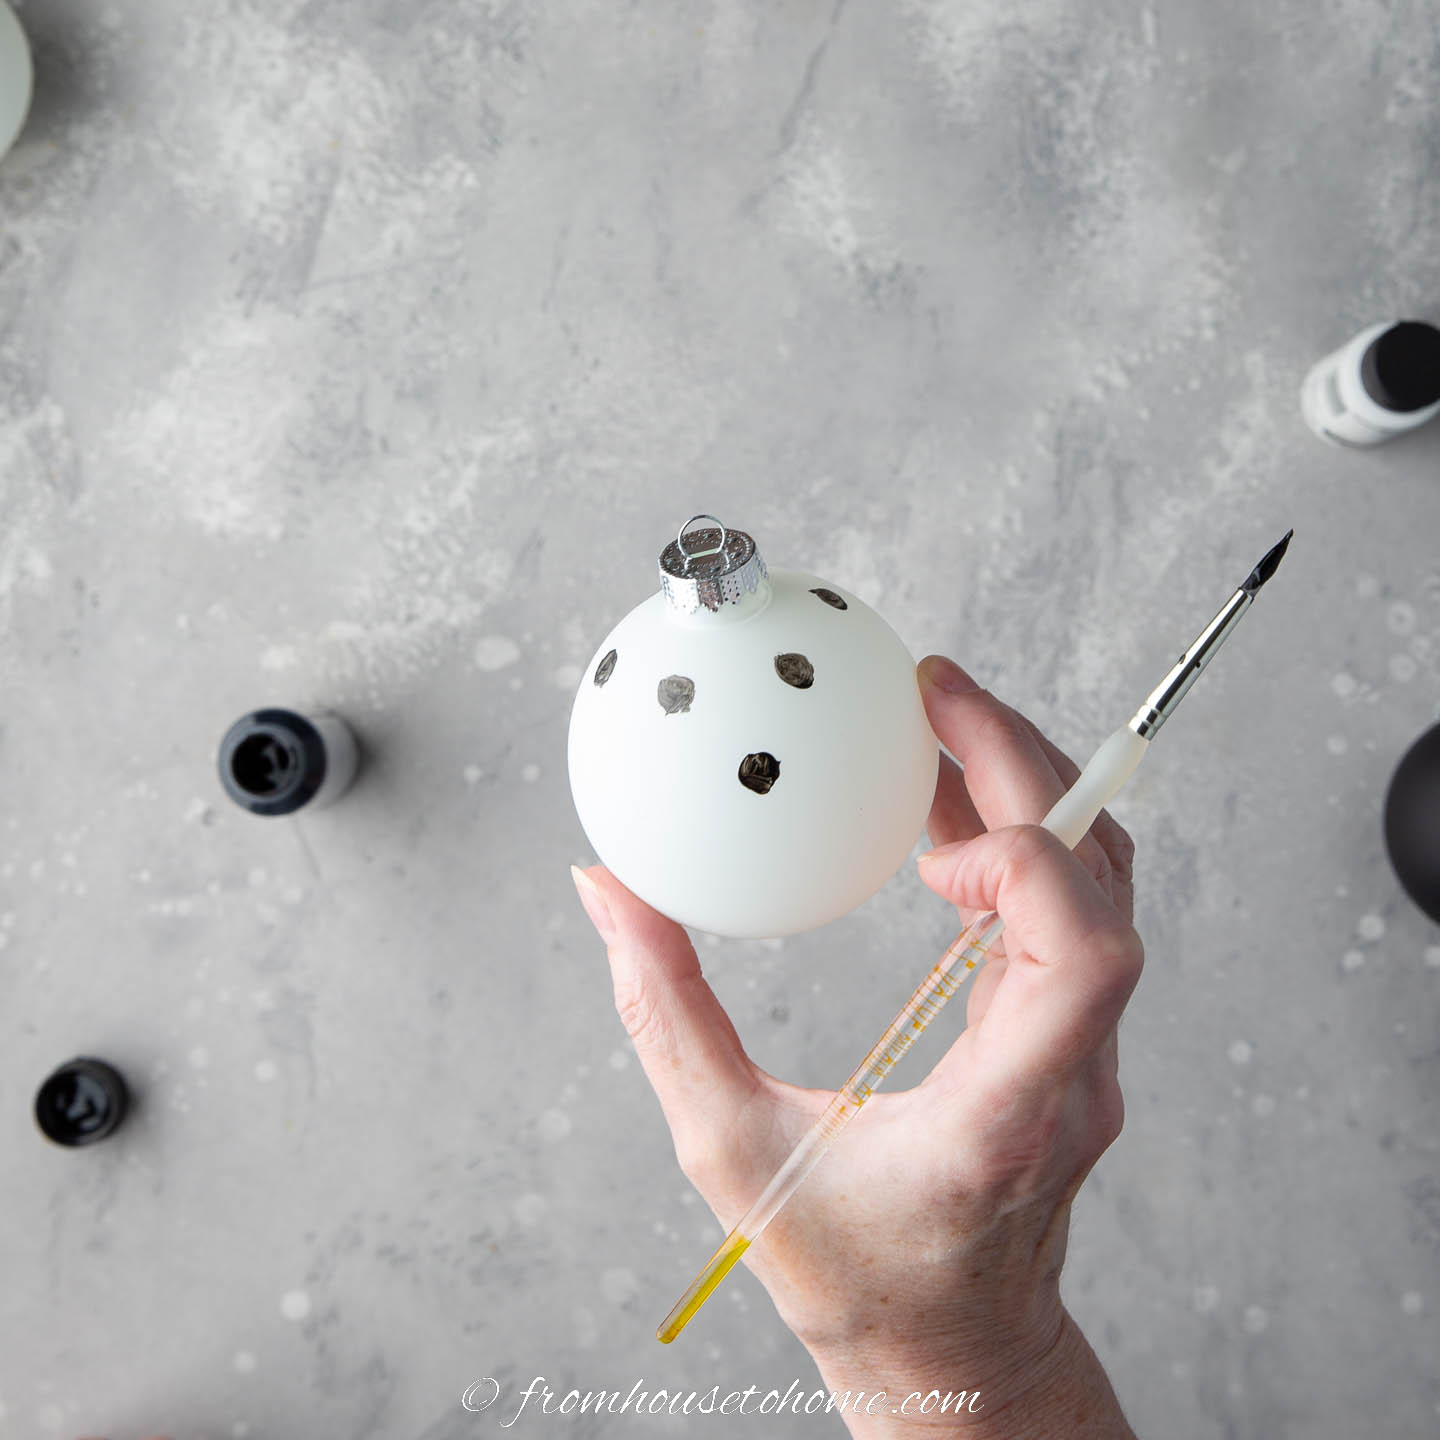
Then rotate the ornament around to the other side and paint another dot directly across from the first one, also about half an inch from the top.
Between those two dots (on one side), paint two more dots that are about equal distance apart and the same distance down from the top of the ornament.
Paint two more dots directly on the other side of the ornament, directly across from the last ones and the same distance down from the top.
You should end up with 6 dots in a circle around the top that are pretty evenly spaced apart.
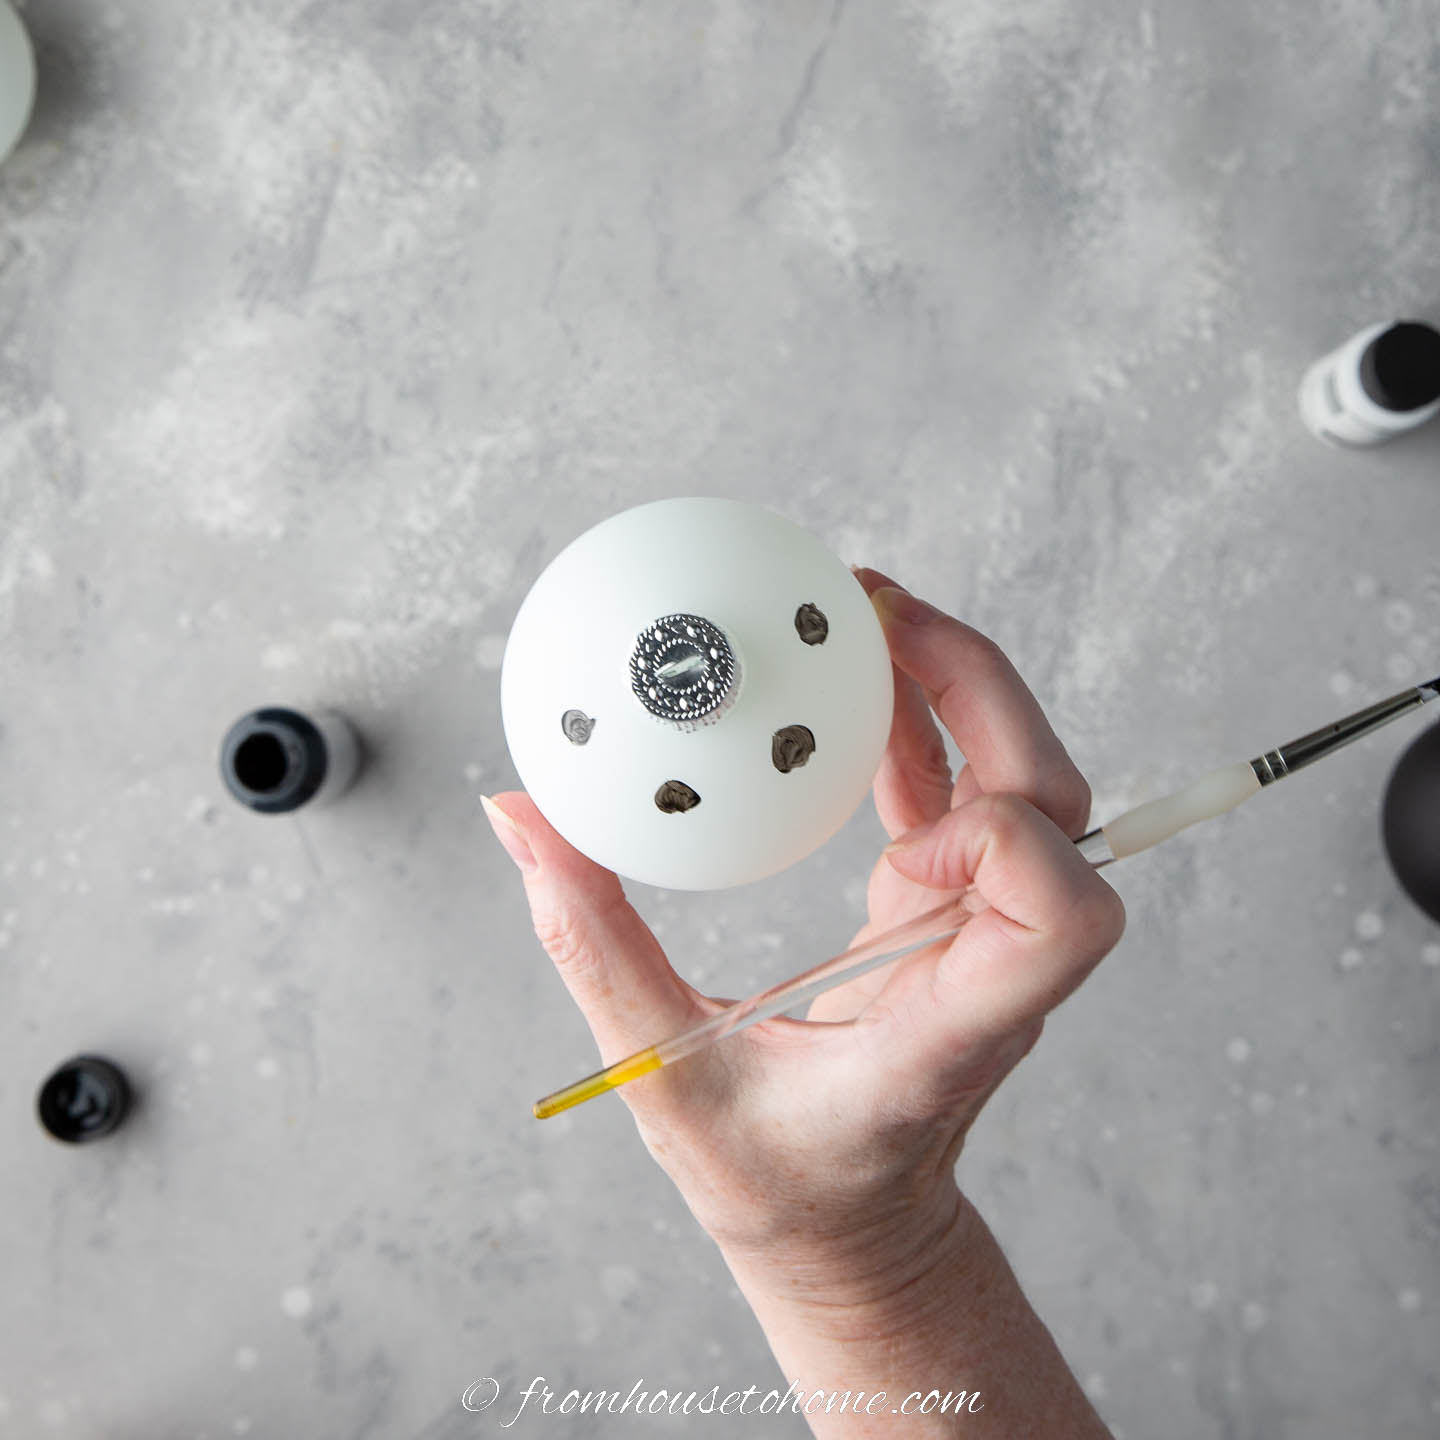
4 | Paint additional rows of polka dots
For the next row, move down about an inch from the first row.
Then paint a dot half way between two of the dots on the upper row.
Continue around the ornament painting dots about an inch down and between the dots in the row above.
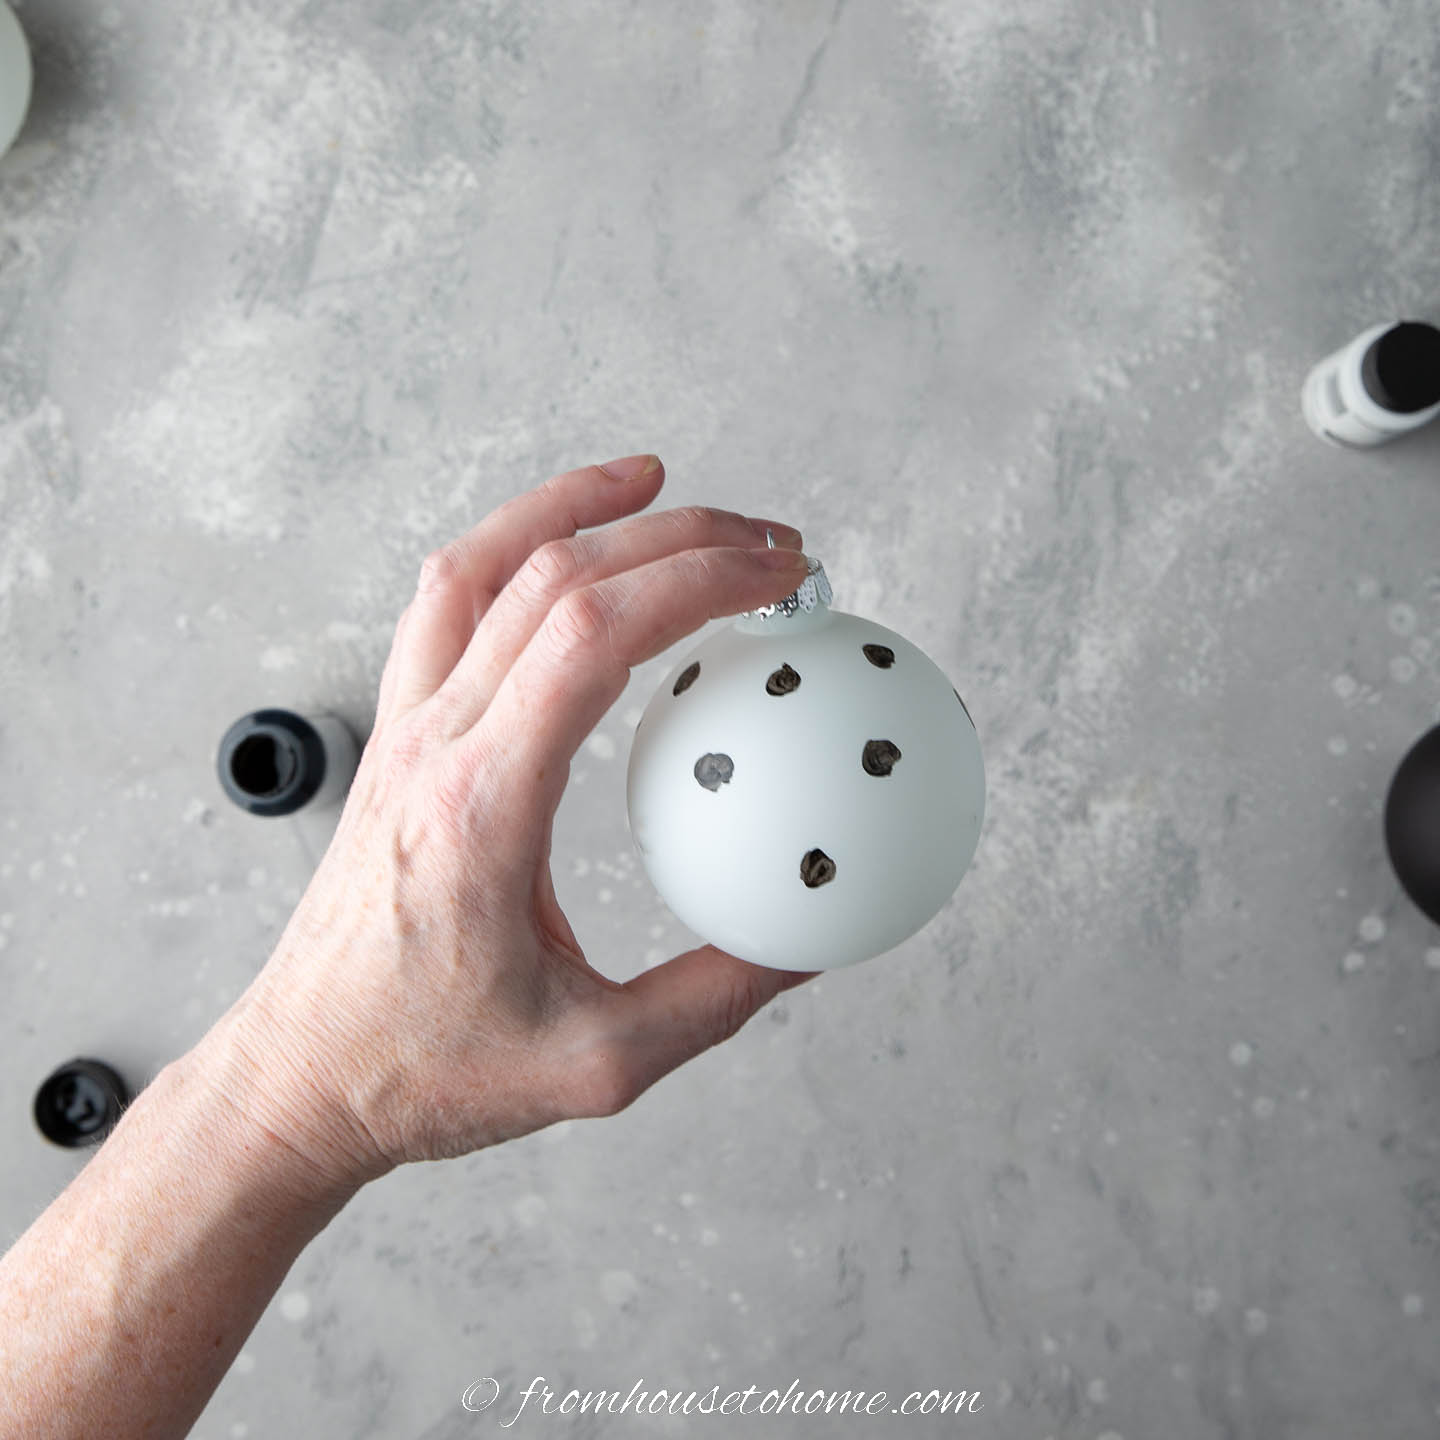
When you get back to the first one (you should have six dots on this row), move down another inch and repeat the process, painting dots between the dots on the row above.
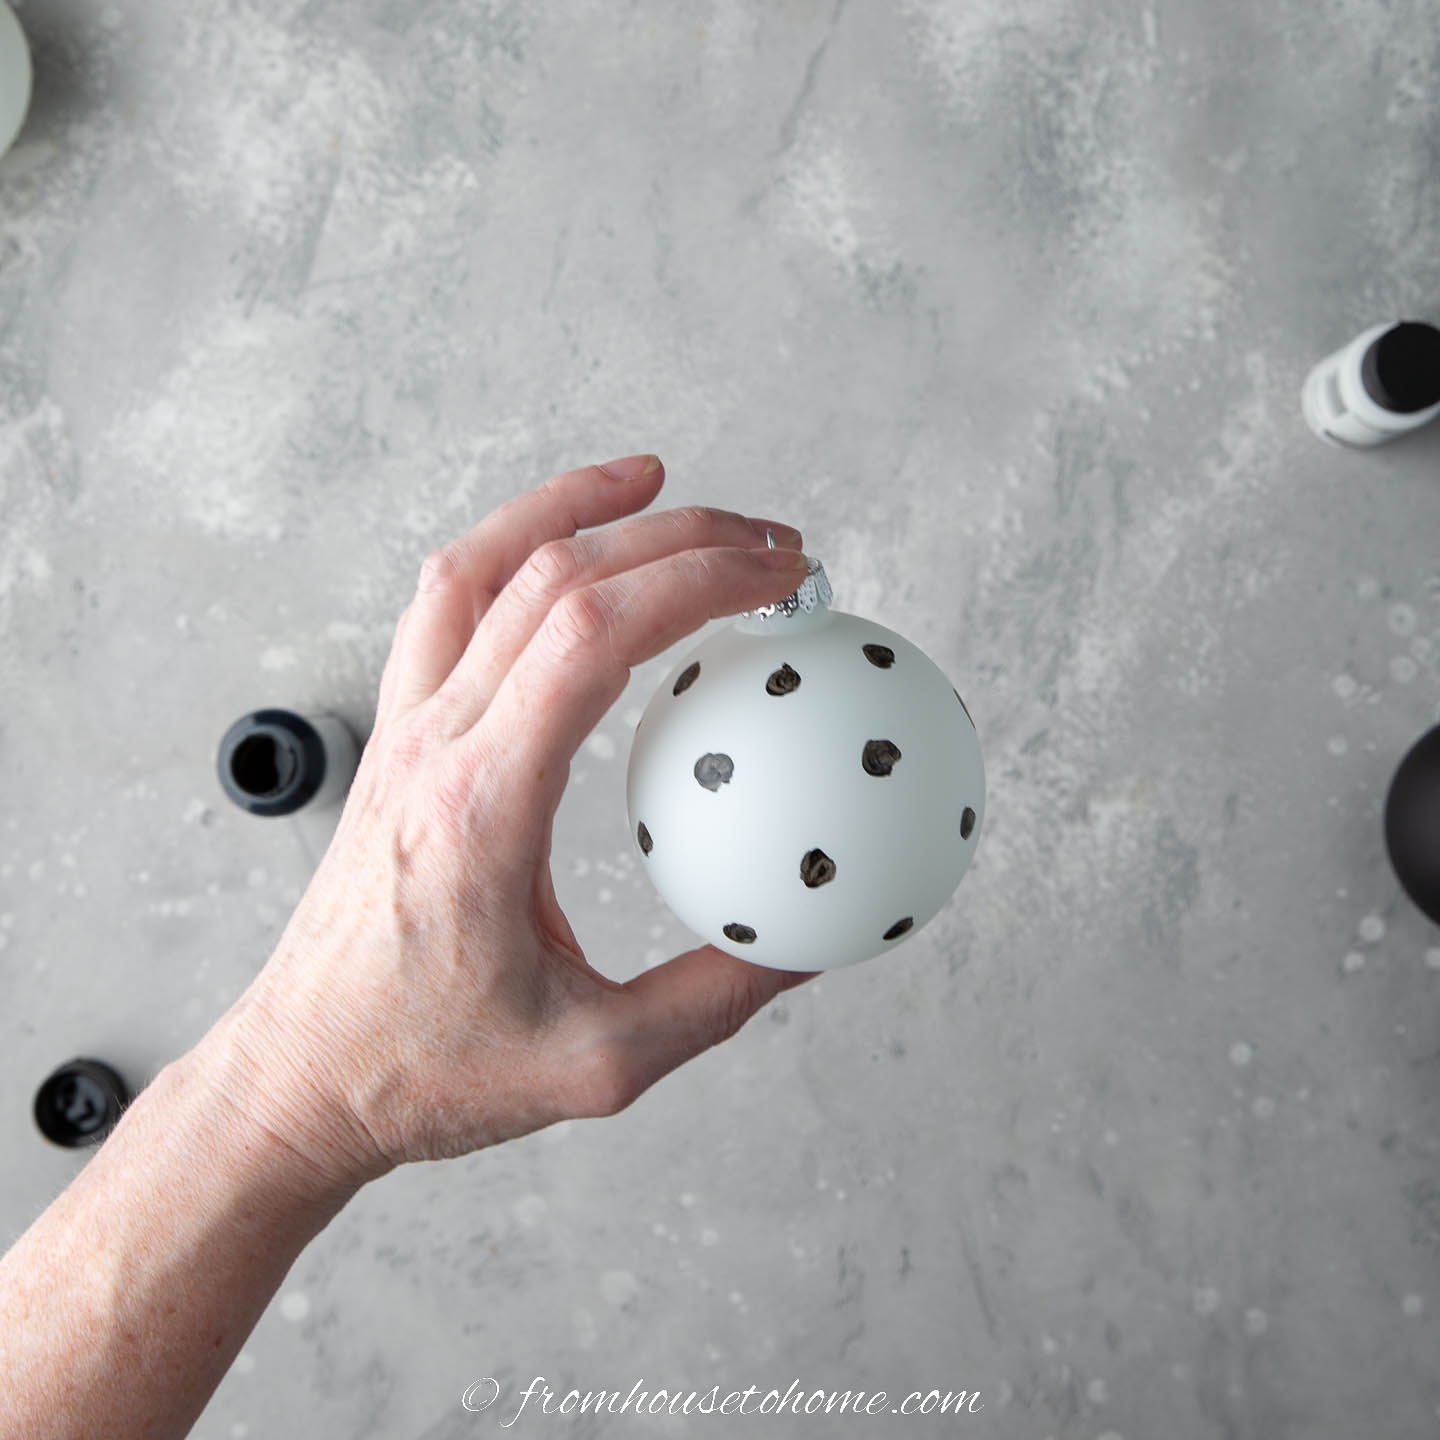
Keep painting rows of dots about an inch apart until you get close to the bottom of the ornament.
For a 3-inch ornament, you should get about 4 rows of dots.
5 | Hang the ornament to dry
Glass paint dries very quickly to the touch, so hanging the ornaments may not even be necessary.
But to be on the safe side, I like to put a hook through the top and hang them from a clothes hanger to dry.
Repeat the process with the rest of the ornaments, switching to white paint for the black ones.
Then they are ready to hang on the tree or wherever you want to use them.
Storage
Spray paint can scratch, so you don’t want to store your ornaments in a package where you have to push them in to get them to stay.
Boxes that are loosely packed work well.
Other Christmas Ideas you might like
DIY Christmas ornaments
- DIY blue and white Chinoiserie ornaments
- DIY crystal ornaments
- Easy pine cone ornaments
- Gold bird’s nest ornaments
Black and white Christmas decor
- Black and white Christmas decor ideas
- DIY black and white Christmas swag (I used these ornaments for this project).
- Black and white plaid Christmas tree

DIY Black and White Christmas Ornaments
Equipment
- 1 spray paint trigger (optional)
- 1 small round paint brush
Materials
- 12 3" glass ball Christmas ornaments
- 12 wood skewers or small round dowels
- 2 or 3 pieces floral foam, styrofoam or a box
- 1 can black matte spray paint
- 1 can white matte spray paint
- 1 can gold metallic spray paint (optional) to paint the tops if desired
- 1 bottle black glass paint
- 1 bottle white glass paint
- 12 hooks for hanging the ornaments
Instructions
Spray paint the ornaments
- Remove the tops from the ornaments. Keep them in a safe place.
- Push a skewer into a piece of the floral foam. Put a glass ornament over the top of the skewer.
- Attach the spray gun trigger to the spray paint can, and then shake the can for about a minute.
- Paint the ornament, making sure to cover the top and bottom.
- Move the skewer with the ornament to another piece of floral foam to allow it to dry.
- Repeat this process to paint the rest of the ornaments. Make sure they aren't touching while they are drying.
Paint the ornament tops (optional)
- Push the pins from the ornament tops into a piece of floral foam.
- Spray paint the tops gold, or any other color you would like them to be.
Paint the first row of polka dots
- Make sure the spray paint has dried on the ornaments before starting this step.
- Put the tops back on your ornaments.
- With your non-painting hand, hold the ornament with your index finger on the top and your thumb on the bottom
- Paint a black polka dot about half an inch from the top of a white ornament. The dots should be about ¼ inch across.
- Rotate the ornament around to the other side and paint another dot directly across from the first one, also about half an inch from the top.
- Between those two dots (on one side), paint two more dots that are about equal distance apart and the same distance down from the top of the ornament.
- Paint two more dots directly on the other side of the ornament, directly across from the last ones and the same distance down from the top. You should now have 6 dots in a circle around the top that are pretty evenly spaced apart.
Paint additional rows of polka dots
- For the next row, move down about an inch from the first row.
- Then paint a dot half way between two of the dots on the upper row.
- Continue around the ornament painting dots about an inch down and between the dots in the row above.
- When you get back to the first one (you should have six dots on this row), move down another inch and repeat the process, painting dots between the dots on the row above.
- Keep painting rows of dots about an inch apart until you get close to the bottom of the ornament.
- Hang the ornament to dry.
- Continue painting the rest of the ornaments the same way, switching to white paint for the black ones.
Notes
- Make sure the drying ornaments are stored away from the area where you are spray painting. Otherwise, they may get overspray on them.
- Don’t worry if the dots aren’t perfectly round. When they are all on the ornament, the pattern will still look like polka dots.
- If the paint doesn’t cover as well as you would like it, go back over it with a second coat.
- Spray paint can scratch, so don’t store the ornaments in a package where you have to push them in.
Have comments or questions about our DIY black and white ornaments? Tell us in the section below.
This post was originally published on November 30, 2022 but was updated with new content on December 9, 2023.
Very pretty! Of course, I’m not sure I would expend that much time and energy into painting them. It would be nice though to have your ornaments any color that you like!!
Thanks, Delores! They do take some time. So I guess it depends on how badly you want those colors 🙂