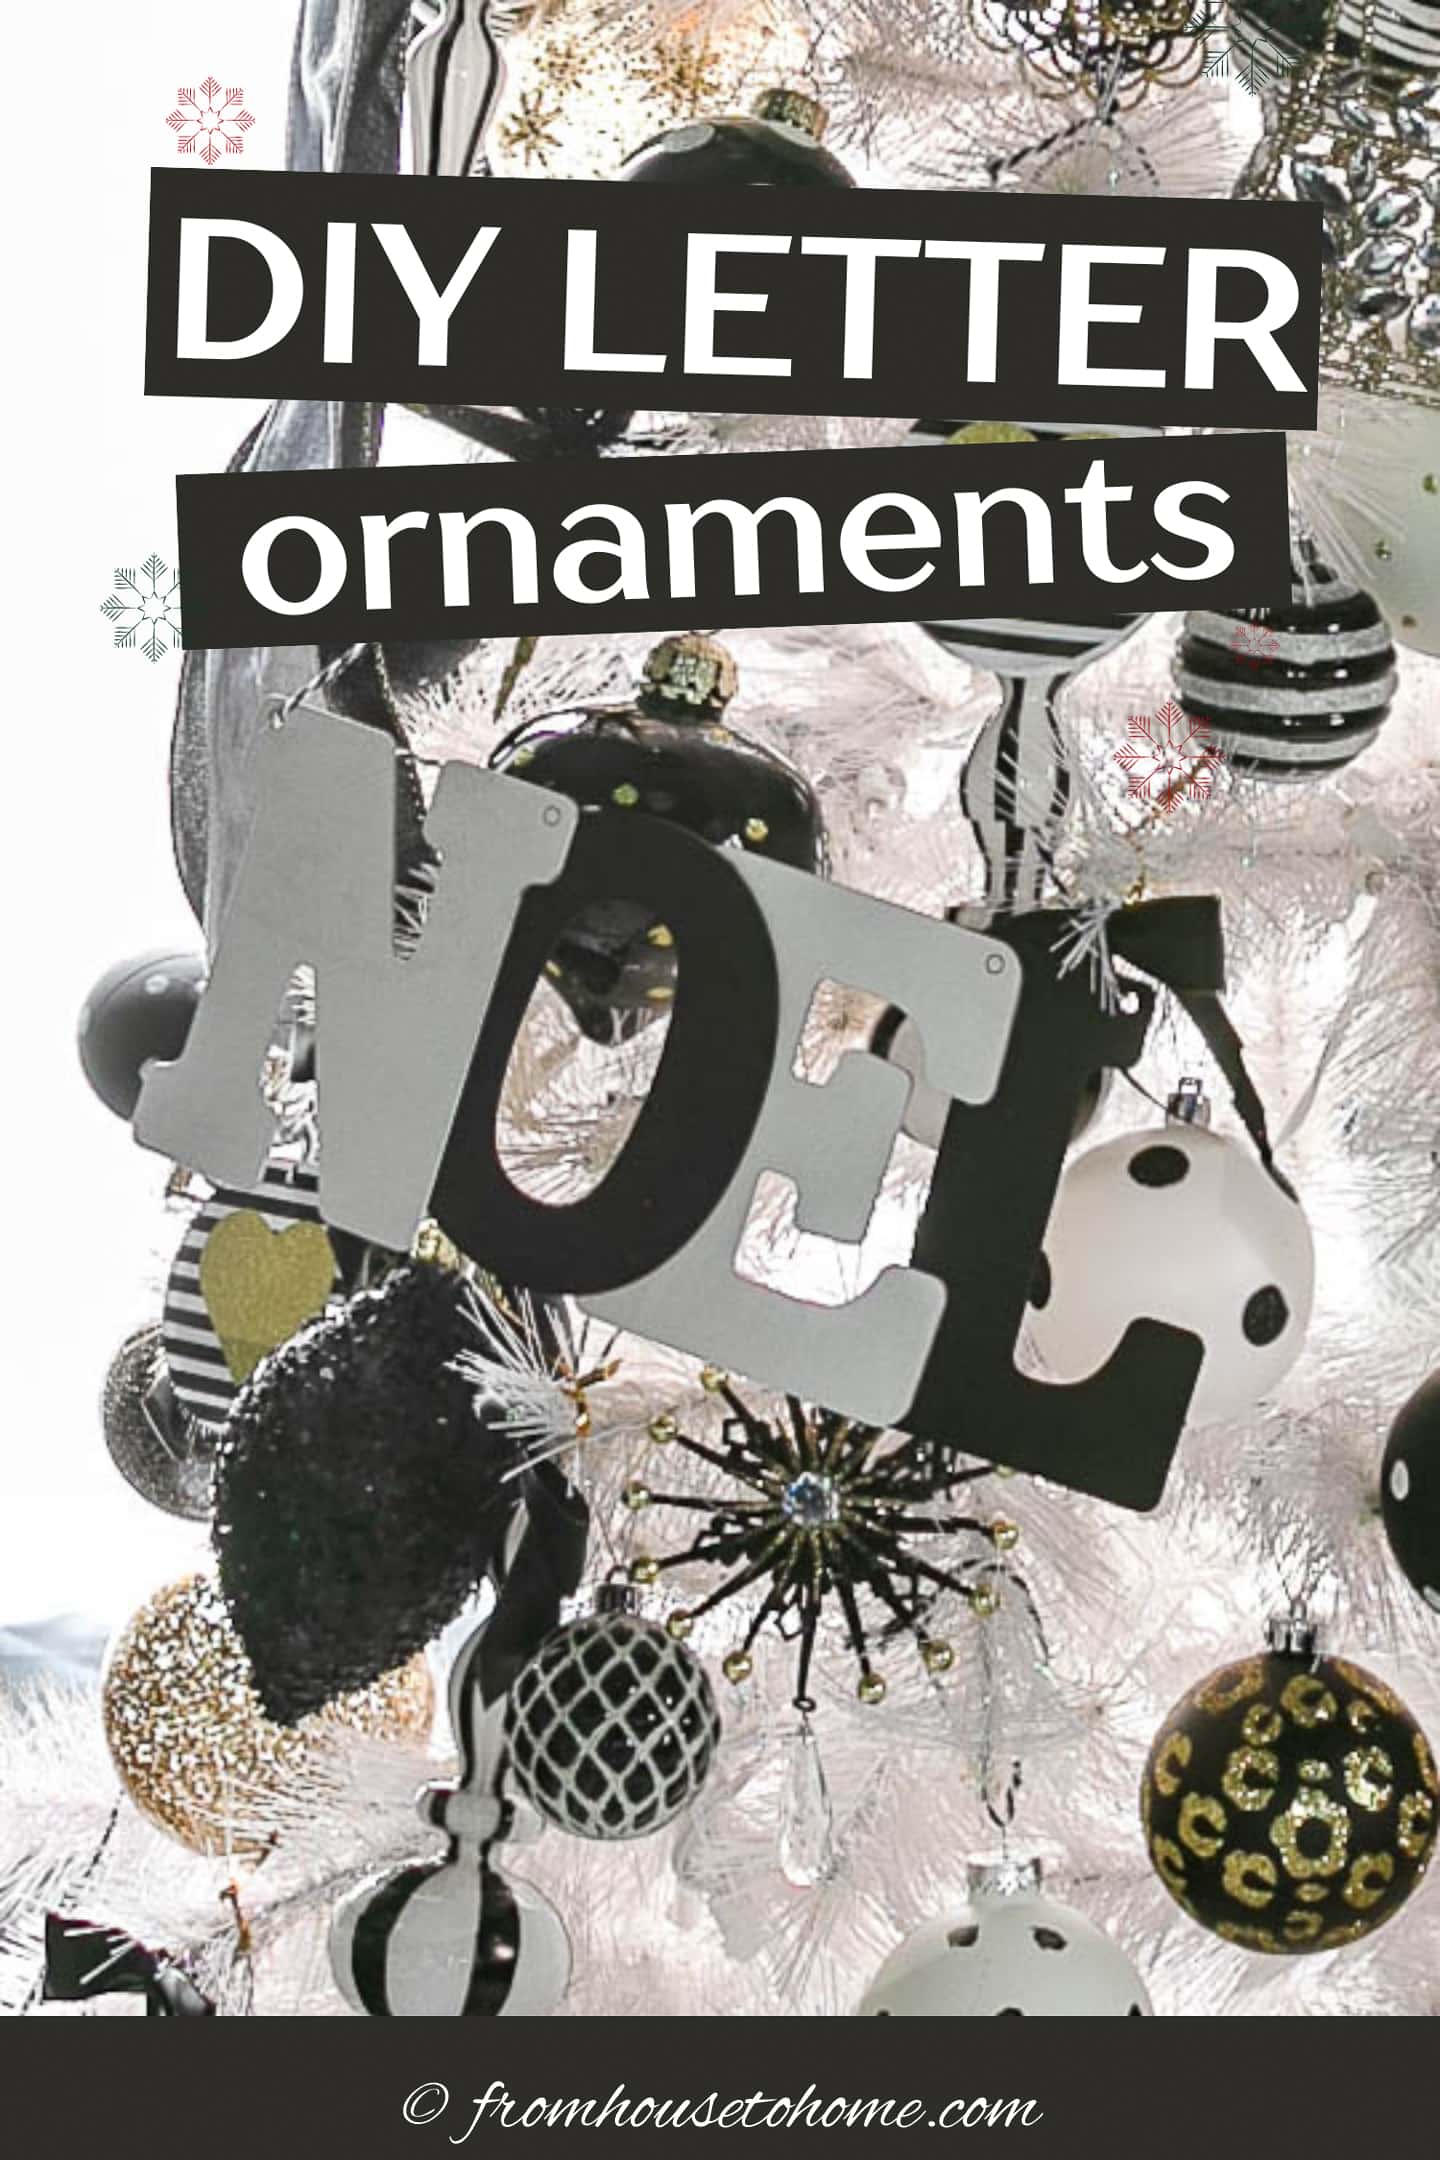
DIY Letter Ornaments
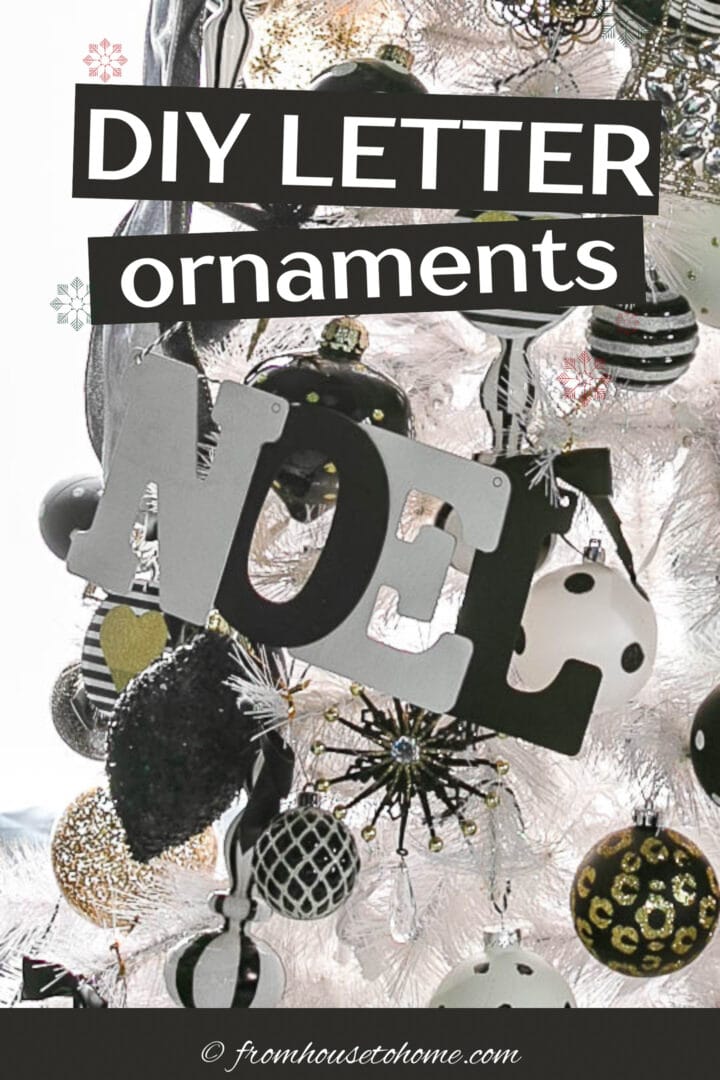
Get your holiday spirit in gear with this fun tutorial on DIY letter ornaments. It’s a simple, yet creative way to add a personal touch to your Christmas tree and make your holiday decor stand out.
These DIY letter ornaments are super easy to make, and offer a fun and creative way to bring a dash of personality to your Christmas tree.
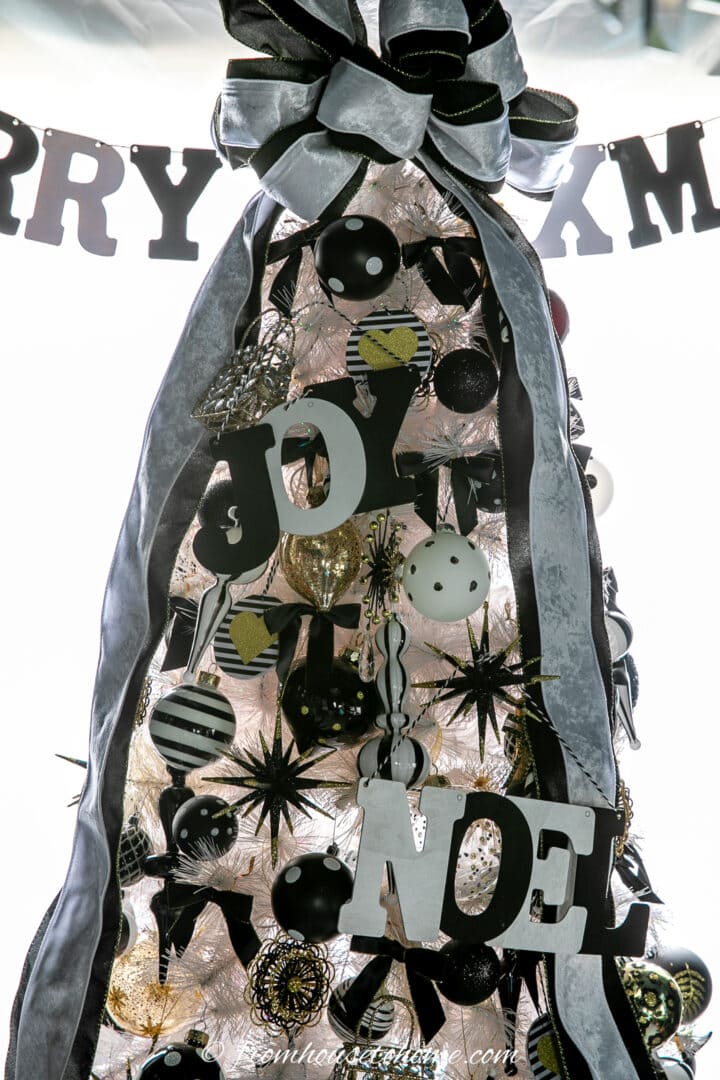
They are totally customizable so you can combine them to spell out festive words like ‘Joy’ or ‘Noel’, or create initial monograms.
And they’re big enough you can even use them to make a banner.
Supplies
Materials
- 5″ wood letters*
- spray paint – I used black and white, but you can use whatever colors go with your color scheme
- glue – wood glue sticks best
- string or thread
Tools
- a cardboard box or paint tent – this is to keep the paint from going everywhere
How to make diy letter ornaments
Step 1 | Paint the letters
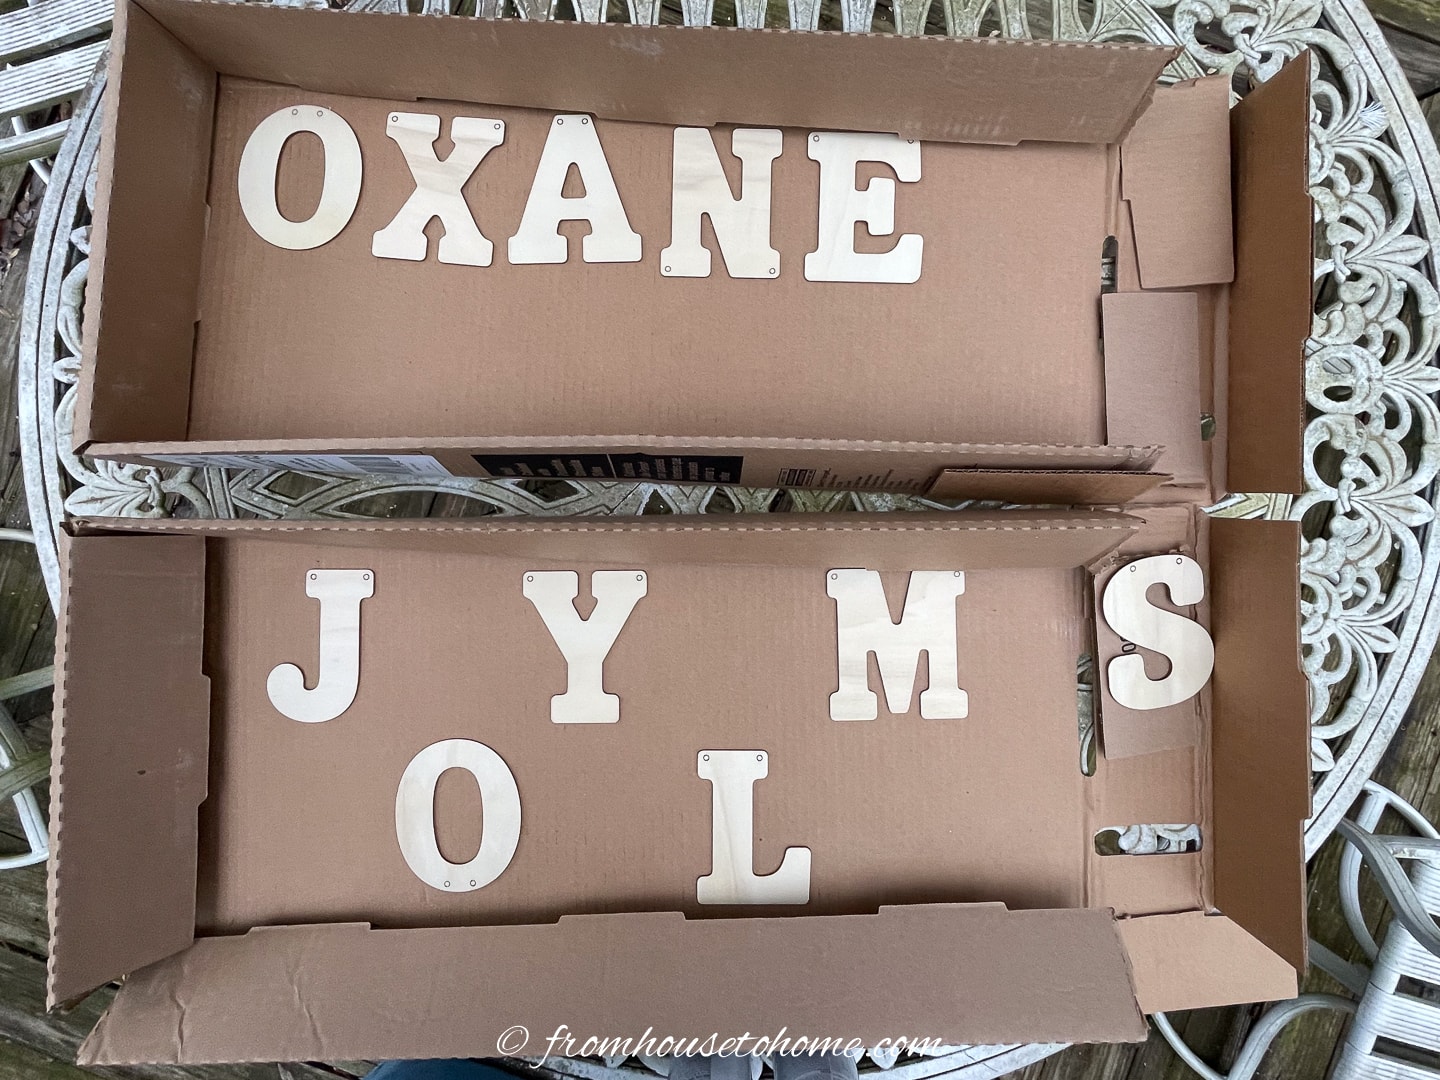
Begin your DIY letter ornaments project by arranging the letters you wish to paint so the ones that will be same color are together.
I wanted to alternate white and black letters so I separated them into 2 groups.
To prevent paint from scattering, place them inside a cardboard box or a paint tent.
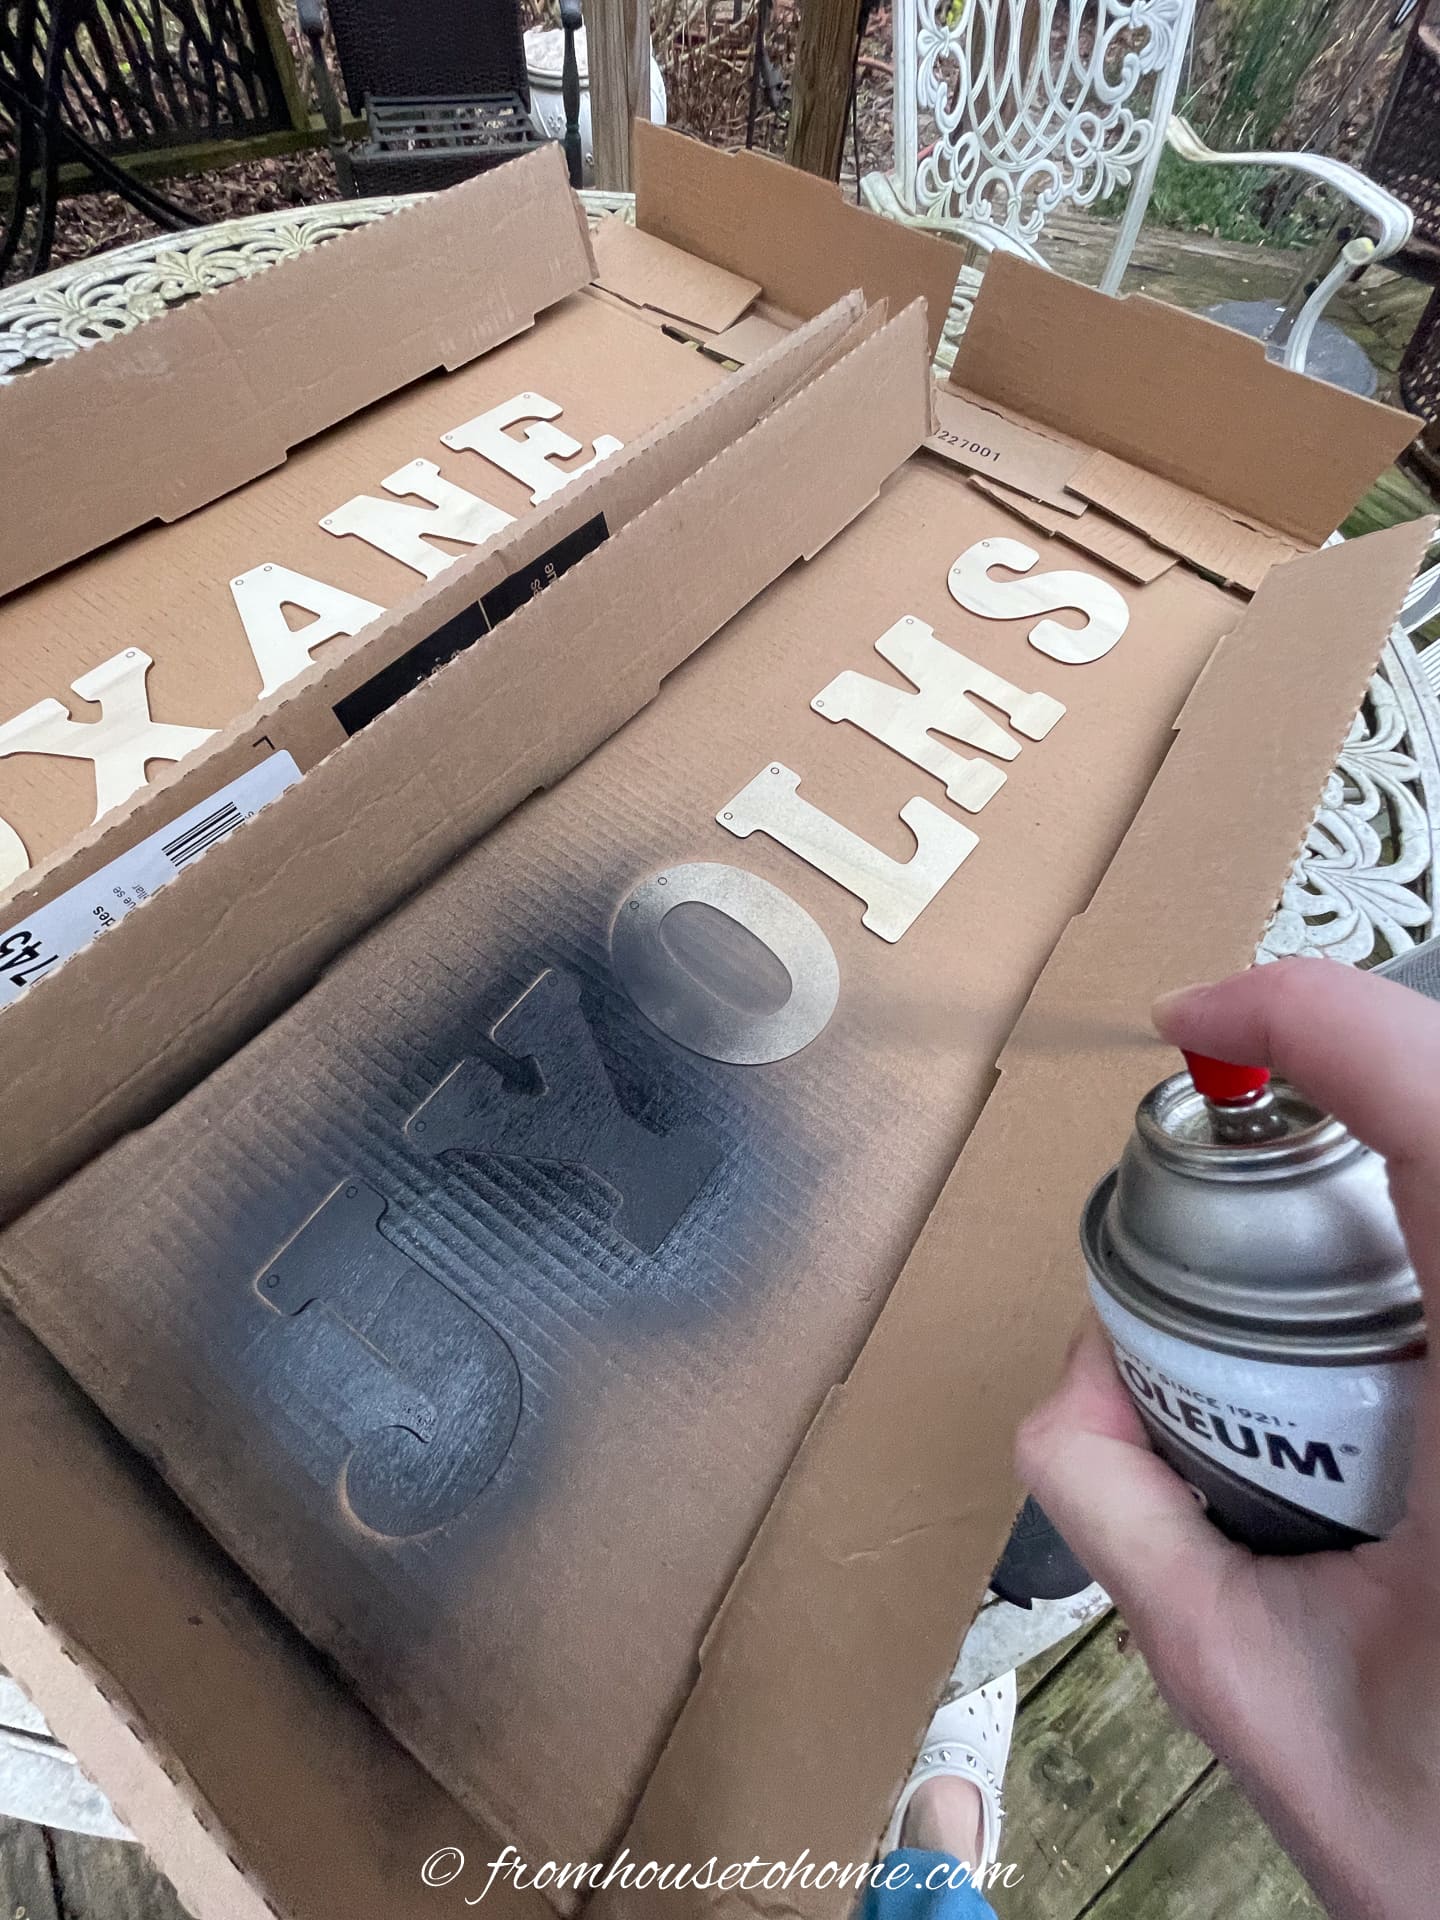
Then, use spray paint to cover the letters with two or three coats until the wood is completely concealed.
You can apply these coats consecutively due to the nature of spray paint.
Set aside to dry.
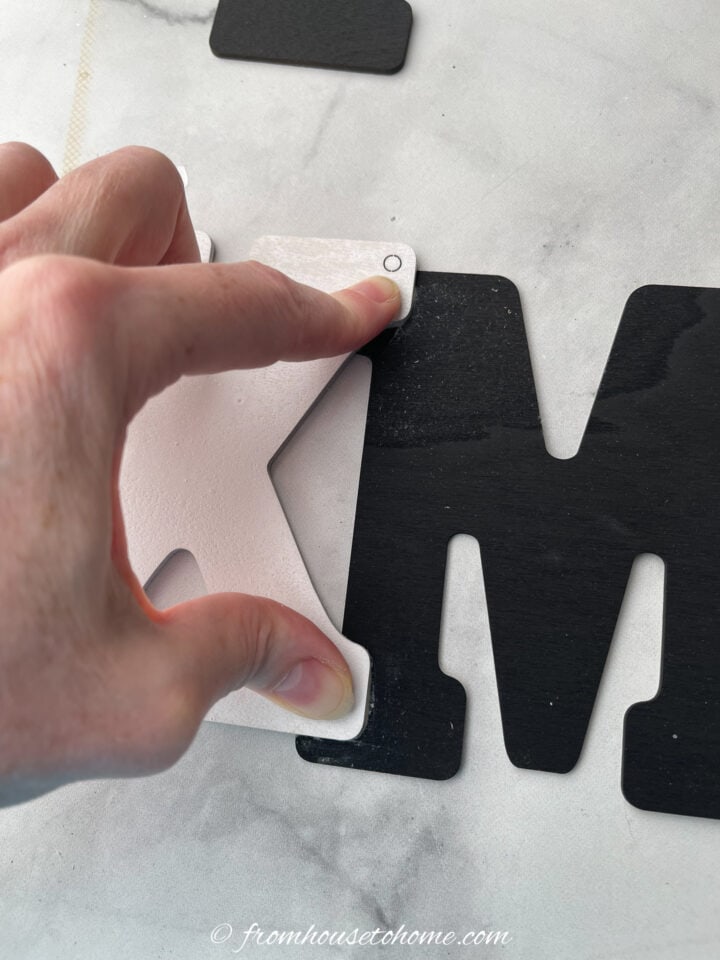
Step 2 | Glue the letters together
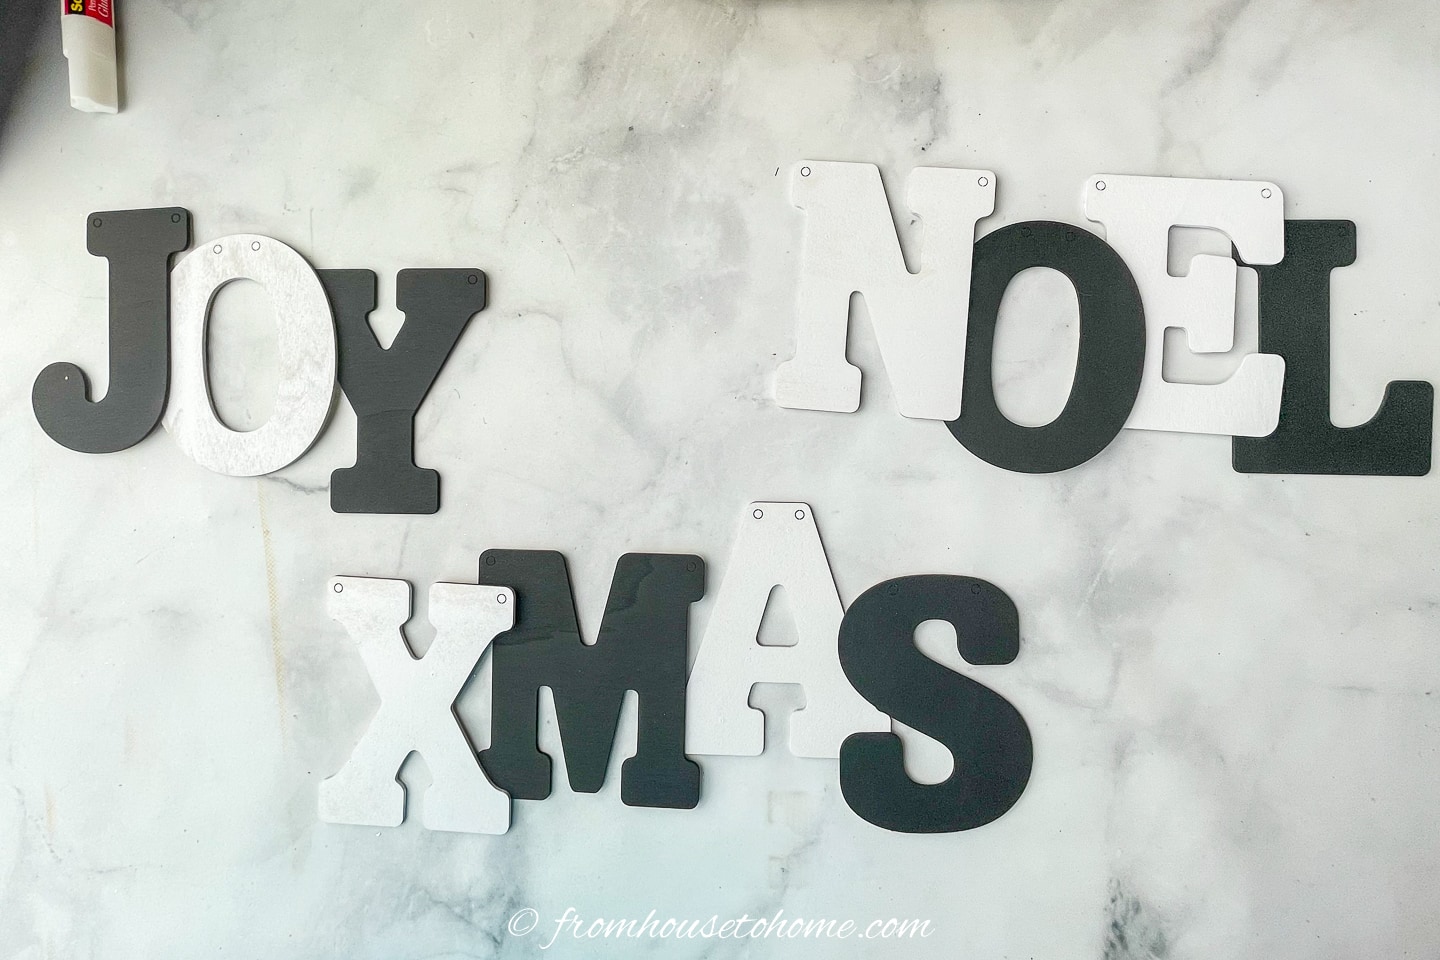
Once your paint is fully dry, arrange your letters in your desired pattern, ensuring some areas overlap.
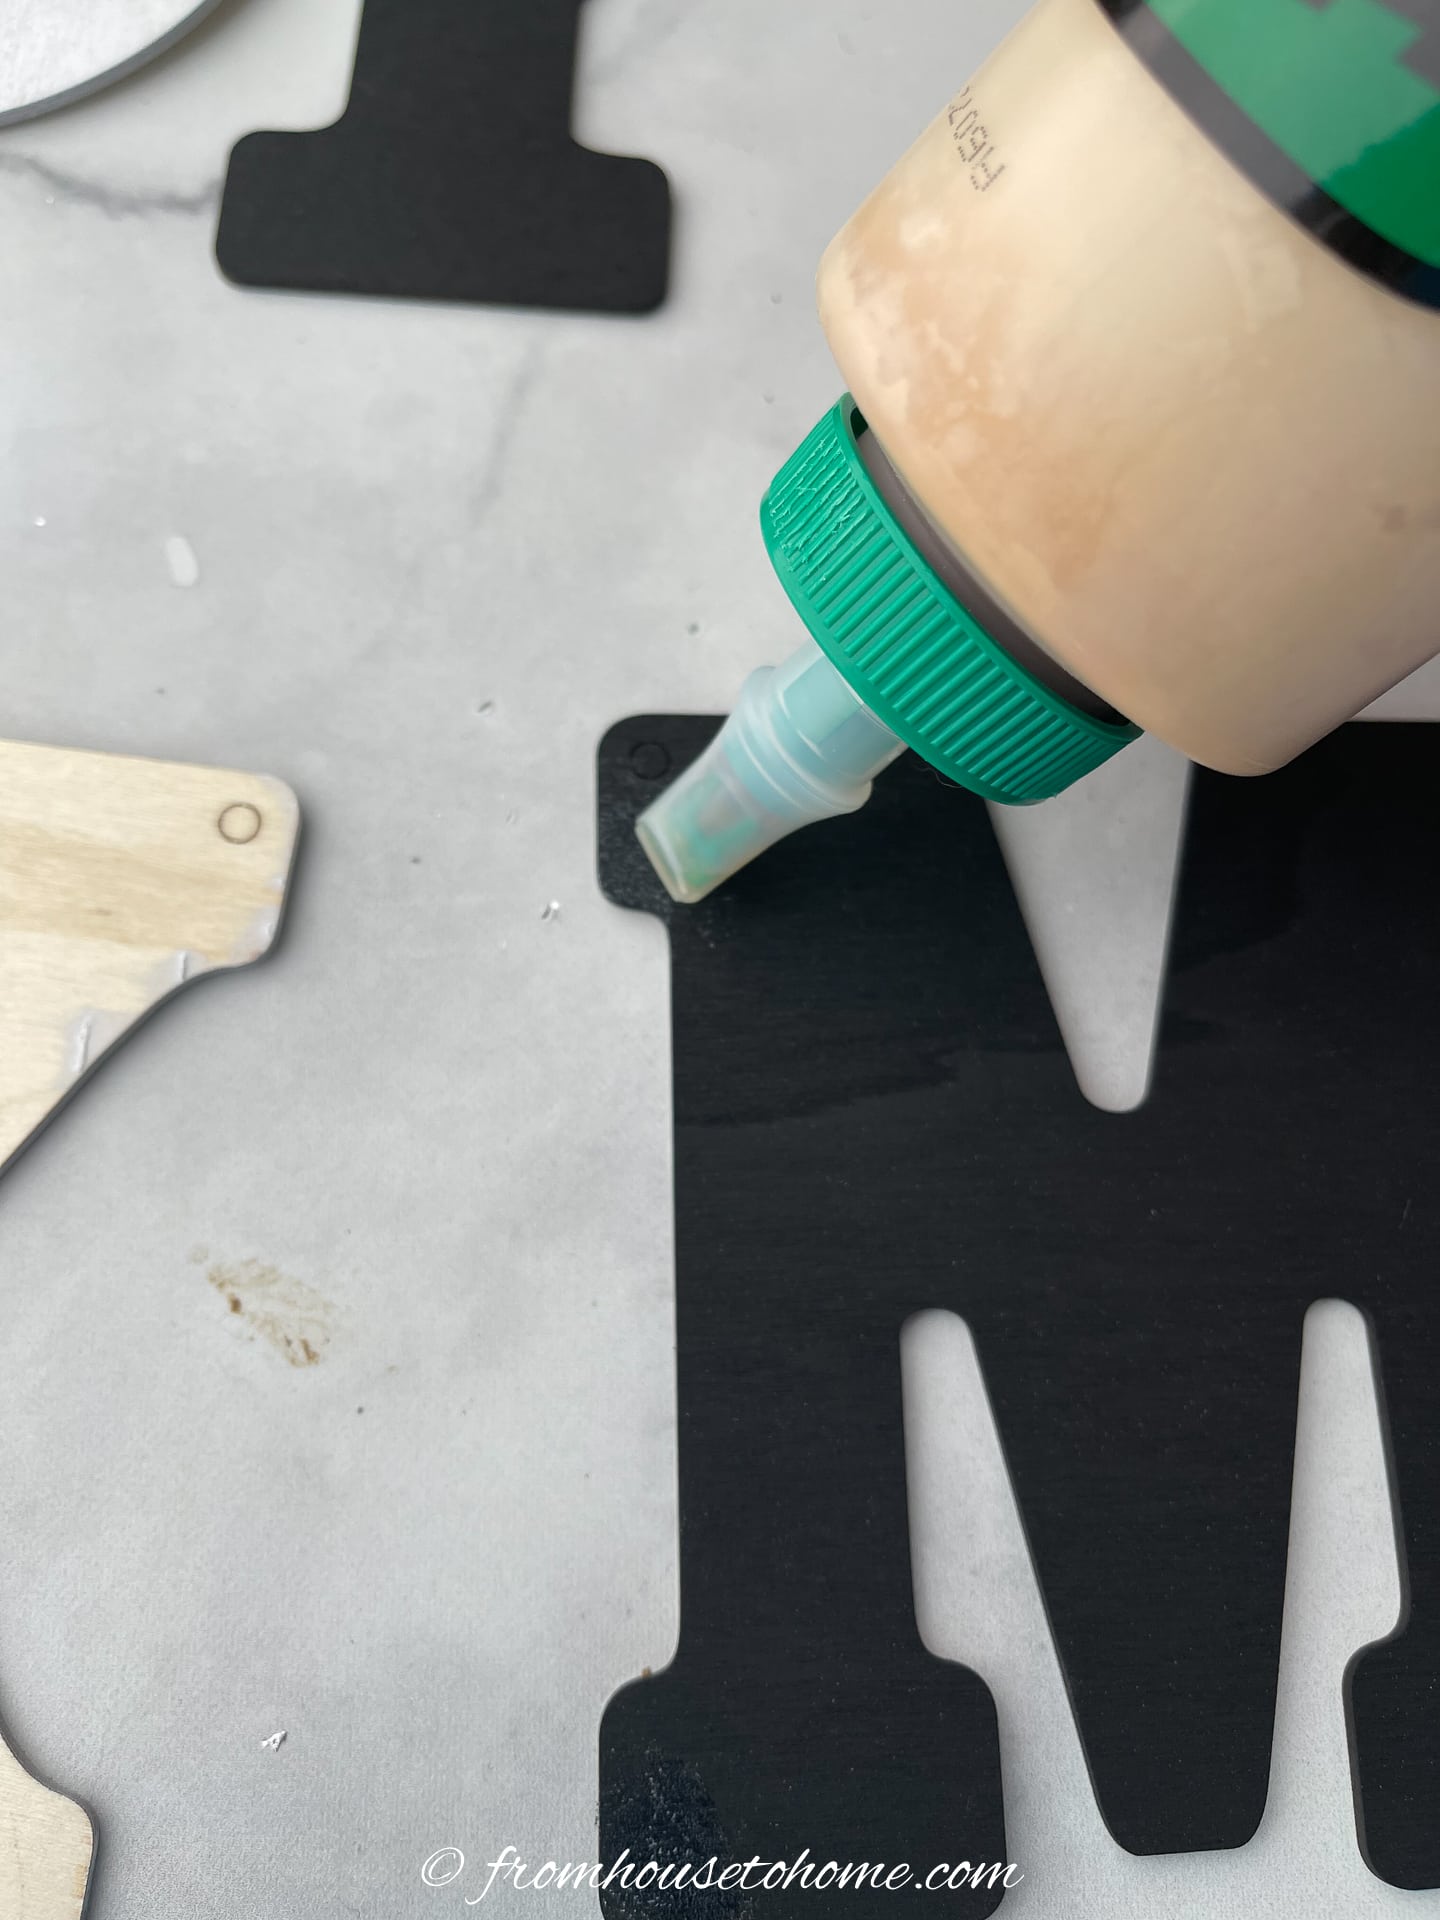
Apply glue to these overlapping sections.

Then press them together and hold for a few seconds to make sure it is secure.
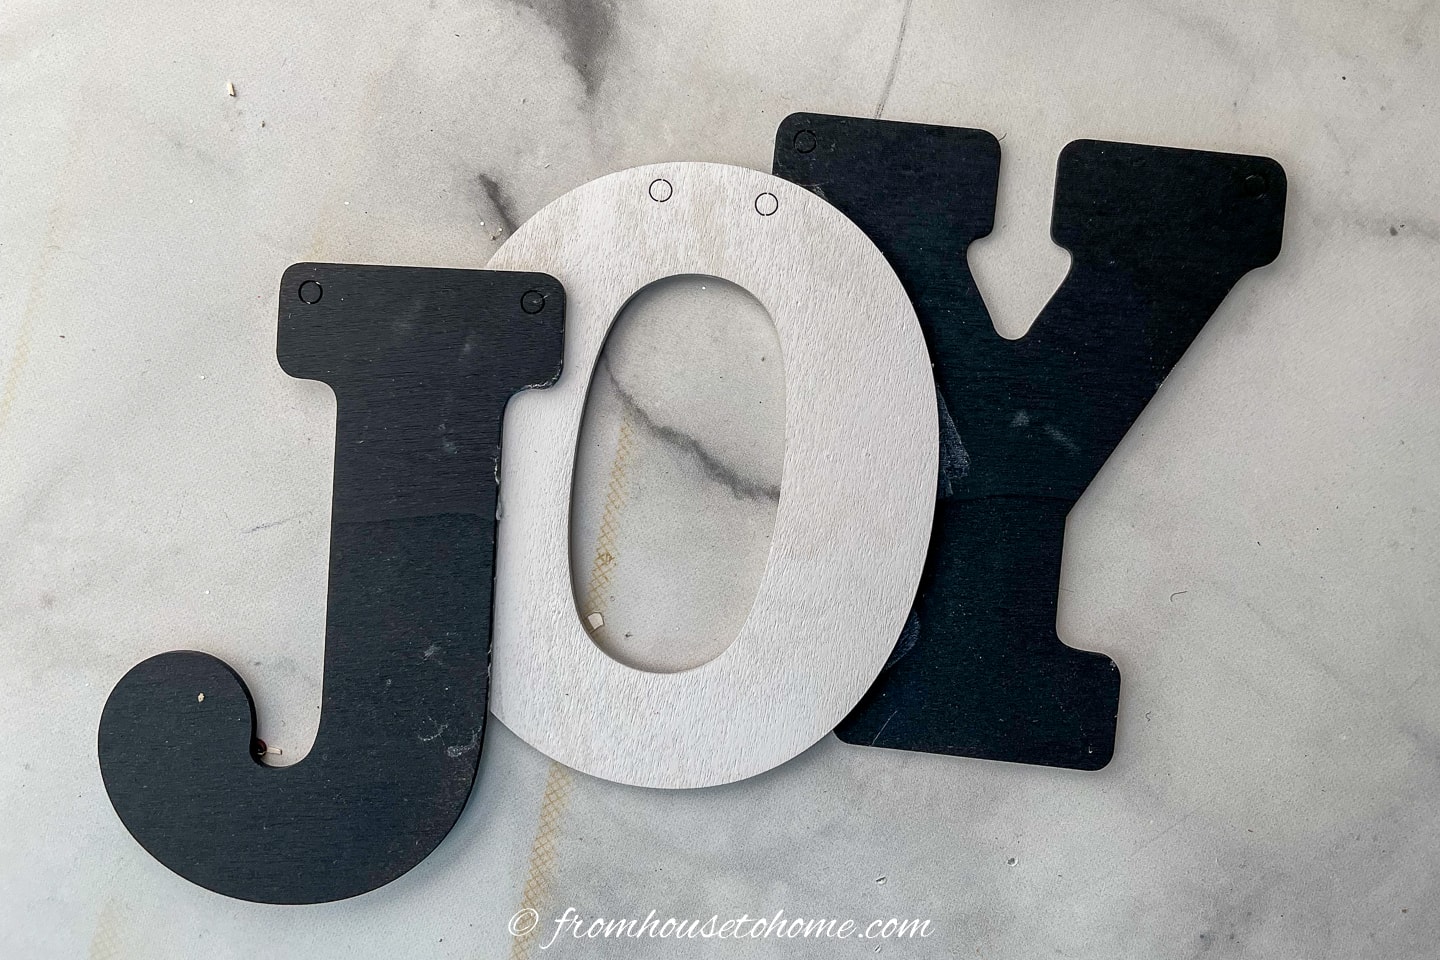
Allow the glue to fully dry before proceeding to the next part of the project. Otherwise, the ornaments will fall apart.
Step 3 | Add string
Depending on where you are hanging the ornaments, you may need to add string.
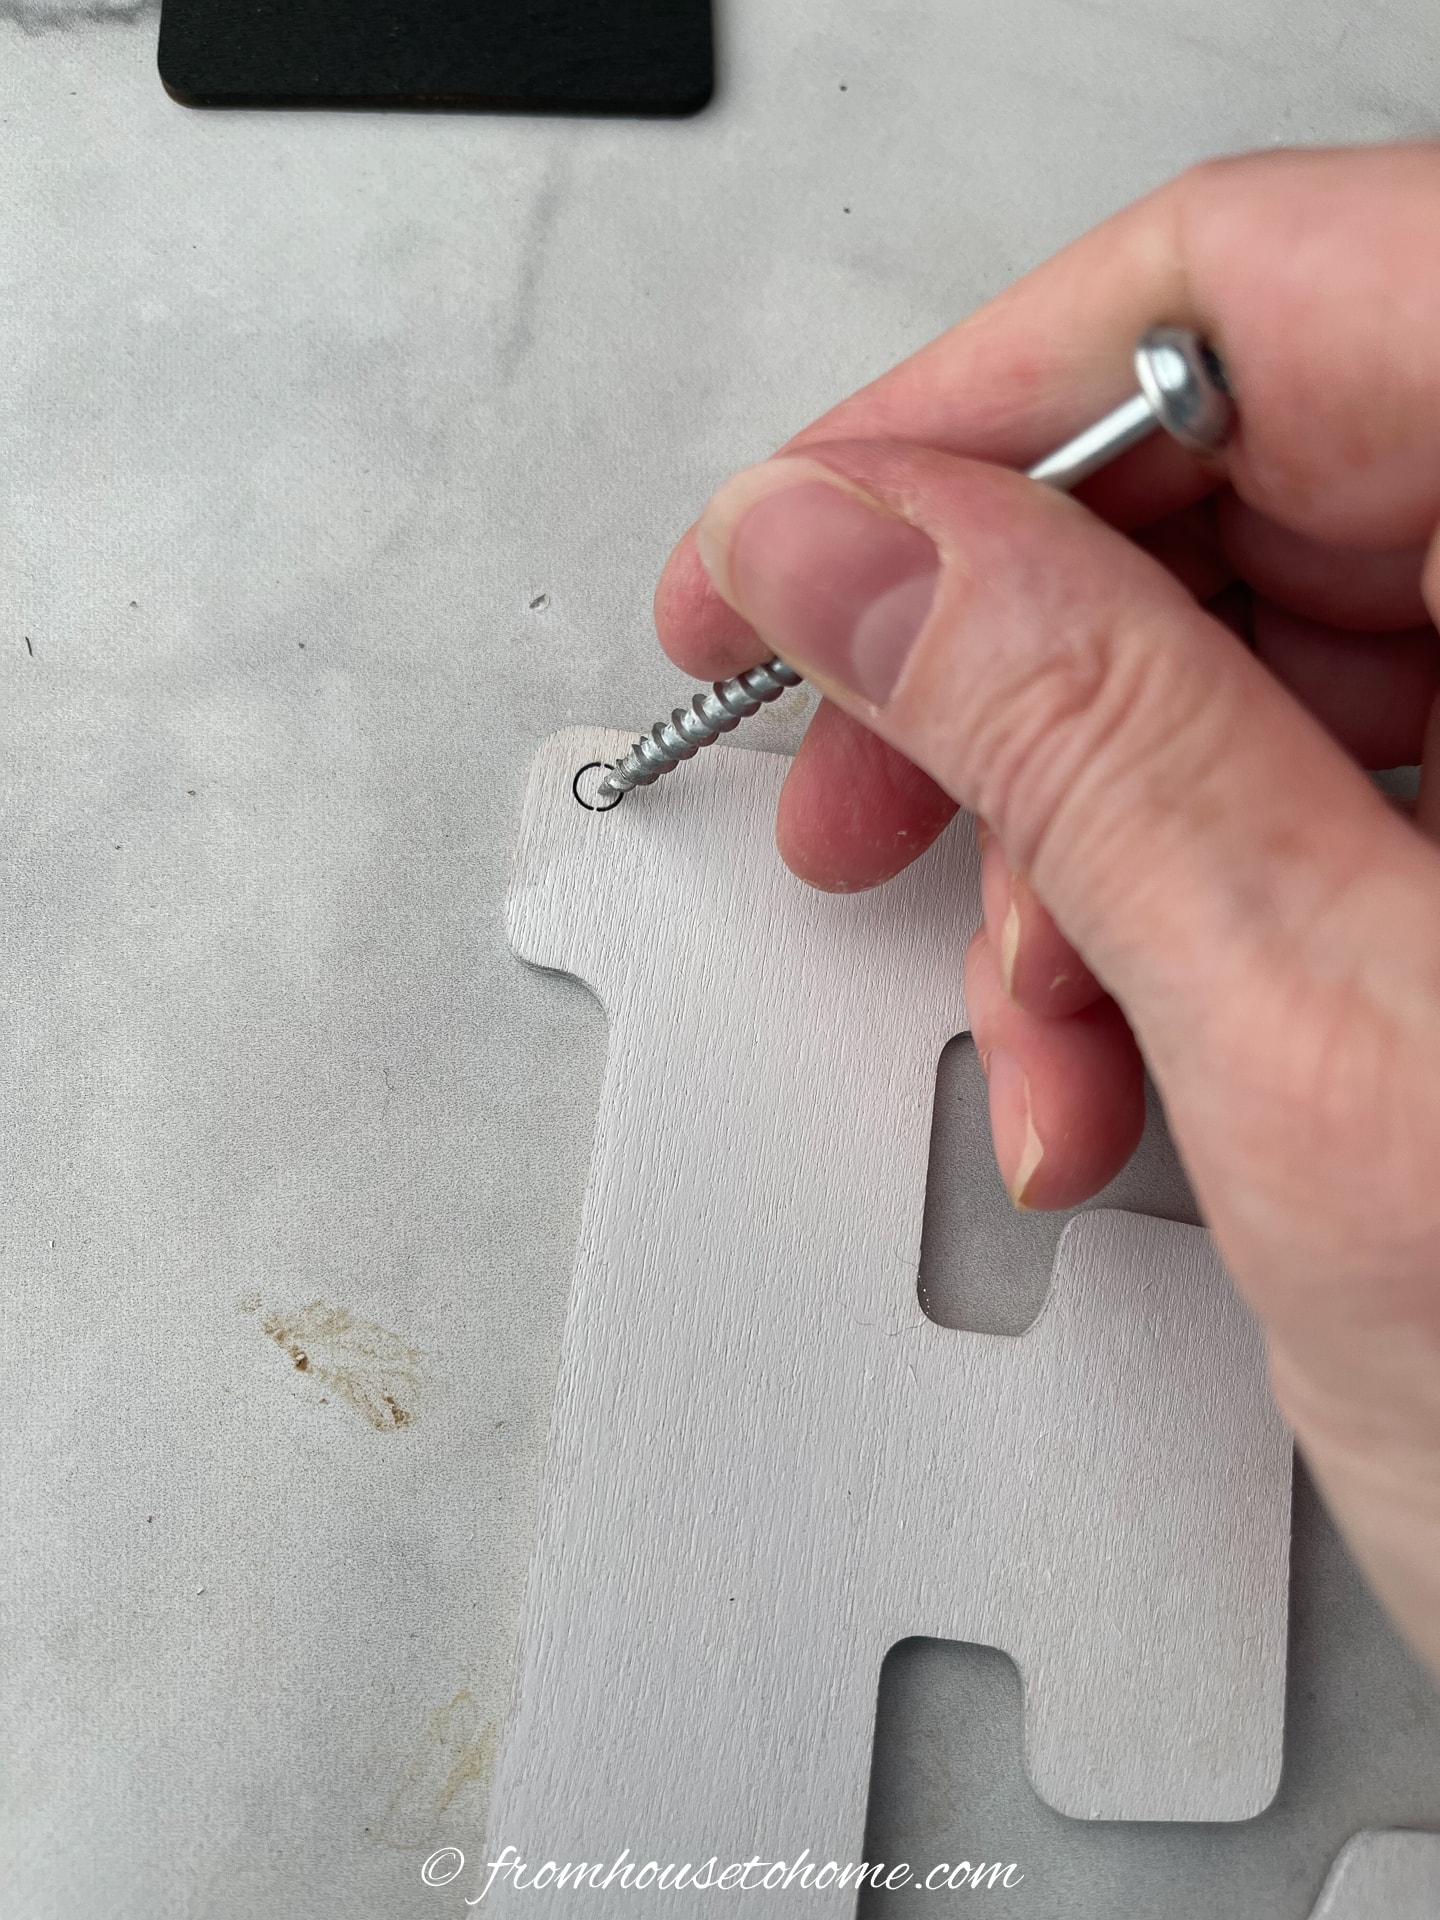
You may need to push the wood plugs out of the holes in the letters.
I used a screw to do this.
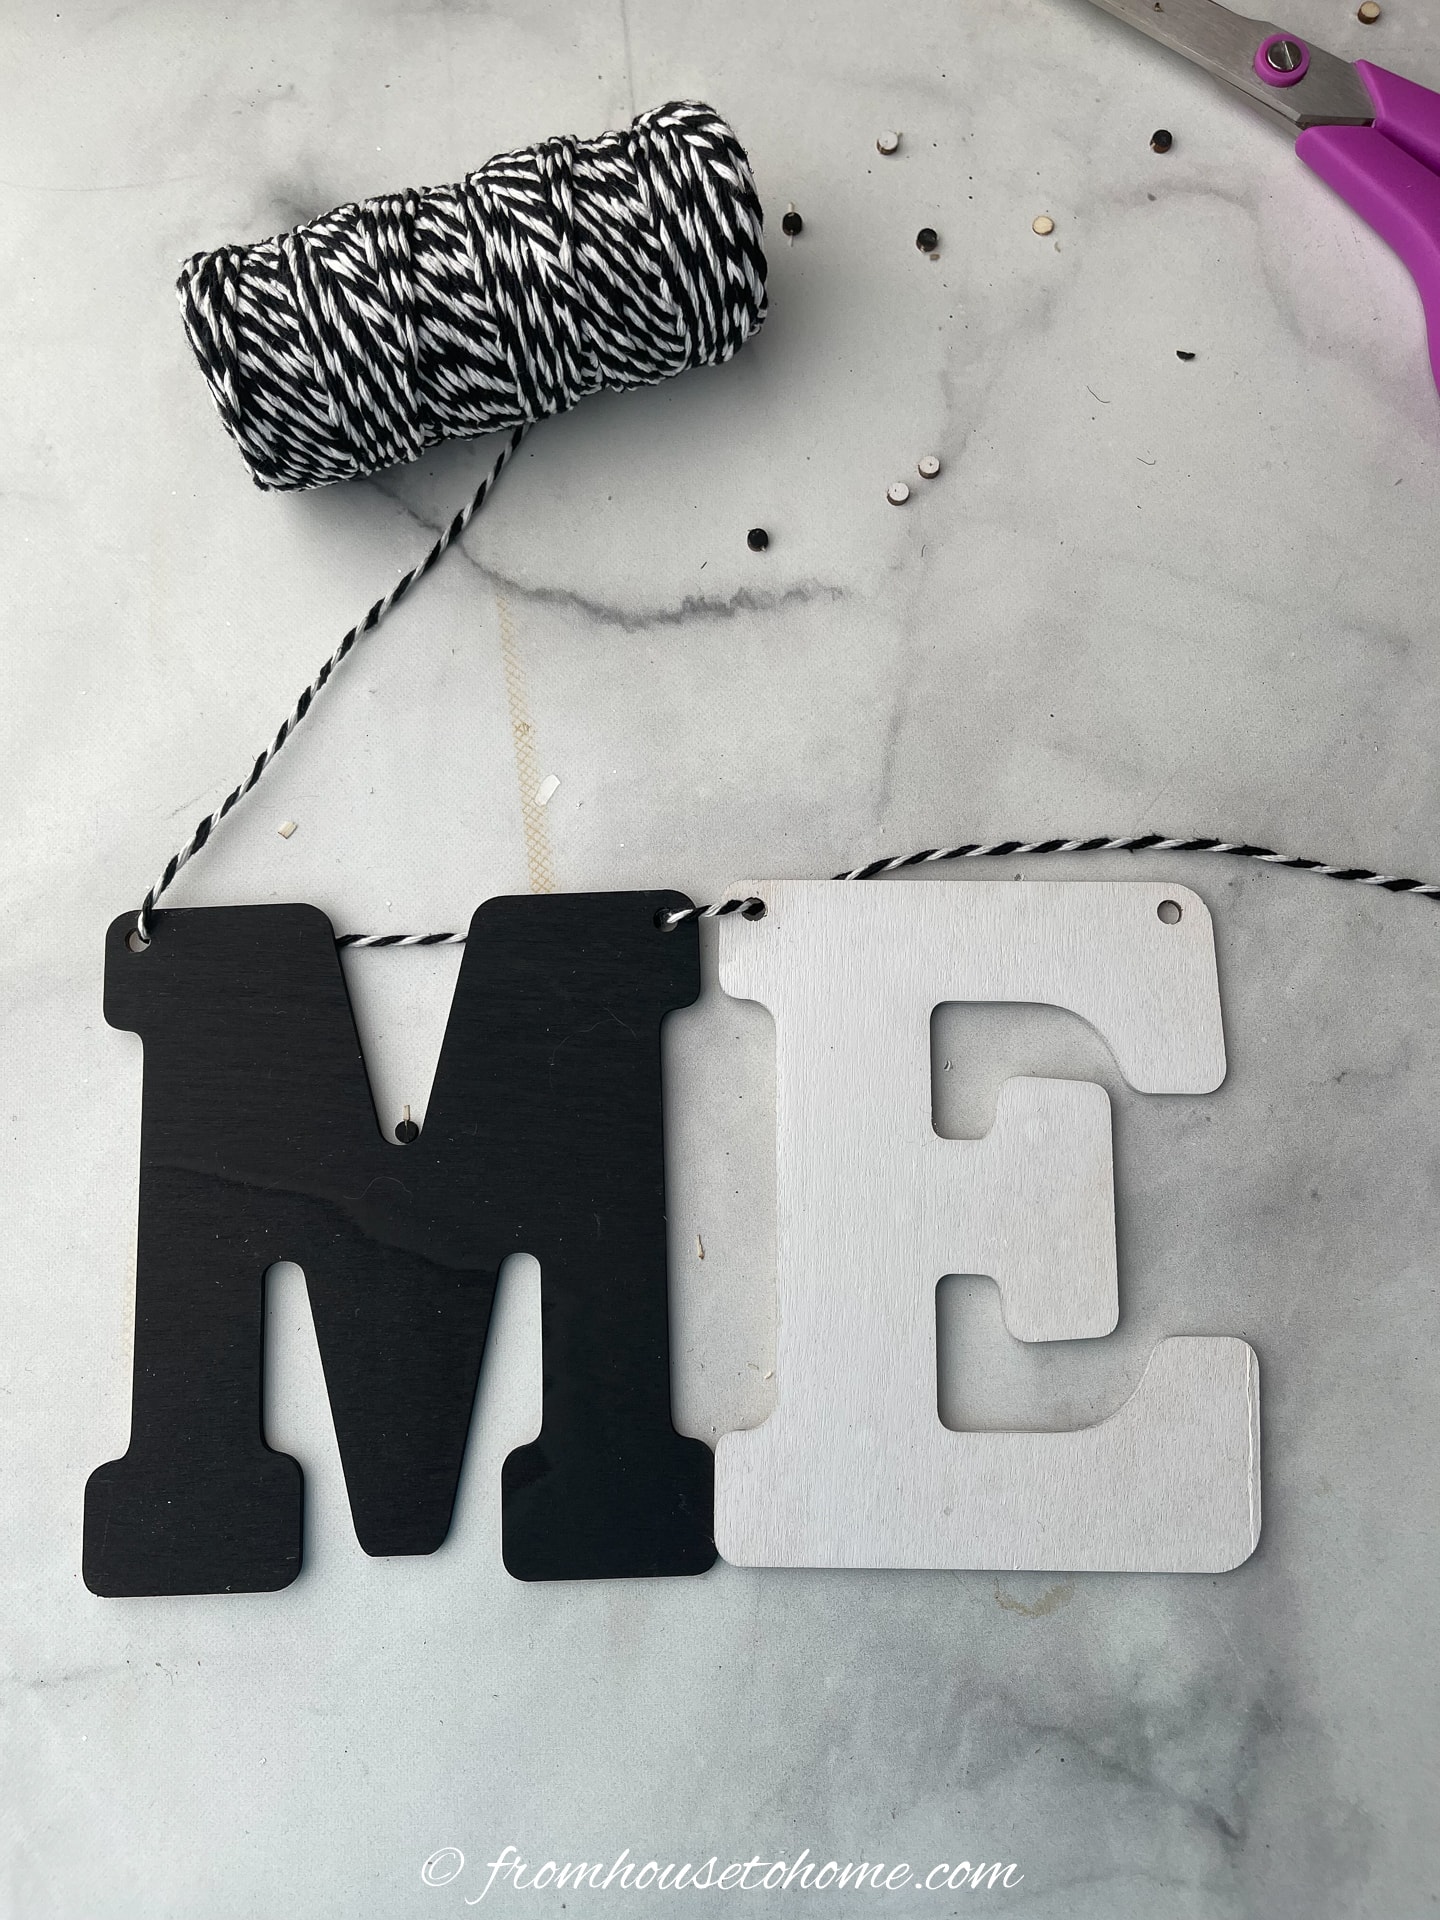
Thread the string through the holes in the letters.
Be careful to ensure that the string isn’t obstructing the front of the letters.
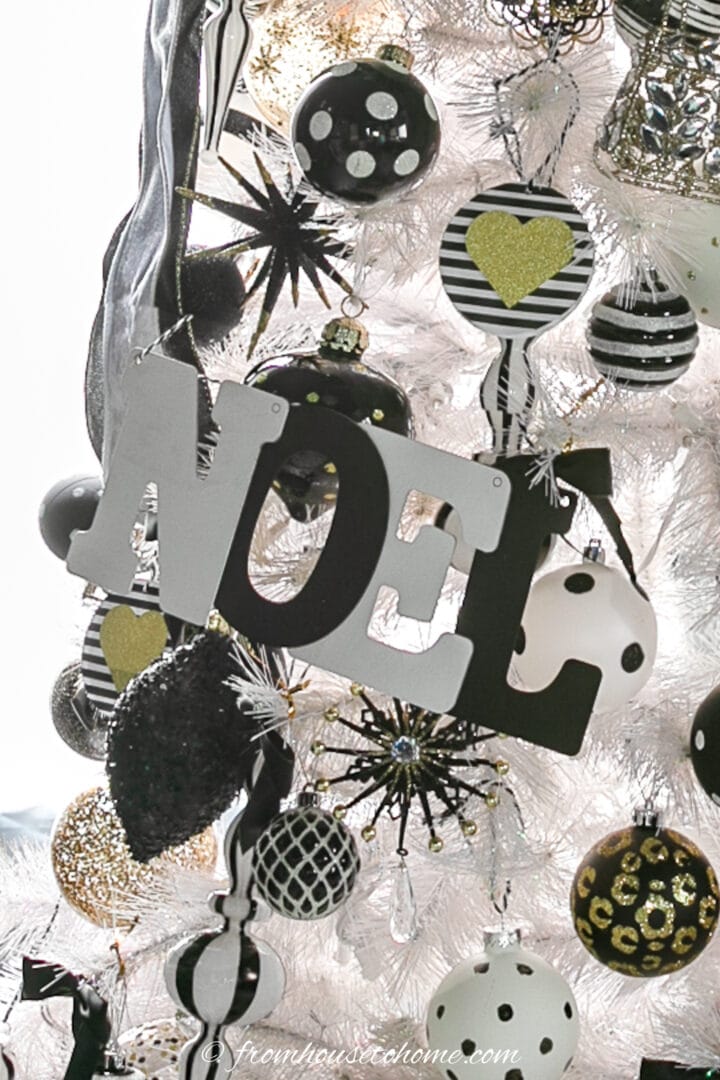
The finished letter ornaments
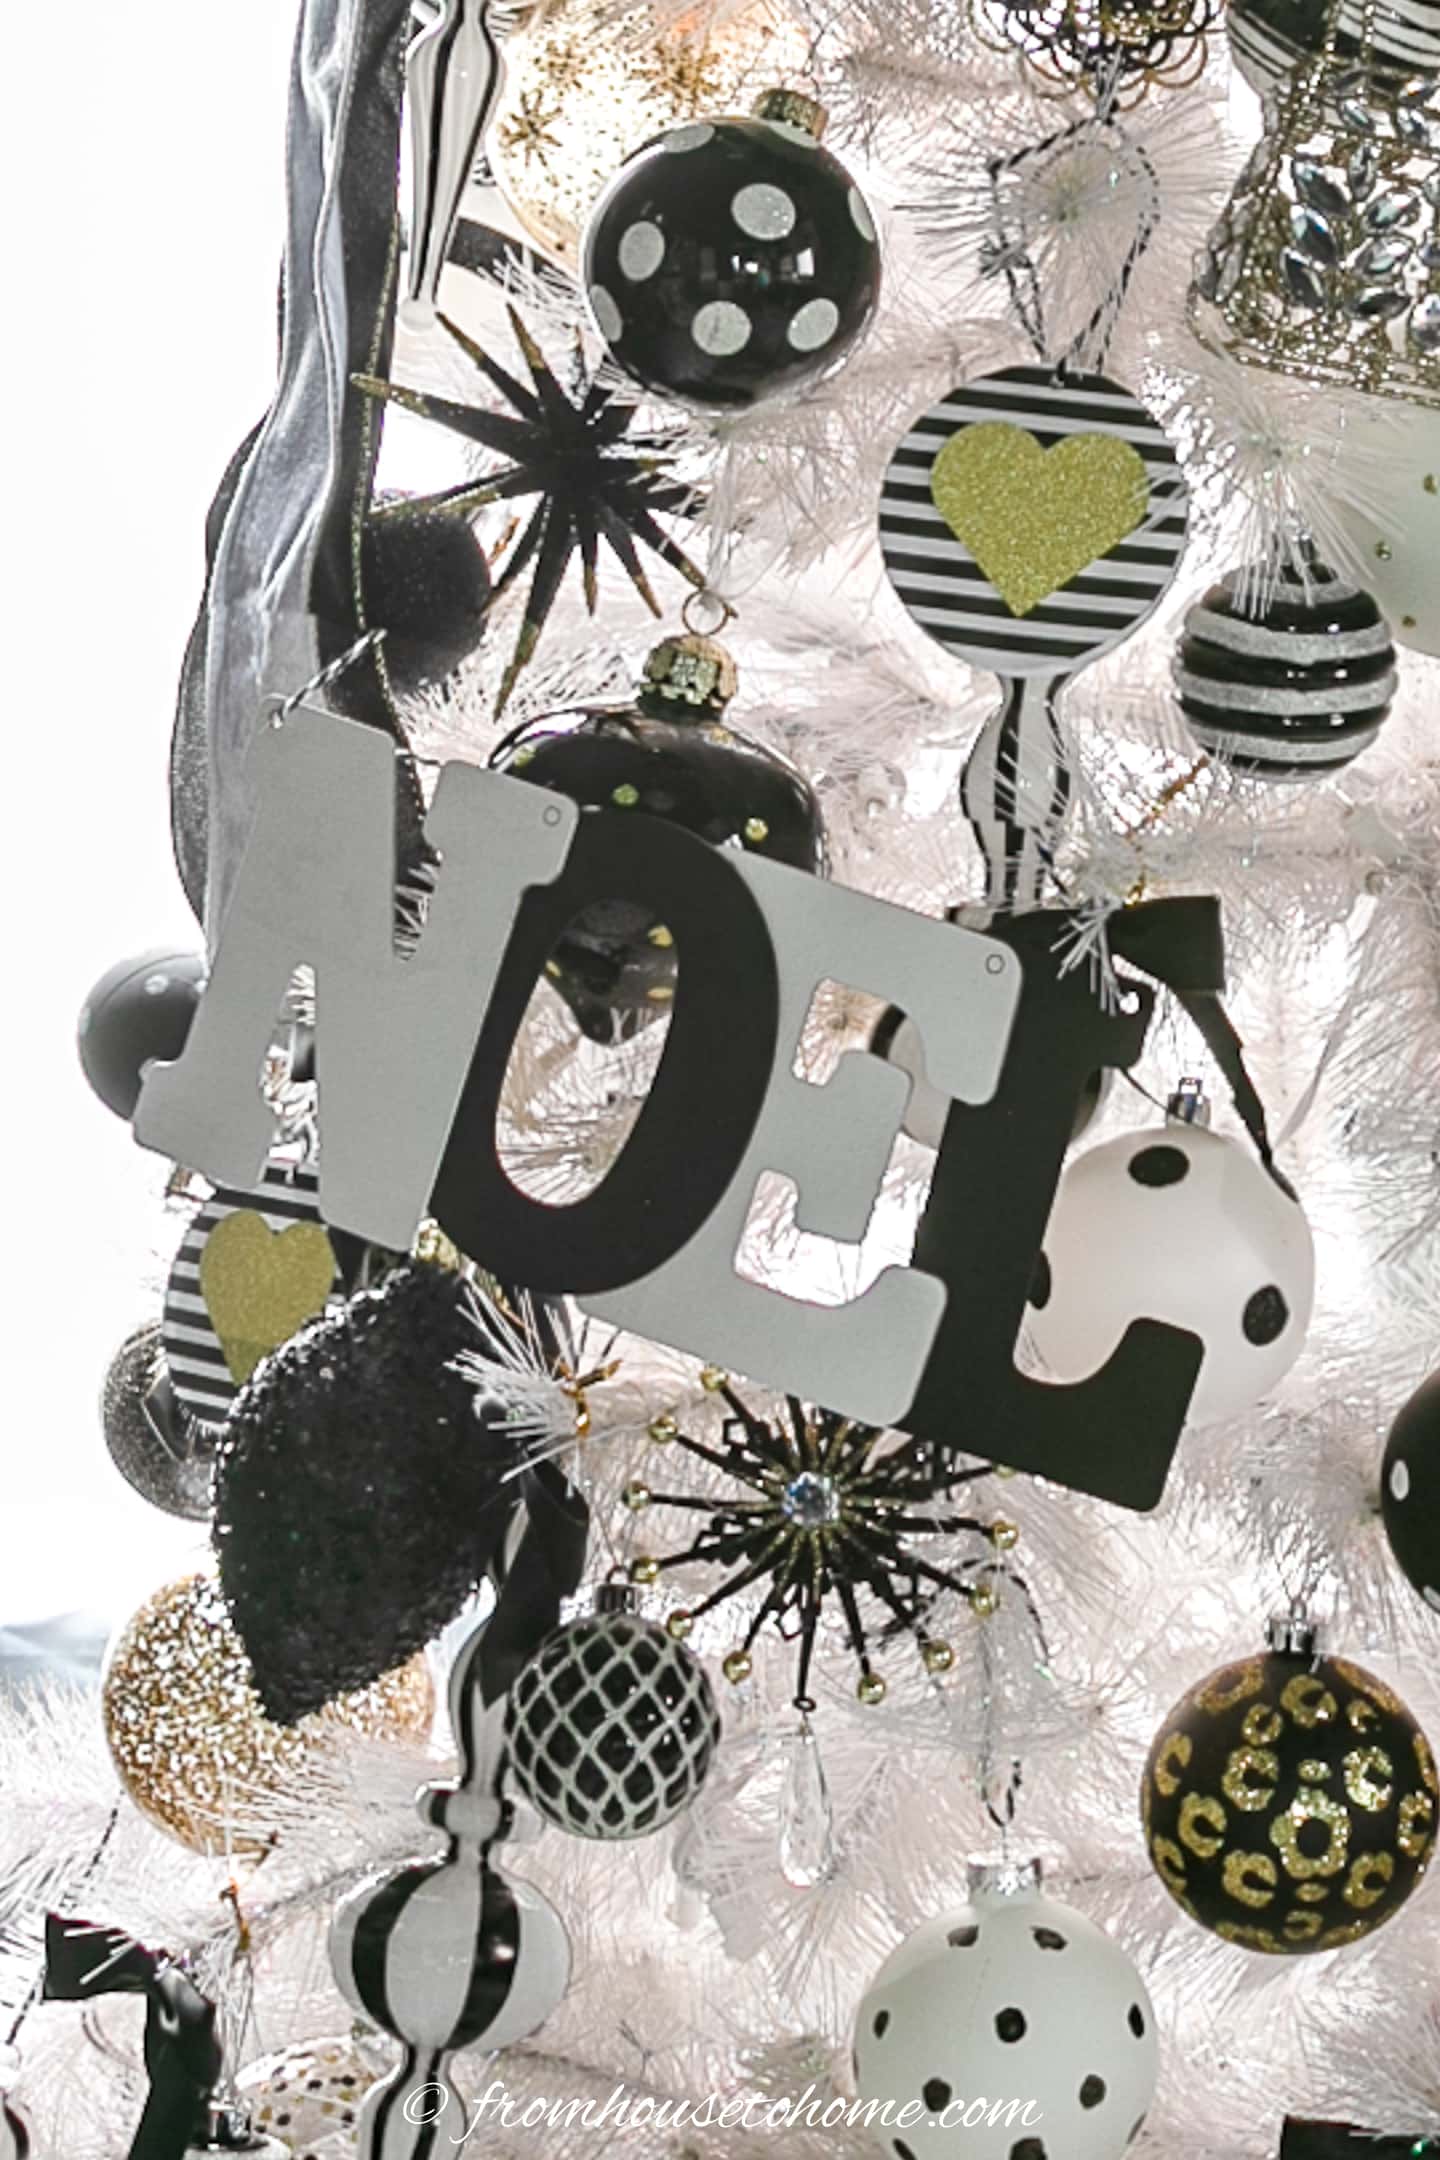
The finished letter ornaments definitely make a statement on my white and black Christmas tree.
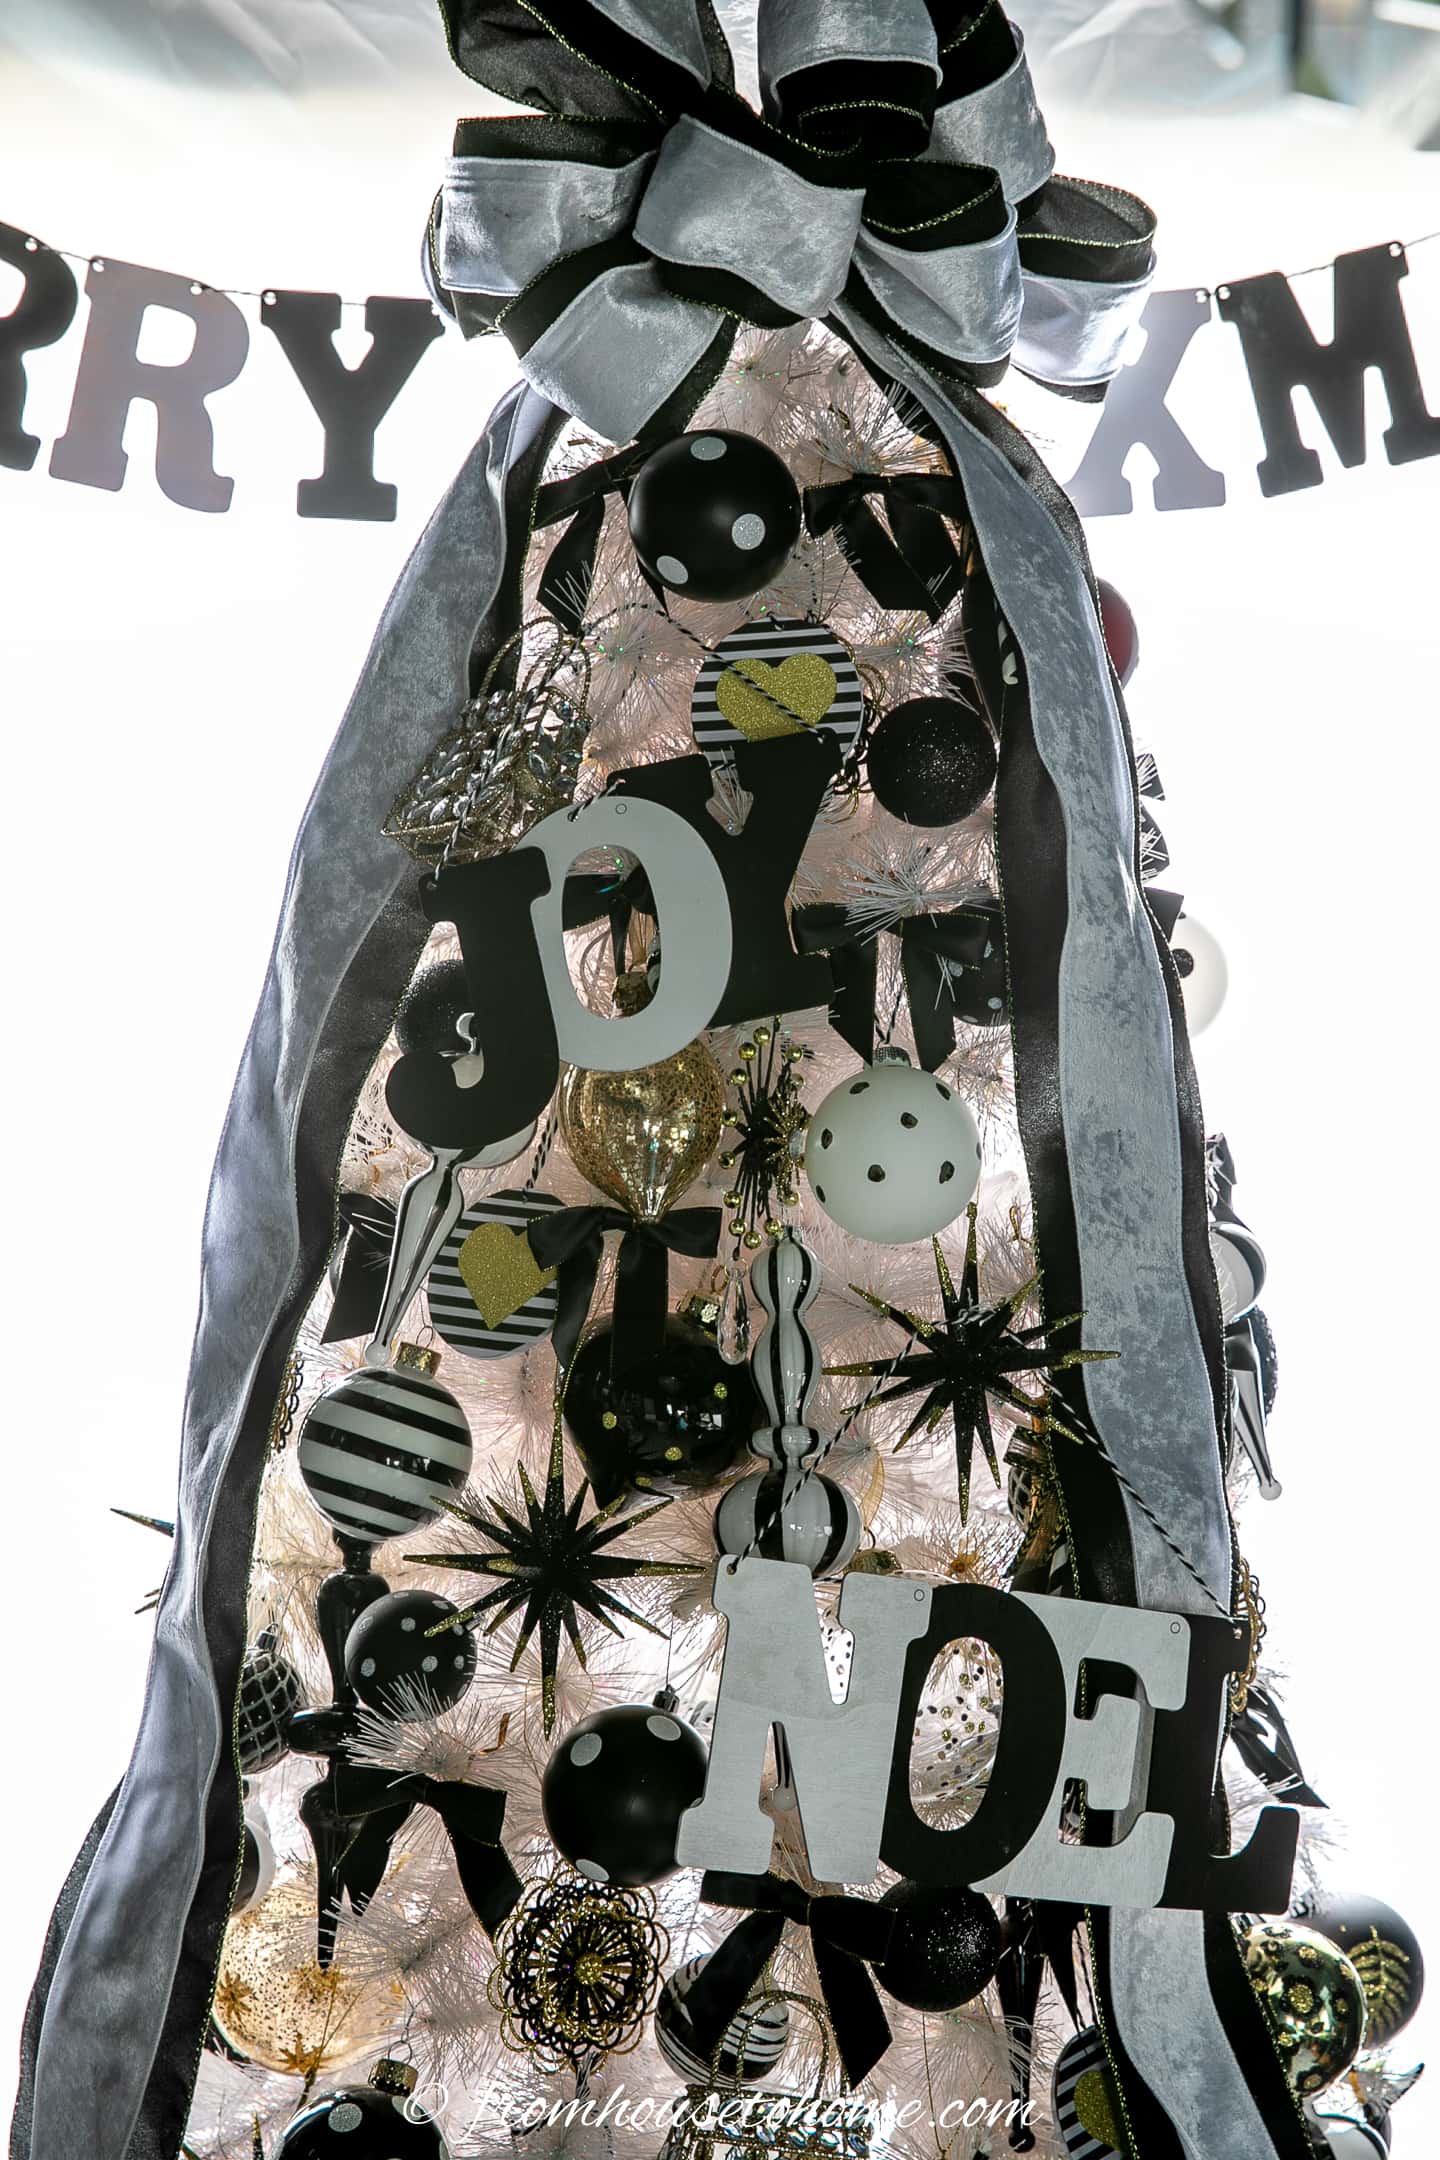
Especially when you have a few of them on the tree.
I also strung a few of them together to create a “Merry Xmas” banner that I hung behind the tree.
Other DIY ornaments you might like
- Easy DIY Heart Christmas Ornaments
- DIY Black And White Polka Dot Christmas Ornaments
- DIY Crystal Christmas Ornaments (3 Ways)
Or browse all of our DIY Christmas decorations.
DIY letter ornaments
Equipment
- box or paint tent
- Pair of scissors
Materials
- wood letters
- spray paint
- glue
- string or thread
Instructions
- Begin by laying out the letters, grouping those that will be painted the same color.
- Place them in a cardboard box or a paint tent to prevent the paint from spreading.
- Paint the letters with 2 or 3 coats of spray paint, ensuring the wood is completely covered.
- Once the paint is thoroughly dry, arrange the letters as desired, making sure the edges overlap.
- Apply glue to the overlapping areas and press them together.
- Allow the glue to dry thoroughly before proceeding.
- Cut a piece of string, thread, or ribbon that's long enough to hang your ornament.
- Then thread the string through the holes in the letters, ensuring that it isn't covering the front of the letters.