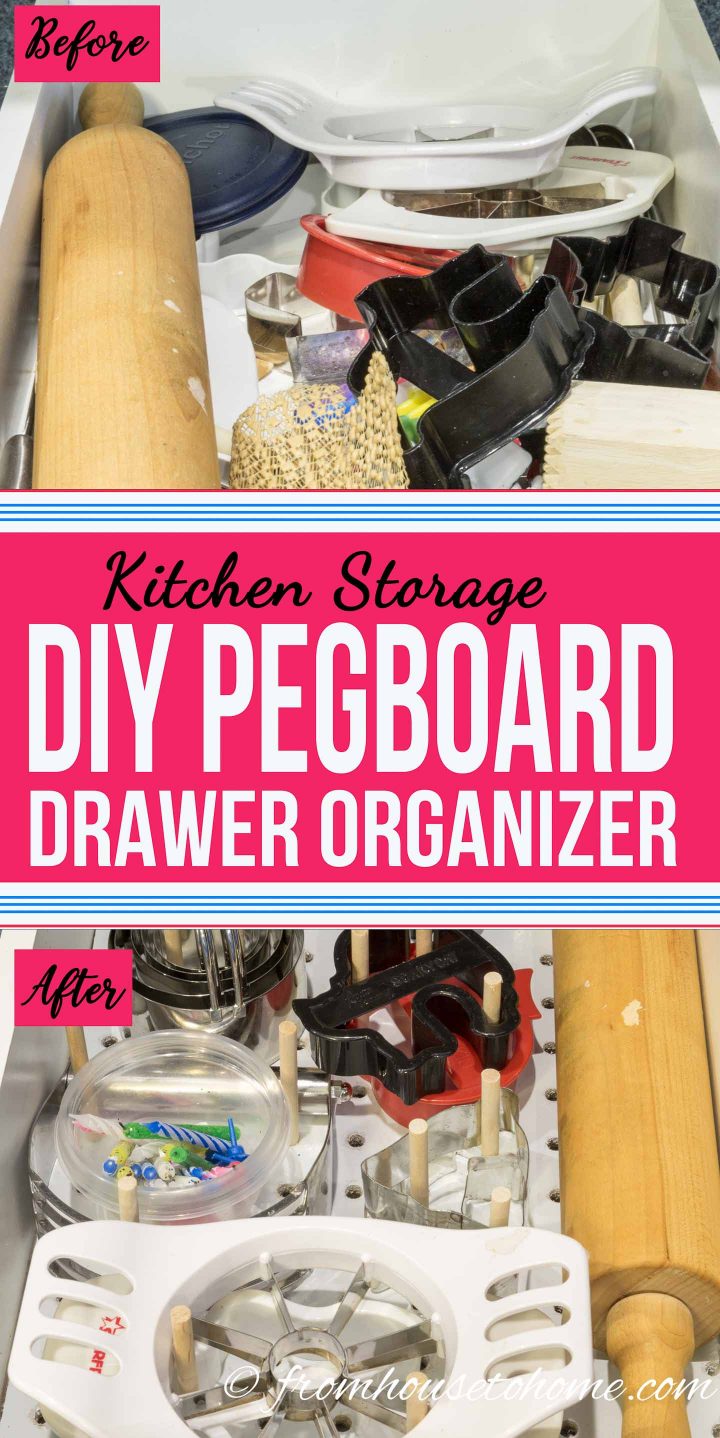
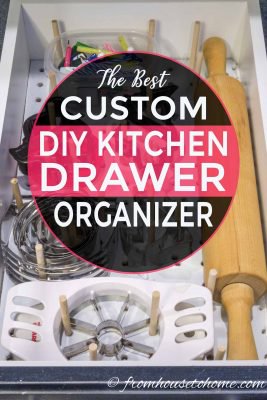
Custom Pegboard DIY Drawer Organizer


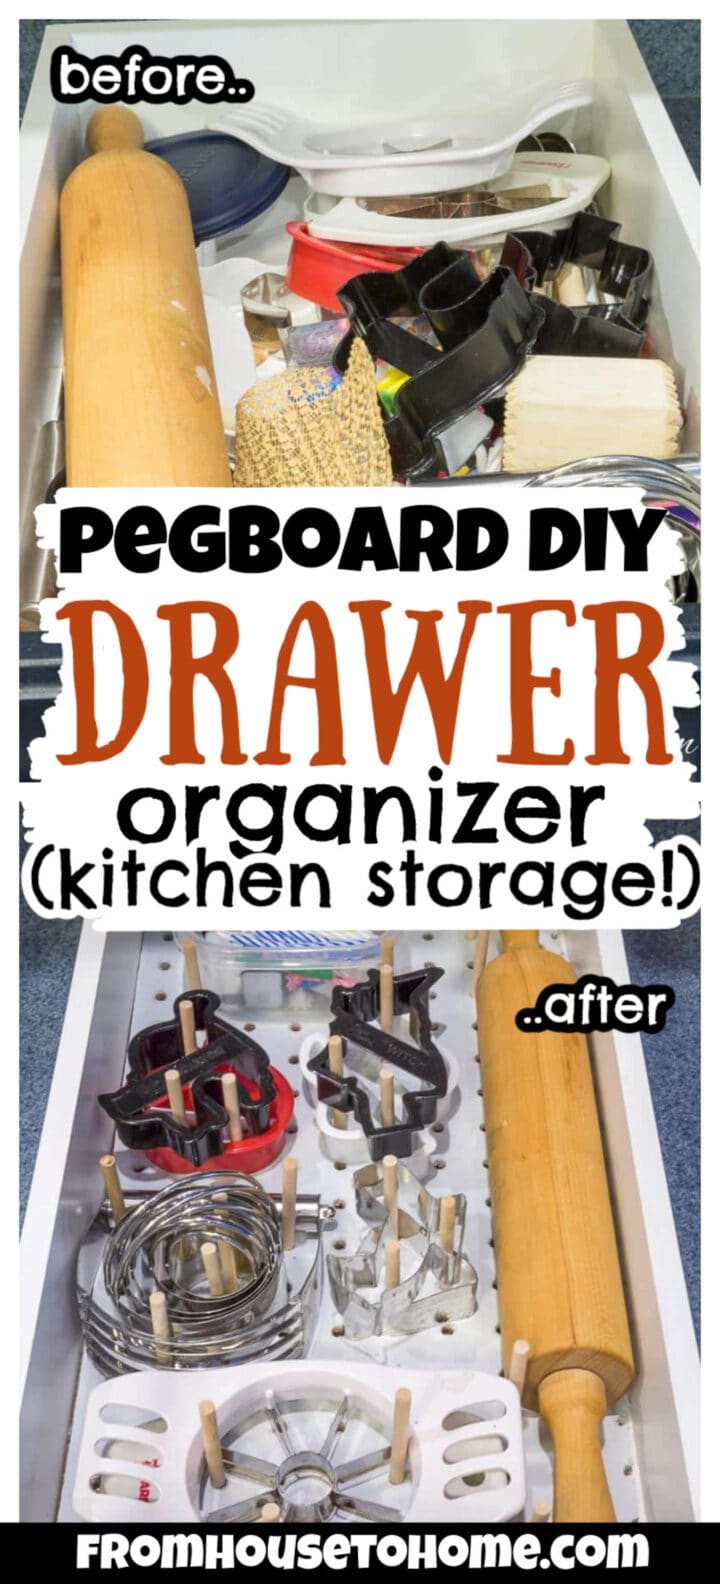
This custom pegboard DIY drawer organizer was so easy and cheap to make, I should have done it years ago. My kitchen drawers have never been so clutter free!
When I moved into my builder grade, there was absolutely no organizers in my kitchen. Which means that all of my drawers and cupboards were piled full of stuff I could never find when I wanted it. So I went on a mission to fix the problem without spending a lot of money. And ended up doing a lot of DIY projects like this rotating utensil hanger, these custom drawer dividers and this pegboard DIY drawer organizer.
Custom Pegboard DIY Drawer Organizer
This post may contain affiliate links. We make a small commission if you buy the products from these links (at no extra cost to you). As an Amazon Associate, I earn from qualifying purchases. But we only recommend products we would use ourselves. For more information, click here to see our disclosures.
I admit it. When it comes to organizing I’m obsessed with pegboard.
It’s just so good at taking things that are a total mess and making them into something that is well-organized and functional.
I have used pegboard for organizing my tools, my garden supplies, my craft room, my desk…you get the picture, pretty much everything!
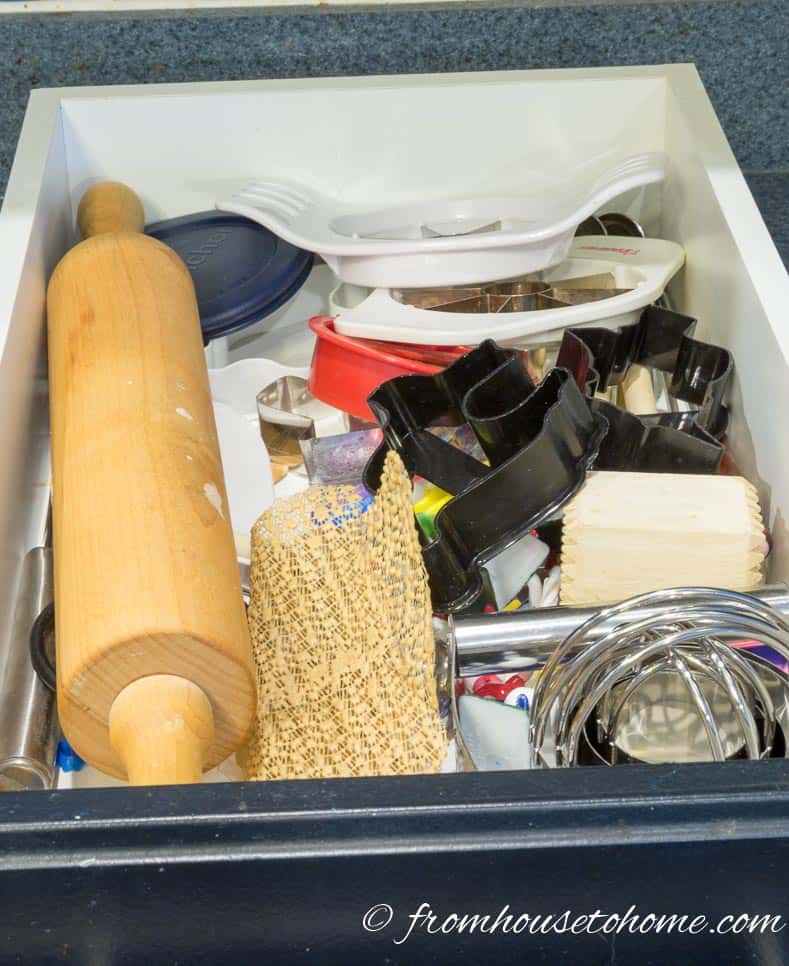
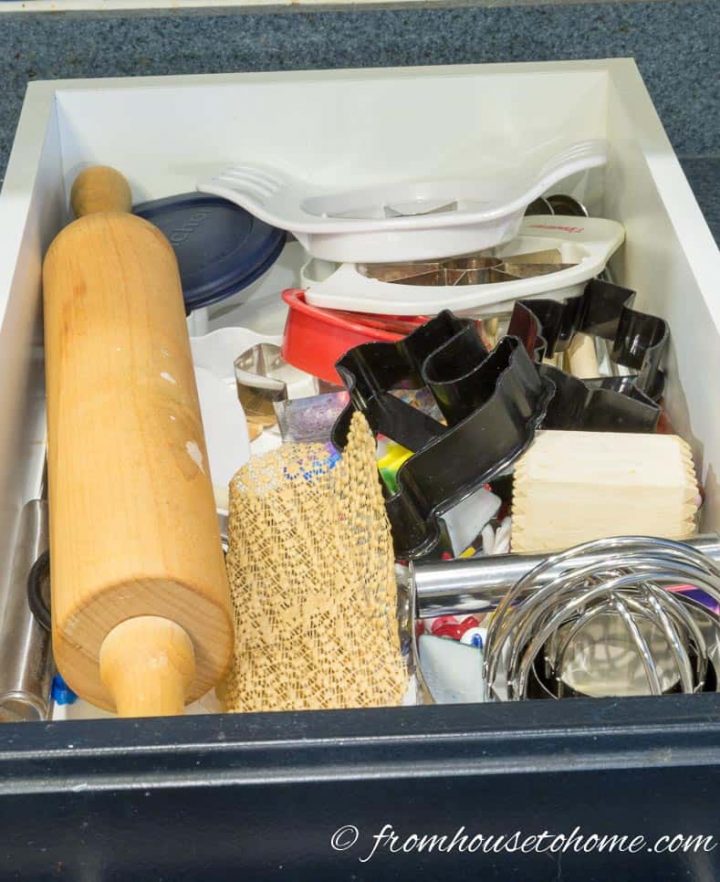
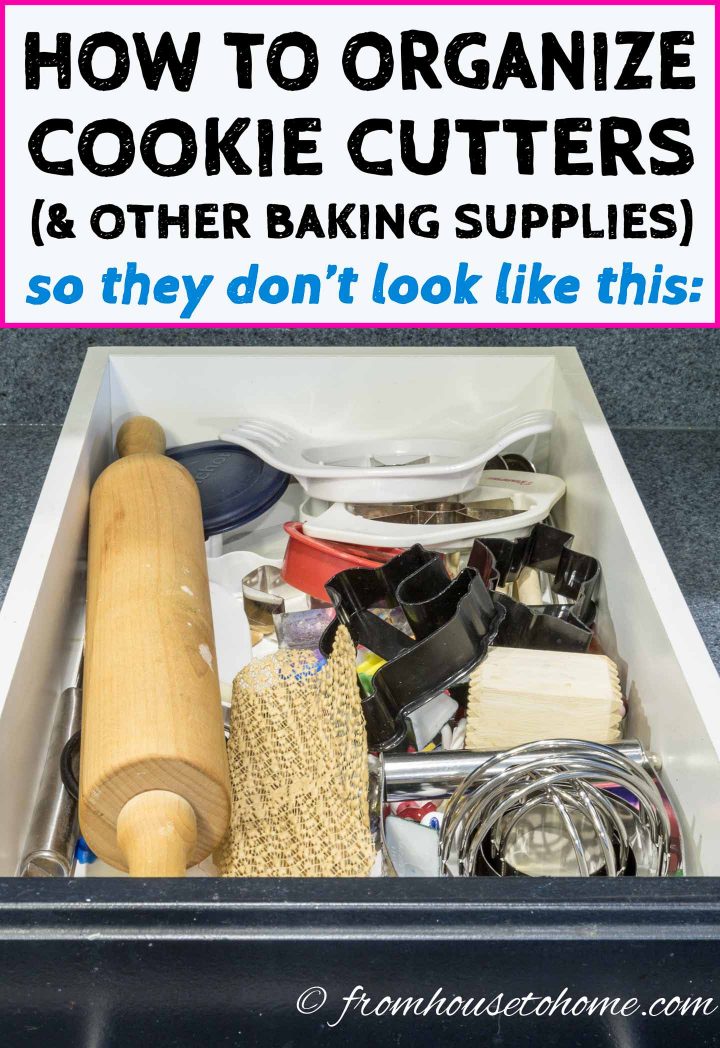
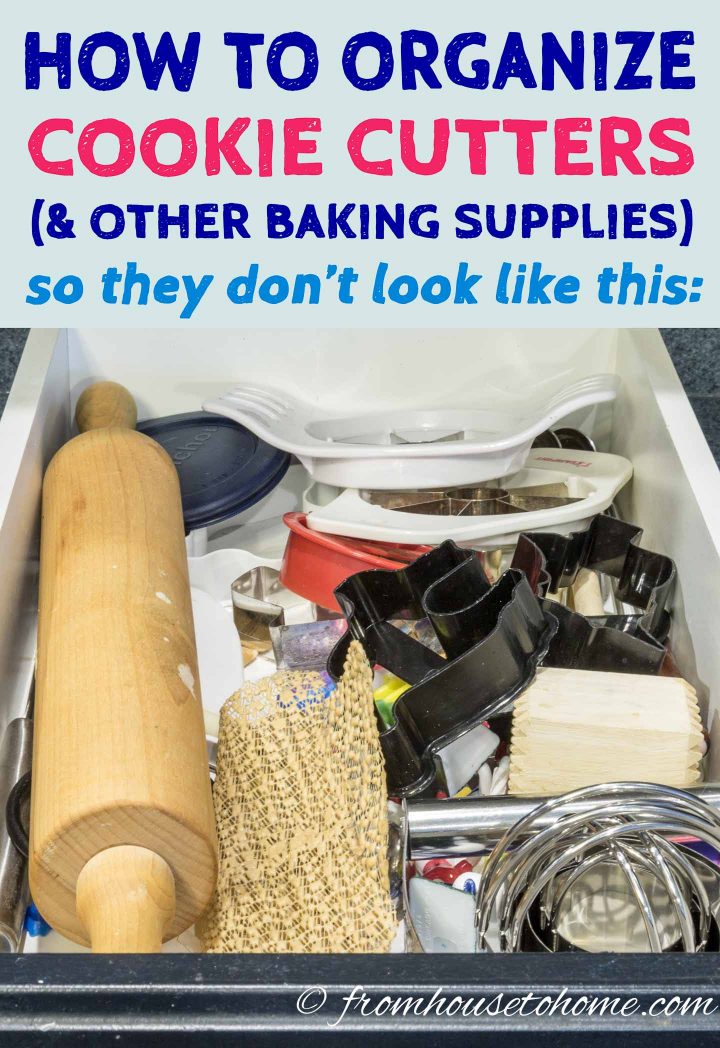
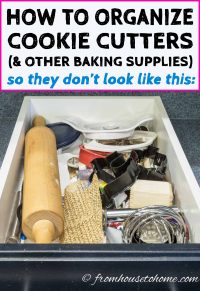
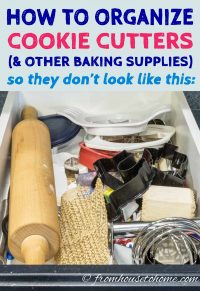
So when I really needed something to organize my “baking drawer” (it used to look like this), I decided to try using pegboard for that, too.
It was my first time trying to use pegboard for a drawer so I wasn’t sure how well it would turn out. But now that it’s done, my custom DIY pegboard drawer organizer is one of my favorite kitchen storage projects yet. All that clutter has been tamed!
And although I used it for kitchen utensils, this could also be used for all kinds of tool storage or crafting supplies that are stored in drawers.
Supplies
Materials
- Pegboard
- 1/4″ wooden dowels* – Pegboard comes in different sizes of holes, so you’ll need to get dowels that are the same width as the holes in your pegboard.
- White spray paint (optional) – you can buy pegboard that is already white, or just leave it brown if you don’t want to paint it
- 1″ screws and washers, or some thin, narrow pieces of wood
Tools
- Circular saw
- Screwdriver
- Miter saw, chop saw or hand saw
How To Put It Together
Measure and cut the pegboard
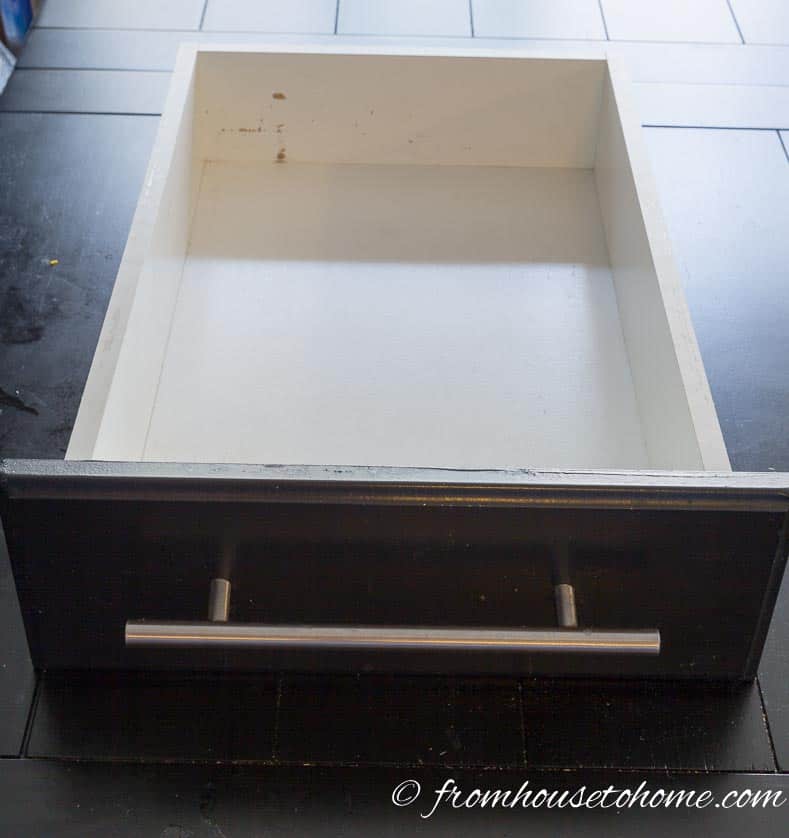
1. Remove the drawer to make it easier to measure and put the pegboard in.
2. Measure the length and width of the inside of the drawer.
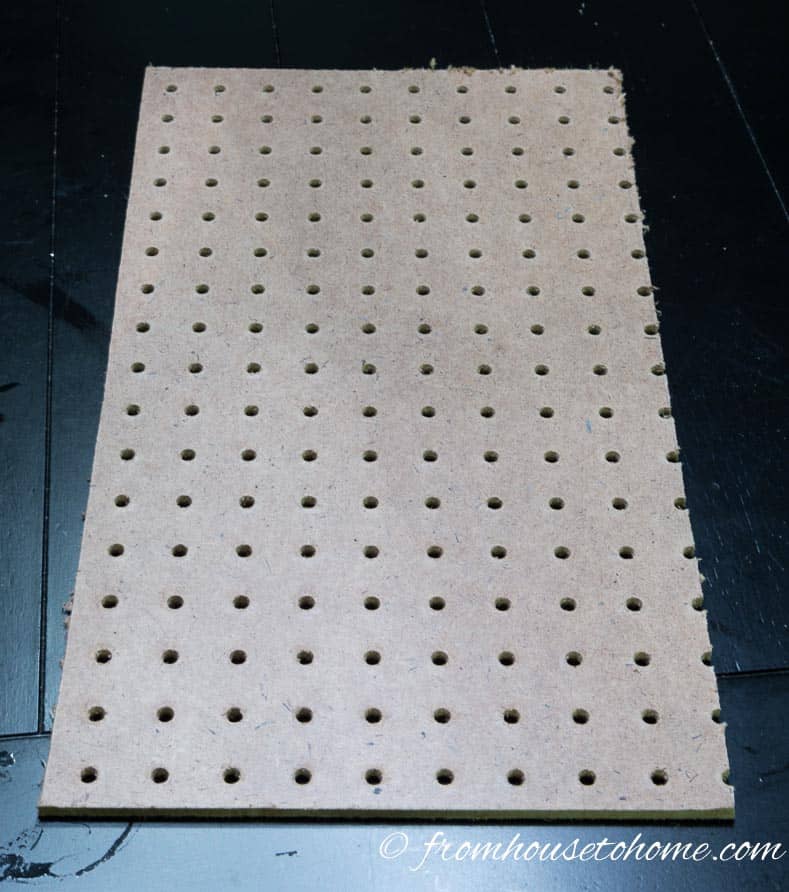
3. Use a circular saw to cut the pegboard to fit the bottom of the drawer.

4. If you want to paint the pegboard, do that before you put it in the drawer. I used spray paint because it dries fast.
Or you can decorate it with shelf liner or wallpaper like I did for my desk.
Install the pegboard in the drawer
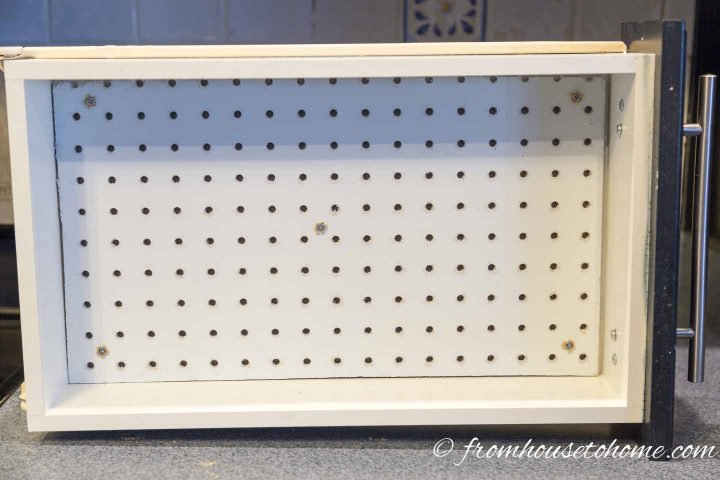
4. Attach the pegboard to the bottom of the drawer using screws and washers. This raises the pegboard off the bottom of the drawer which makes the pegs more stable. To do this:
- Screw the screws through the pegboard without attaching it to the drawer.
- Then place the washers on to the screws at the back of the pegboard.
- Turn the drawer on its side (which keeps the washers from falling off) and attach the screws to the bottom of the drawer.
If you prefer not to have the pegboard attached (which makes it easier to remove for cleaning), you could also screw some thin, narrow pieces of wood to the bottom of the drawer. Then rest the pegboard on top of them.
Configure the Pegs
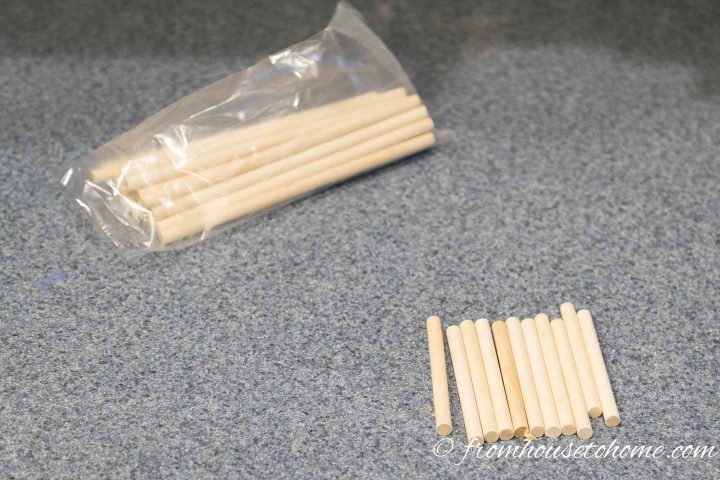
5. Get dowels that are the same width as the holes in the pegboard, and cut them to about 3″ in length. I used one of my favorite tools (a cordless miter saw*) to do this, but you can use whatever type of saw you are comfortable with.
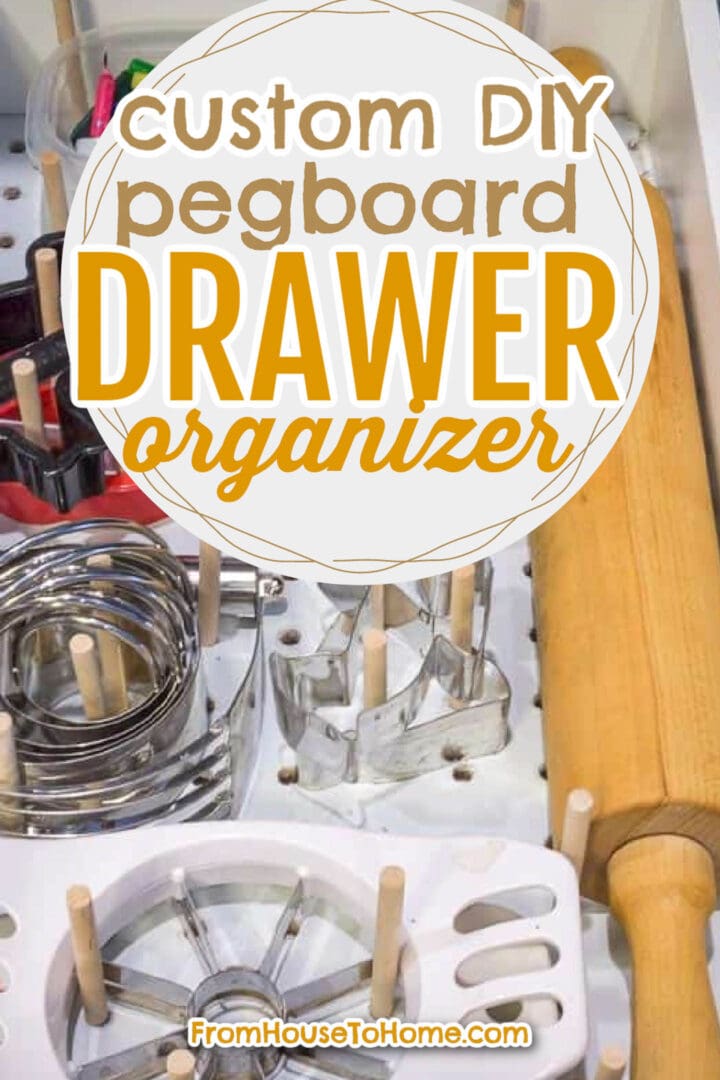
6. Arrange the cookie cutters, biscuit cutters, apple slicer, rolling pin and any other baking supplies in the drawer so you can see how they fit.
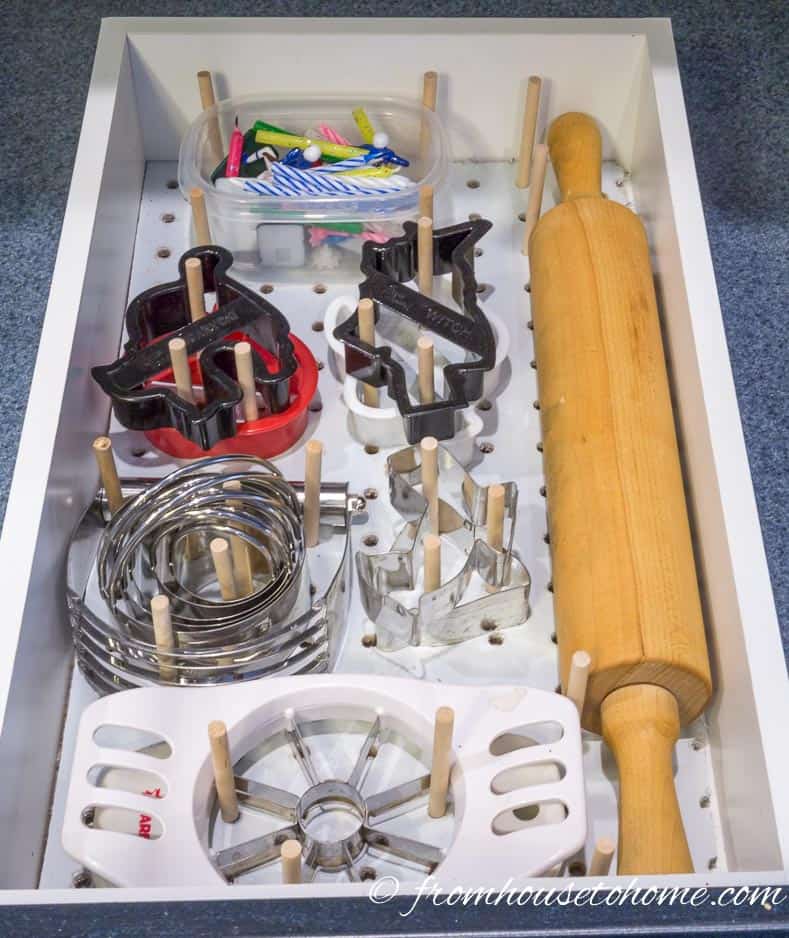
7. Then position the dowels in the pegboard holes to keep everything in place.
Put the drawer back in and you are all set! One completely organized drawer that you can find things in.
The great thing about this system is when you get new stuff, you can re-arrange the pegs to come up with a new configuration.
Other Kitchen Organizing Projects You Might Like
- 5 Easy DIY Kitchen Drawer Organizer Ideas
- 6 Cabinet Door Storage Ideas That Will Organize Your Kitchen
- DIY Over The Refrigerator Cabinet Organizer
[columns] [span4]
[/span4][span4]
[/span4][span4]
[/span4][/columns]
Have comments or questions on our custom pegboard DIY drawer organizer? Tell us in the section below.
This post was originally published on December 5, 2018 but was updated with new content on March 29, 2023.
I bought a piece of pegboard for my craft table and the hooks. I took a 2 liter pop bottle and cut it down for rulers. I used my glue gun to make holes for the pegs. And I knew cans would be a good idea. My son says oh no you aren’t going to start hoarding cans again. Twit. So many uses for them.
Hi Jody…Your pop bottle idea sounds like a great way to store rulers! I’ll have to add that to my pegboard upstairs. And I agree…cans are great for so many things 🙂