
14 Budget-Friendly Ways To Update Kitchen Cabinets
Updating kitchen cabinets doesn’t have to mean a costly renovation. With these simple, budget-friendly ideas, you can give your kitchen a fresh new look and feel in just a weekend without breaking the bank.

Your kitchen cabinets take up more visual space than anything else in your kitchen, which means they have the power to make or break the entire room.
If you’re staring at old, outdated, builder-grade cabinets every morning and dreaming of a complete kitchen renovation, I have good news for you.
You don’t need to gut your entire kitchen to get the custom look you’re craving.
With some creativity and elbow grease, you can transform your existing cabinets into something that looks like you hired a high-end designer.
I’ve been doing kitchen cabinet makeovers for over 30 years, and these are the techniques that give you the biggest bang for your buck.
So if you’re ready to fall in love with your kitchen again, here are 14 budget-friendly kitchen cupboard updates that will completely change how your space looks and functions.
Looking for more kitchen makeover ideas? You'll love Pink Kitchen Decor Ideas and Black And White Kitchen Designs.
1 | Paint Your Cabinets for an Instant Transformation
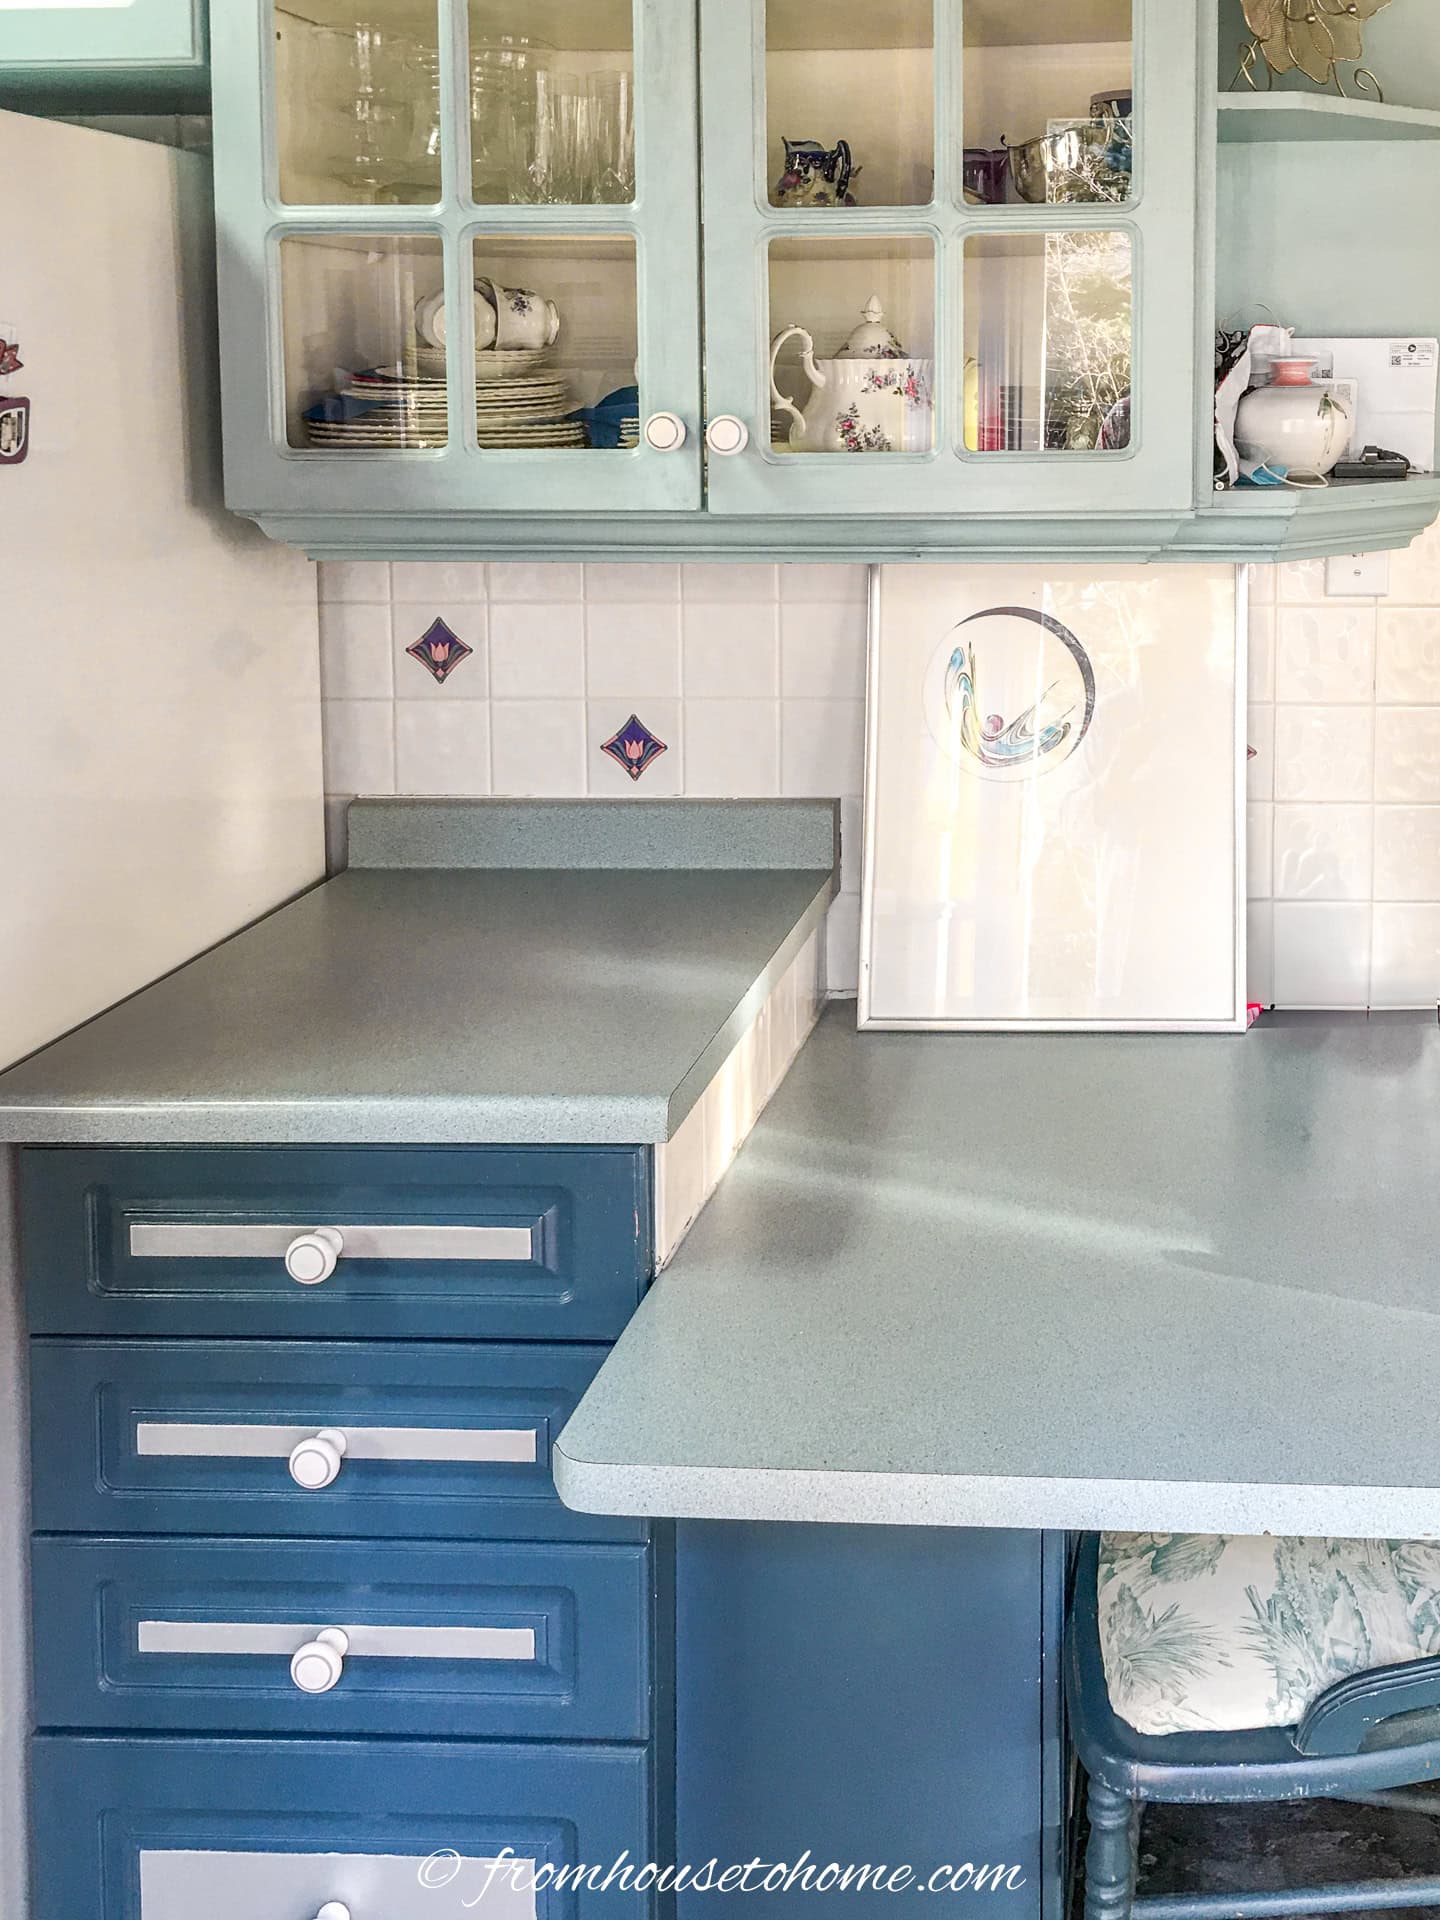
The impact: Painting your cabinets can completely transform your entire kitchen for under $200.
Here’s how to do it right: Start by removing all doors and drawers. Clean everything thoroughly with TSP (trisodium phosphate) to remove grease and grime. Sand lightly to help the paint adhere, then prime with a high-quality bonding primer. Use a paint specifically designed for cabinets. It’s worth the extra cost for durability.
For more detailed instructions, read our tutorial on painting kitchen cabinets.
Color choices that work: Navy blue creates sophistication, sage green feels fresh and timeless, charcoal gray looks expensive, and rich cream is warmer than stark white.
Use a paint sprayer for the smoothest finish. And take your time. Rushed paint jobs always show.
Get a FREE Room Makeover Workbook by signing up for our newsletter
You’ll also get access to our members-only resource library with all of our other printables.
We won’t send you spam. Unsubscribe at any time.
2 | Add Interest to Recessed or Raised Panel Doors
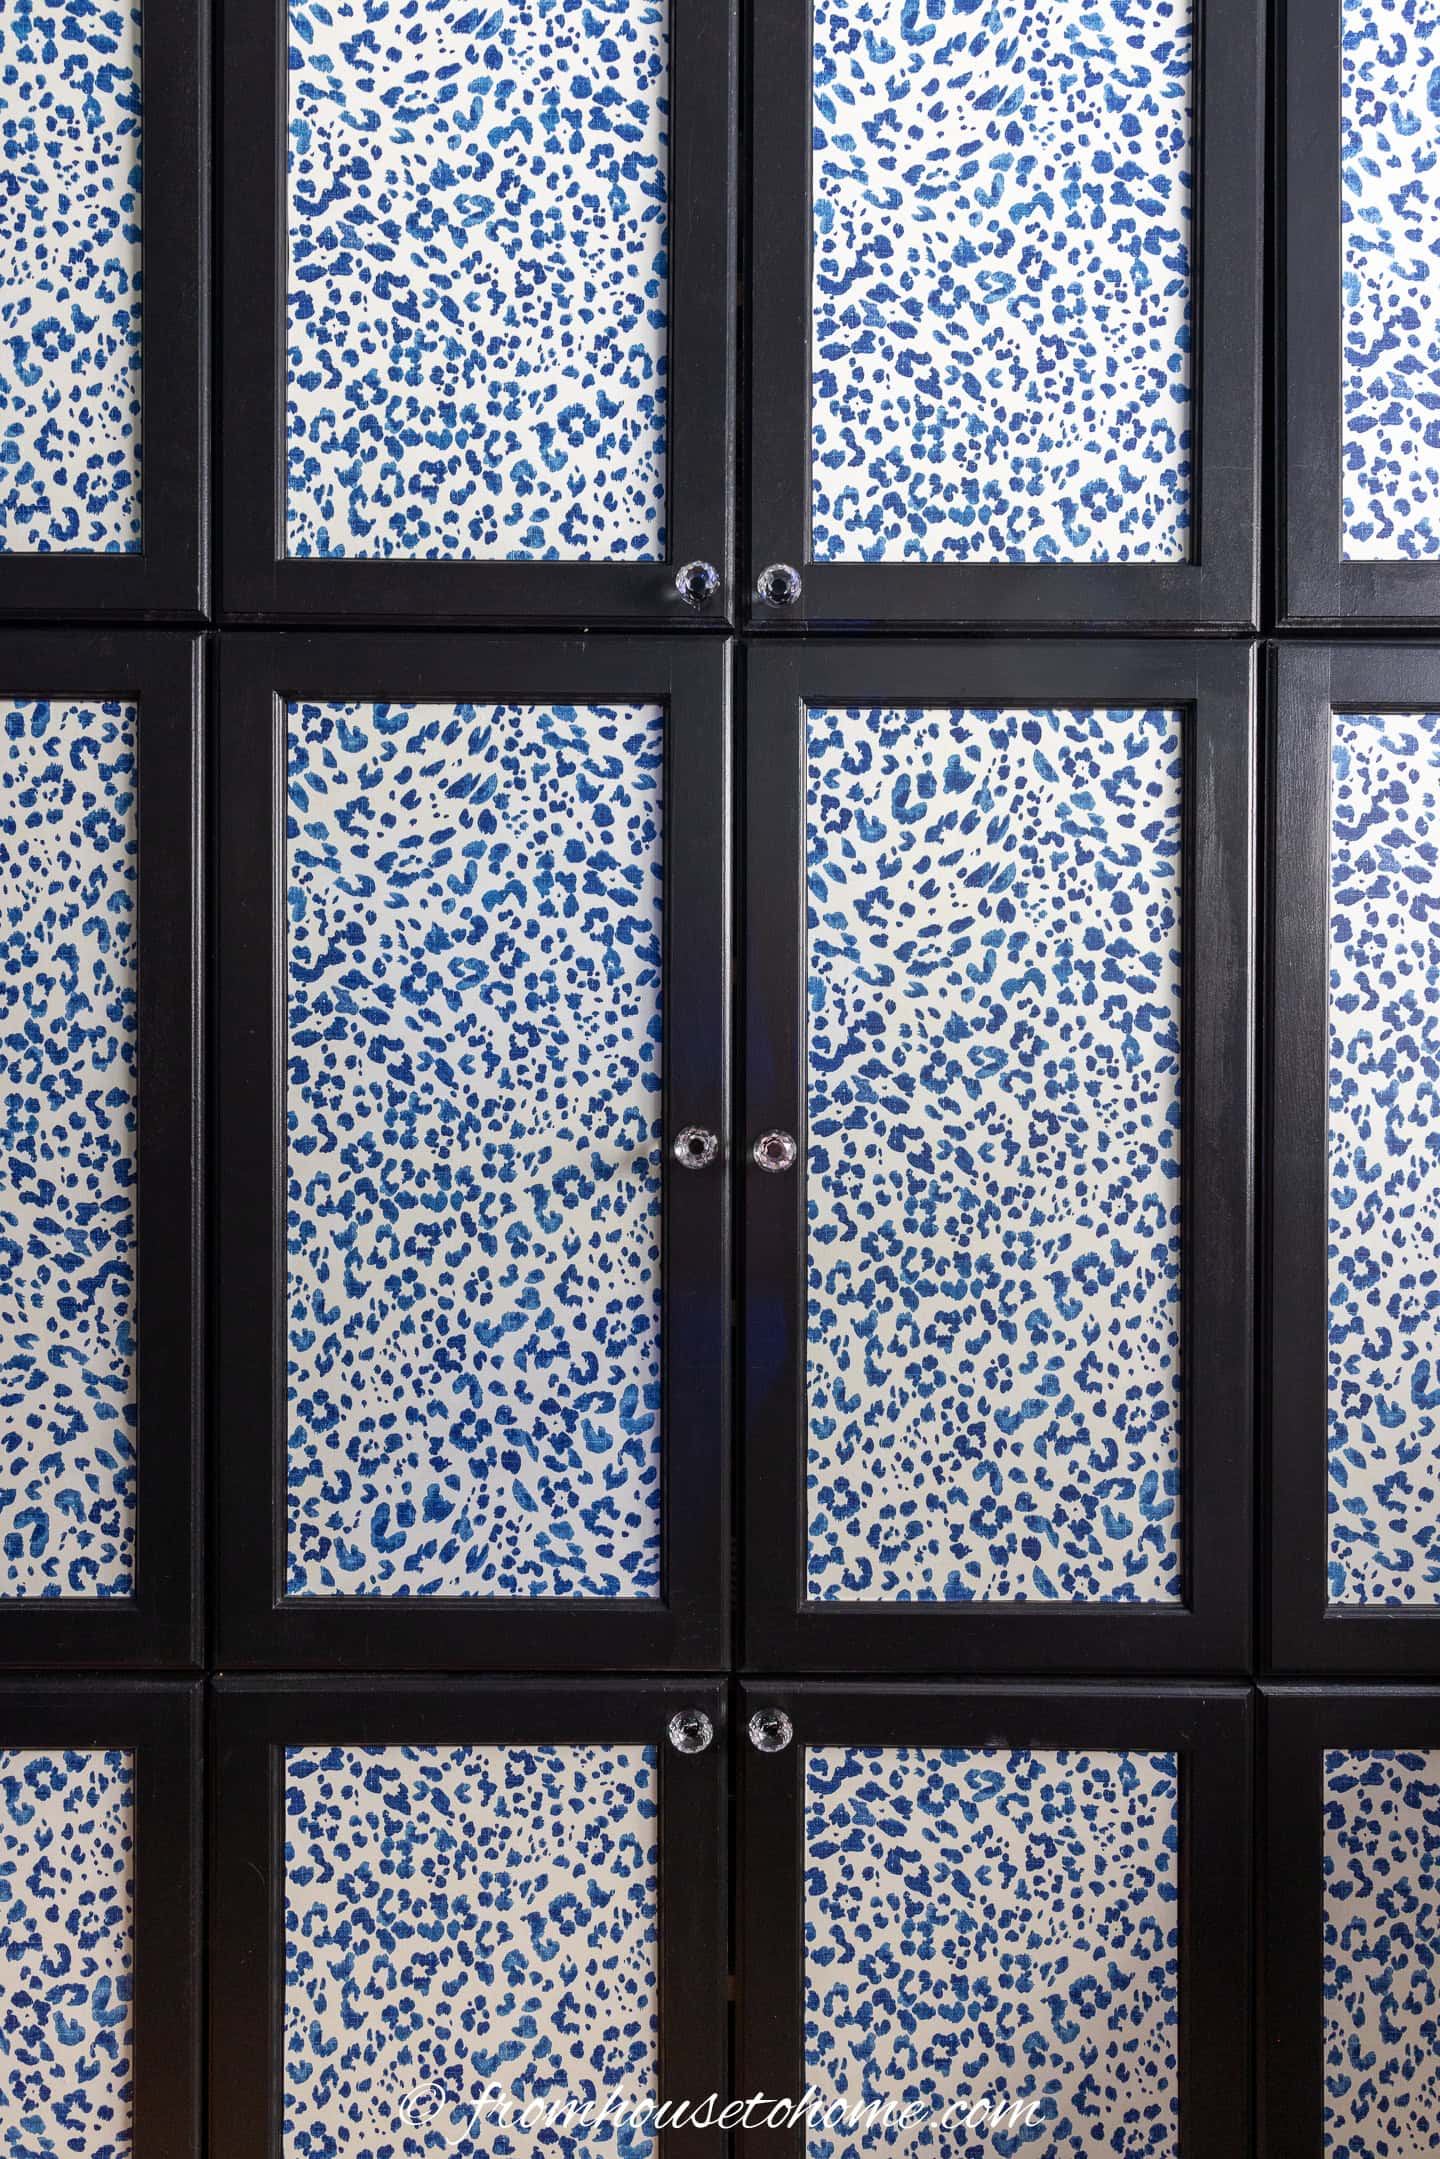
The impact: This technique transforms boring cabinet doors into custom focal points that look like expensive built-ins.
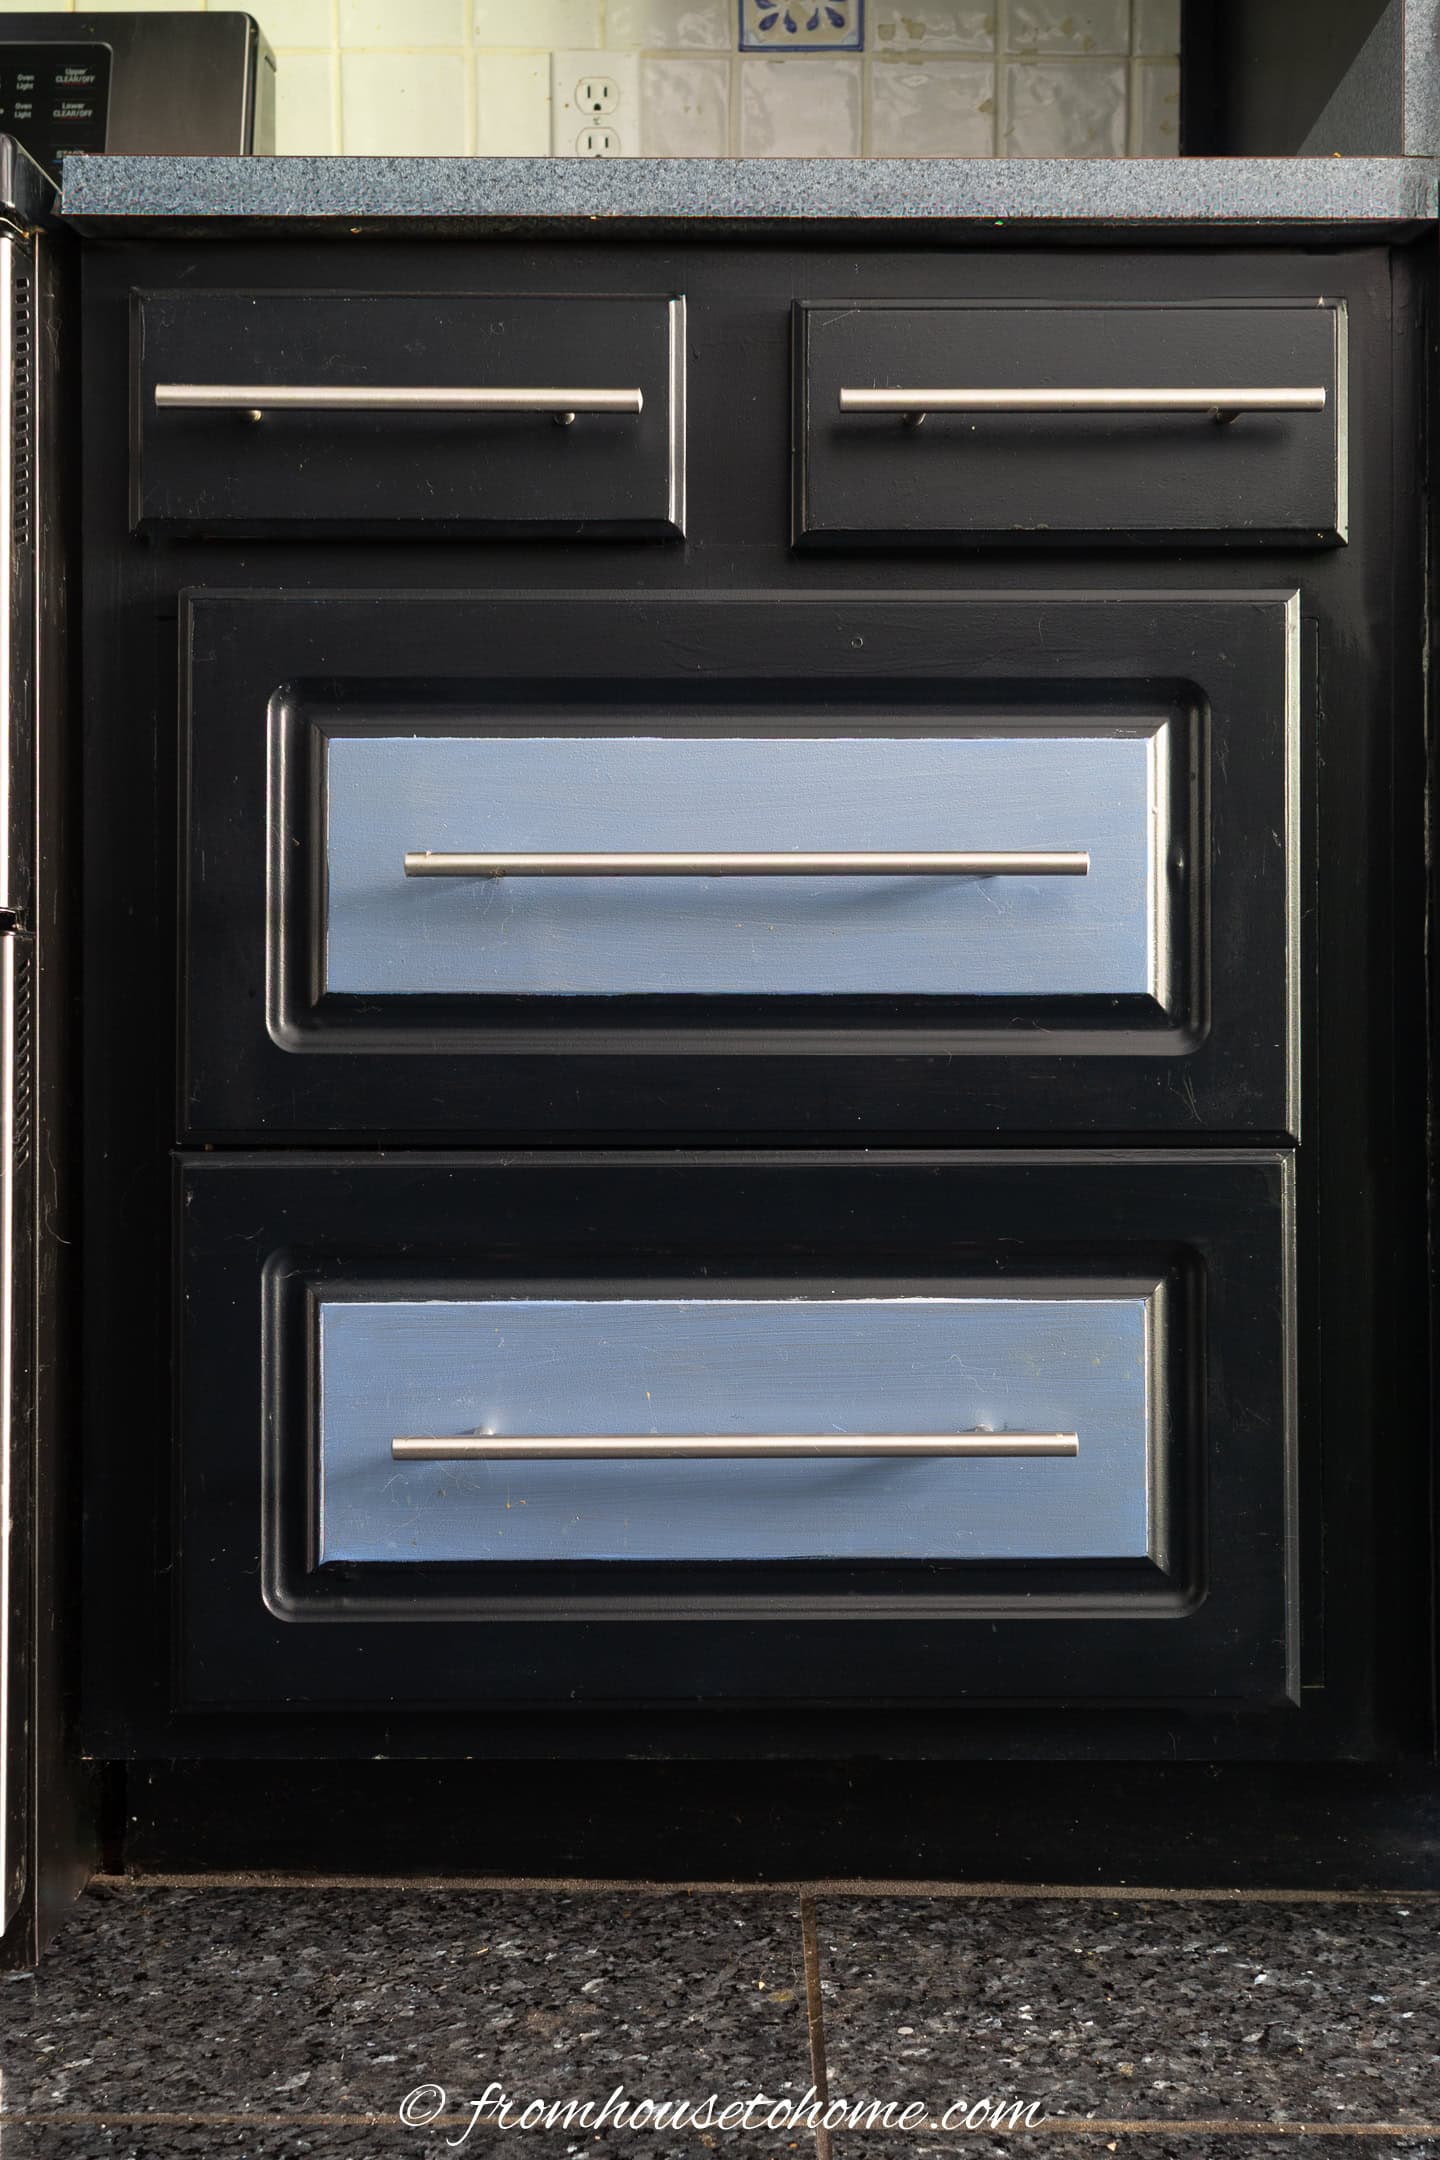
Paint the center panel: If you have recessed or raised panel doors, paint just the center section in a contrasting color. Try a deep navy center with cream trim, or charcoal centers with white frames for a sophisticated two-tone look.
Wallpaper the center: Apply removable wallpaper or contact paper to the center panels for pattern and texture. Don’t be afraid of bold patterns and vibrant colors – this is your chance to add personality! Think dramatic florals, rich botanical prints, or graphic geometric designs that make a statement.
My philosophy: Your cabinets should surprise and delight, not blend into the background. Choose wallpaper that reflects your personality and adds visual interest. It should coordinate with your kitchen’s overall style without being matchy-matchy. Think complementary colors or similar vibes rather than identical patterns.
This only works with doors that have a defined center panel. Flat slab doors need molding added first to create the panel.
3 | Wallpaper the Inside of Your Cabinets
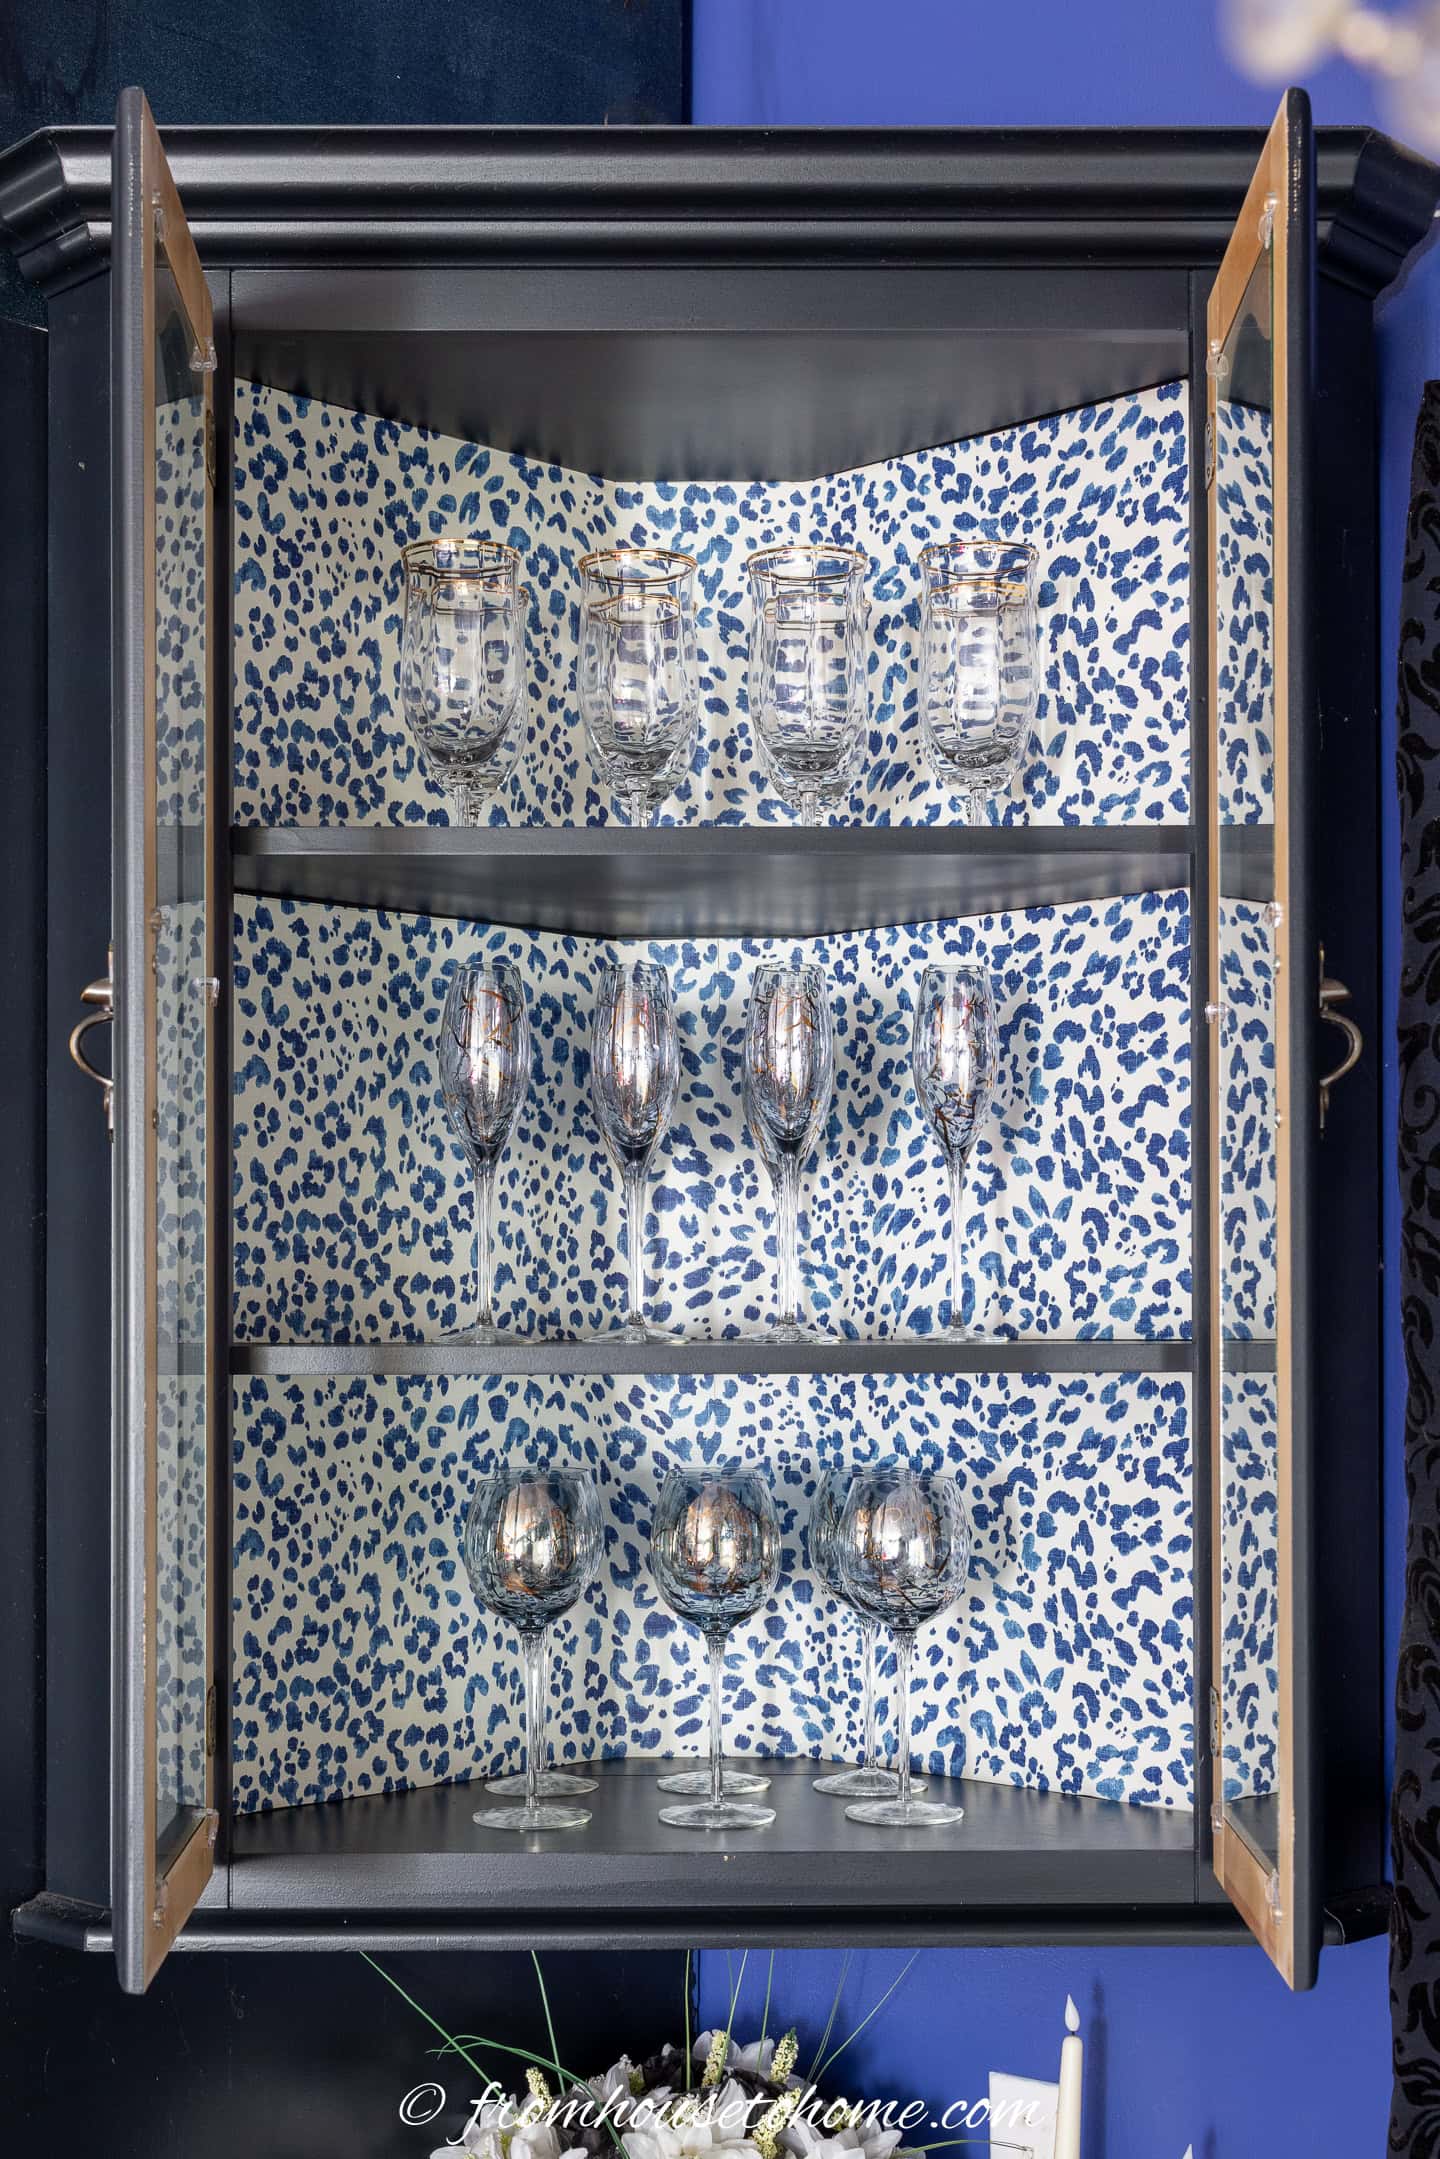
The impact: Wallpapering the inside of your cabinets opens them up and provides a surprise every time you open them.
Best papers to use: Choose removable wallpaper or contact paper for easy updates later. Peel-and-stick options work great and won’t damage your cabinets. Look for patterns that complement your overall kitchen style.
Installation tips: Clean the interior surfaces first, measure carefully, and use a smoothing tool to avoid bubbles.
Which cabinets to focus on: This will have the biggest impact on glass-front cabinets or cabinets you open frequently (like those containing dishes or glasses)
4 | Upgrade Your Cabinet Hardware
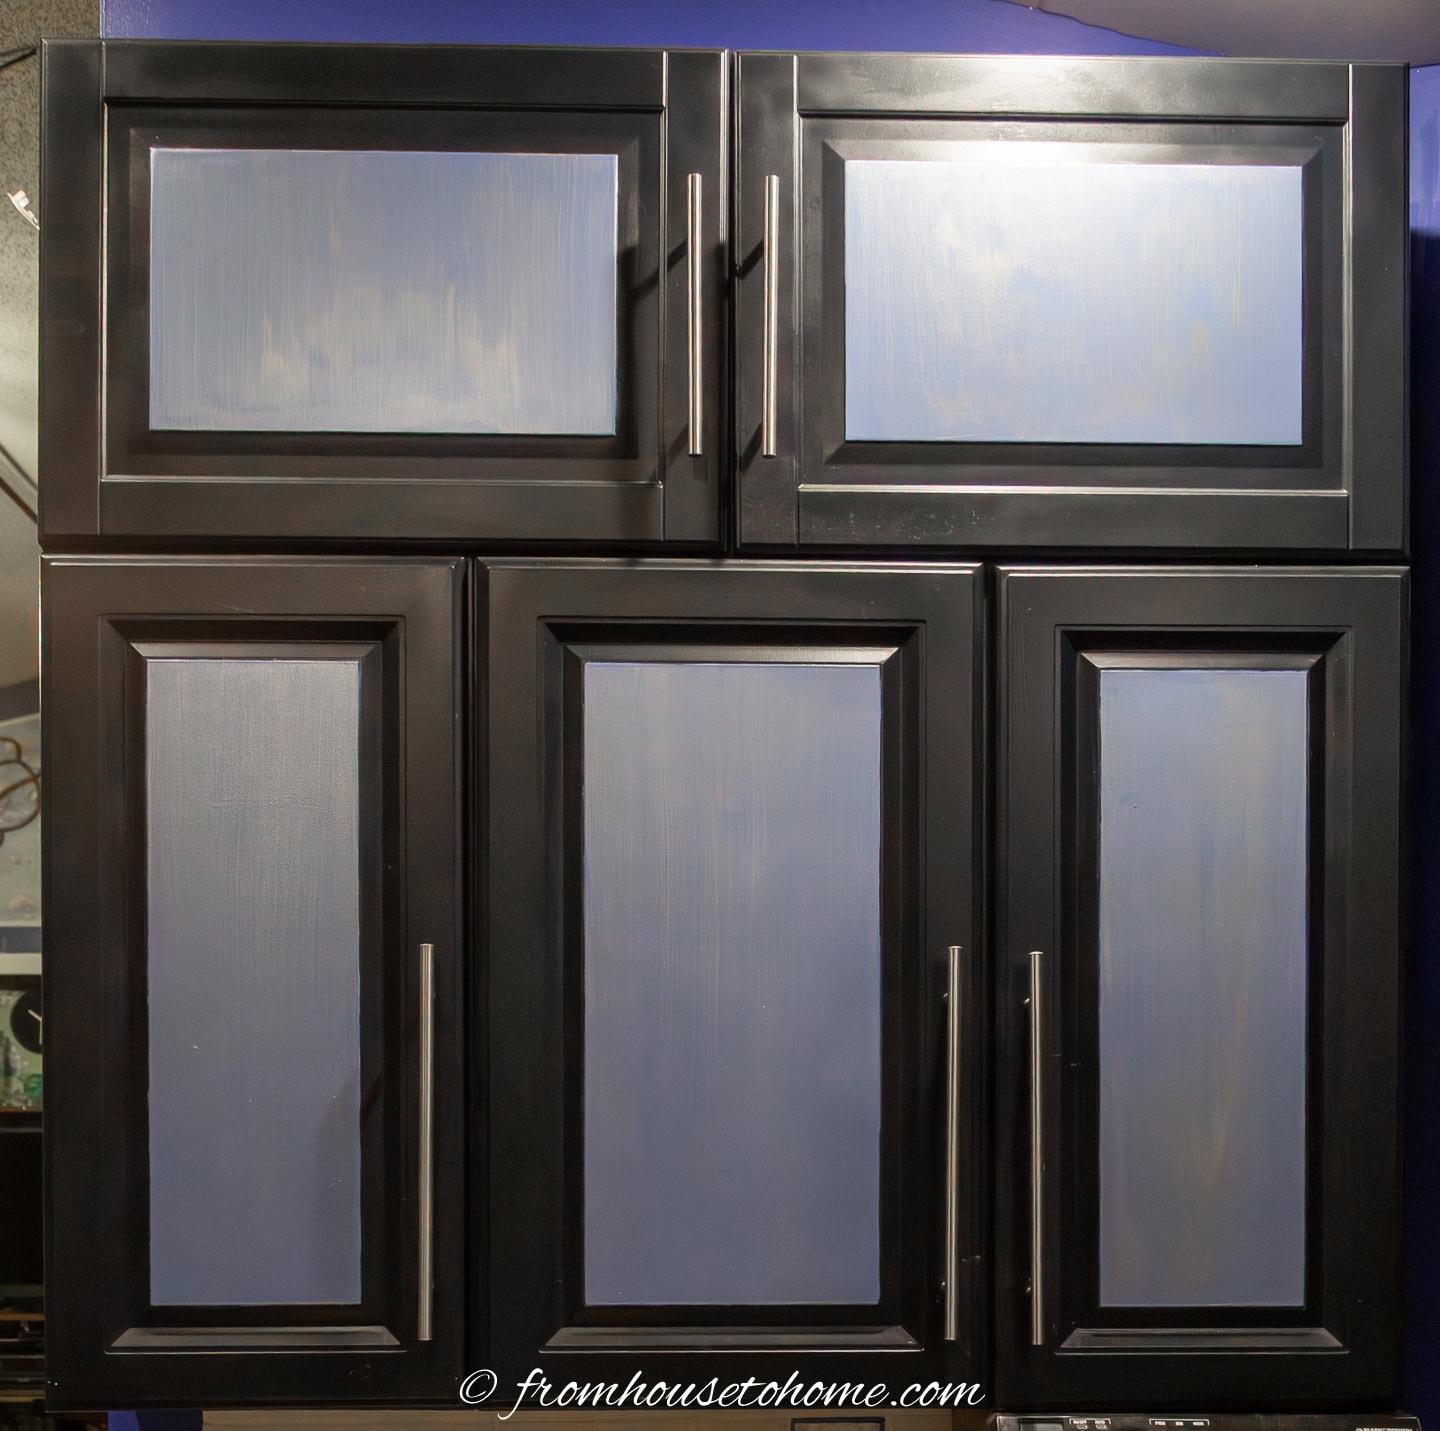
The impact: New knobs and pulls instantly modernize your entire kitchen and make everything feel more expensive.
Choosing the right style: Match your hardware to your kitchen’s personality. Brass feels warm and traditional, matte black is modern and sophisticated, brushed nickel is classic and versatile.
Sizing matters: Standard cabinet knobs are 1.25″ diameter. For pulls, measure your current ones if you want to use the same holes. Or go dramatic with longer ones if you don’t mind filling one of the existing holes and drilling a new one.
If you are going to be drilling new holes, create a template for consistent placement. Or buy one that is specifically designed for installing cabinet hardware.
5 | Add Crown Molding to Your Cabinets

The impact: This architectural detail makes your cabinets look built-in and custom, adding thousands in perceived value.
What you’ll need: Crown molding, a miter saw, wood glue, finish nails, and caulk for finishing.
Installation basics: Measure the tops of your cabinets, cut your molding at 45-degree angles for corners, and attach to the cabinet tops with glue and finish nails. Fill nail holes, caulk gaps, and paint to match your cabinets.
When to skip it: If your cabinets already go to the ceiling, focus on other updates instead.
6 | Add Moldings to Cabinet Ends for a Custom Look
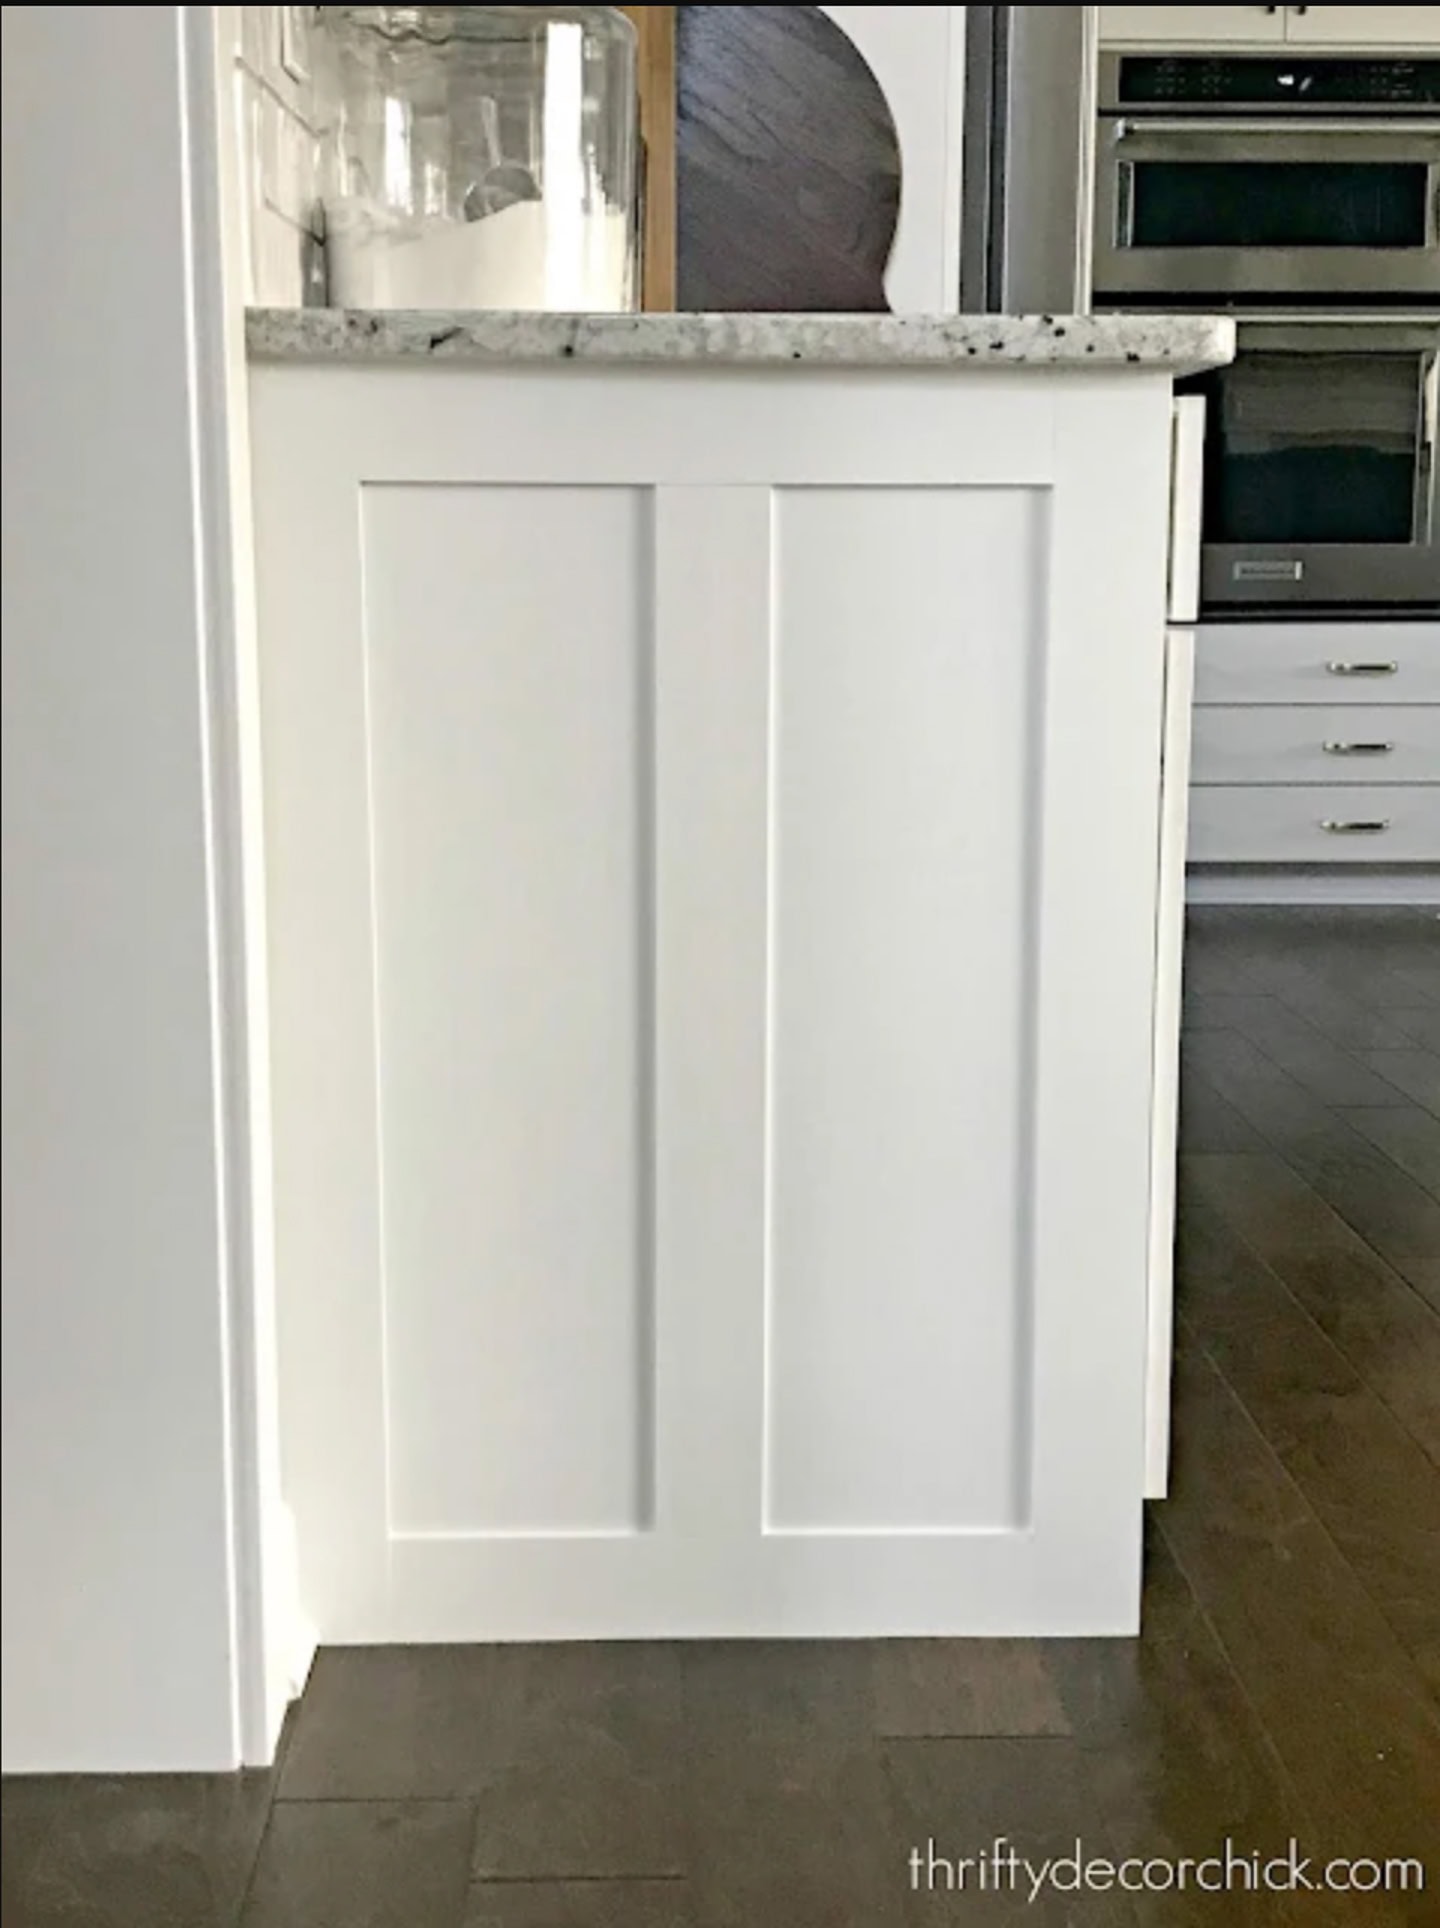
Image credit: Thrifty Decor Chick The impact: This finishing touch makes your cabinets look like expensive built-ins instead of basic boxes attached to the wall.
What you’re covering: Those exposed cabinet ends that face into the room or doorway. They’re usually just plain plywood or laminate that screams “builder grade.”
Simple solution: Add decorative trim or molding to the sides of end cabinets to create architectural interest. Use the same style molding you’d use on doors, or choose fluted or beadboard panels for texture.
Installation tips: Measure the cabinet end, cut your molding to fit, and attach with wood glue and finish nails. Fill nail holes, sand smooth, and paint to match your cabinets.
For all the details, read the full step-by-step tutorial.
Where it makes the biggest difference: Peninsula ends, island ends, or any cabinet that’s visible from your main living areas. This small detail makes everything look intentional and custom-designed.
7 | Replace Just the Cabinet Doors
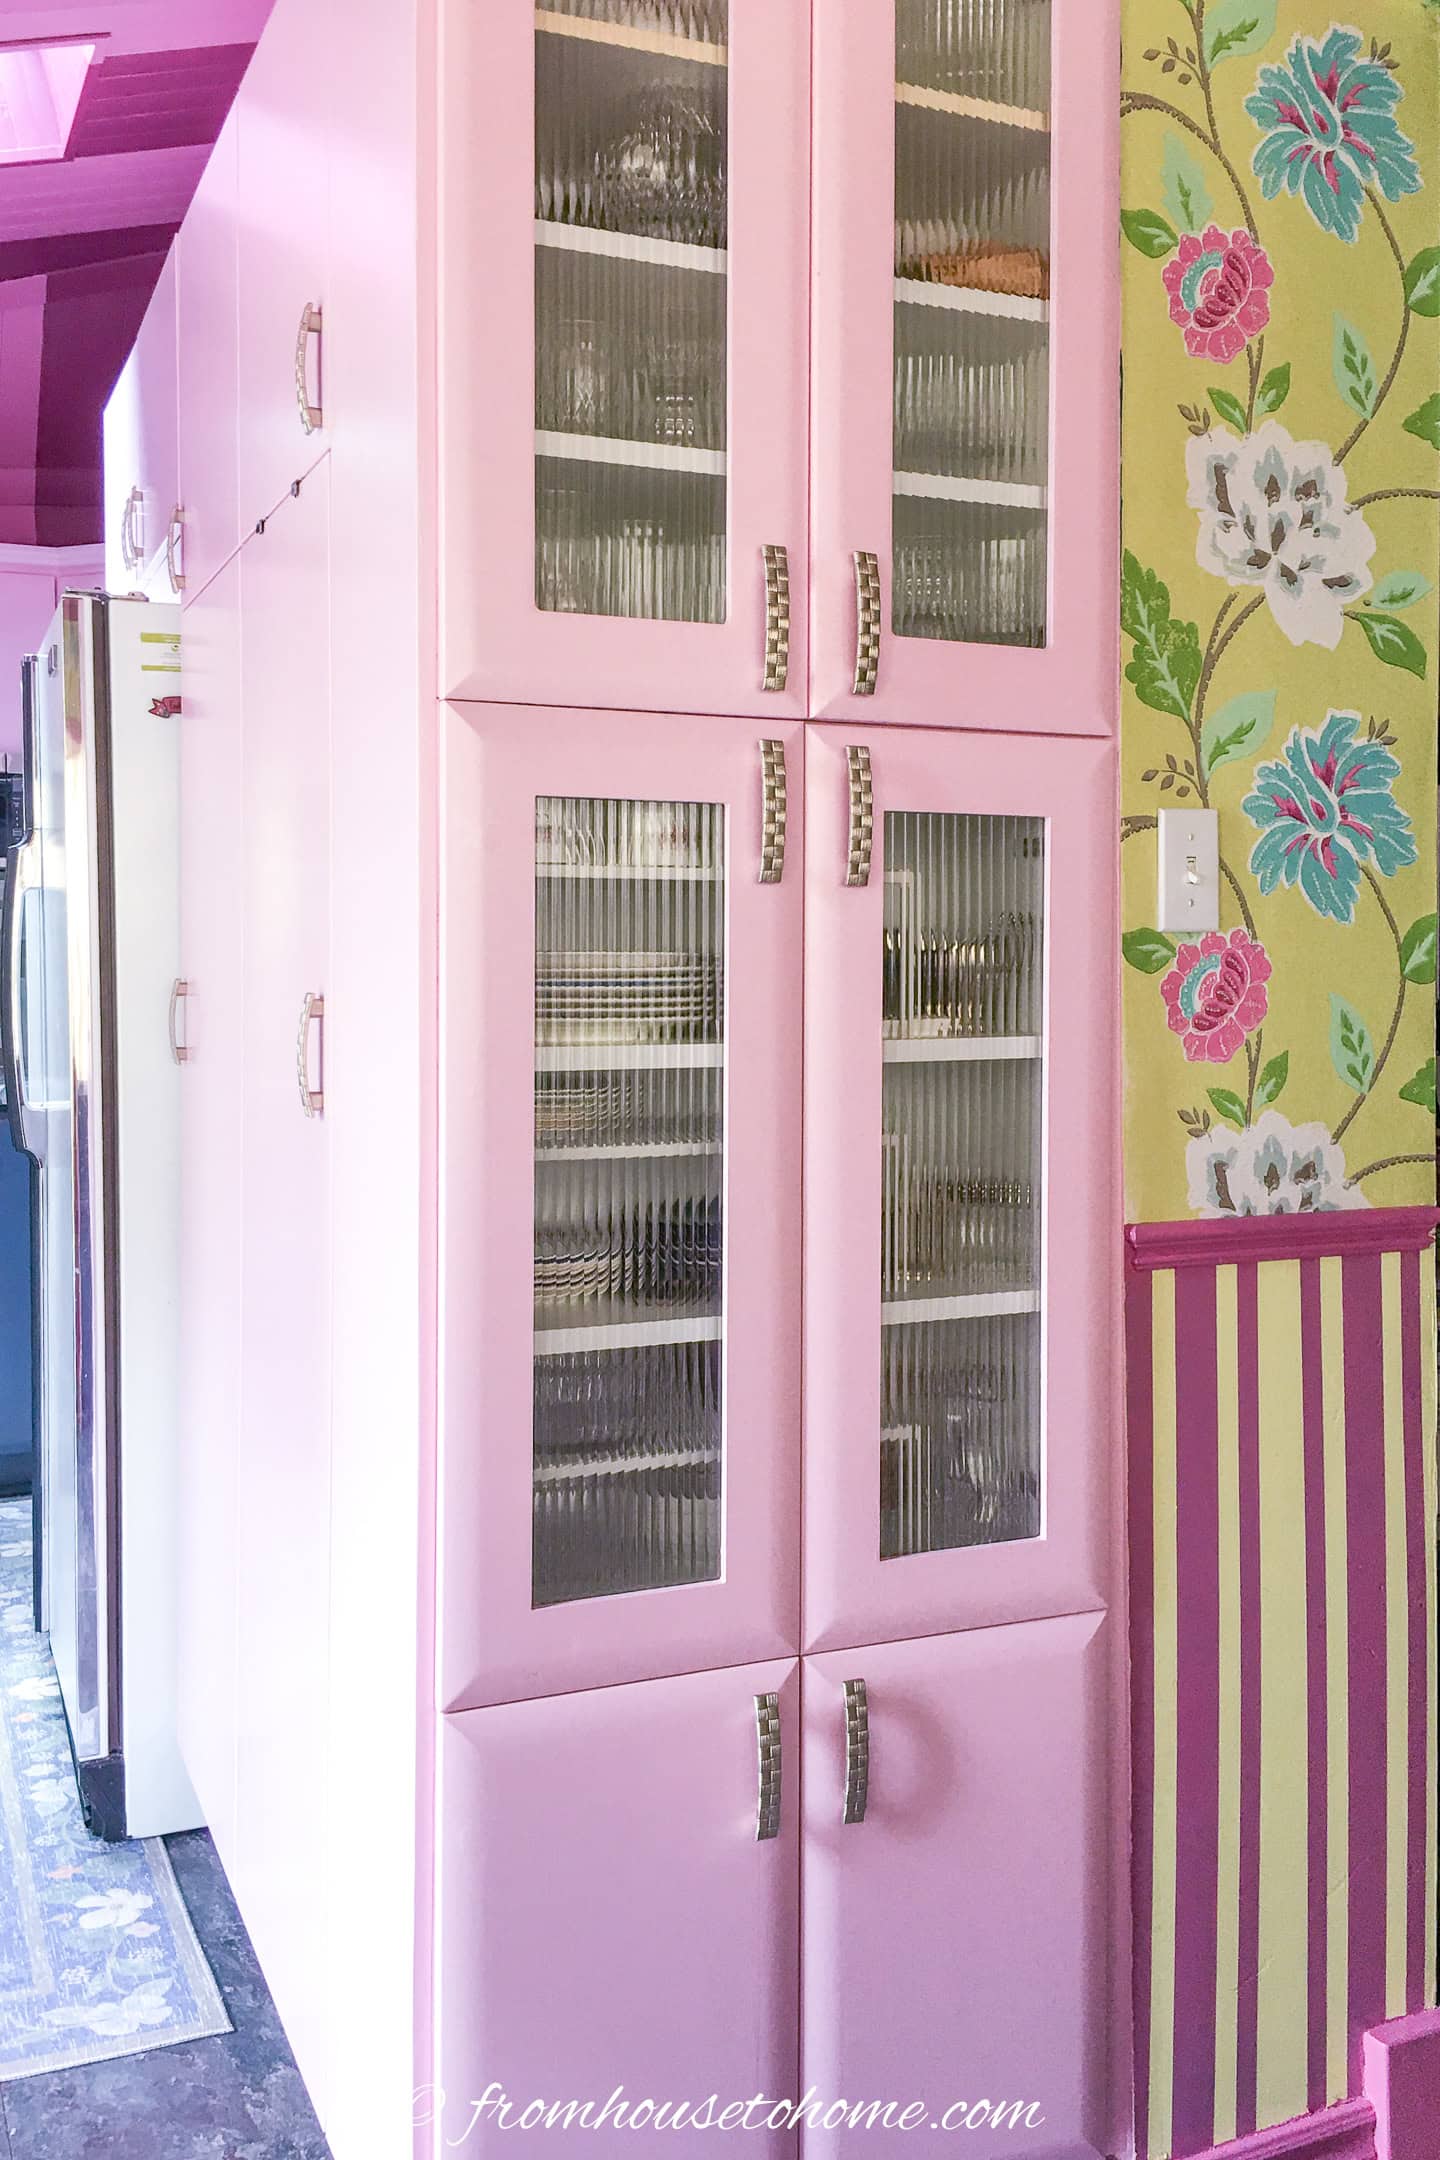
The impact: Replacing cabinet doors gets you a big visual change if your cabinet boxes are in good shape.
Where to find them: Online retailers like Cabinet Doors Depot, local cabinet shops, or big box stores. Many offer semi-custom sizes to fit your existing openings.
What to know ahead of time: Width and height of the doors, and the style of hinges you have. Take a door with you when shopping to ensure you get the right fit.
Budget consideration: This costs more than painting but less than full replacement. Expect to spend $50-150 per door depending on style and quality.
8 | Add Above and Under Cabinet Lighting

The impact: Proper lighting makes your cabinets look more expensive and your kitchen more functional.
Above cabinet lighting: LED strip lights on top of cabinets create ambient lighting and highlight any decor you display up there. Use warm white (3000K) for a cozy feel.
Under cabinet lighting: Puck lights or LED strips illuminate your countertops and make food prep easier. Battery-operated options are DIY-friendly, while hardwired versions look more professional.
Hide wires along the back of the cabinet frame or use cord covers for a clean look.
9 | Convert Cabinet Doors to Drawers
The impact: Drawers dramatically improve functionality in base cabinets. They are so much easier to access than deep shelves.
Best candidates: Lower cabinets that have a square (or almost square) opening (so you can re-use the doors). These are usually 24-inches wide but measure yours to be sure.
What’s involved: Remove the door, install drawer slides inside the cabinet, and build or buy a drawer box to fit. Then reuse your existing door as the drawer front.
DIY or hire out: This is more involved than other projects, so consider your skill level. The payoff in functionality is huge, though.
For all the DIY details, read our tutorial on converting kitchen cabinet shelves to drawers.
10 | Extend Cabinets to the Ceiling
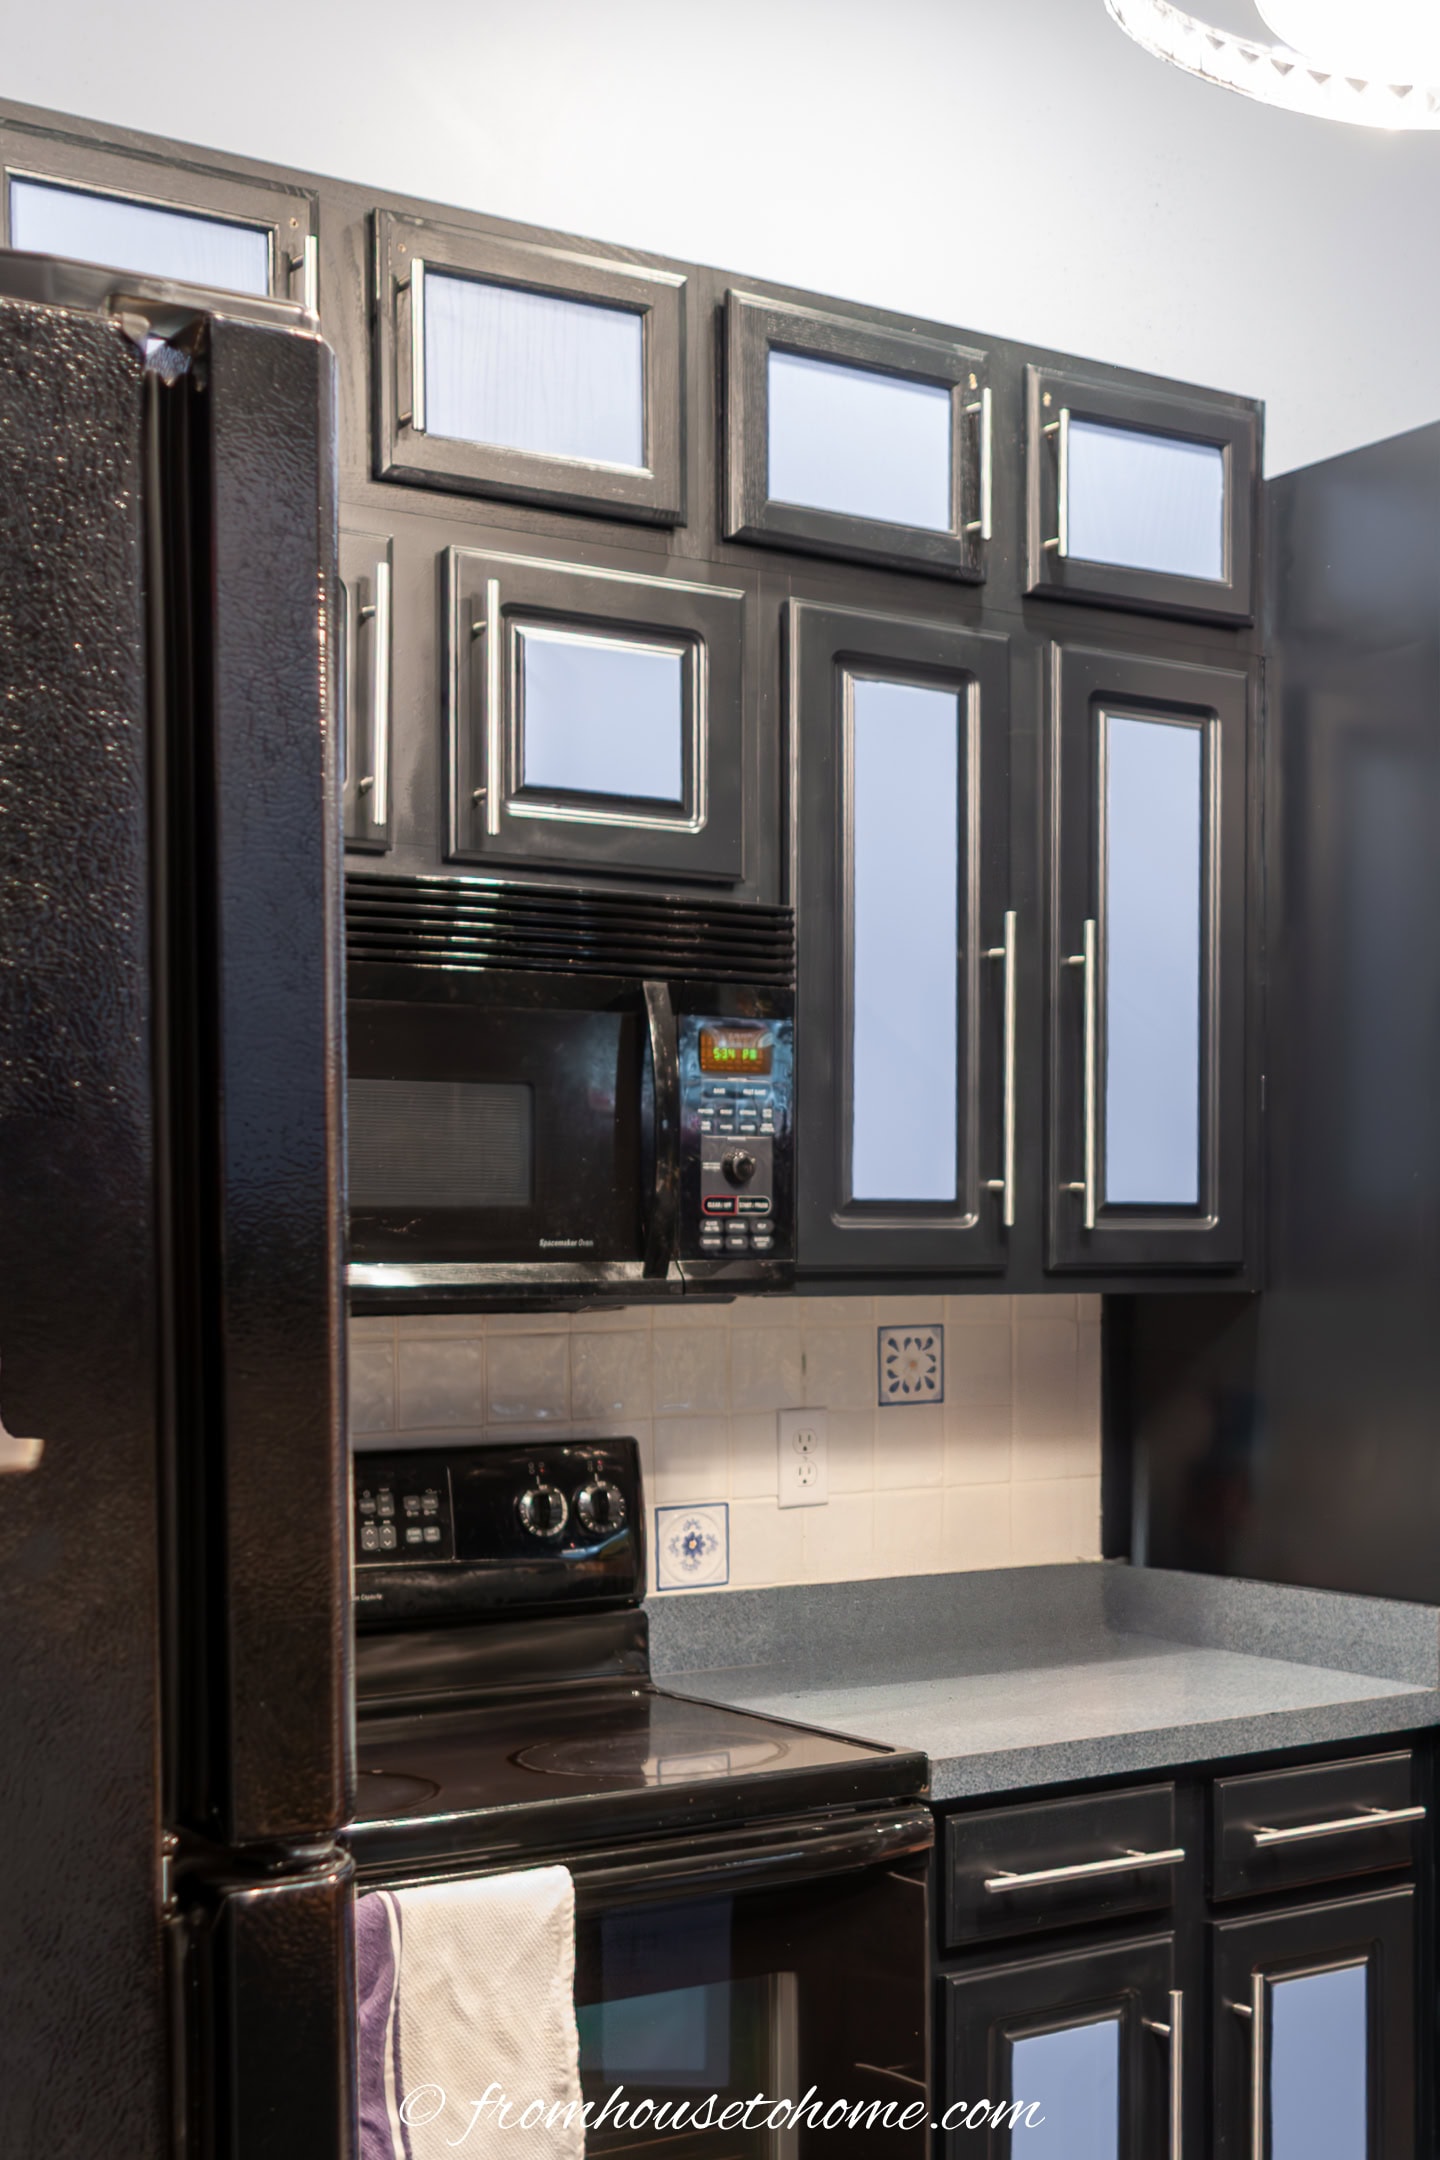
The impact: Extending the cabinets to the ceiling makes your kitchen feel taller and more custom while adding valuable storage space.
My solution: Install a second layer of cabinets on top of your existing ones using those shorter cabinets that normally go over stoves. These are typically 12-15 inches tall and perfect for bridging the gap between your current cabinets and the ceiling.
How to make it work: Measure the space above your existing cabinets, then find matching or coordinating short wall cabinets. Mount them securely to both your existing cabinets and the wall studs above.
The finishing touch: If you have space, add crown molding along the top to create a seamless, built-in look that makes everything appear custom-designed.
What to store up there: Use the new upper space for items you don’t access daily, such as holiday dishes, large serving pieces, or decorative storage boxes. It’s perfect for things you need but don’t use every week.
11 | Maximize Behind-the-Door Space

The impact: Using vertical door space for storage increases your storage capacity without changing the footprint of your kitchen.
Simple additions: Over-the-door organizers, mounted spice racks, or hooks for measuring cups and kitchen tools.
Find more ideas in this list of cabinet door storage ideas.
What works best: Store lightweight items only. Heavy things will strain your hinges and make doors hard to close properly.
12 | Install a DIY Cookie Sheet Organizer
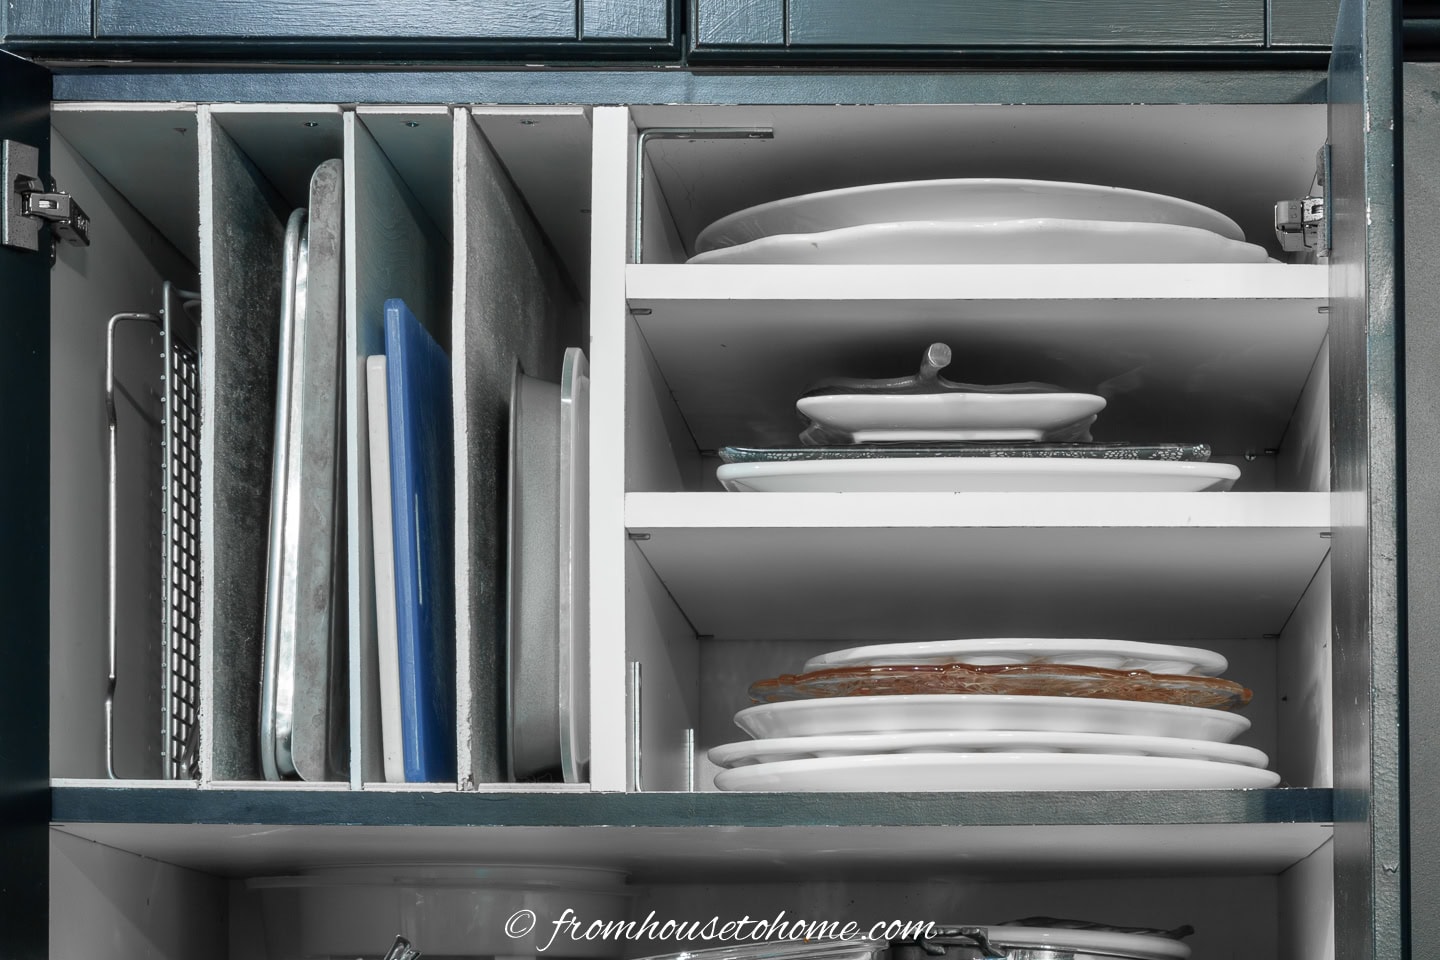
The impact: This DIY project provides a place for every baking sheet, cutting board, and cooling rack. No more avalanche when you open the cabinet.
Custom version: Build a wooden rack with slots specifically sized for your baking sheets and cutting boards.
Find out how to make your own with our DIY tutorial.
Where to put it: I installed mine in a 24-inch deep cabinet above the refrigerator. But you could also put it in a base cabinet or pantry if that’s where you have space.
13 | Build Your Own Corner Cabinet Organizer
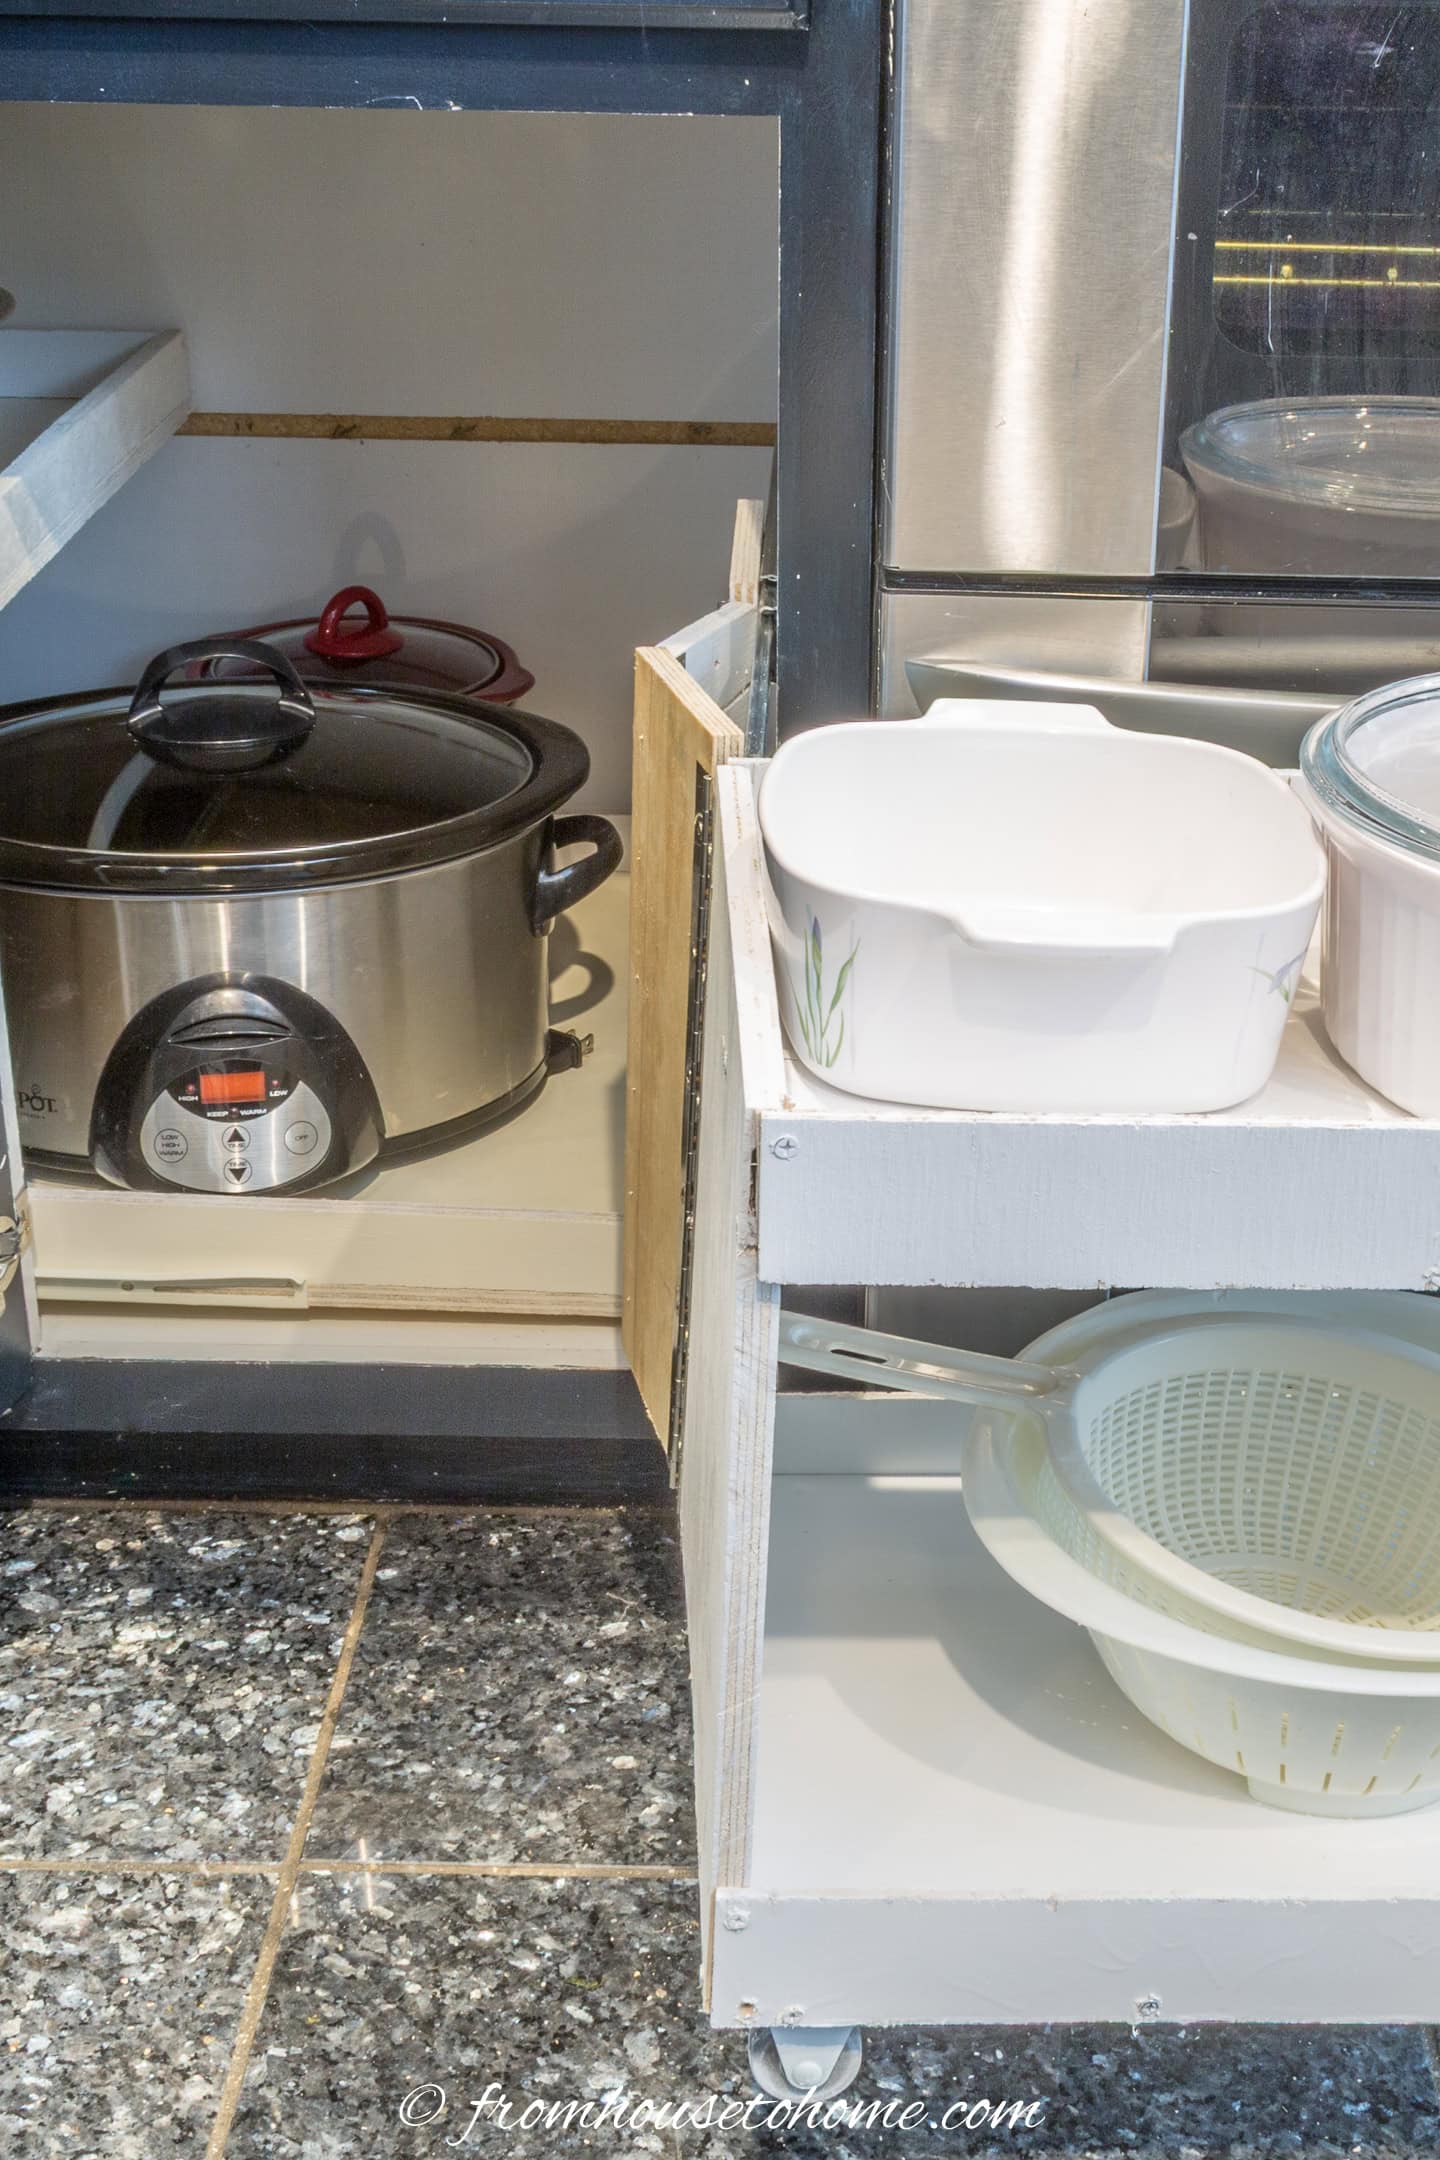
The impact: Transforms that frustrating blind corner cabinet into the most functional storage in your kitchen. No more crawling in to find things!
My DIY solution: Create a pull-out unit that sits in the front of the cabinet combined with two slide-out shelves in the back corner area. This gives you easy access to everything and still makes good use of the space.
How it works: The pull-out unit in front holds frequently used items and slides completely out for easy access. The two slide-out shelves in the back corner bring those hard-to-reach items right to you when you need them.
DIY friendly: This project requires some basic carpentry skills, but the payoff is huge. You’ll finally be able to use that entire corner cabinet efficiently instead of losing things in the back.
For more information, read the blind corner cabinet storage tutorial.
14 | Organize Your Drawers Like a Pro
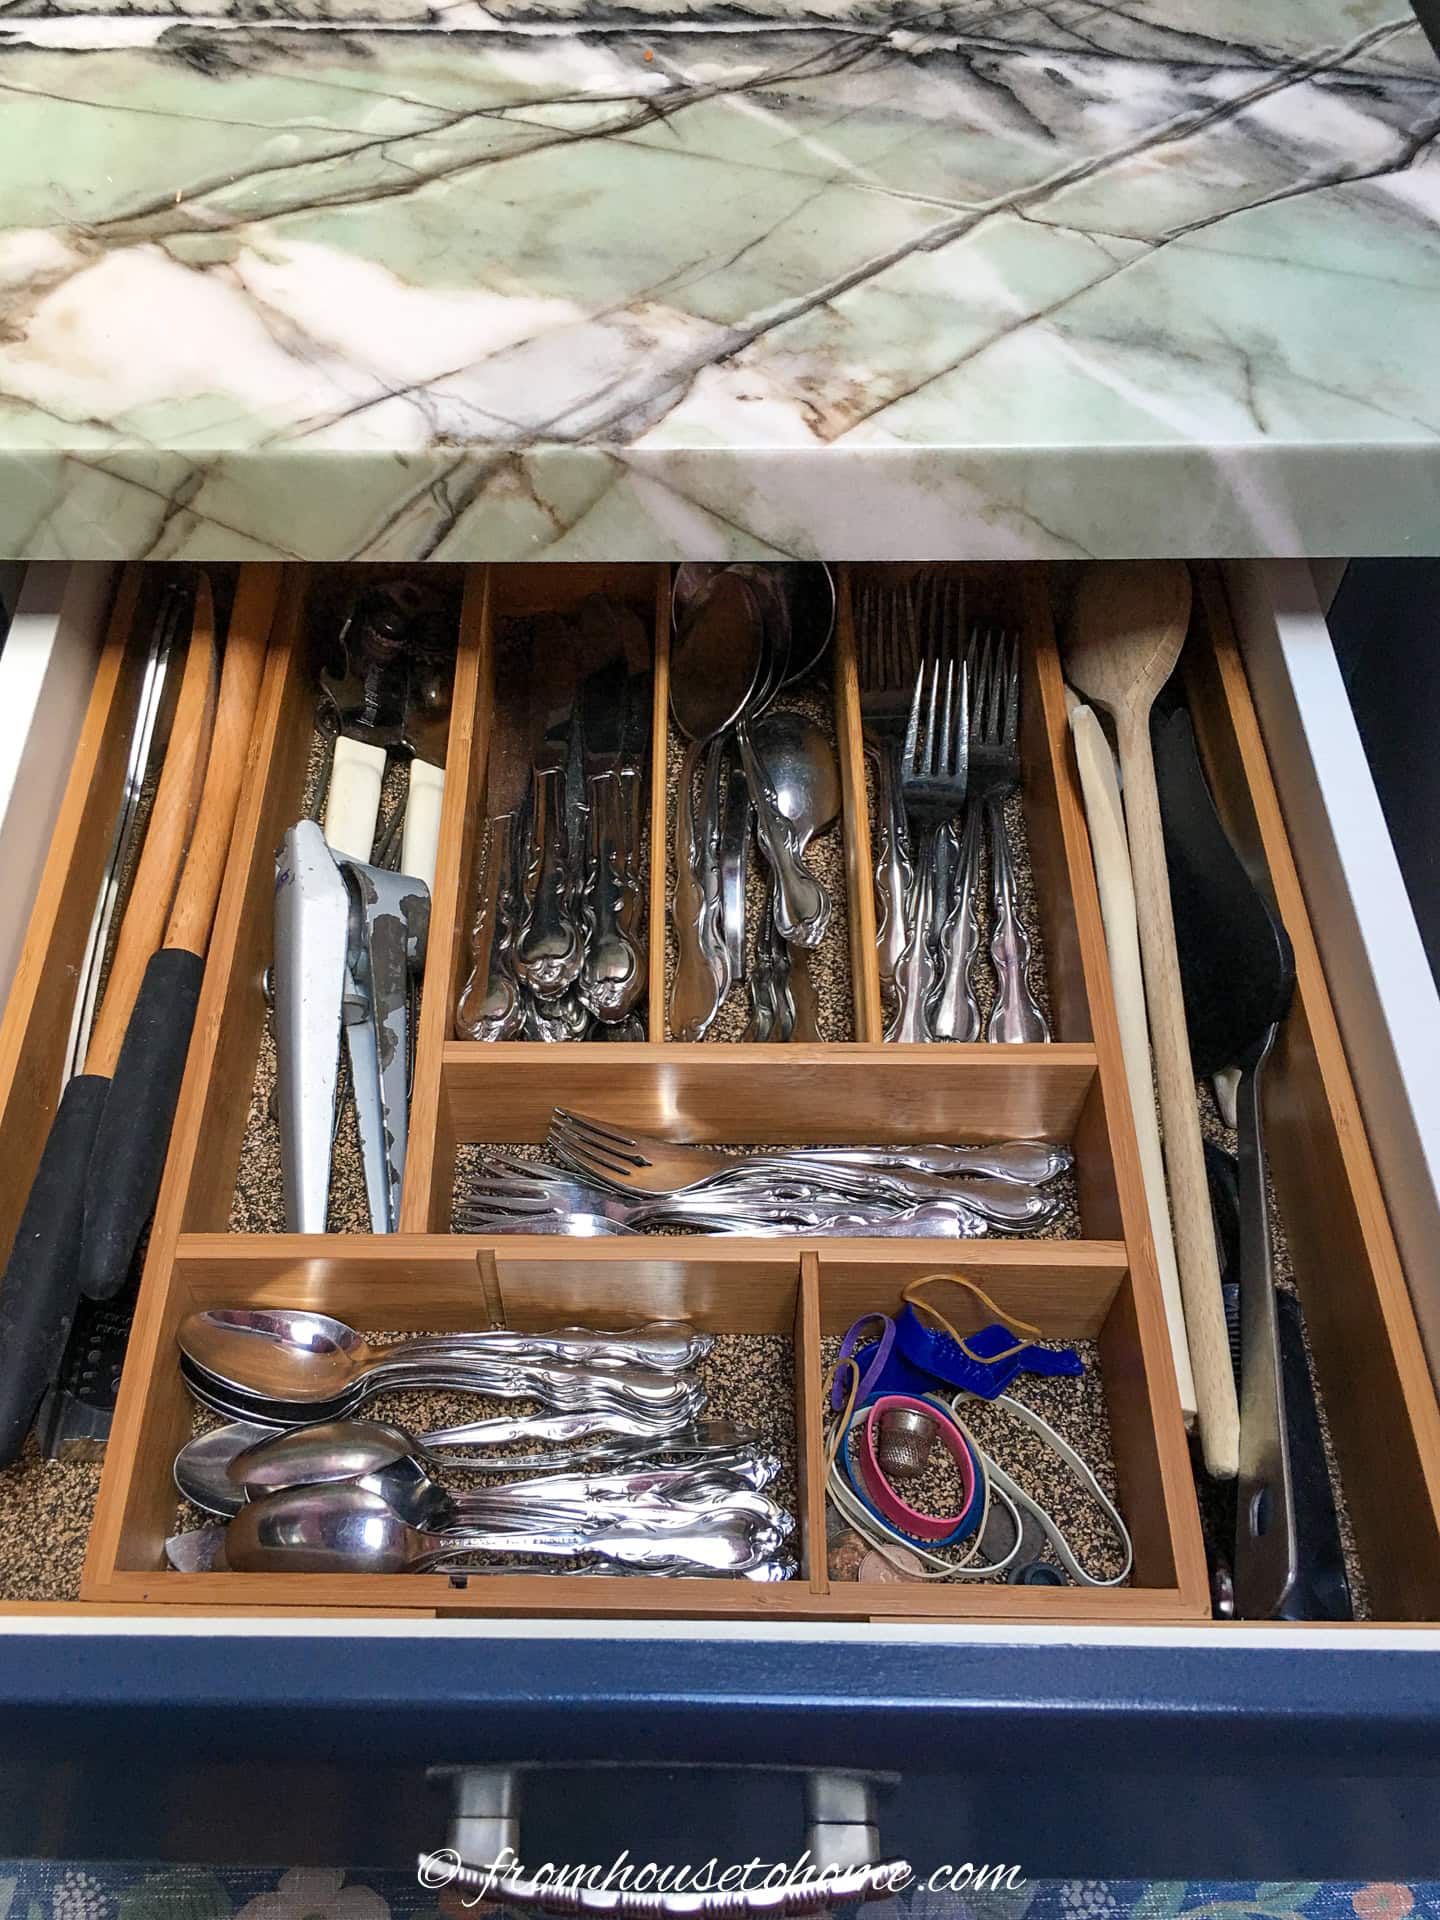
The impact: Drawer organizers makes your kitchen more functional and everything easier to find. Plus it looks amazing when you open drawers.
Drawer dividers: Use adjustable dividers, bamboo organizers, or build custom inserts to keep utensils and gadgets separated.
Deep drawer solutions: Install two-tier organizers or create sections for different categories (baking tools, cooking utensils, etc.).
Find more details in our list of kitchen drawer organizing ideas.
Group like items together and give everything a designated home. Label if necessary until the system becomes habit.
The Bottom Line
Your kitchen cabinets don’t have to be a source of frustration.
With these budget-friendly updates, you can create a kitchen that feels custom and high-end without the massive renovation price tag.
The key is to tackle projects in phases and focus on the changes that give you the biggest visual and functional impact first.
Start with paint and hardware. You’ll be amazed at how different your kitchen feels with just those two changes.
Remember, these updates aren’t just about making your kitchen look better (though they definitely will).
They’re about creating a space that works better for your daily life and makes you excited to cook, entertain, and spend time in the heart of your home.
Have comments or questions about how to update your kitchen cabinets? Tell us in the section below.