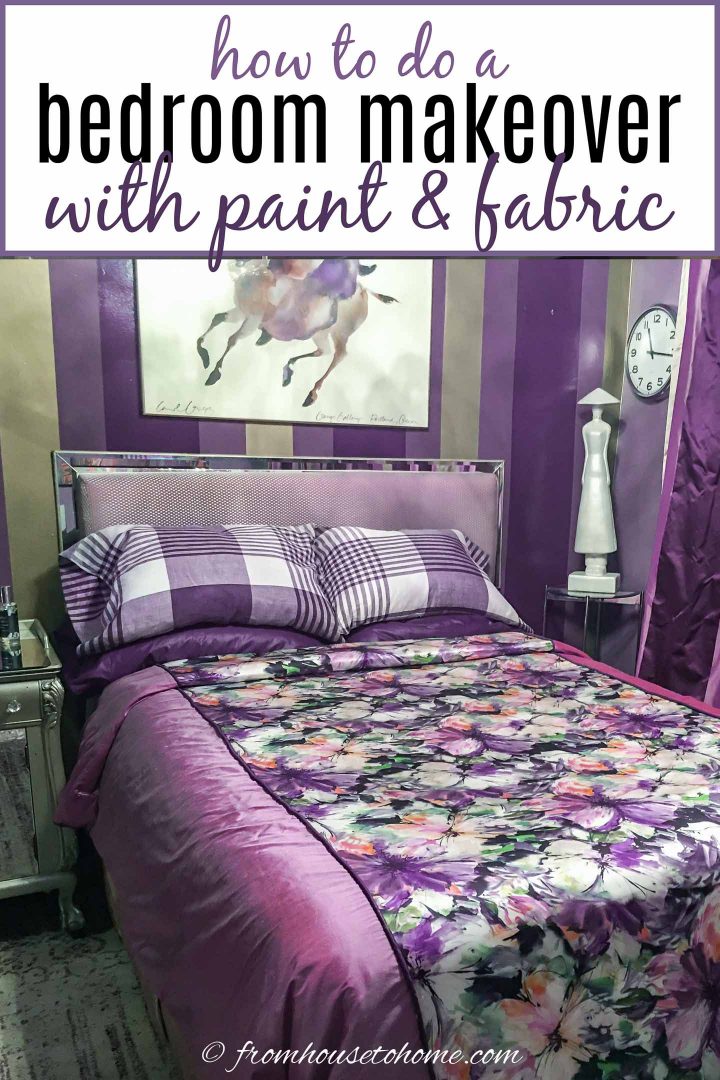
Small purple and gold bedroom makeover on a budget
This bedroom makeover was one of those projects that I didn’t plan on doing.
My bedroom still looked okay.
It was not that long ago (maybe five years) since I re-decorated this room. (You can see the original makeover HERE and the mini-update I did a couple of years ago HERE).
But I found it a little boring and I was just tired of it.
And then I saw the bedroom that had vertical stripes in this post on wall paint designs with tape and fell in love!
I also had some time on my hands which for me, often translates into “let’s find a project!”
The more I thought about those beautiful vertical stripes in the picture, the easier it was to convince myself that a bedroom makeover would be a good idea.
The Plan
This post may contain affiliate links. We make a small commission if you buy the products from these links (at no extra cost to you). As an Amazon Associate, I earn from qualifying purchases. But we only recommend products we would use ourselves. For more information, click here to see our disclosures.
But I didn’t want to spend a lot of money.
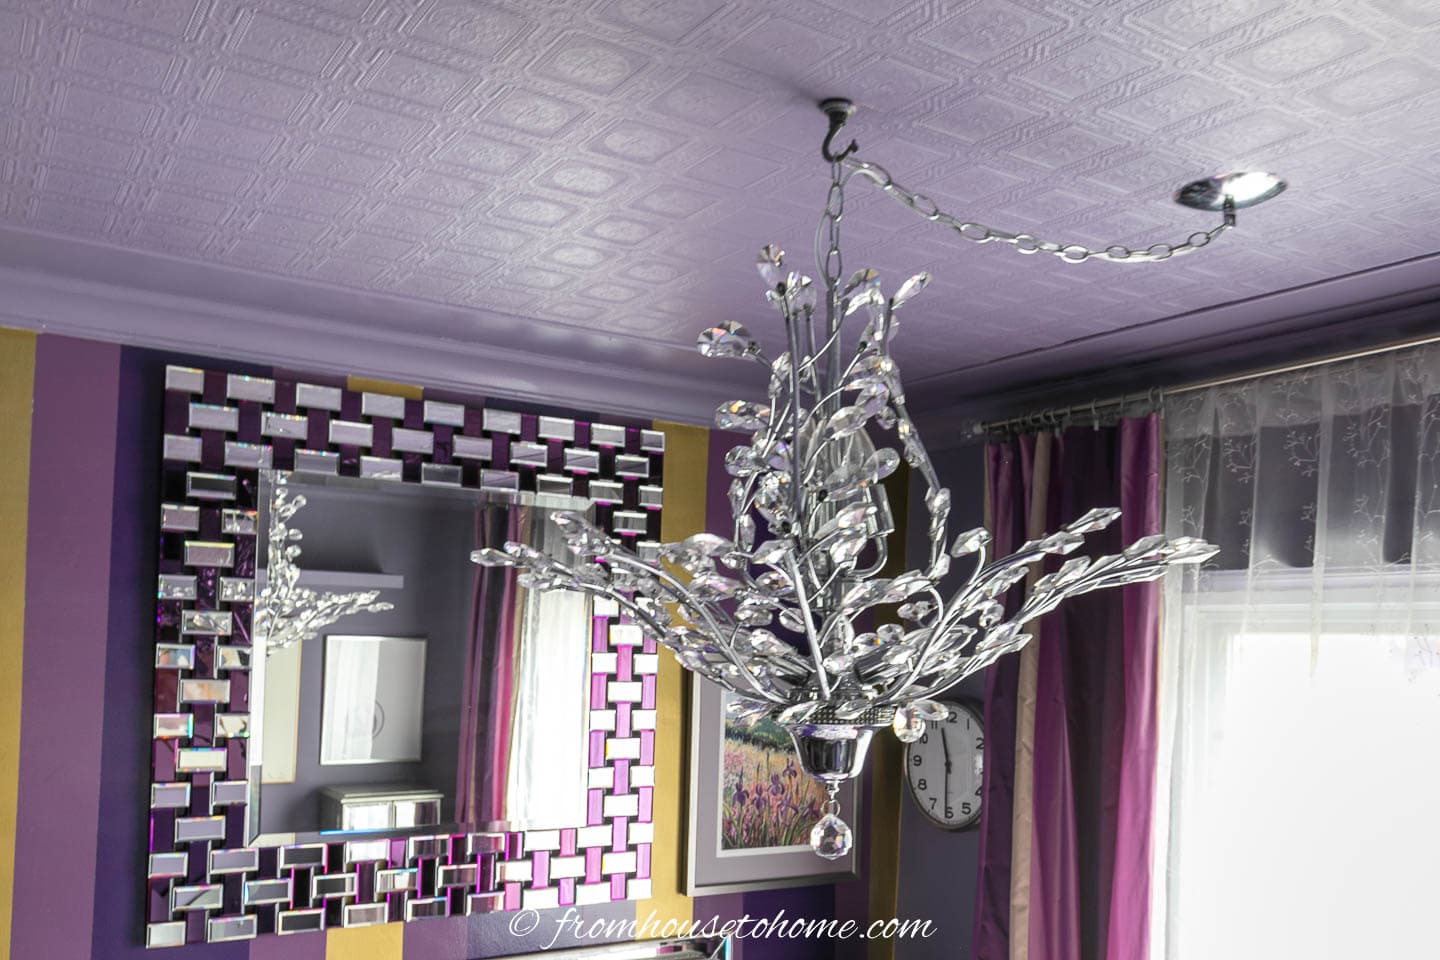
That meant I needed to keep the same furniture, area rug and light fixtures.
So I decided to see if I could revamp the bedroom with just new fabric and some paint.
As it evolved, I made some mistakes.
And learned some lessons…starting with the first one…
Lesson #1 Plan Your Makeover
The biggest mistake I made was in not preplanning the entire project.
It was a deviation from my usual habit of designing the entire room before decorating the room in stages.
This error was costly and caused me to spend more than I intended.
Fabric Selection
The first thing I usually do on a decorating project, is look for fabric.
The right fabric choices guide the entire project.
And it’s much easier to find paint to match the fabric than to do it the other way around and get fabric to match the paint.
But in this case, I didn’t follow my own guideline.
I still loved the old wall and woodwork colors (Sherwin Williams ‘Mythical’ and ‘Dewberry’ respectively), and I was hoping to keep those colors.
So I armed myself with paint swatches (in case I got lucky with the fabric find), measurements for the headboard and drapes, and a picture of the rug on my phone, and headed downtown to the fabric district.
And I got lucky!
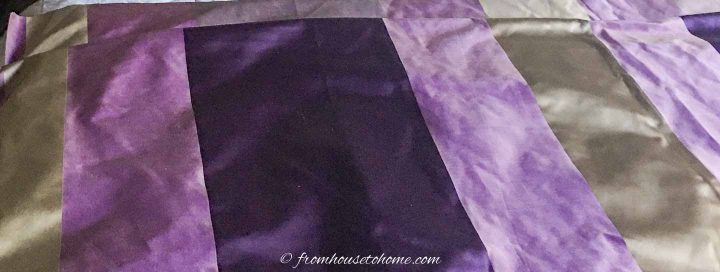
I found a wonderful vibrant Italian silk wide stripe fabric that perfectly coordinated with the paint chips and the rug.
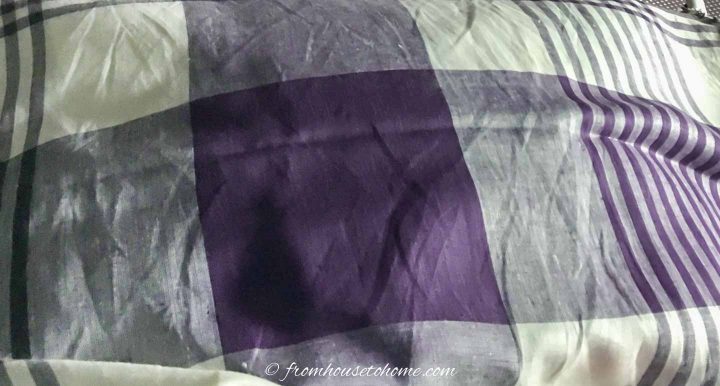
At the same time, I bought a yard of gorgeous large plaid linen because it had the exact same color as the dark stripe.
I loved how it would be an amazing texture and pattern contrast to the shiny silk.

Then, I followed someone else’s advice and bought a golden velvet for the headboard which I didn’t really love.
It did match the gold in the drapery fabric but just didn’t have the pizzazz I wanted. So I ended up using a silk fabric I had on hand at home instead.
Which brings us to the second mistake.
Lesson #2 Only Purchase What You Love
Don’t purchase anything you don’t absolutely love.
Try to get swatches to take home before purchasing.
This particular store did not sell swatches and had a rule that the minimum purchase be 1 yard .
However, many fabric stores will give you a sample or allow a 1/8 yard purchase, so that you can assess suitability before making your final selection.
Paint Selection
Once home, I realized I had created a dilemma for myself.
I loved the large varied striped drapery fabric, but what about my original plan of having a striped wall? Two different vertical stripes would be too much.
Luckily I consulted Wanda, who suggested painting one wall with vertical stripes the same colors and widths as the fabric stripes. This I could visualize and that is what I decided to do.
Then, when I went to buy paint, I learned a third lesson.
Lesson #3 Paint Isn’t Always Easy To Match
The paint store cannot color match fabric on their color matching machine.
So I had to choose paint colors from their existing paint chips.
This was quite a challenge because the silk looked different in different light.
Eventually, I made my selections and bought paints in a semi- or high-gloss to match the silk striped fabric.
Executing The Plan
Step 1 | Paint
While the paint color is usually the last thing to decide on when you’re planning a makeover, it’s the first thing to go up when you start doing the work.
So I started by painting the ceiling in Sherwin Williams ‘Mythical’, to match the walls.
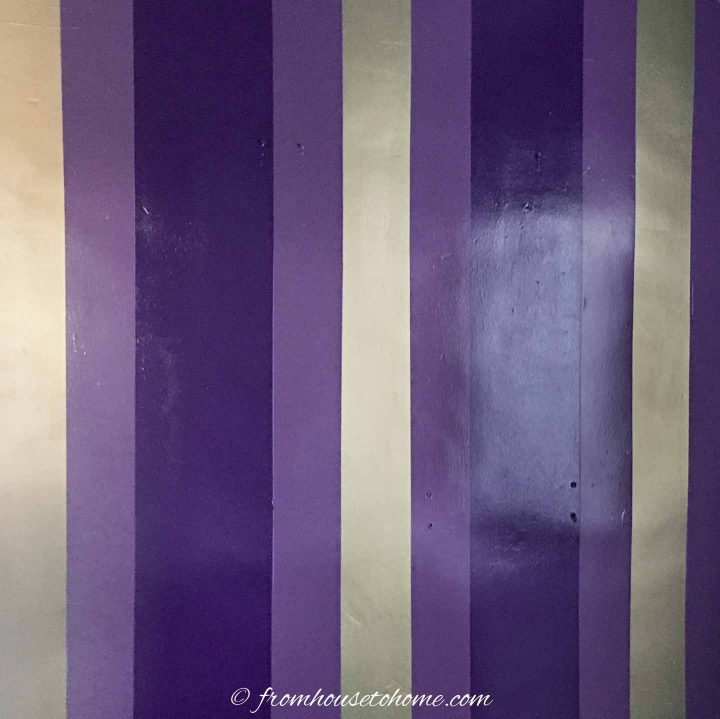
Then I removed the wallpaper behind the bed and painted vertical stripes on the feature wall.
Learn how to paint vertical stripes HERE.
Step 2 | Sew the Drapes
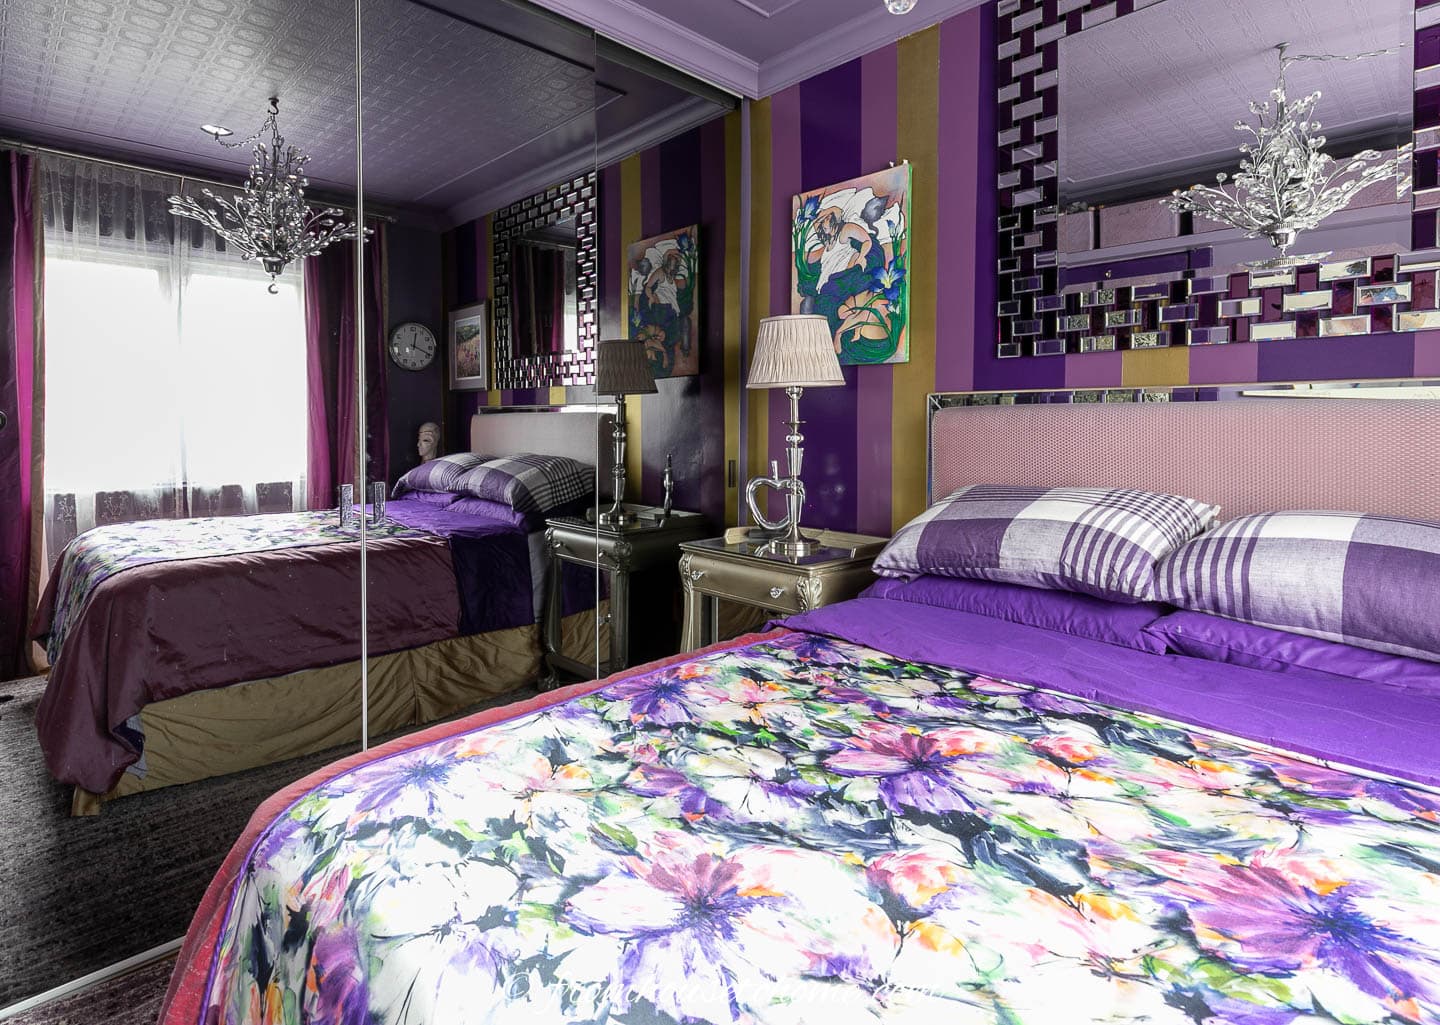
While the paint was drying, I sewed simple lined silk drapes that slip over the rod with clip-on rings.
Suzy at Worthing Court gives excellent, concise instructions for sewing plain drapes.
Step 3 | Upholster the Headboard
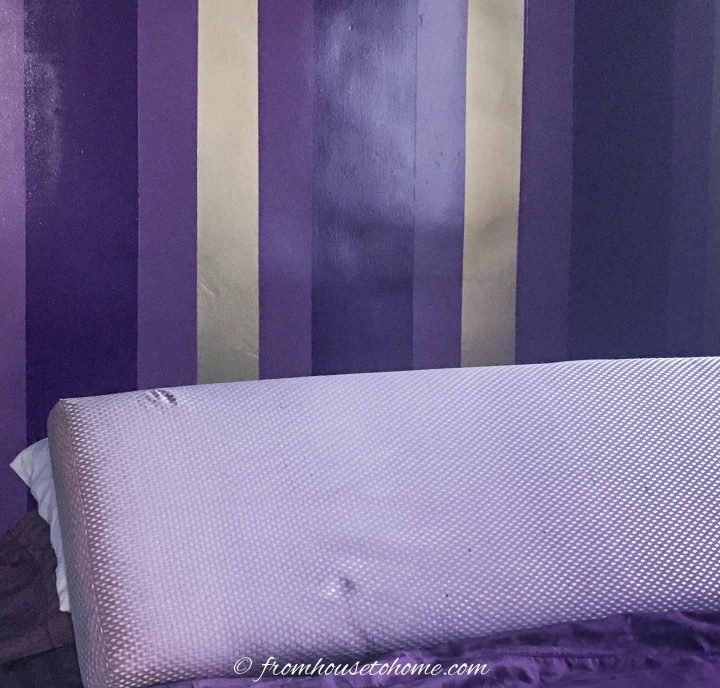
Finally, I covered the headboard with the silver patterned silk fabric I already owned. I attached the cover with velcro to the back of the board so that it is easy to remove if it ever needs cleaning.
So now I was done, right?
Nope. Not so fast…
This is where my lack of planning really came back to bite me.
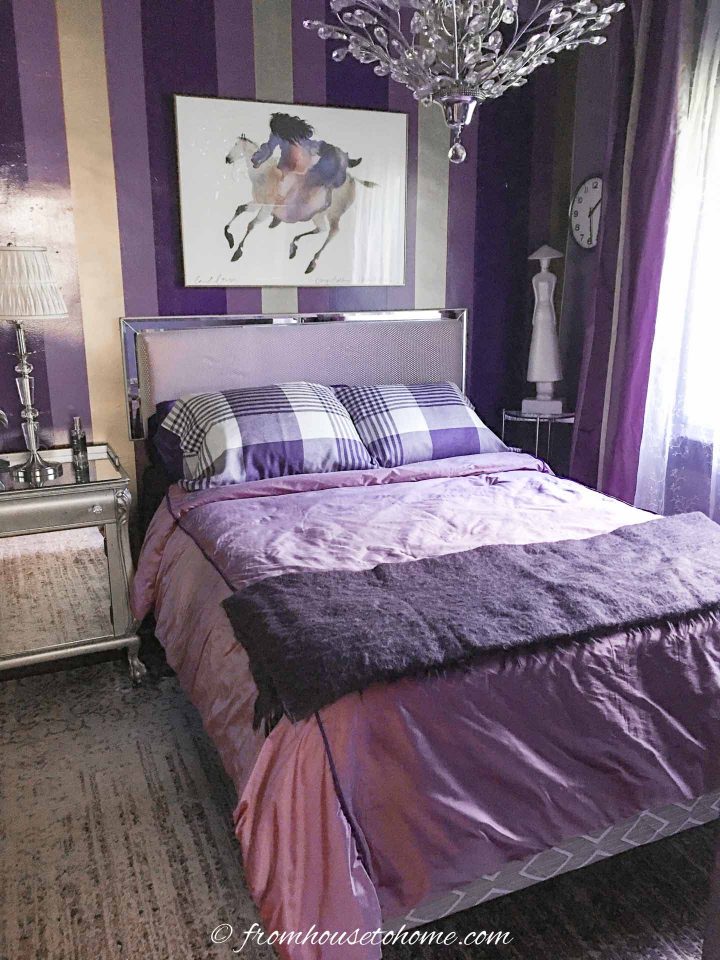
Dressing the Bed
The vertical stripes, drapes, and headboard looked smashing with the walls and rug.
Now I needed to see what to do with the bed.
I tried the old bedspread on the reverse dark gray side and, although it looked ‘not bad’, it was not stunning.
And by now, I wanted stunning.
Bedding Fabric Selection (Round 1)
After an extensive on line search for a ready made duvet cover proved futile, I returned to the fabric district.
The idea was to find fabric to make a gold bed-skirt, a violet duvet cover, and 2 sets of pillowcases — one dark plum and the other plaid linen.
The plan was to echo the colors of the stripes in the room on the bed.
I purchased gold silk for the bed-skirt, violet silk for the duvet top, dark plum broadcloth for the duvet lining, and more of the large print plaid linen for the pillowcases.
The Sewing
First I sewed the duvet cover. Get the DIY duvet cover tutorial HERE.
Since the edge of the duvet did not cover the box spring, the bed needed a bed-skirt. So, I sewed a simple box pleated lined skirt using the gold silk.
Then I made two sets of standard size pillowcases–one from the dark plum broadcloth and the other out of the plaid linen.
I avoided the fuss of throw pillows. Although they look nice, I find them too irritating to remove and replace every day.
Now to try everything on.
I was very disappointed when I put the duvet on the bed.
It lacked the wow factor I was looking for.
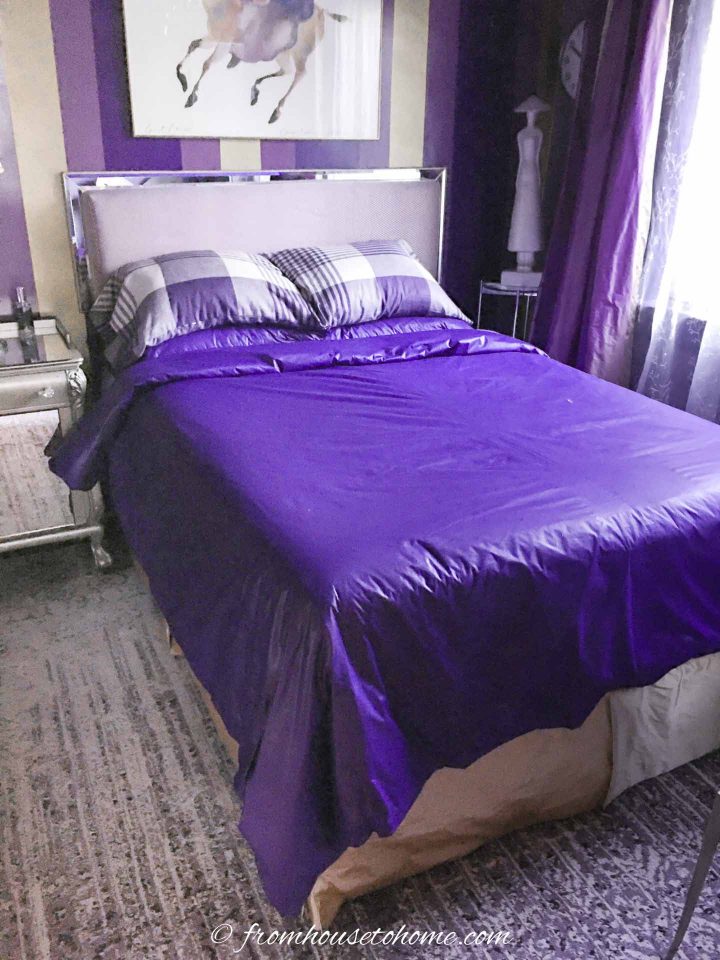
I tried using the reverse side. It looked better but not ideal.
Bedding Fabric Selection (Round 2)
So I took a third trip to the fabric district.
And I finally lucked out!
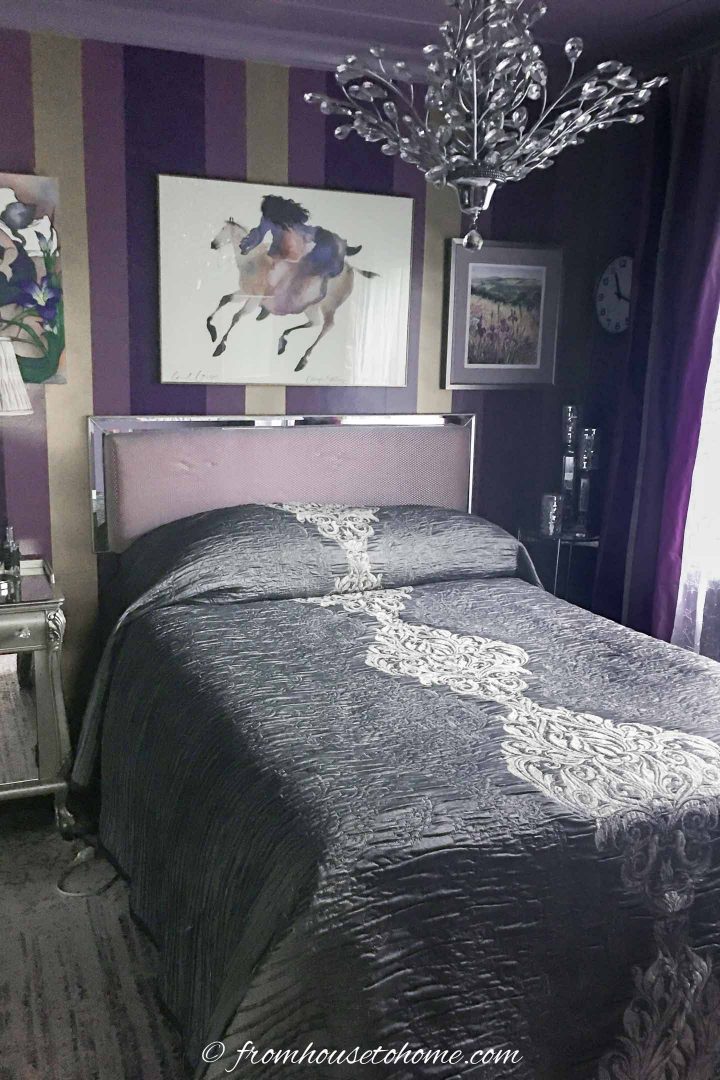
I found a beautiful coordinating floral silk.
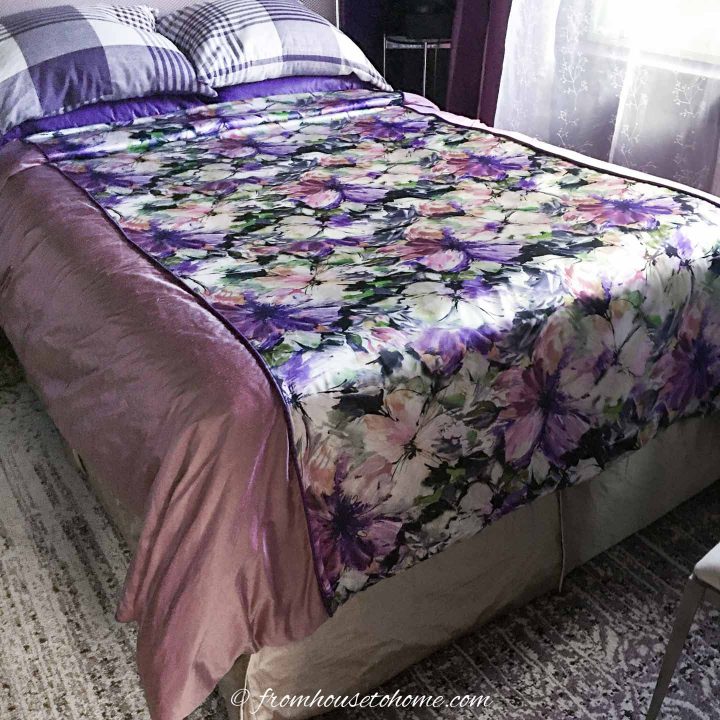
Which I made into a center panel on the duvet.
Lesson #4 Mistakes Can Be Remedied
Have patience enough to carefully take the duvet top apart and make it over.
Even though it cost me a lot of time, and quite a bit of extra money, I’m so much happier with the results. (I will use the left over violet silk to replace a blind in the den at some point.)
The Finishing Touches
Finally, I bought some new silver grey bed linen which speaks to the color of the headboard.
I have also ordered a dark plum bedsheet set so that I have a change of coordinating bed linens.
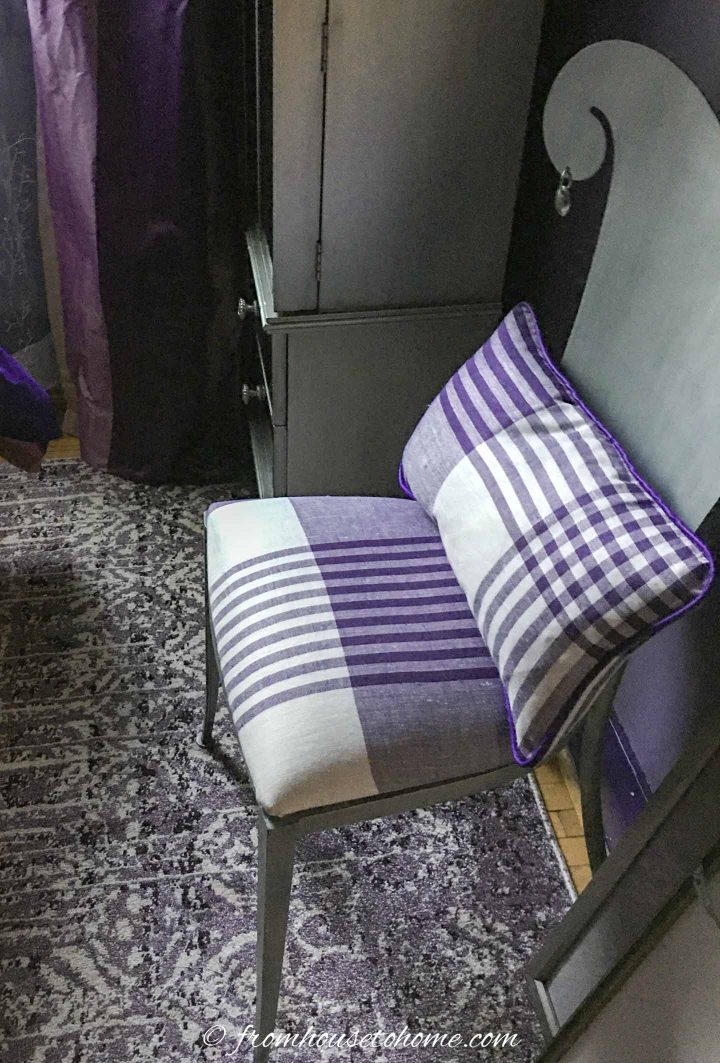
Then I re-covered the seat cushion on the chair and made a small lumbar pillow out of the remaining plaid linen fabric, which echoes that pattern in the room. Find out how to make cushion covers HERE.
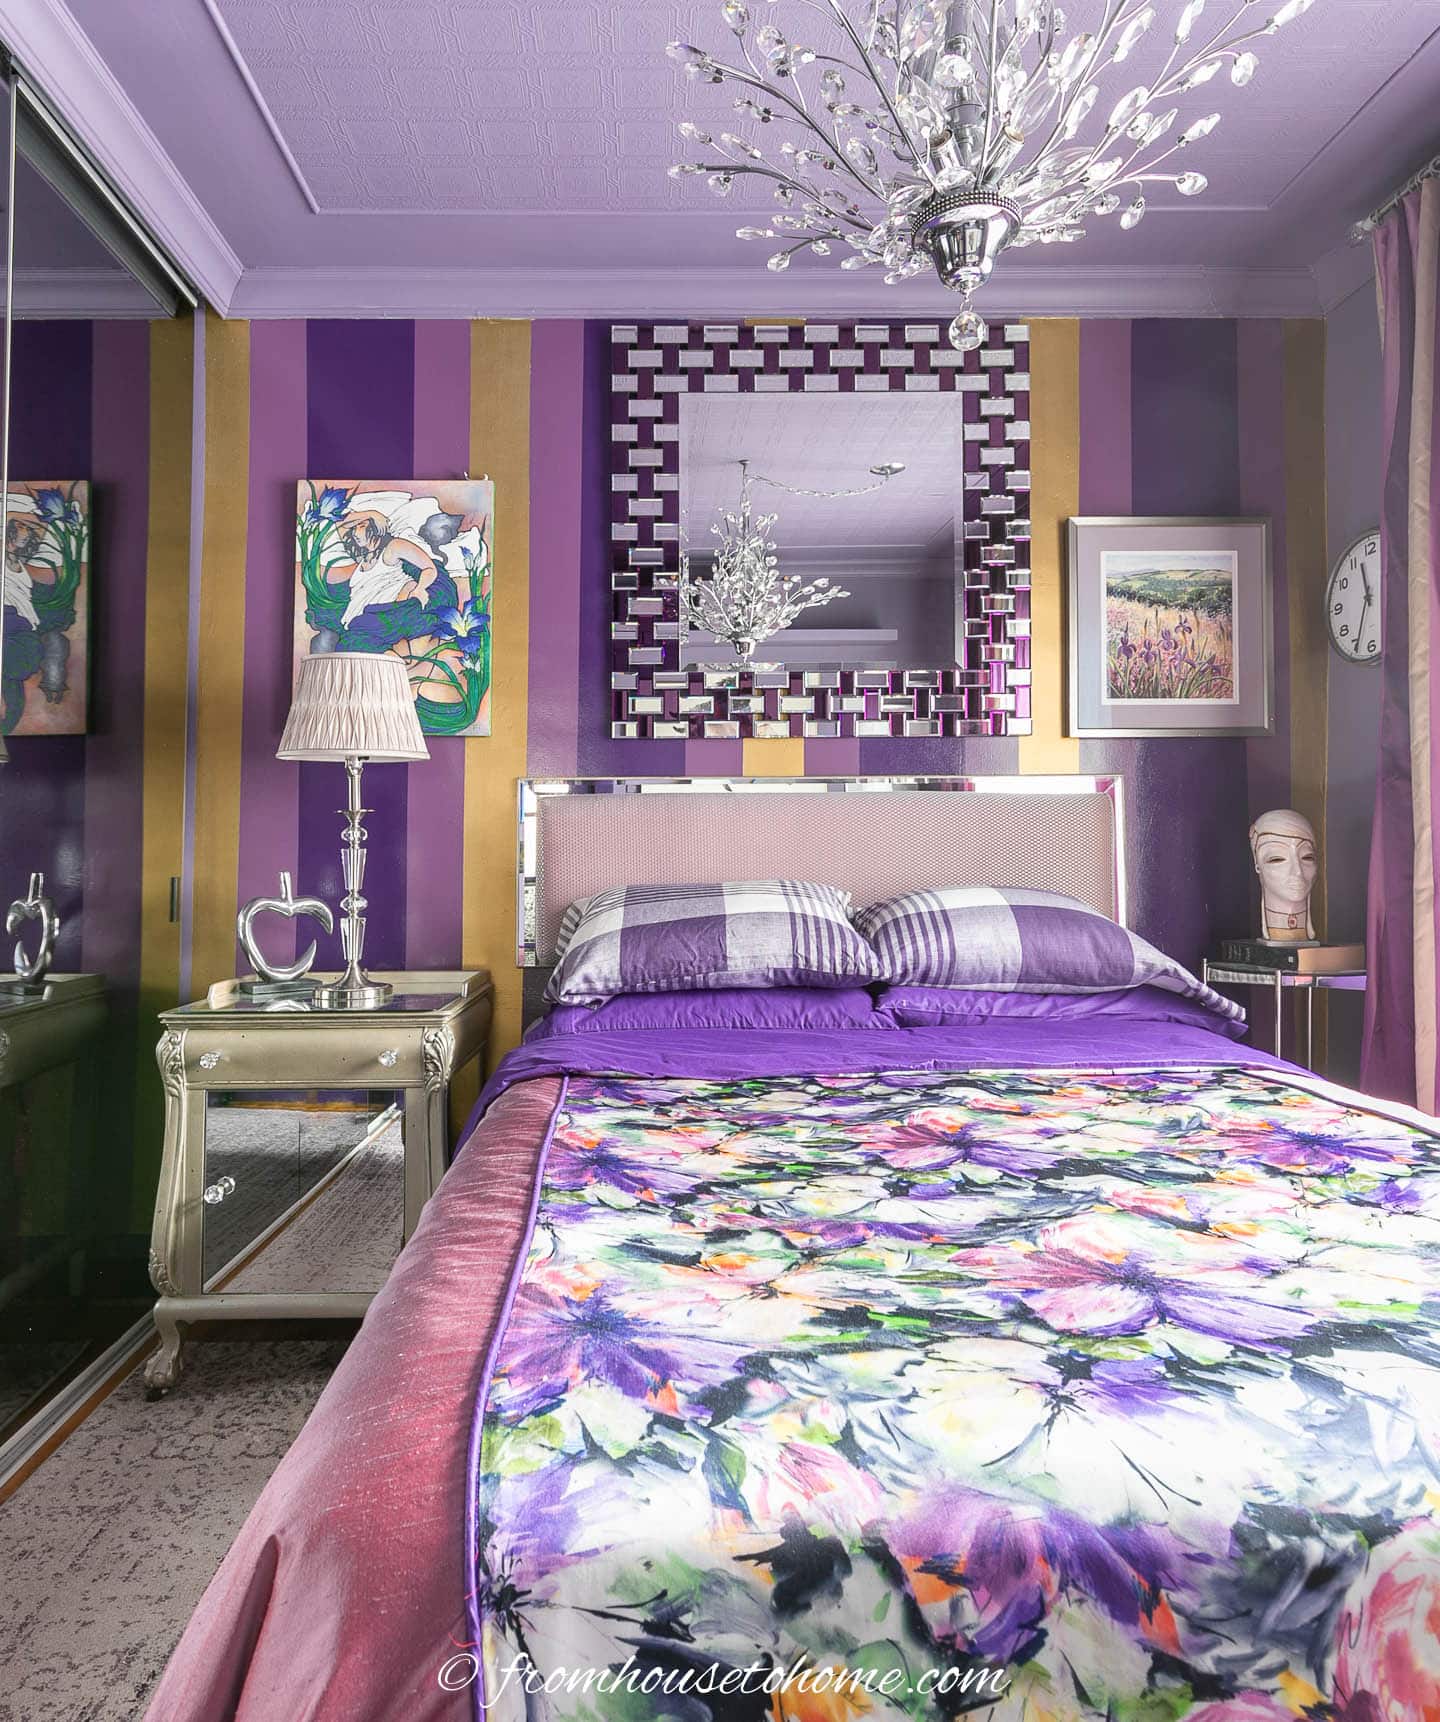
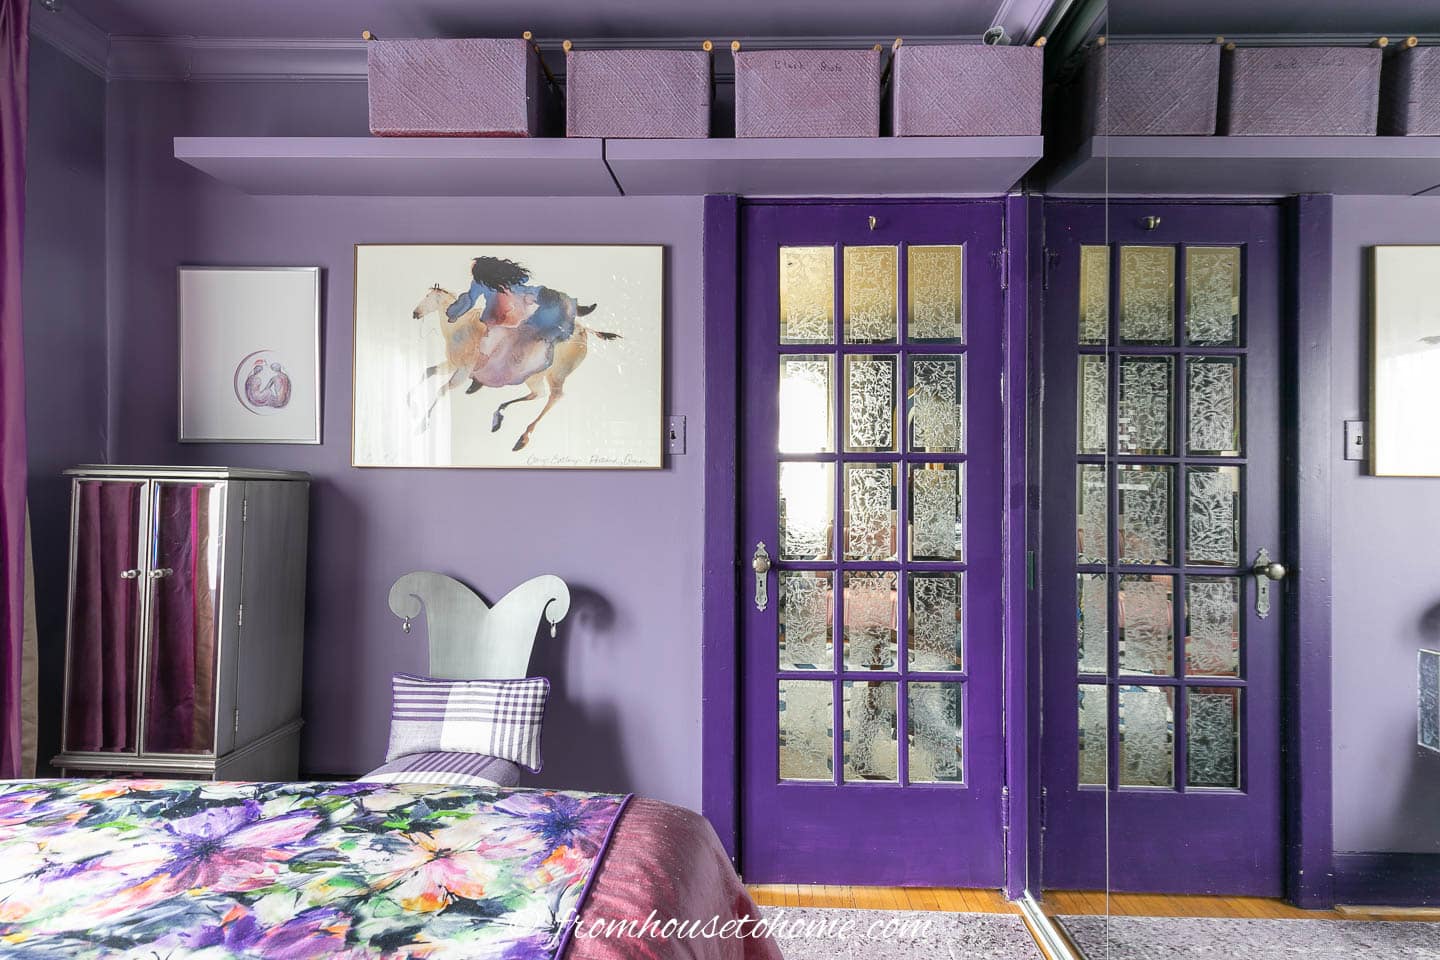
And I moved a mirror from another room in the house to add more pizzazz above the bed.
The last step was to paint the inside of the closet to match the bedroom wall color.
Since I had to remove everything from the closet to do this, I took on one last challenge and decided to re-organize the entire space. You can learn some of my closet organization tricks here.
Now, the bedroom has that wow factor I was going for, and everything in the closet is tidy and easy to locate.
The effort was worth the results in spite of the glitches.
The room looks totally different than it did before. And all I changed was the paint and some fabric.
Other purple bedroom ideas you might like
- Purple color combinations that look good in a bedroom
- Purple, white and gold primary bedroom makeover
- Light purple and gray bedroom makeover
Have comments or questions on how to do a bedroom makeover with fabric and paint? Tell us in the section below.
This post was originally published on December 4, 2020 but was updated with new content on June 29, 2023.
What are the names of the paint colors you for the stripes?
Hi Debra…the lighter purple is Benjamin Moore Ultra Violet, the darker purple is Sherwin Williams Concord Grape, and the gold is Sargent Liquid Metal Antique Gold (you can find it on Amazon).